Sprouted Beans and More from AZVFF

I’ve recently been reading at length about raw vegan diets. As you know, I aim to consume 60-70% raw plant foods daily, but I recently upped that amount to 90% in my one-week raw food challenge. I generally feel better than I ever did when eating a traditional American omnivorous diet, but during the challenge, I felt even more energized and satisfied with my appearance.

As a result of my piqued interest in raw eating, I went to this year’s Arizona Vegetarian Food Festival looking to learn more about the lifestyle. While I don’t believe I have the willpower—or interest, for that matter—to go completely raw, I’d like to try and consume even more raw plant foods. Uncooked food is easier on the body; there’s no disputing science.

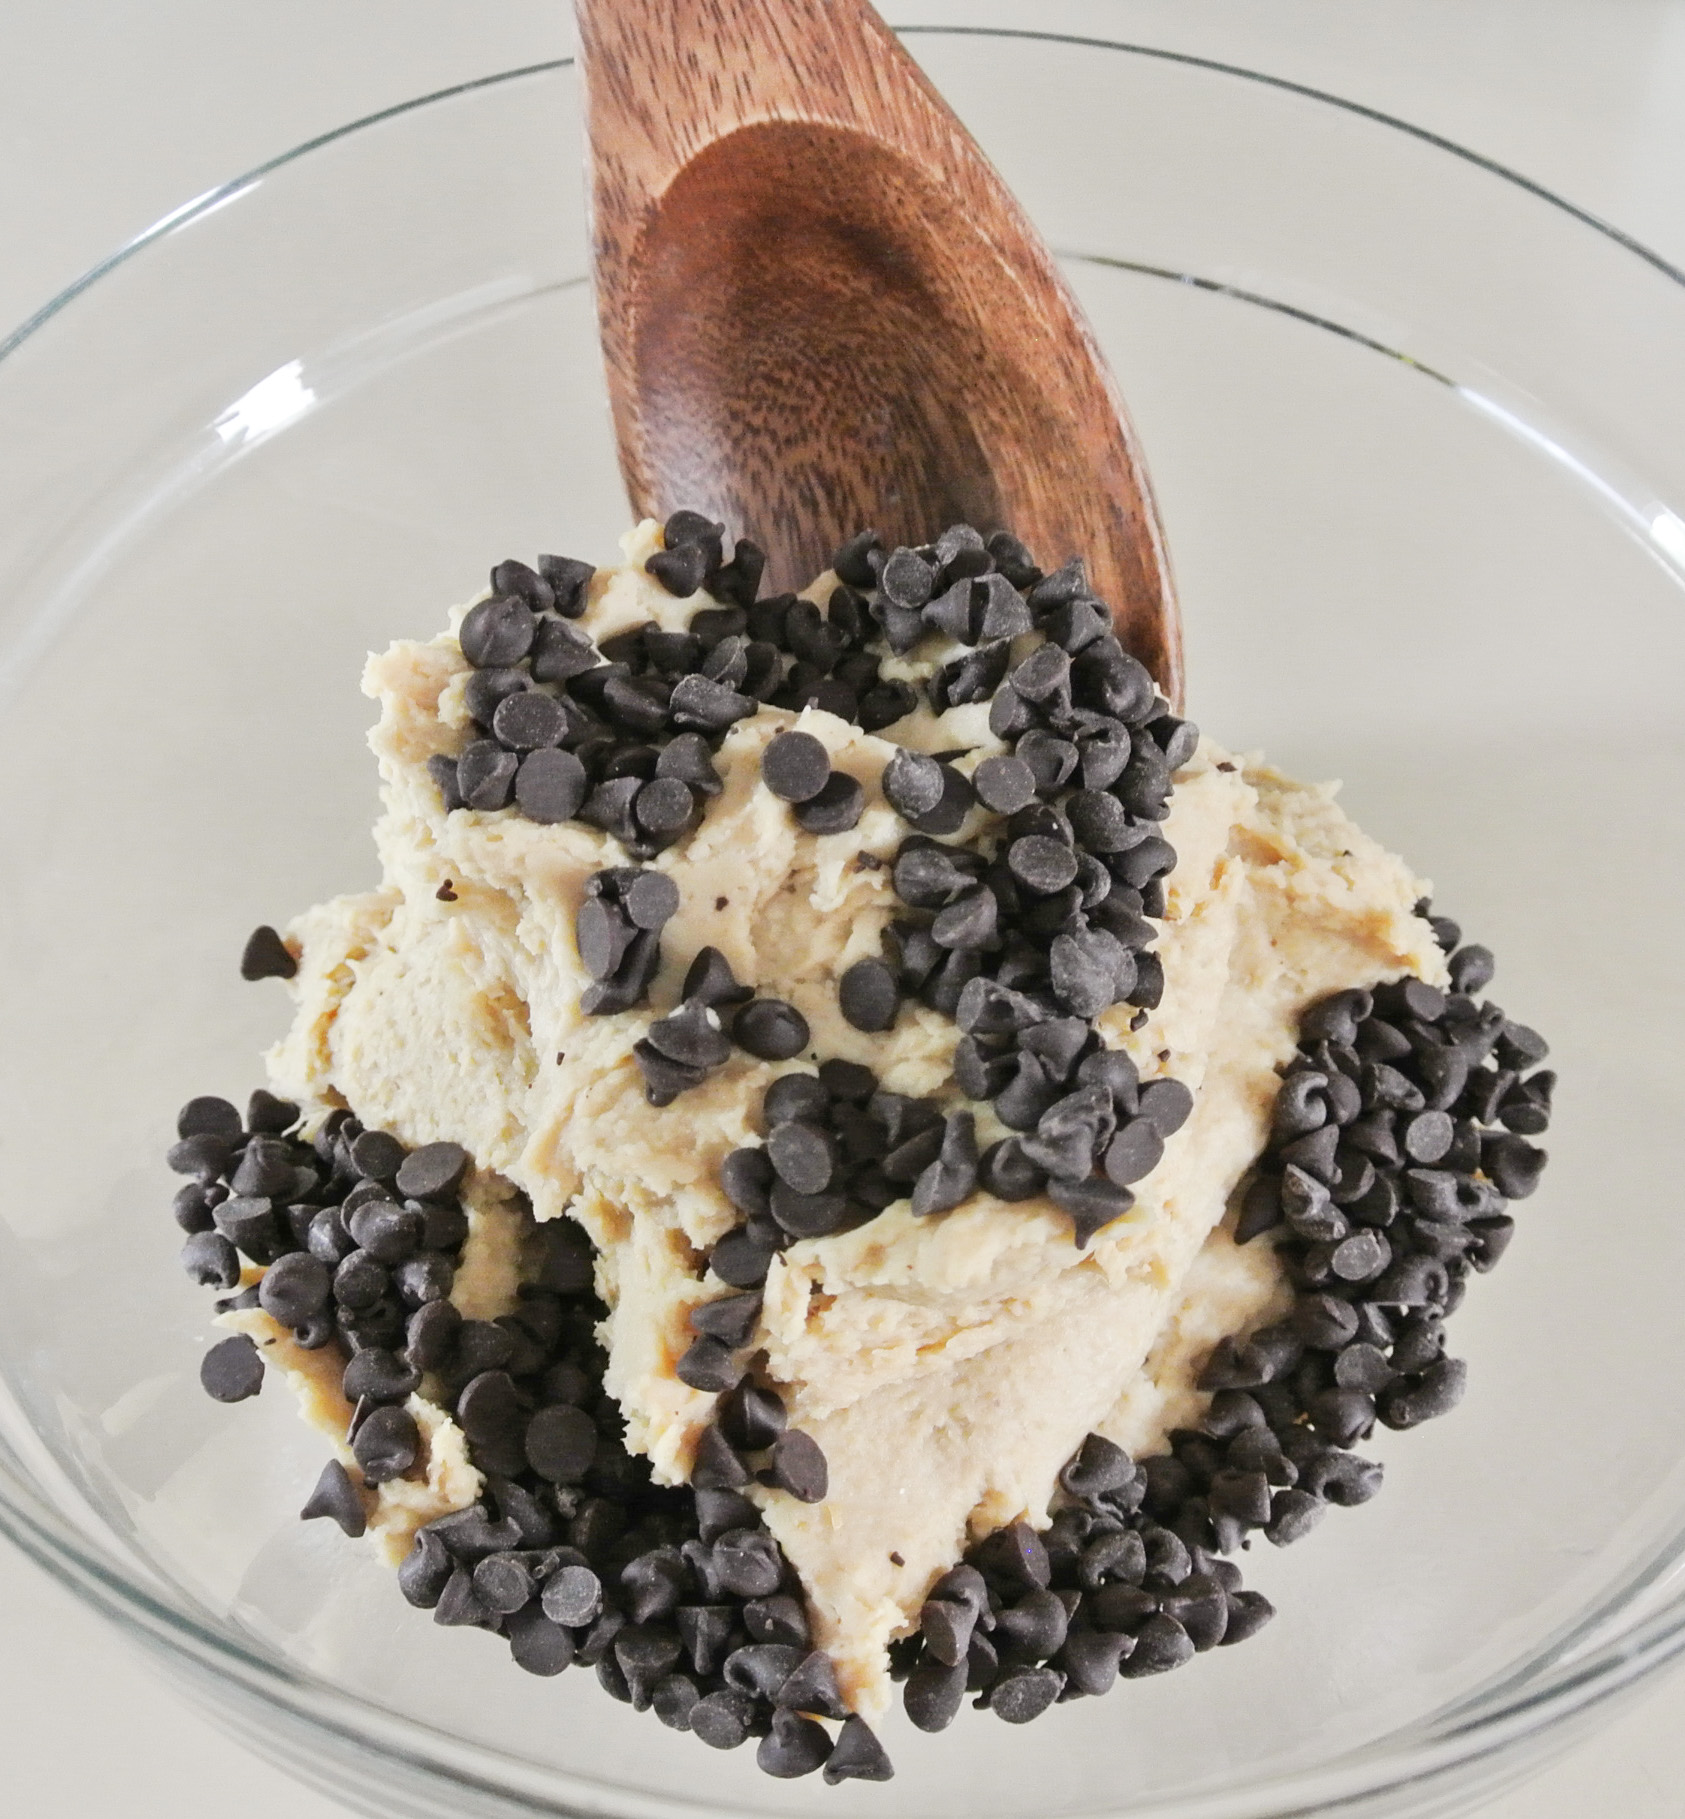
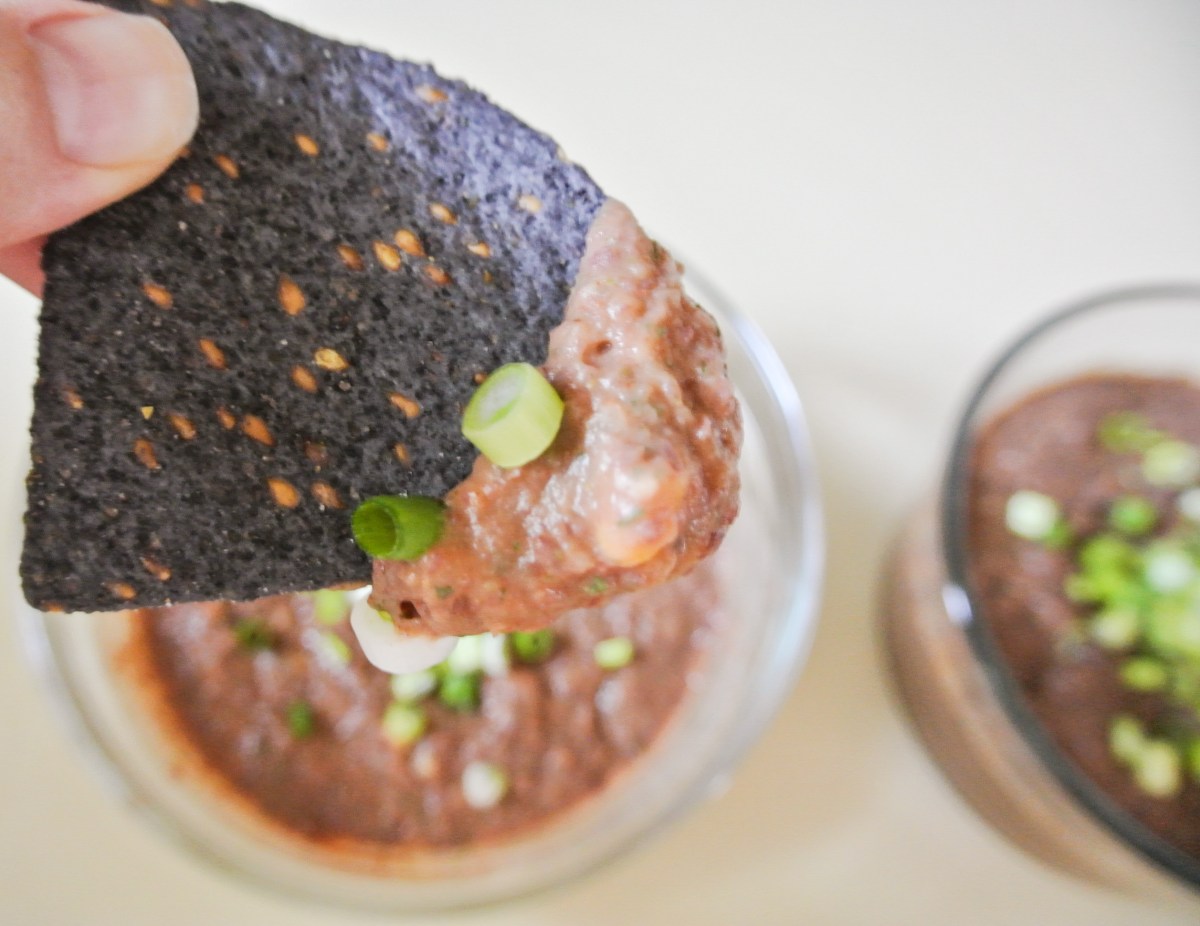
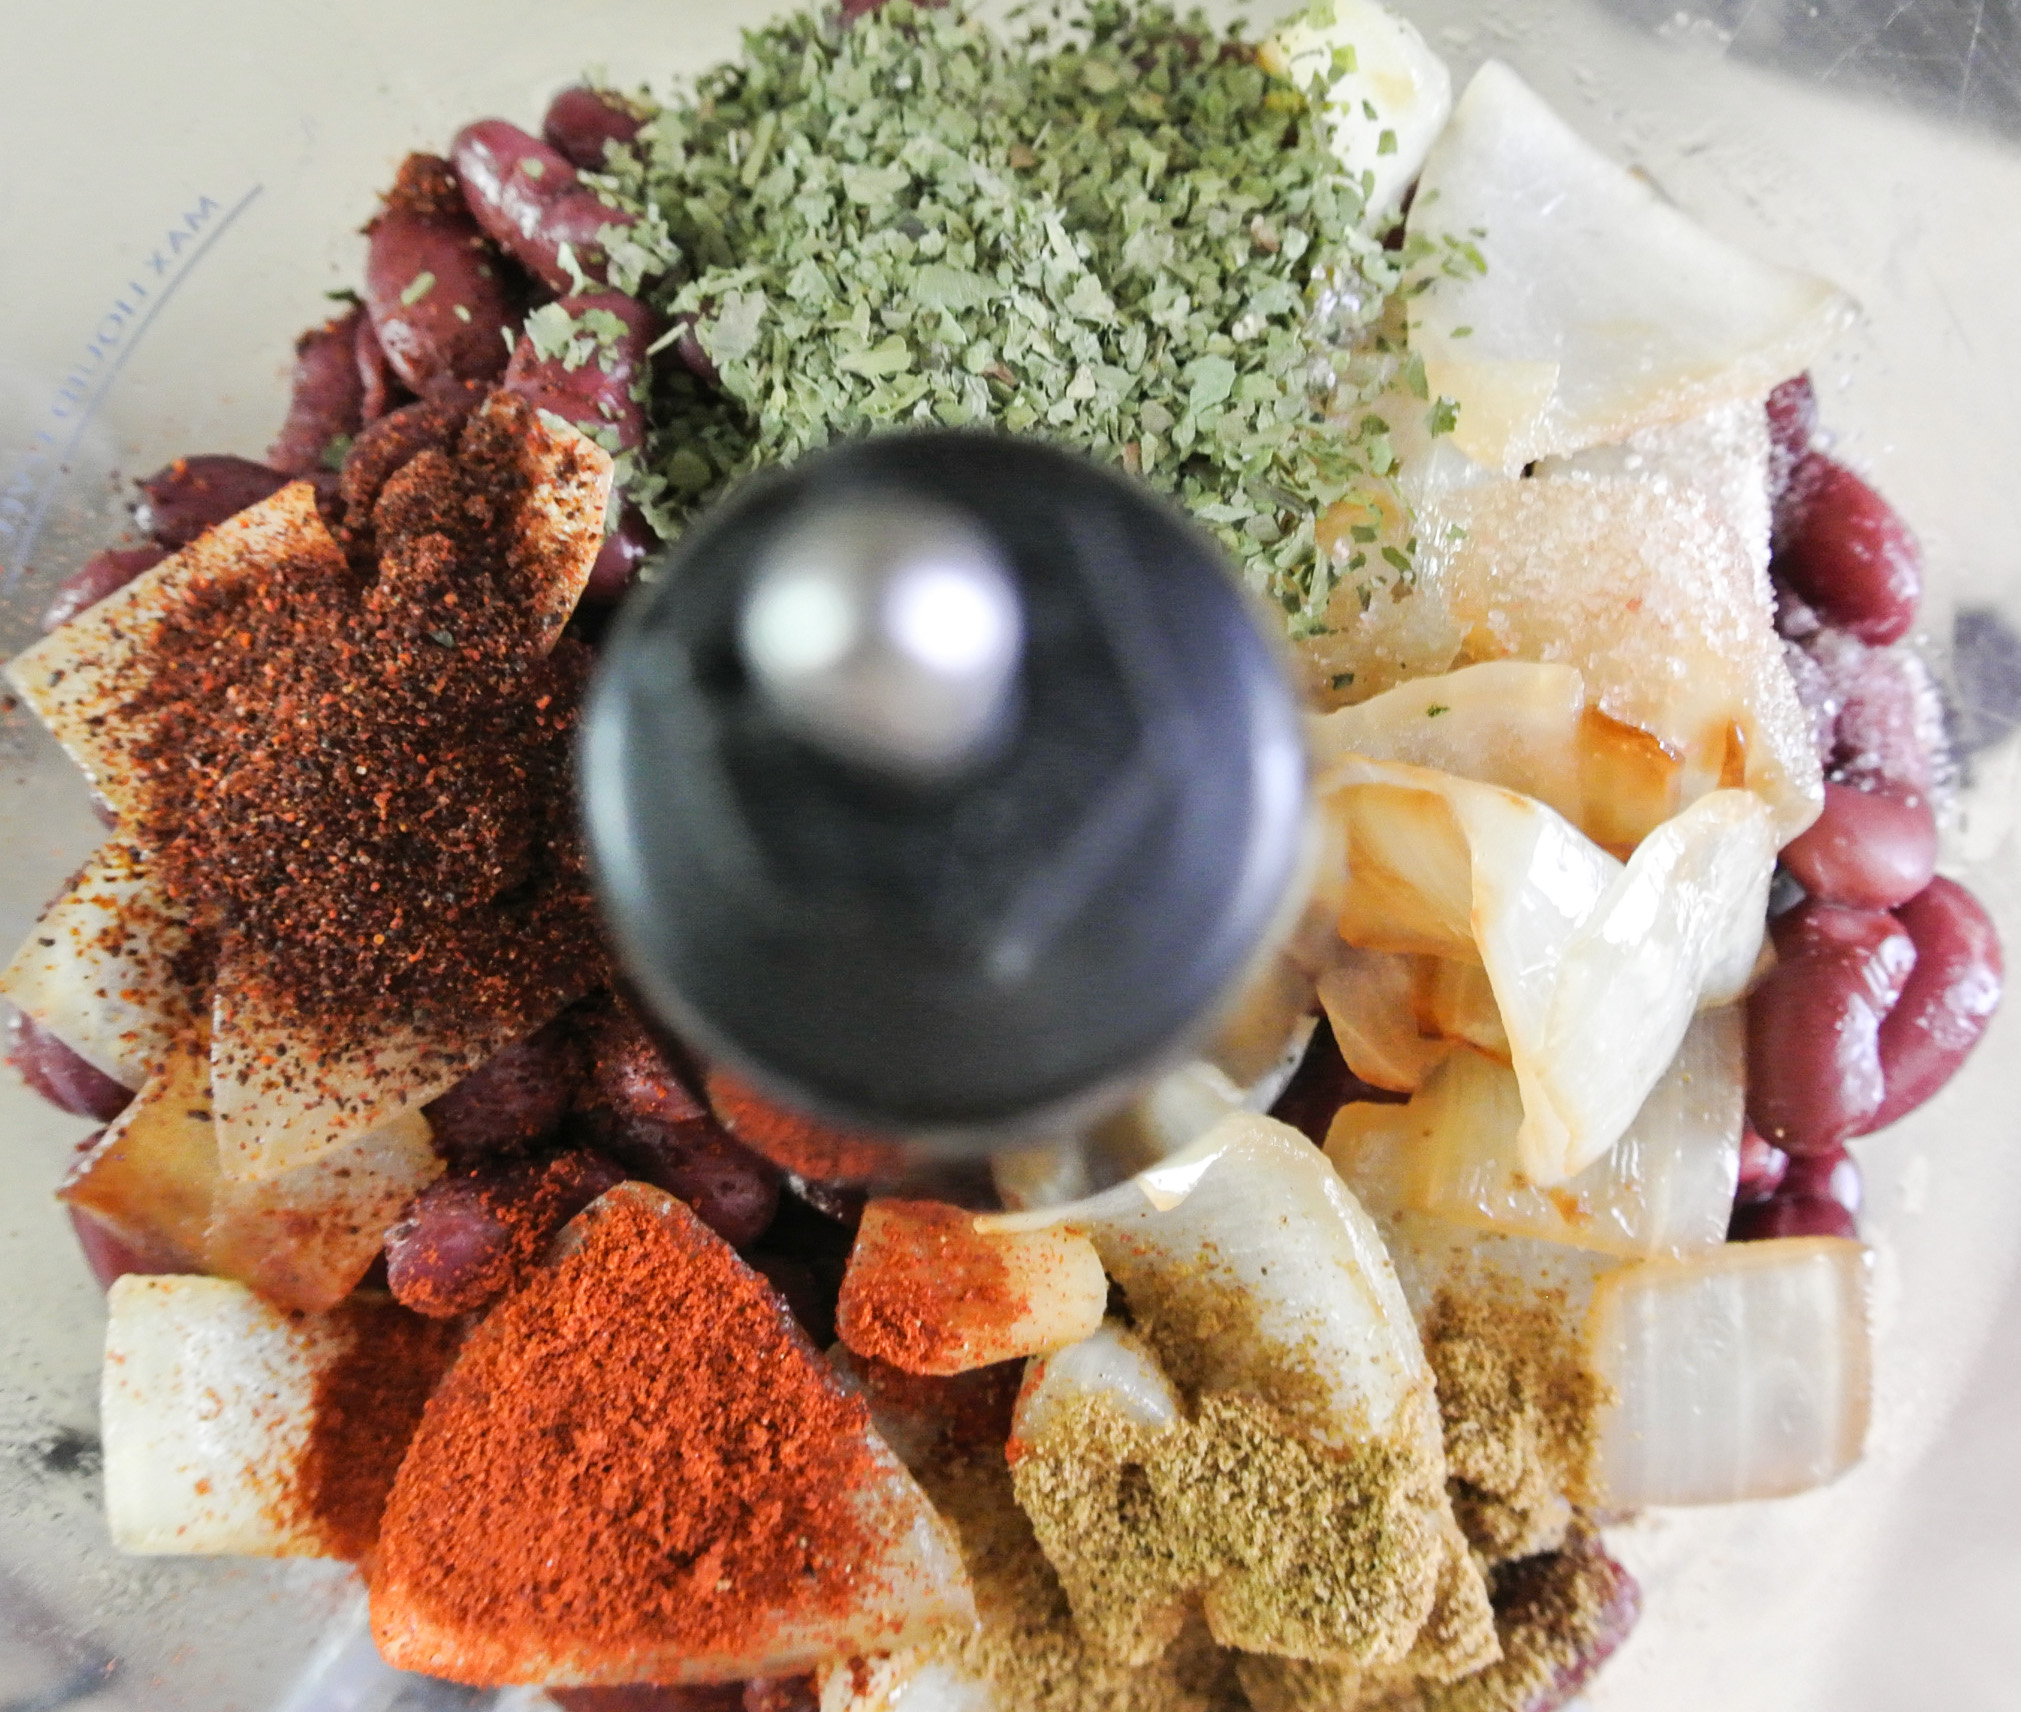
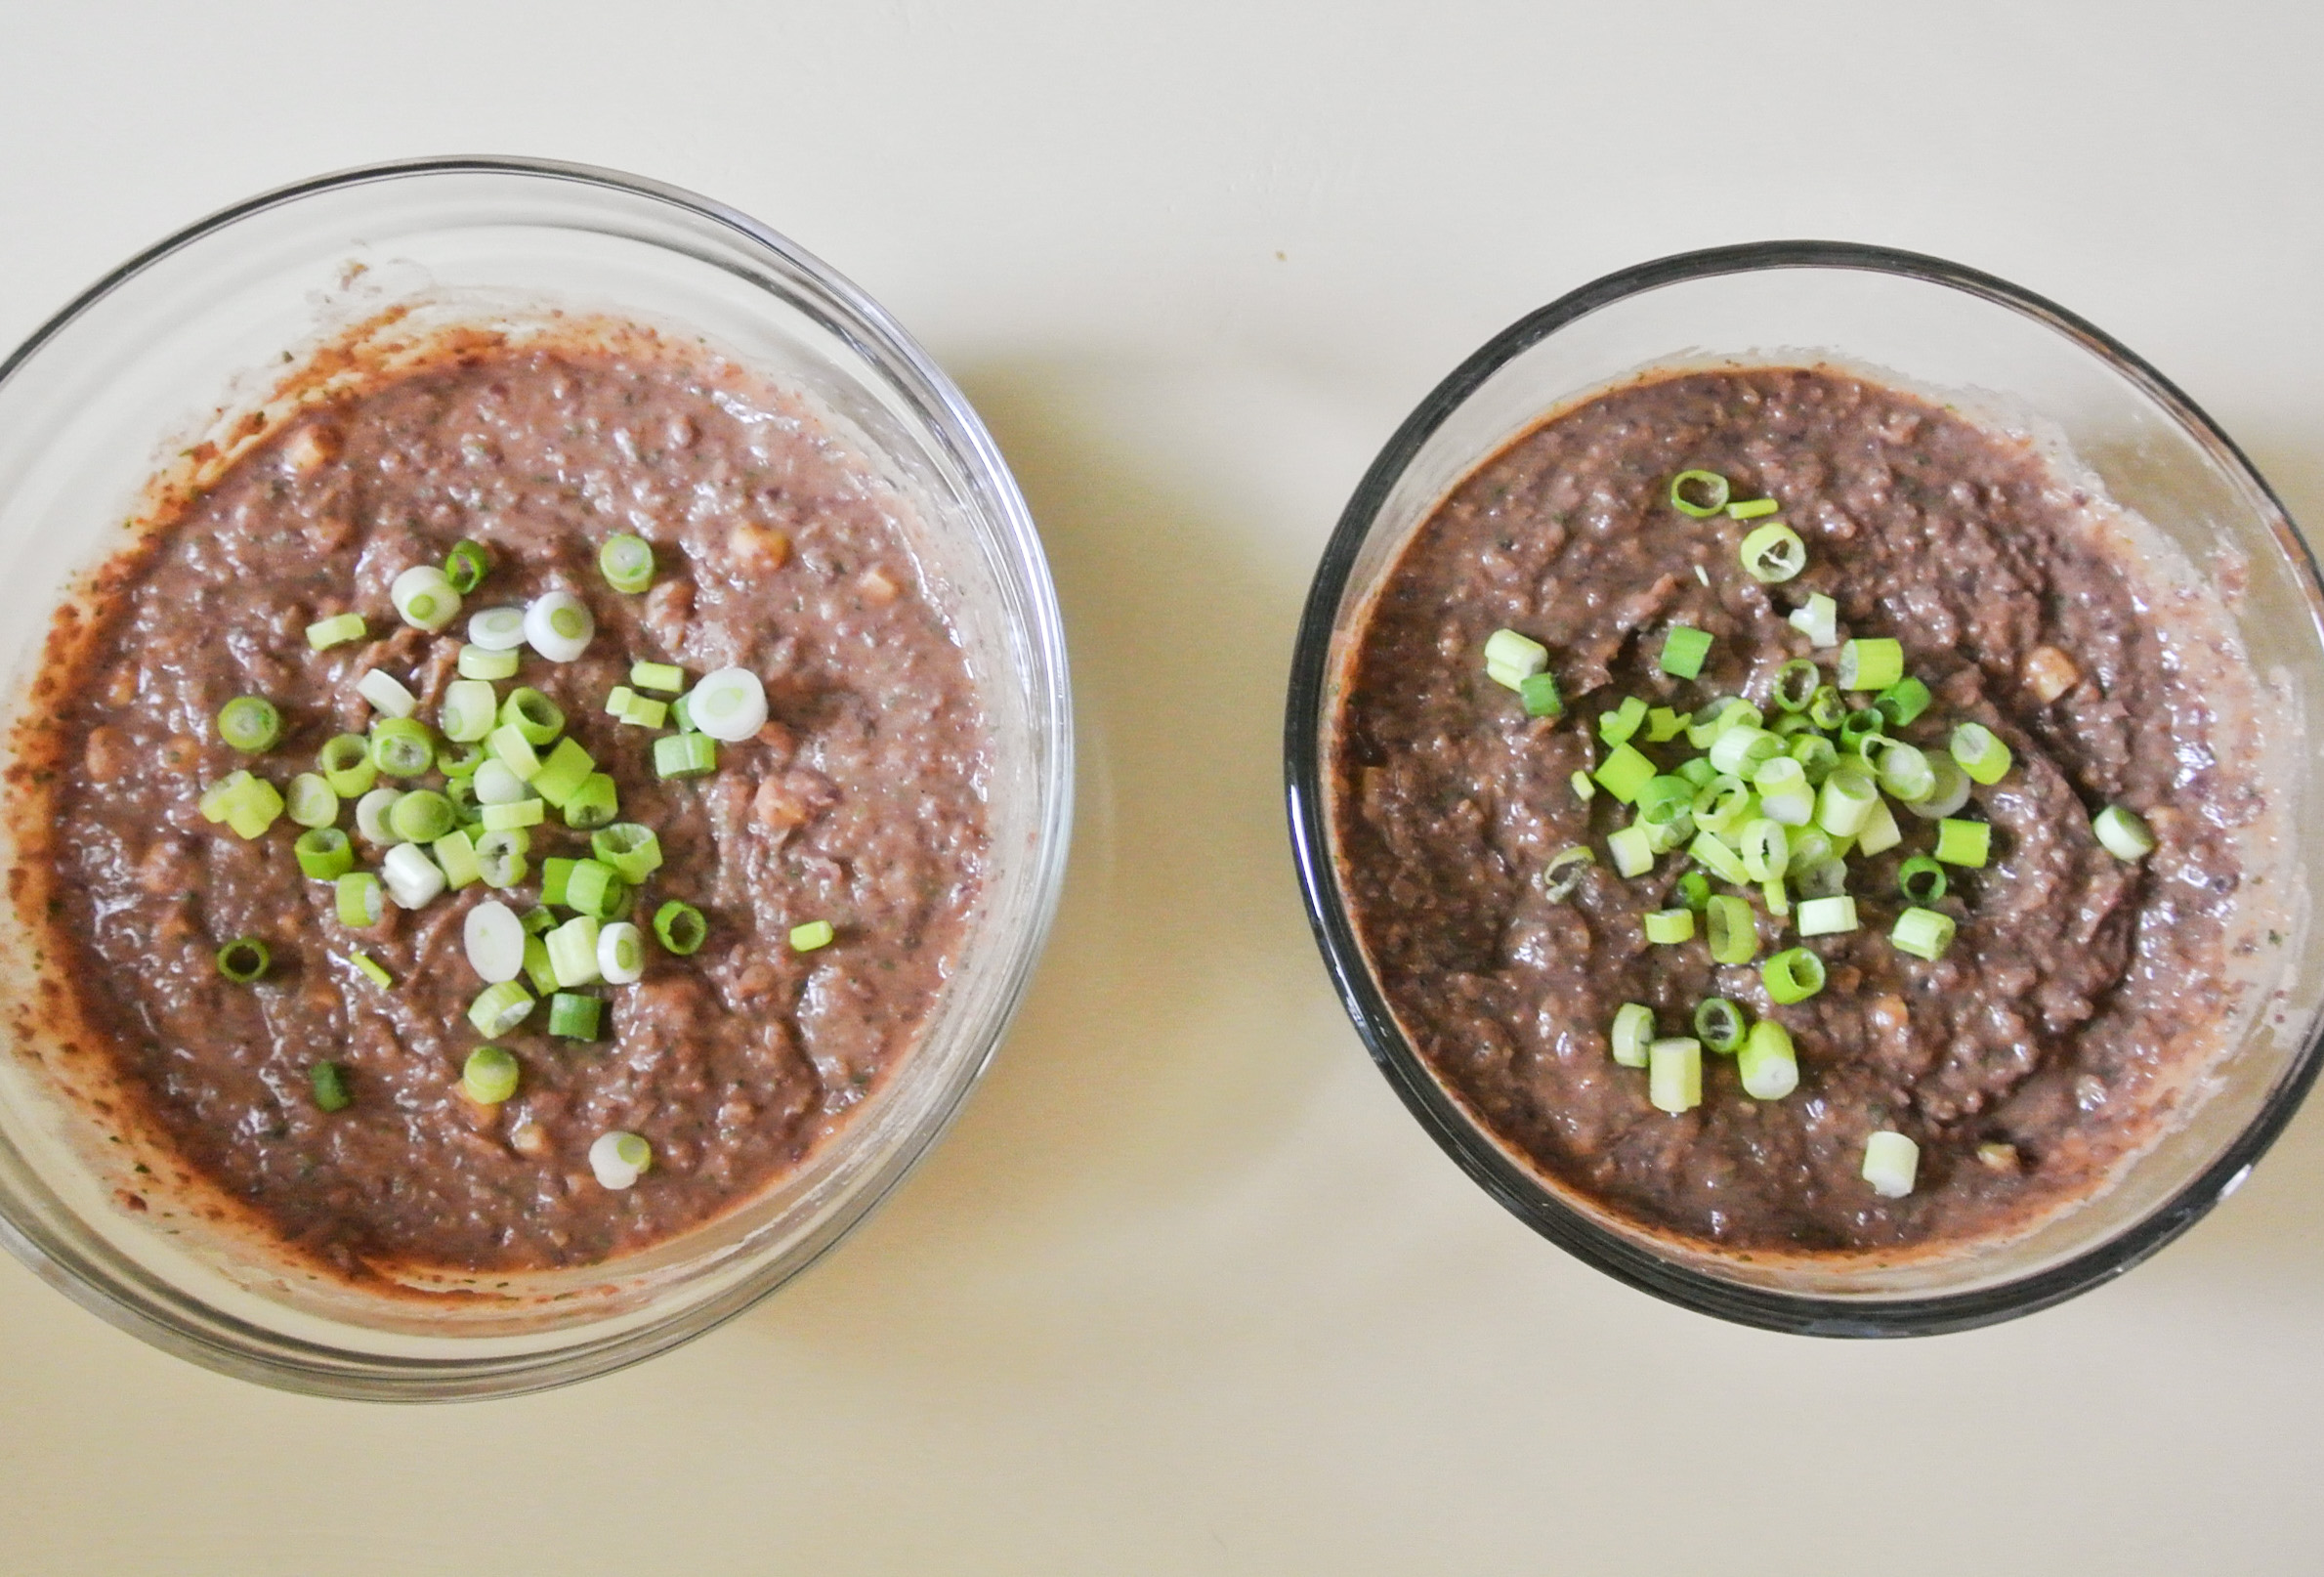
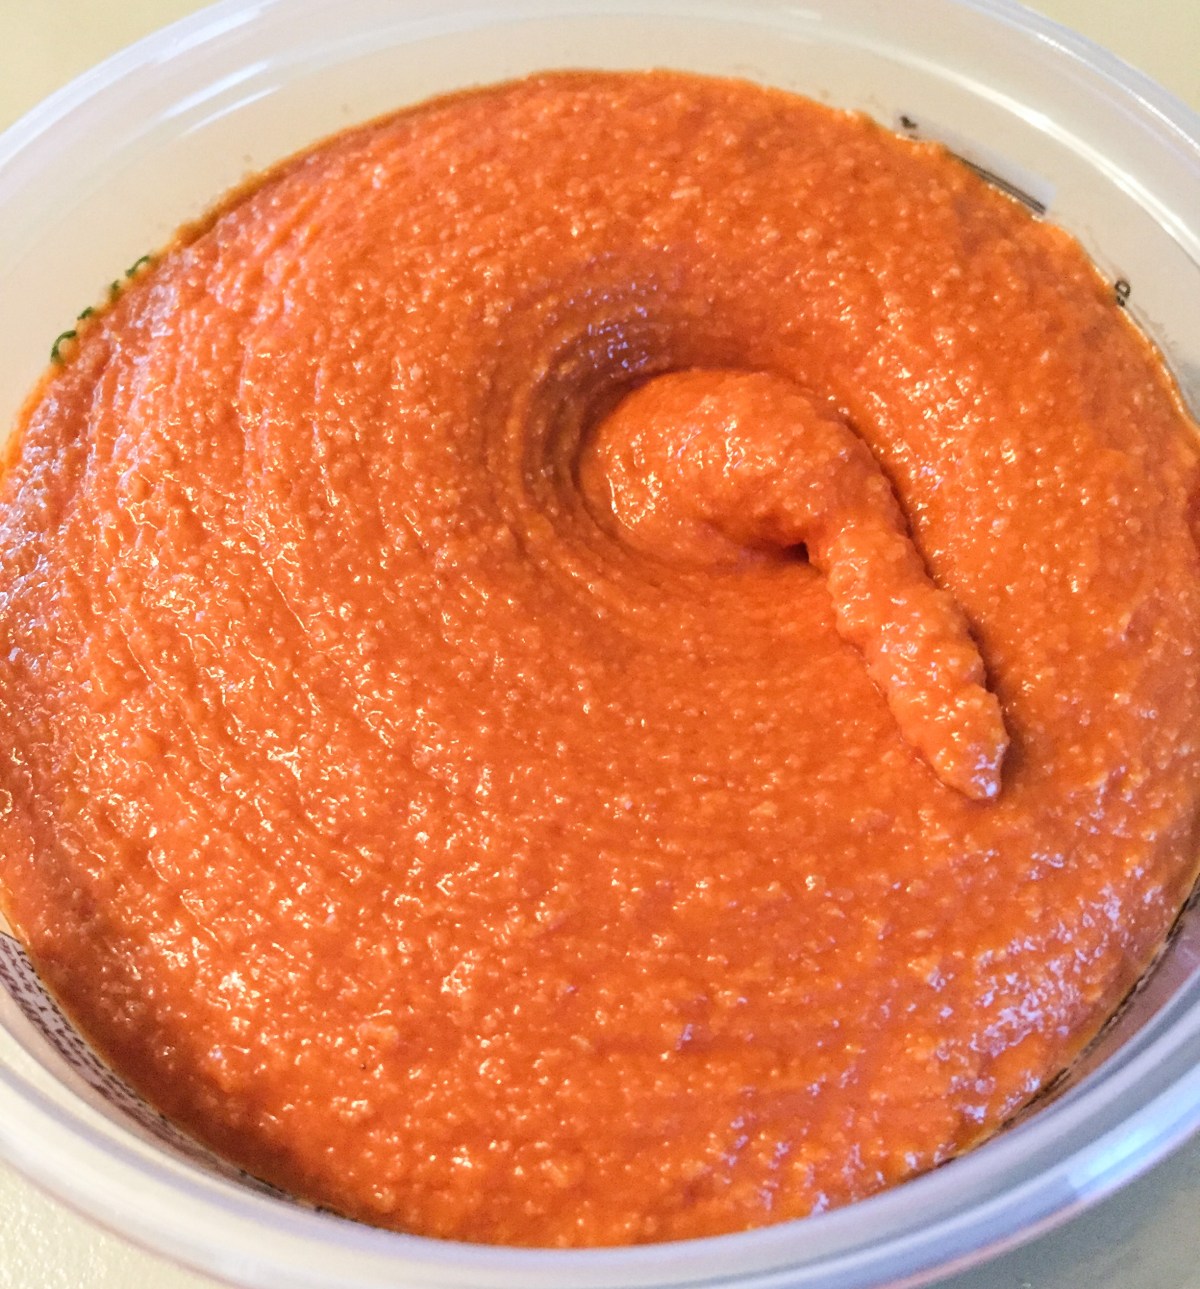
Again, not looking to go 100%…just interested in living better, which I believe all of us can do, no matter what our lifestyle or food preferences. While at the AZVFF, I made a beeline straight for a booth advertising raw, sprouted hummus. I love beans, but they are inedible raw (or so I thought), so I had to see this for myself.

IMG_7062

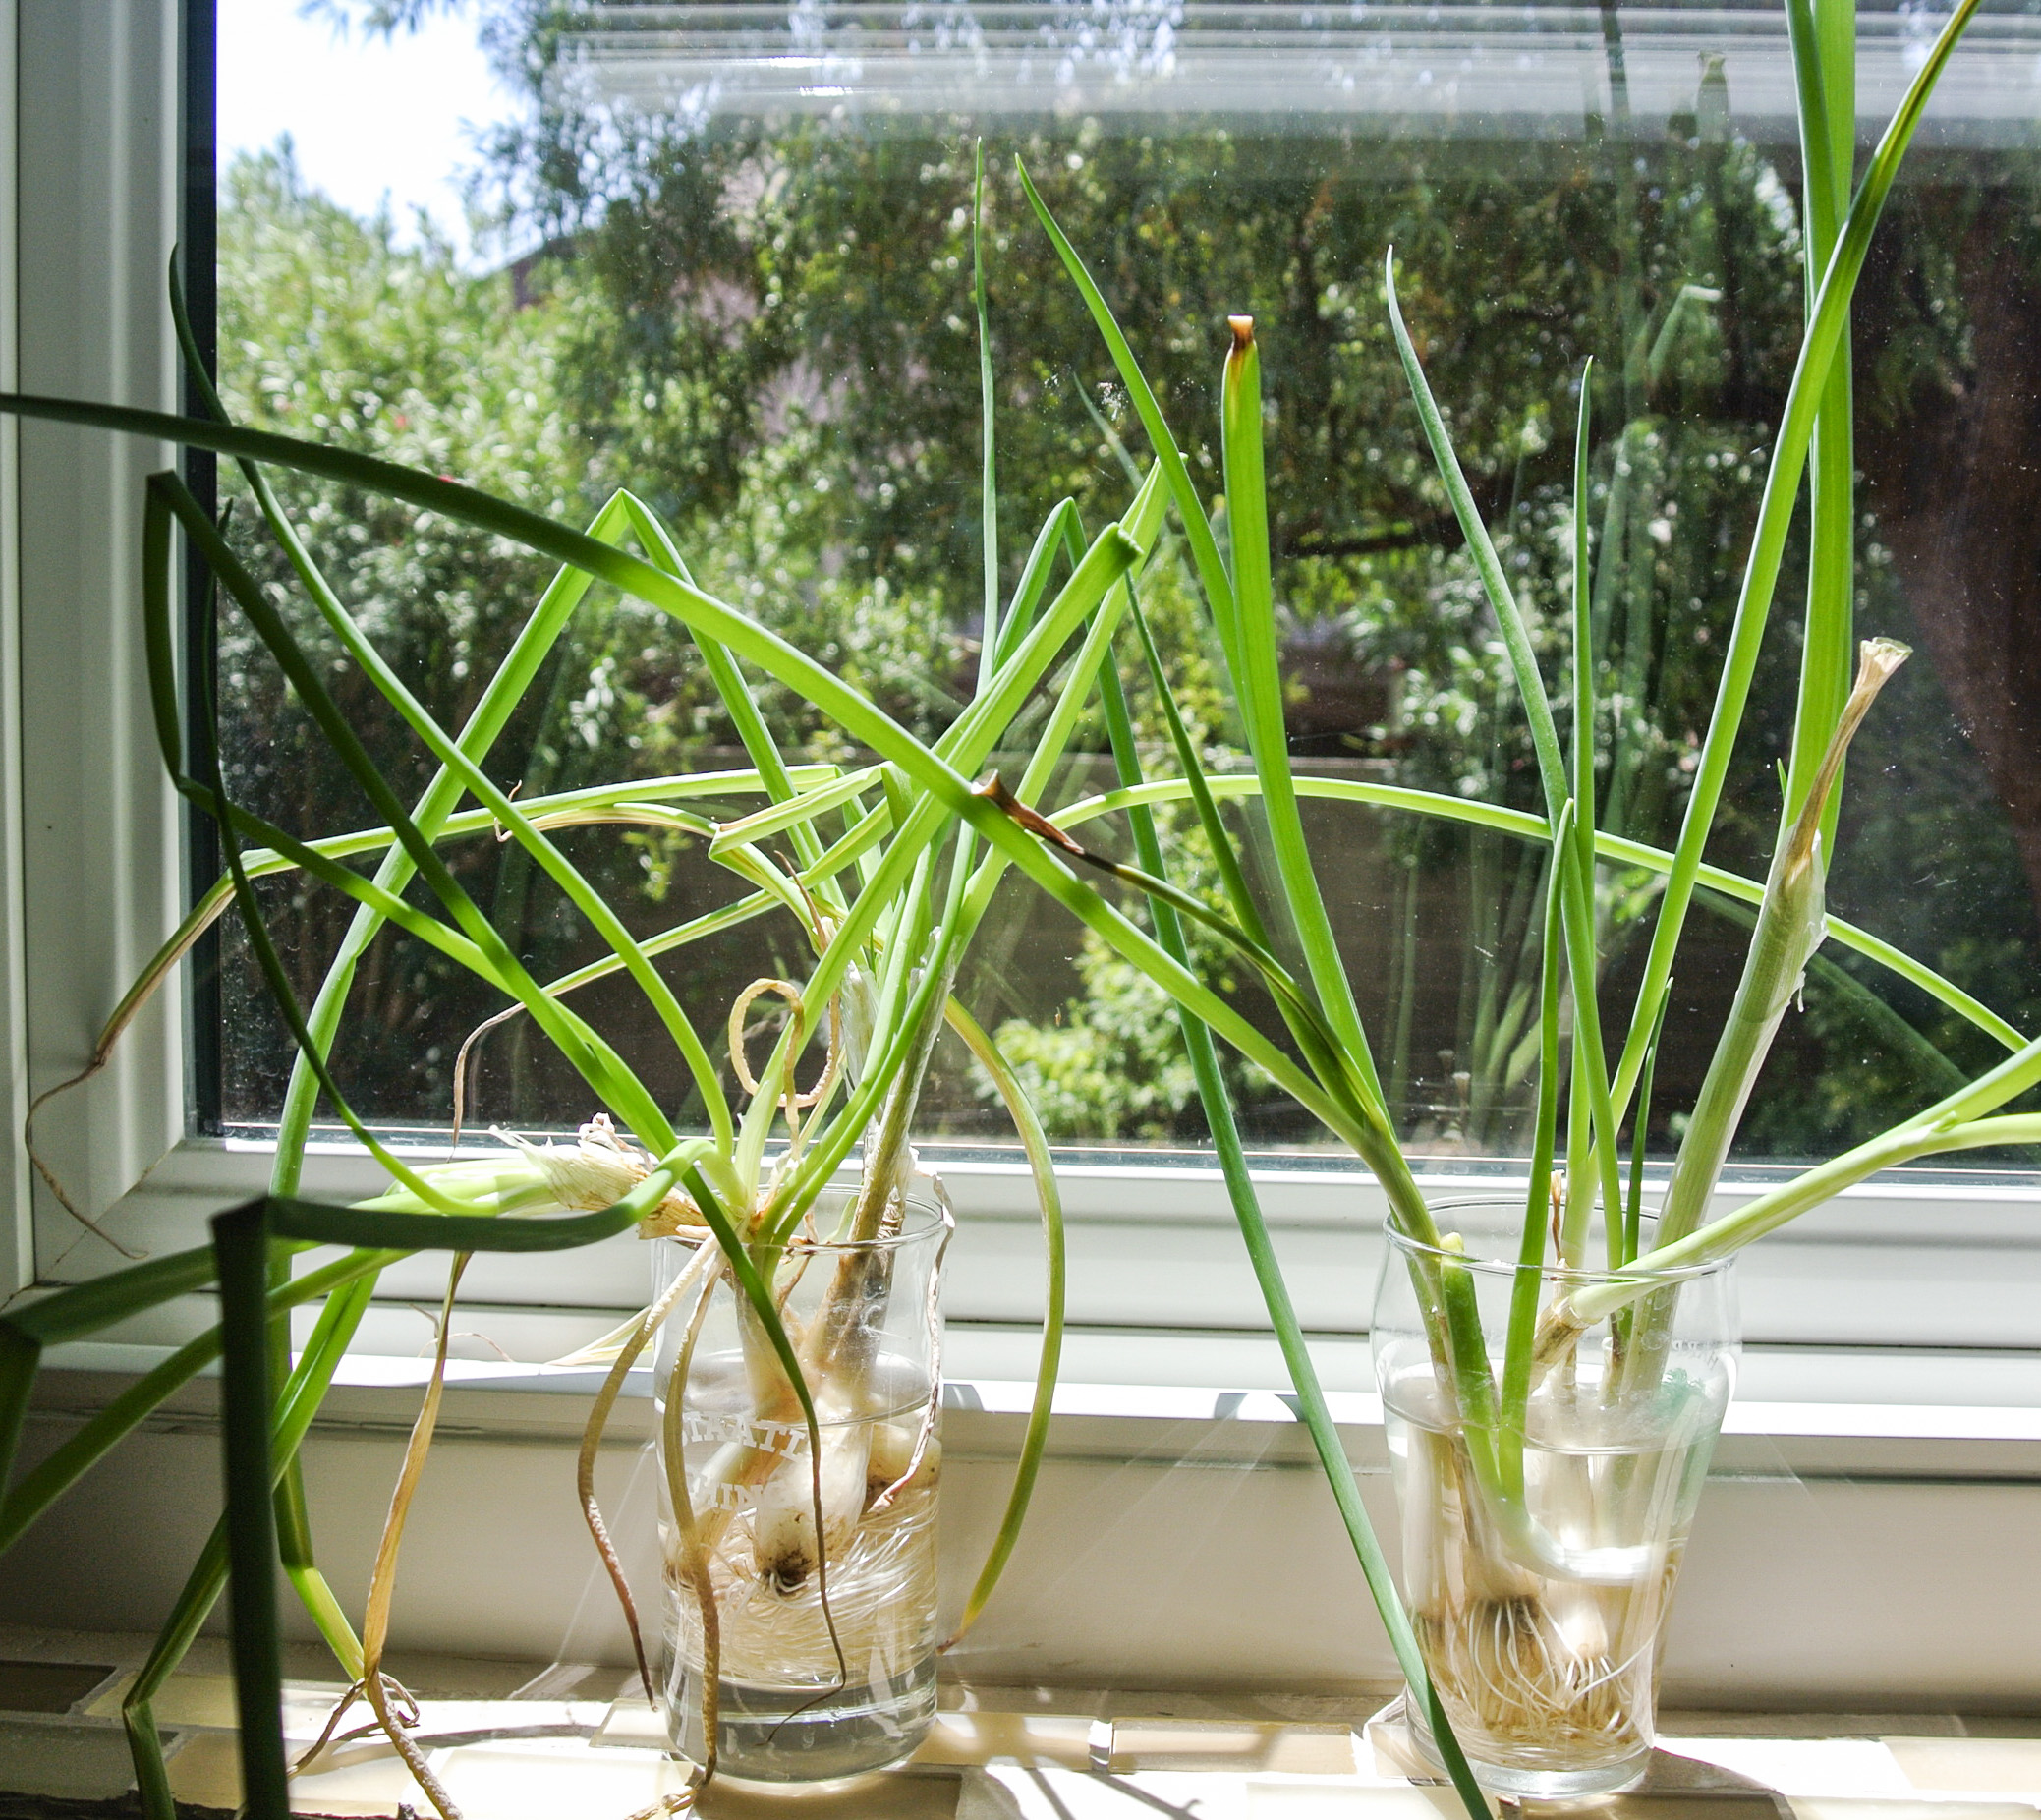
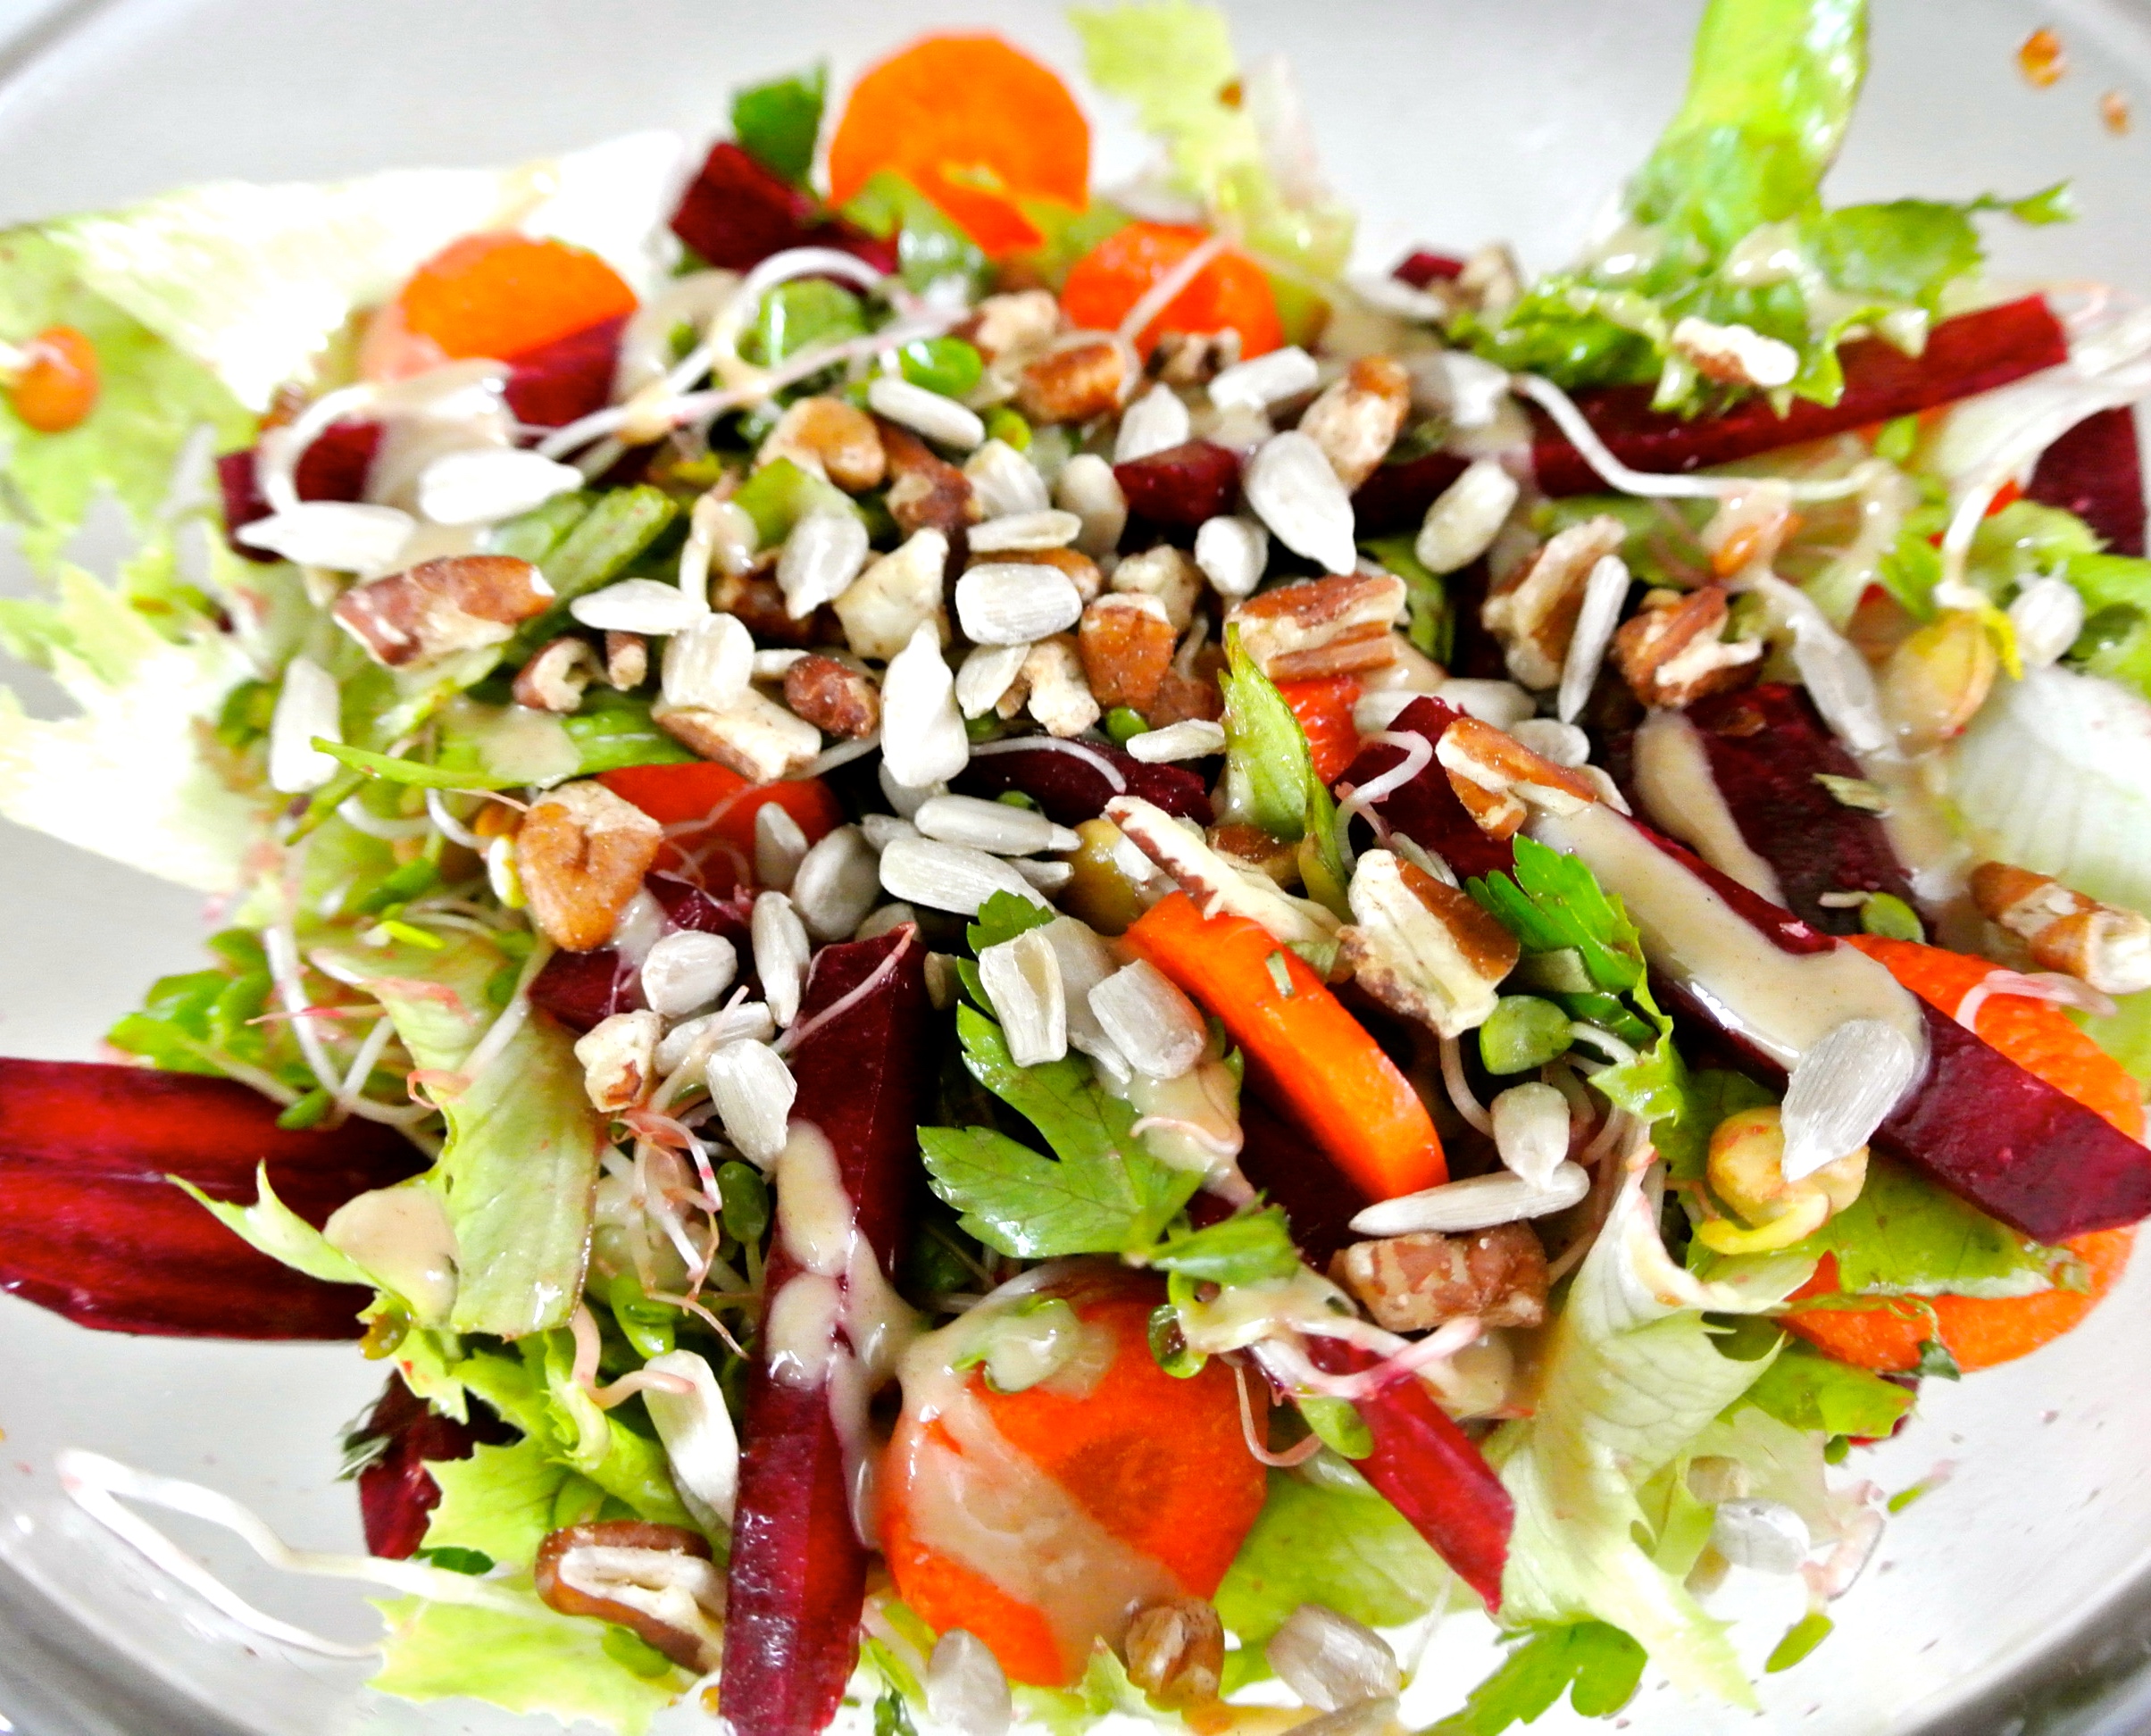
When I think of “sprouts,” I imagine tiny green sprigs with delicate little leaves, grown from whole grains or seeds. Sprouts are delicious and make for an aesthetically pleasing addition to salads and raw veggie wraps. Sprouted beans? I couldn’t wrap my head around it…

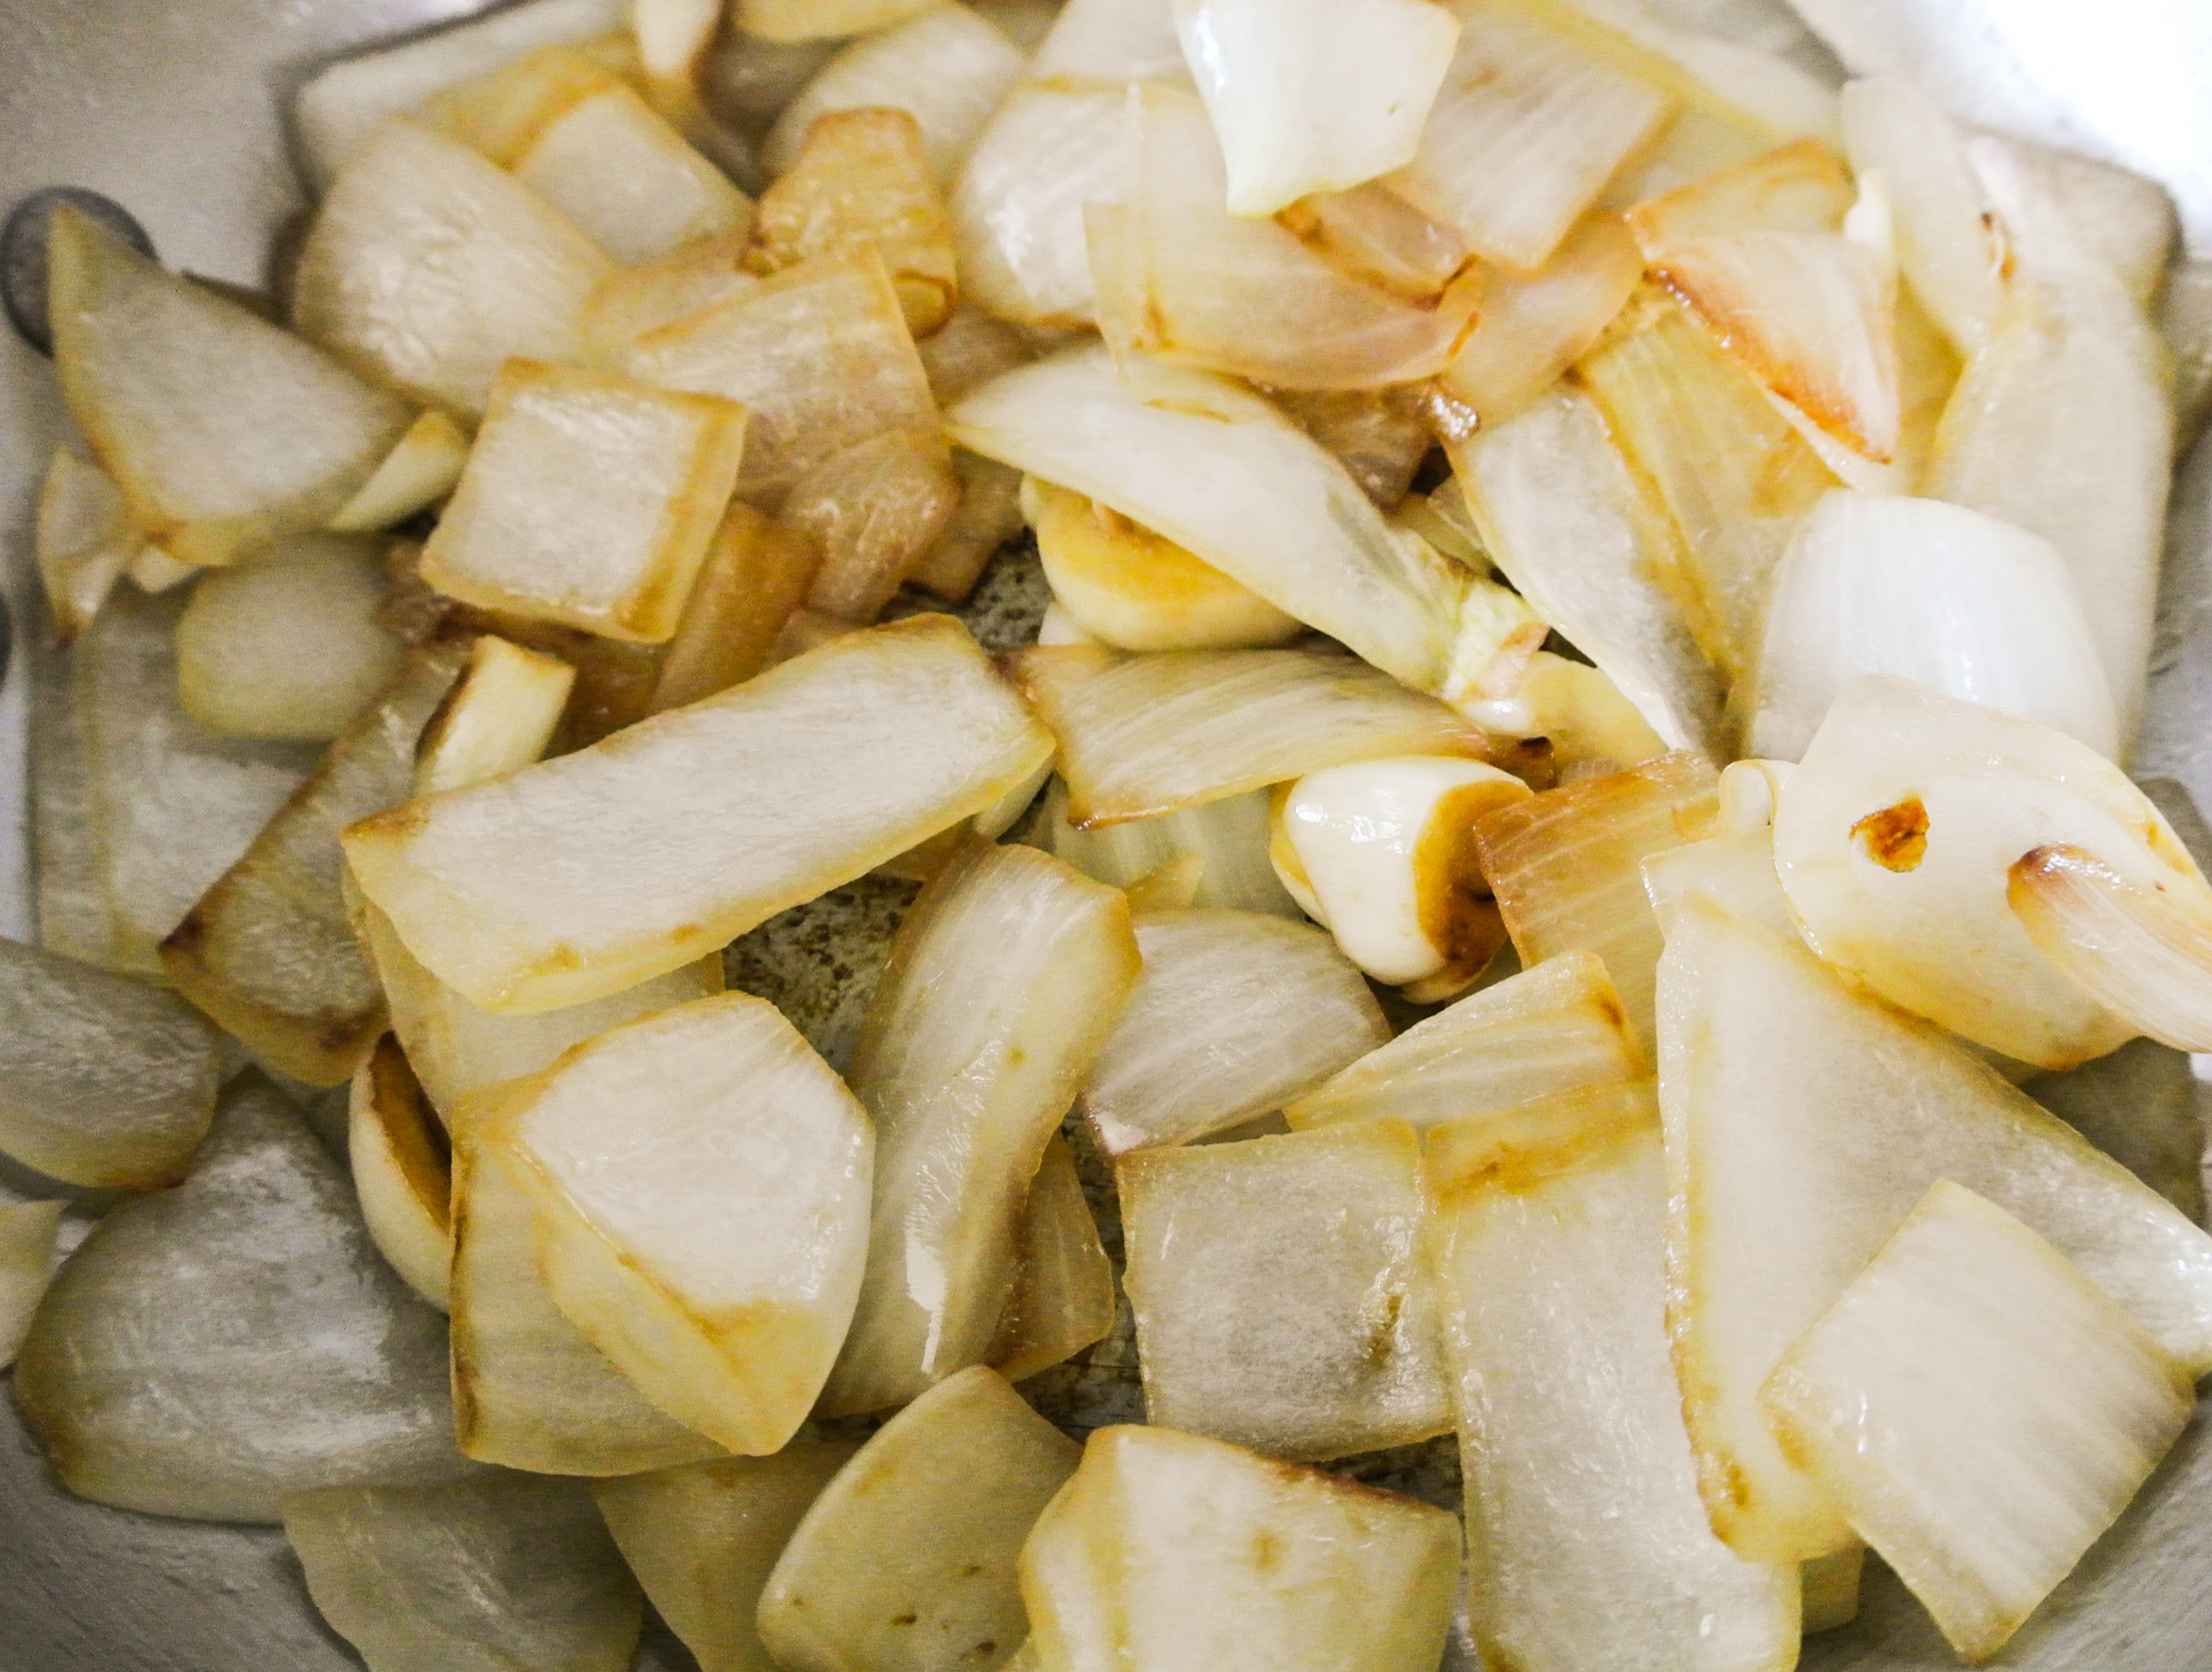
Turns out, in the raw vegan world, “sprouted” can also refer to a plant food that has ballooned in size as a result of extensive soaking in water. This allows an item like a dried bean to take on a cooked consistency, while still being technically raw. The soaked bean is never boiled, sautéed, roasted, or otherwise nuked with heat and is palatable enough to make into a salad sandwich or blend into a creamy hummus. The nutrition nerd that I am, my mind was blown. 🙂 Why didn’t I think of this before?! I’ve always soaked dried beans and then boiled them, or purchased them already cooked in a can.

This learning led me to look into sprouting other seemingly inedible raw foods to avoid the cooking process. A vegan writer that I love operates a blog called Oh She Glows. She soaks rolled oats overnight—recipe is aptly titled “Vegan Overnight Oats”—and they are ready to consume for breakfast the next morning with no cooking required.

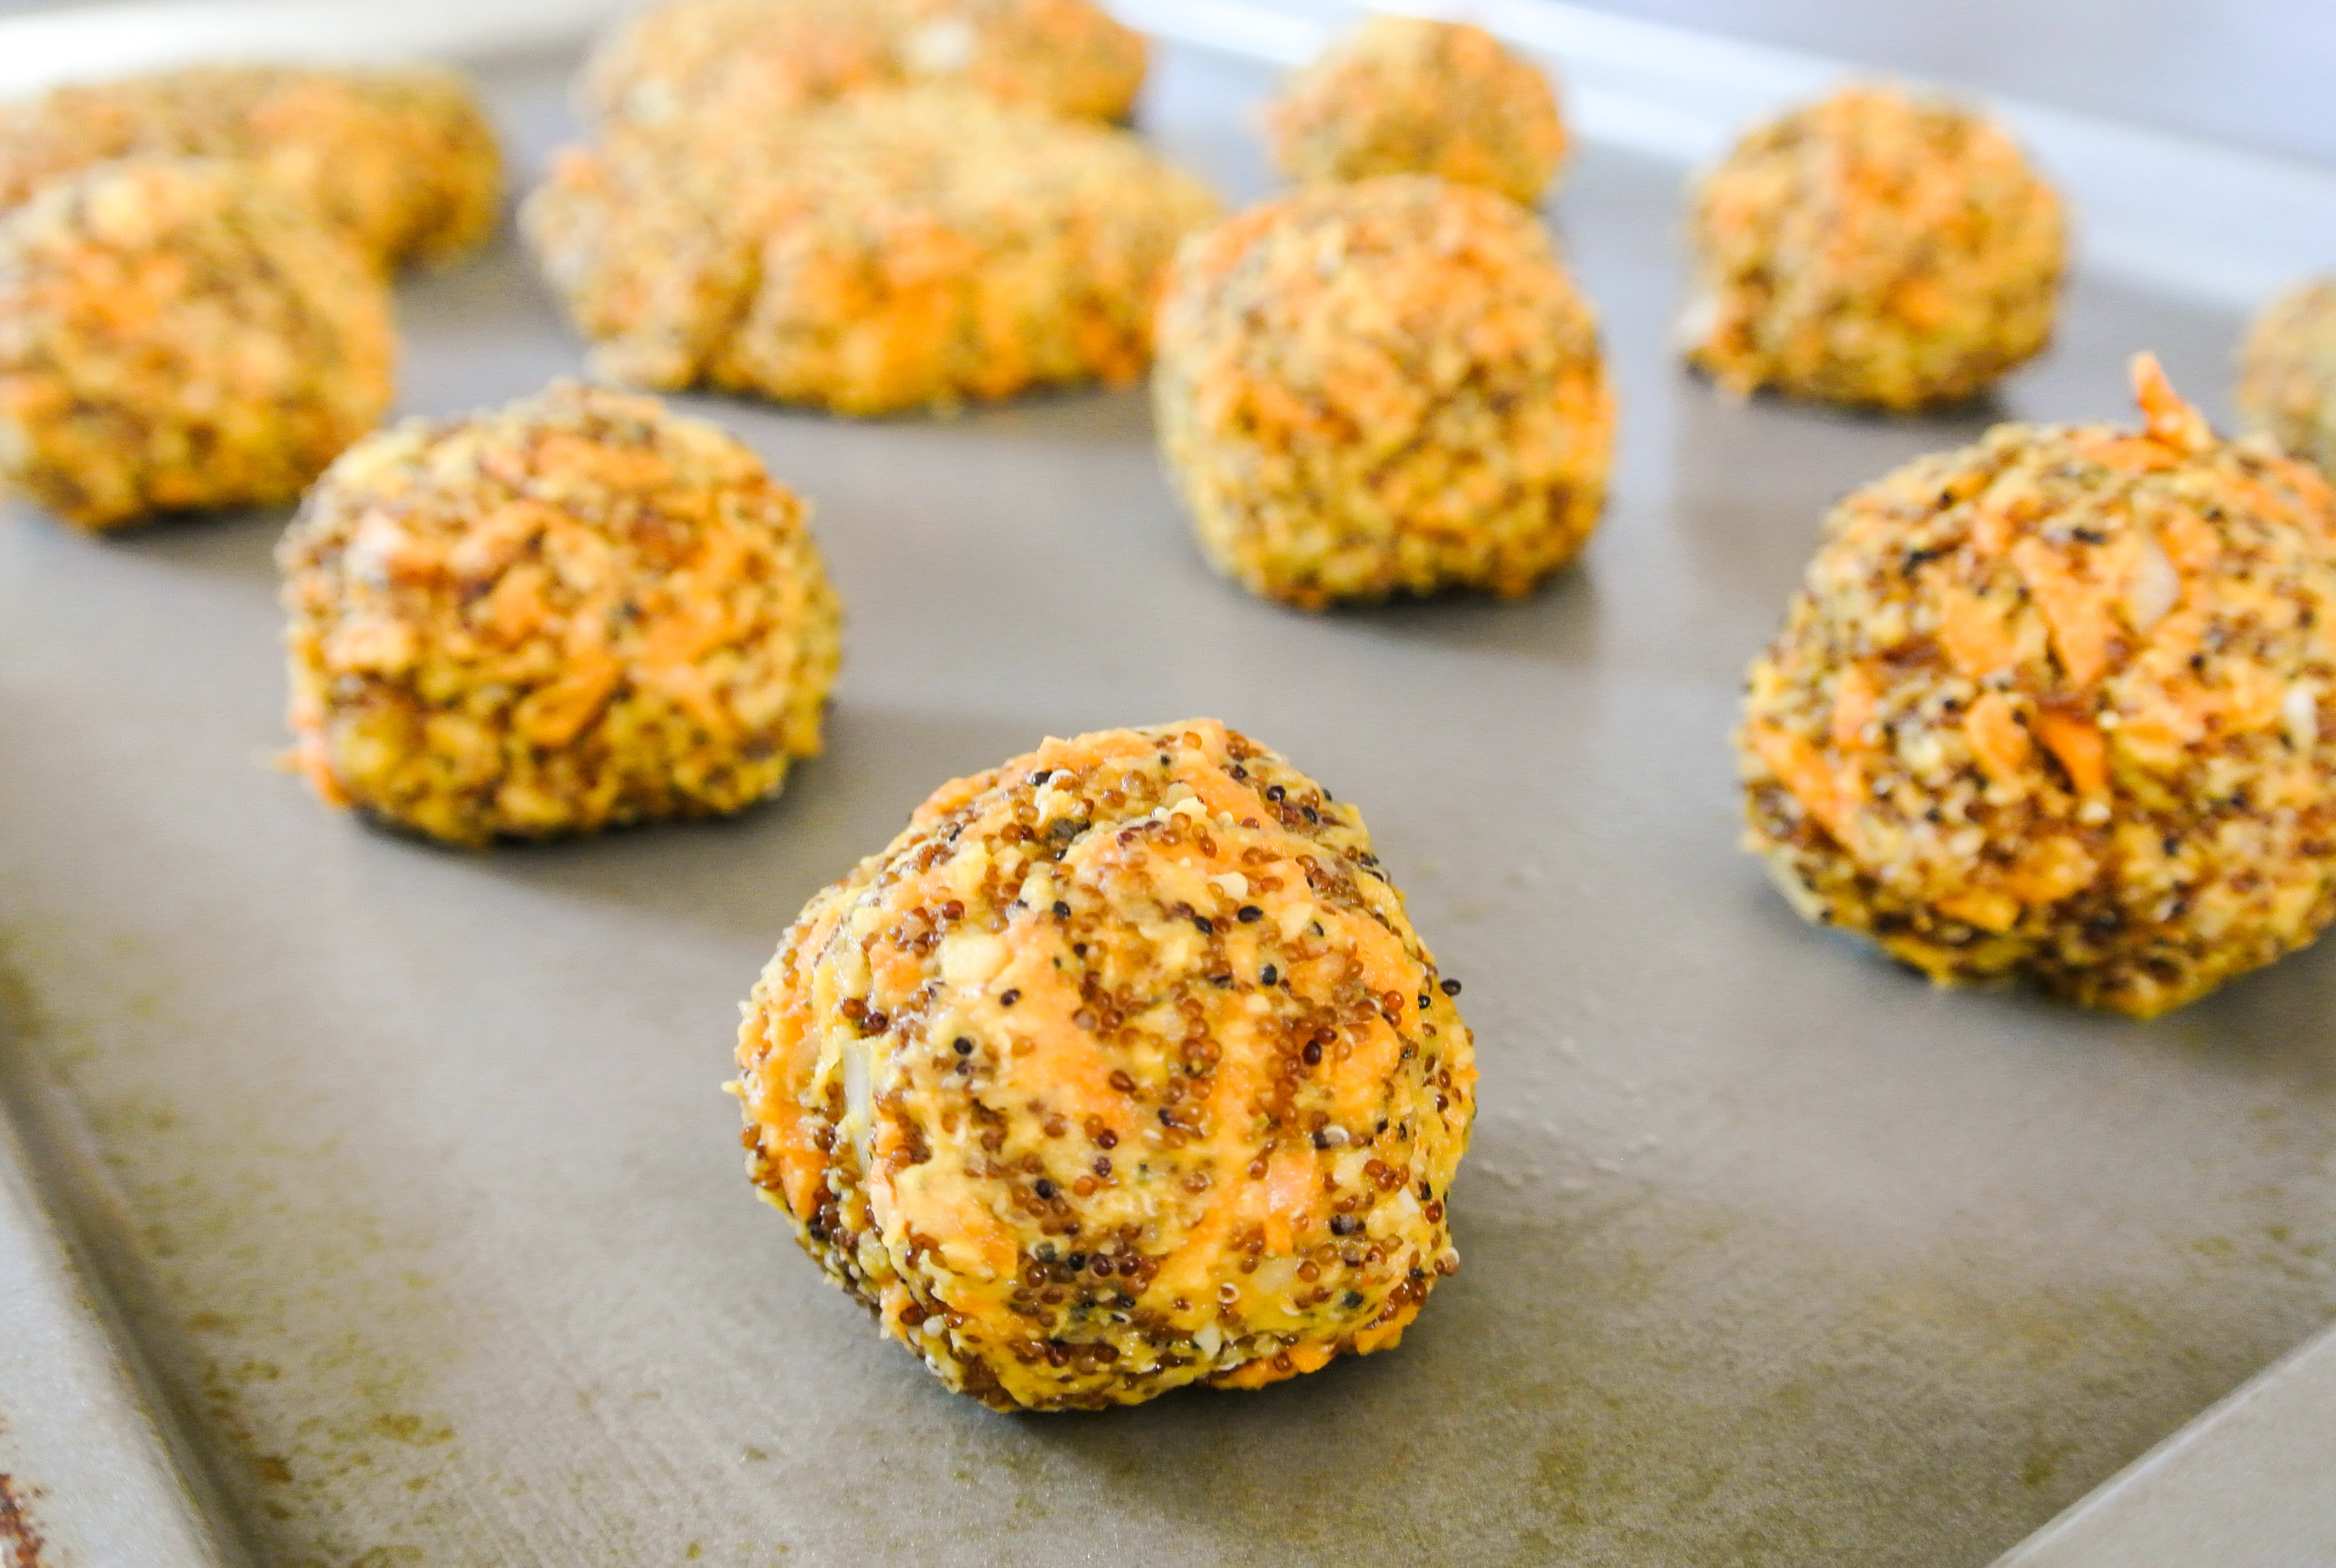
I am now working on revising some of my formulas to incorporate sprouted beans, lentils, or grains where I think they would work just as well as cooked – stay tuned!

Below, enjoy other sights from the 2016 AZVFF. 🙂

IMG_7007

Baby Oliver’s first time at the fest (with Daddy).

IMG_7011

My sister, Petra (in town from Tokyo), with Nolan. A gloomy day, but a pretty park.

IMG_7012

Last year’s vegan pretzel truck made a return!

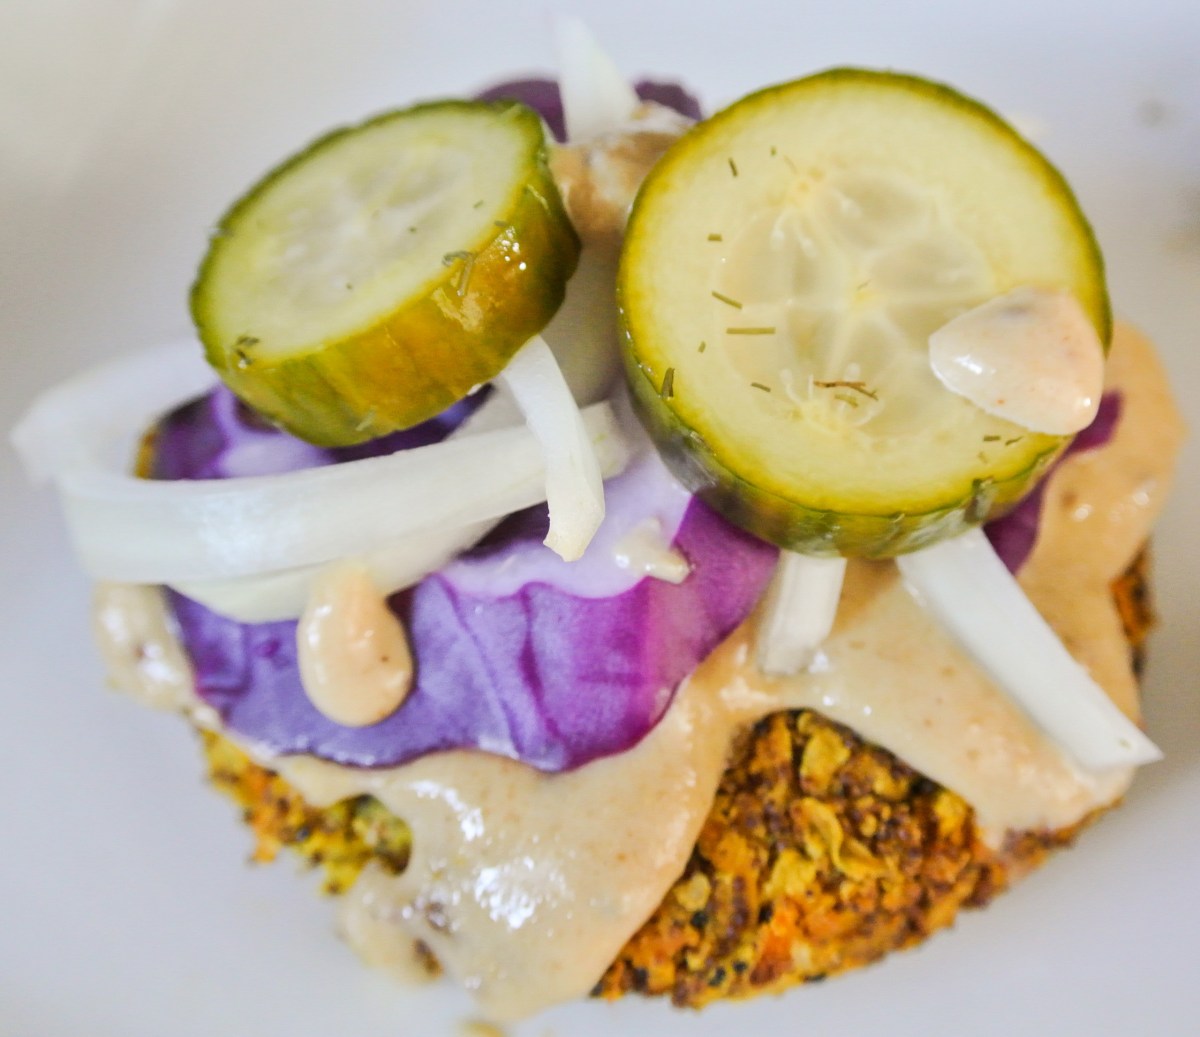
Tried some vegan eats from a new place – delicious!

Advertisement

A Fresh Take on Beans and Rice

Let me start by saying that I LOVE the combination of beans and rice! B&R makes for a filling square meal, packed with protein and fiber. B&R also serves as a versatile base for a number of dishes, from curry to the burrito bowl. Today, I’m using quinoa in place of rice and adding yellow squash for a fresh take on a classic duo.

In Monday’s post, I touted the salad, which I hold responsible for helping me to lose baby weight and keeping me fit in general. While lately I have been consuming salads composed primarily of raw produce, I really enjoy salads with cooked elements, too. My multi-grain salad is among my faves and the formula behind my twist on B&R.

This southwestern cooked-but-cold salad also features raw yellow squash. Yellow squash—sometimes referred to as summer squash—contains high levels of vitamin C, beta carotene, and lutein. It is also an excellent vegan source of iron and folate, which are commonly found in large quantities in animal products. In addition, I find that the texture is more appealing when left raw, leaving more of the nutrients intact.

Enjoy!

FORMULA BASE: MULTI-GRAIN SALAD

Serves 4-6

  • 4 cups water or vegetable stock –> I’m using water as I don’t currently have any stock on hand.
  • 2 cups dry grains –> I’m using white quinoa.
  • 2 cups chopped fruit and/or veggies -> I’m using 1 ½ cups yellow squash, ¼ cup corn, and ¼ cup diced sweet peppers.
  • Dressing of choice or a combination of herbs/spices and salt and pepper to taste –> I’m using the juice of one lime, a splash of olive oil, a splash of agave syrup, and the seasoning combo I use in my chili, in a lesser amount. I sprinkle the spices from one side of the bowl to the other; that’s how I often “measure.” 🙂
  • TODAY’S EXTRA: 1 ½ cups black beans.

Rinse your grains before cooking in order to remove any possible dirt or dust.

If you’re using a variety of grains: Because different grains have different cooking times, you may approach this in two ways: cook them all in the same pot, in stages, or cook them separately and combine them later. If you’re not sure about the grains you are using, research their cook times and even better, experiment in your kitchen.

If you’re using one grain, as I am today, find out how long it takes to cook and get it into your stove top pot or rice cooker. I use a rice cooker because I find that it reduces sticking to the bottom of the pan with just a few occasional stirs, but you can certainly cook your grains in a pot on the stove top, stirring more regularly.

While your grains are cooking, chop your fruits/veggies, drain your beans (in today’s rendition), and prepare your dressing and/or seasonings.

DSC_2561DSC_2559

I usually leave the lid to my rice cooker off for the last few minutes to speed the cooking liquid absorption process. When there is no liquid left, your grains should be done. Place the cooked grains in a bowl and chill in your fridge, uncovered and with occasional stirring to allow heat to escape more easily, until at least room temperature (about 30 minutes). If the grains are hot, they will par-cook your produce, which we want to keep raw. When cool, combine the grains with your other ingredients. Consume cold and store in the fridge for 3-5 days, depending on the shelf life of the produce used.

Protein-Packed Cookie Dough Truffles

Alright guys, today’s formula is something you need to taste to believe. I’m making cookie dough truffles that contain no eggs, no oil, and no flour, and that do contain garbanzo beans. What?! I know, I was skeptical, too, but these are seriously delicious and have the same texture as a traditional cookie dough. Just how does this work?!

First of all, let me start by saying that in my opinion, eating cookie dough is sometimes more satisfying than eating the baked cookies themselves. I know you were thinking the same thing, so I’m glad we got that covered. 🙂

I found this idea for a bean-based cookie dough on Instagram (@bestofvegan, @chiacathy), where I follow a number of vegan cooks, chefs, and bloggers. I immediately captured a screen shot so that I could easily come back to the idea when I was ready to incorporate beans into a dessert. Gotta wrap your head around that one…

Having heard of bakers sneaking black beans into brownies pretty well unnoticeably, I thought that this idea definitely held some merit. With thousands of likes on the picture (which looked just like cookie dough) and the recipe, I just knew that these had to be good. On top of looking and tasting delicious, loaded with beans and nuts, these truffles are a protein-packed sweet snack that is waaaaaaay better for you than that dough that comes in a log in the refrigerated section.

Due to their nutritional benefits and simplicity, these truffles remind me a lot of my power balls, which are always a success. I’ve now mastered many a flourless dough that yields a not-too-sweet, perfectly shaped little bite that pleases my whole family, satisfying their sweet teeth and providing them with a valuable source of protein at the same time.

DSC_2459

So, I took the recipe I found on Instagram and made it my own, into a Fresh Formula of course! I had Travis taste the first truffle and he said he would have liked it to be a tad sweeter, so you’ll see that reflected in the ingredients below. Since I opted for semi-sweet chocolate chips, the sweetness level was perfect for me, but certainly the type of chip you select will make a big difference.

Travis’s overall reaction to the garbanzo bean cookie dough bites? “I am kind of in shock.” He couldn’t believe how yummy such an unexpected combination of ingredients could be. Having made traditional chocolate chip now, I am already fantasizing about chocolate mint, lemon almond, and whole host of other cookie dough flavors. Give these little delights a try!

FORMULA BASE: COOKIE DOUGH TRUFFLES

Yields 16-20 balls

  • 1 ½ cups cooked white beans (e.g. garbanzo, great northern, cannellini, etc.) –> I’m using garbanzo.
  • ½ cup seed or nut butter (nuts/seeds ONLY) –> I’m using peanut.
  • 1/8 cup+ liquid sweetener (e.g. agave syrup, maple syrup, etc.) –> I’m using agave.
  • ½-1 tsp extract (amount depends on flavor intensity) –> I’m using homemade vanilla.
  • Pinch of pink Himalayan sea salt (optional) –> I’m opting out.
  • ½ cup chips (e.g. chocolate, dried fruit, chopped nuts, etc.) –> I’m using mini-semi-sweet chocolate chips (vegan).

Combine all ingredients—except the chips—in a food processor and run until smooth. Transfer dough into a bowl and stir in chips.

DSC_2461

Using a melon baller or teaspoon, form into balls and roll in your hands until smooth.

DSC_2463

Ready to eat immediately! 🙂 Store leftovers in the fridge.

DSC_2465

Last-Minute Hummus, Two Ways

In small quantities, I’m all about raw onions – which promote skin elasticity, among other things. There’s something amazing, however, that happens to onions when they are sautéed or roasted that makes them just absolutely sweet and delicious. Today, I’m caramelizing them to puree in a fresh hummus.

A couple of days ago, I made some semi-last-minute plans to first, have a girlfriend over for some standard catching up and gossiping, and later, to take Nolan to a friend’s house for dinner. Always one to provide or contribute nosh and drinks, I had to think fast. What was in the pantry? The fridge?

With Travis out of town this past weekend, we forewent our typical weekly Bountiful Basket run on Saturday morning (I’m too preggo to lift all that produce at this point!), so I was surprisingly low in plant stock. I do, though, always have beans, onions, and garlic on hand, so I knew that I could throw together a quick appetizer for both of my events. Having bought tortilla chips for an upcoming party we are hosting (blog post to follow), I was ready to make hummus. I can always buy more chips before the weekend. 🙂

Another win found itself in the green onions that I noticed had blossomed to great heights on my windowsill. Remember when I shared my lettuce wrap formula with you? I encouraged you to save your green onion roots in a cup of water and watch them grow back. A month and half later, check out the jungle I have in my kitchen! I instantly thought of using these to garnish my hummus.

DSC_2330There’s nothing new or incredibly exciting to report in today’s post other than that I created two amazing hummus dishes with the sweetness of caramelized onions in less than 20 minutes with ingredients I already had on hand. Check out what you have, get creative, and a scrumptious result just may surprise you. Enjoy!

FORMULA BASE: HUMMUS

  • 2 cups cooked beans or lentils –>  I’m making two mini-batches of hummus, so I’m using a heaping cup of black beans for one and kidney beans for the other.
  • 2 cups cooked vegetables and/or raw herbs (or more beans and lentils, if you want to keep it simple) –>  I’m using ¾ cup coarsely chopped onions and ¼ cup frozen corn in both batches.
  • Approximately 1 tbsp oil, if including roasted/sautéed vegetables –>  I’m using coconut.
  • 2-4 cloves raw or roasted garlic –>  I’m using 2 cloves in each batch.
  • ¼-½ cup citrus juice –>  I’m using the juice of 2 limes in each batch.
  • 1 tbsp tahini (optional) –>  I’m not using it for this particular recipe.
  • Spices, salt, and pepper to taste –>  I’m using 1 tbsp dried cilantro, 1 tsp chili powder, 1 tsp paprika, ½ tsp cumin, and a pinch of pink Himalayan sea salt in each batch.
  • Liquid (water, oil, vegetable stock, vinegar, or more citrus juice) as needed until desired consistency is achieved –>  I’m not using any.
  • SPECIAL ADDITION:  thinly-sliced green onions

If using, peel if necessary and coarsely chop your vegetables. Decide on a cooking method that works best for the particular vegetable(s) you’re using and have at it. Today, I’m sautéing my onions and garlic.

DSC_2332When the veggies are finished, put all ingredients (except the corn and green onions, in today’s rendition) in a food processor and puree until smooth.  Today, I had to repeat this process for the second batch.

DSC_2334

Stir in the corn and garnish with green onions. Chill for an hour and serve as a dip or use as a spread (just like my pesto or creamy dressing formulas).

Store in the fridge for 3-4 days. Hummus has a tendency to dry out and/or thicken the longer it sits. Enjoy!

DSC_2339

Veggie Burgers and Bites

Nearly since he started eating solid food, veggie burgers and bites have been a go-to of mine for getting Nolan to eat vegetables.  Hidden amongst other amazing plants—beans, lentils, grains, and seeds—he has never questioned one of my veggie-packed creations.

DSC_2216

Besides being amazing baby, toddler, and kid food, veggie burgers are delicious and nutritious for everyone.  I’ll admit, I very occasionally miss meat, but I rarely miss meat-based burgers.  To be honest, I feel kind of nauseous thinking about the fat and grease oozing out and soaking the bun (you know how I feel about soggy bread, ya’ll!).  I’ve been making my veggie burgers for my family and friends for years now without complaints…no one even asks for ketchup!

Naturally, the star of a veggie burger is the vegetables.  I finely chop or shred my vegetable(s) of choice and don’t typically precook it as it will cook just enough while baking in the oven.

The other powerhouse in these burgers are whole grains, which I use in many of my formulas, from my curry to multi-grain salad.  The grain of the day for this rendition is kaniwa.  I’m new to kaniwa and thought I would give it a try when I noticed it on sale in bulk next to the quinoa.  A smaller grain that is more like a seed, kaniwa is similar in taste and texture to quinoa.  It contains high levels of flavonoids and makes for an excellent gluten-free substitute that contains B vitamins and other nutrients coveted in whole-grain wheat.  Like many other grains, it is also packed with protein and fiber.

DSC_2203Speaking of protein, I have found that beans or lentils are an excellent “glue” (along with an “egg”) for veggie burgers and bites.  Since I don’t use a chicken egg and breadcrumb combo typical of meat patties and balls, I needed something else to bring the other ingredients together.  I puree my beans or lentils like a hummus before combining them with vegetables, grains, seeds, and spices.

One of my favorite things about this formula is that the burgers can be assembled quickly if you have precooked grains, beans, and lentils on hand.  I often, for instance, cook up a big pot of quinoa when I’m making my super food breakfast muffins knowing that I’ll use the extra quinoa in another dish later on.  Try and plan ahead when you can.

While I typically shape my veggie burger dough into patties or “meat” balls, you could certainly experiment with other shapes if you’re using this formula for entertaining as an appetizer or to entice a picky little eater.  Additionally, the flavor combinations are endless; this formula was born from black beans and quinoa with onions, corn, and bell peppers and today, will be a chickpeas and carrots with onions, garlic, and cumin.  Experiment and enjoy!

FORMULA BASE:  VEGGIE BURGERS

Yields 6 patties (or a varying number of bites)

  • 2 cups finely chopped or shredded raw vegetables  –>  I’m using ¼ of a small yellow onion and 1 ½ cups of shredded carrots.
  • 1 cup cooked whole grains  –>  I’m using kaniwa, cooked in homemade veggie stock.
  • 2 cups cooked beans or lentils  –>  I’m using canned, sodium-free chickpeas.  (Remember, cooking dried beans is ALWAYS healthier, but for some reason, those do not agree with my system.)
  • ¼ cup+ liquid for pureeing beans/lentils (i.e. homemade veggie stock, citrus juice, water, unsweetened and unflavored plant milk, oil, etc.)  –>  I’m using lime juice and a splash of extra virgin olive oil.
  • 1 “egg” (1 tbsp chia or flax seeds + 3 tbsps hot water)  –>  I’m using chia.
  • 2-4 cloves raw garlic  –>  I’m using 3.
  • 2 tsps herbs and spices –>  I’m using 1 tsp cumin, ½ tsp turmeric*, and ½ tsp paprika.
  • Pink Himalayan sea salt and fresh ground pepper to taste  –>  I’m using ½ tsp salt and three grinds pepper.

*What’s this?  See my super food smoothie formula.  🙂

If you need to, cook your grains, beans, and/or lentils first.  Once they are finished, preheat your oven to 350 degrees.  Puree the cooked beans/lentils with the garlic until smooth.  Finely chop or shred your vegetables (peel first if necessary) and use a wooden spoon to combine all ingredients except the egg.

DSC_2205

Massage the egg in with your hands.  A thick dough will form.  It should be sticky enough that all ingredients remain together, but not so sticky that your hands are pulling it apart in trying to form shapes.

Lightly grease a baking sheet and assemble patties and/or bites.

DSC_2207 DSC_2210

Cook times will vary depending on shape and thickness.  It takes me, for example, typically about 40-45 minutes for patties or shapes of comparable thickness, flipping halfway through.  Set a timer for twenty minutes to start, check back often, and flip as necessary until your burgers or bites are of a cooked and palatable consistency.

These burgers are so dense and filling that I eat them bun-less, but you can certainly serve them with your bread of choice.  Top with my creamy salad dressing, pesto, or hummus and fresh vegetables.  Travis particularly loves these with my low-sodium pickles on top.  🙂  If you’re serving bites, use one of these sauces as a flavorful dipper and spear with toothpicks.

DSC_2214

Make Smart Substitutions

DSC_1985

I am excited to share with you that I completed my first Fresh Formula publication outside of my blog.  🙂  I completed an article for the Adjunct Faculty Association spring newsletter, The Connection, and was among only five adjuncts selected to write in the health and wellness section.  Today, I thought I’d share that article with you.

If you’re a regular subscriber of The Fresh Formula, some of the article’s content won’t be new information, but a refresher never hurts.  I also included the recipe for my chocolate peanut butter banana smoothie, which was one of my first blog posts.  Click the link above to see the original article or read the text below:

On my plant-based living blog, The Fresh Formula, I share information and recipes for healthy eating.  One of the easiest changes we can make to our diets is to consider healthier substitutes for the items that we are using regularly.  Below, I have listed some examples of substitutions that I have made in my own kitchen:

  • White flour –> Whole wheat flour, spelt flour, graham flour
  • White granulated sugar –> Turbinado sugar, maple syrup, agave syrup, medjool dates
  • Iodized table salt –> Pink Himalayan sea salt

DSC_1980

  • Nut butters with additives –> Nuts-only nut butters
  • Eggs –> Chia seeds or ground flaxseed (mixed with water), bananas, steamed apple puree
  • Dairy milk –> Unsweetened almond, cashew, coconut, grain, and hemp milks
  • Canned beans –> Dry beans or unsalted canned beans (beans only)
  • White rice –> Brown rice, farro, quinoa, wheat berries, cracked wheat, barley
  • Prepackaged popcorn –> Bulk popping corn (made on the stovetop)

DSC_1982

  • Vegetable or canola oil –> Coconut, avocado, sesame, peanut, and olive oils
  • Boxed/canned stock/broth –> Unsalted homemade stock (can also be used as a flavorful substitute for water when cooking whole grains)

While many of these substitutions are more expensive, some are cheaper than their preservative-laden brethren; I believe that the health benefits are worth it either way.  I adopted a plant-based lifestyle because I had high cholesterol, so eggs, for example, were one of the first items to cross off of my shopping list.  Chia seeds, by contrast, are cholesterol-free sources of omega-3 fatty acids, protein, and calcium.

I have included my irresistible chocolate peanut butter banana smoothie recipe incorporating many of the aforementioned substitutions.  It is so decadent, it can serve as dessert, but is a healthy option for a meal or snack, too!

CHOCOLATE PEANUT BUTTER BANANA SMOOTHIE

Serves 2-3

  • 2 frozen bananas (or fresh bananas and a few ice cubes)
  • ½ cup peanut butter (nuts only)
  • 1 heaping tbsp of unsweetened cocoa powder
  • 1 tbsp chia seeds
  • 1 tbsp ground flaxseed
  • 2 pitted medjool dates
  • Unsweetened almond milk to achieve desired consistency (start with ½ cup)

Combine all ingredients in a blender and puree until silky smooth.

DSC_1505

For more valuable health tips, information on plant-based living and eating, and tons of delicious recipes, visit thefreshformula.com and subscribe for regular updates.  Cheers to good health!

New Formula: Hummus

DSC_1836

I love to browse social media for pictures of what my friends are cookin’ up in the kitchen. While all of my formulas and recipes are originals, I often get inspiration from the culinary creations of others. When it came time to develop a hummus formula, I had one particular image in mind.

A friend of mine from high school posted a picture of a scrumptious vegetarian spread on Facebook a couple of weeks ago. Every dish was mouth-watering, but what really stood out to me was a big bowl of pink hummus, which I read contained beets. This got me thinking about how many different ways hummus can be made unique and delicious.

Hummus is a chickpea-based dip and spread popular in Greek and Middle Eastern cuisines. It is often served as a dip with pita bread, chips, or raw vegetables, or spread in wraps or sandwiches. Hummus is typically made by pureeing cooked chickpeas, lemon juice, and tahini (sesame seed butter). It is an easy dish to make, eat, and bring with if you need quick appetizer for a party or family dinner.

The formula (under Snacks) I’ve developed works with any cooked beans or lentils. You can keep it traditional and simple, or add extras like fresh herbs or vegetables, as was the case with my friend’s beet hummus. I’ve found that a bean/lentil base is what gives hummus its creamy, dip-able texture; any other ingredients you select will blend right in.

As noted in my post about what I consume in a typical day, I try to eat most of my vegetables raw, but I really believe that hummus made with their addition calls for the cooked variety. They puree more smoothly and have a richer flavor, which is essential for competing with beans/lentils, which can be pretty blandly overpowering. Consider some of these alternatives to traditional hummus:

  • Lentil hummus with curry
  • Black bean hummus with lime and cilantro
  • Pinto bean hummus with roasted red peppers
  • Edamame hummus with miso
  • Chickpea hummus with roasted tomatoes

The list goes on…

Today, I’m taking a stab at the beet hummus that caught my eye a few weeks back. As if simplicity and yumminess were not enough, consider the protein power of beans. A question that I am often asked as an almost-vegan is “Where do you get your protein?” These answer is simple: from beans, lentils, nuts, seeds, whole grains, and of course, fruits and vegetables.

Beans in particular:

  • Are high in soluble protein, which can lower cholesterol (high cholesterol is why I adopted plant-based living to start with…see my bio).
  • Contain no cholesterol – woo!
  • Are packed with protein, approximately 7 grams per ½ cup.
  • Can prevent constipation.
  • Are gluten-free diet friendly.
  • Are a source of complex carbohydrates that keep you fuller longer.
  • Are inexpensive, especially compared with other protein sources.
  • Are a powerhouse of vitamins, minerals, and antioxidants.
  • Are super versatile (see my bean salad, chili, and curry formulas to glean ideas).

So, get dippin’…for your health! 🙂

FORMULA BASE: HUMMUS

  • 2 cups cooked beans or lentils –>  I’m using chickpeas.
  • 2 cups cooked vegetables and/or raw herbs (or more beans and lentils, if you want to keep it simple) –>  I’m using 1 ½ cups steamed beets and ½ cup fresh parsley.
  • Approximately 1 tbsp oil, if including roasted vegetables –>  I’m steaming, so I don’t need oil in this case.
  • 2-4 cloves raw or roasted garlic –>  I’m using two raw cloves.
  • ¼-½ cup citrus juice –>  I’m using the juice of one large lemon.
  • 1 tbsp tahini (optional) –>  I’m not using it for this particular recipe.
  • Spices, salt, and pepper to taste –>  I’m using ¾ tsp onion powder, ½ tsp pink Himalayan sea salt, and two turns of fresh cracked black pepper.
  • Liquid (water, oil, vegetable stock, vinegar, or more citrus juice) as needed until desired consistency is achieved –>  I’m using about ¼ cup homemade vegetable stock.

If using, peel if necessary and coarsely chop your vegetables. Decide on a cooking method that works best for the particular vegetable(s) you’re using and have at it. (Steaming will maintain the most nutrients of any cooking method.) I’m steaming my beets in the Baby Bullet steamer that I purchased when Nolan was first born. I knew it would come in handy for more than just baby food! 🙂

DSC_1828When the veggies are finished, put all ingredients in a food processor and puree until smooth. Chill for an hour and serve as a dip or use as a spread (just like my pesto formula).

DSC_1830

Here, I have mine accompanied by some of my favorite bean-based chips (which I can’t wait to try making myself someday).

DSC_1834 Store in the fridge for 3-4 days. Hummus has a tendency to dry out and/or thicken the longer it sits. Enjoy!

The Answer to a Popular Question: What Do You Eat?

DSC_1752

If you’re a vegetarian or even more “extreme,” a vegan, you’ve probably had omnivores ask you questions like these: If you don’t eat meat or cheese, what do you eat? Wait, no eggs either? What’s left to eat? Before I knew what I know about plant-based living, I may have behaved just as incredulously. So, I think it would be helpful to spend a day in the life of a mostly-vegan to see exactly what I eat…and it’s a lot!

As you know, I very occasionally splurge on an item of my former omnivorous diet, be it a bowl of macaroni and cheese (of COURSE that’s what I craved when I was pregnant!) or baklava dripping with honey. On the regular, however, thanks to my getting-better-everyday discipline, these splurges don’t occur. Travis and I pretty strictly refrain from purchasing any animal products for our kitchen. At home, we eat totally vegan, 99% of the time. As I explained in my bio, animal products typically only make their way into our lifestyle when we are out and about, if then.

Parents may also be wondering what my two-year-old eats on a day-to-day basis. As you learned in my post about his second birthday party, he basically eats like we do, although is a little less adventurous with raw vegetables at this stage of the game. Here’s a sample of what I eat in a given day (this list is not exhaustive):

  • Breakfast: unsweetened green tea* and raw fruit:
  • Snacks (2-3 daily): more unsweetened green tea with one or more of the following:
    • raw nuts or seeds
    • dried or raw fruit/veggies
    • homemade trail mix
    • dark chocolate
    • popcorn –> popped on the stove from bulk seeds
    • rice cake with or without nut butter
    • homemade graham crackers
    • homemade hummus with raw veggies, pita bread, etc.
    • super food muffin
  • Lunch: more unsweetened green tea with salad, as is, wrapped in a tortilla, or sandwiched between slices of homemade bread:
  • Dinner: another salad or a cooked or partially cooked plant-based meal:
    • veggie curry
    • chili
    • soup/stew
    • veggie burgers
    • pasta
    • homemade cheese-less pizza
    • veggie stir fry
    • roasted vegetables
  • **Dessert: raw fruit, dark chocolate, or homemade vegan dessert (e.g. cookies, brownies, etc.)

*I drink 3-4 cups of unsweetened green tea daily. I’m sure you’ve heard greatness about this superfood, but just in case you haven’t, you should know that it is jam-packed with antioxidants, has healing properties, and can even help you to lose weight.

**On a regular basis, I don’t eat a traditional dessert like cookies or brownies…not because I don’t like them, just because I can’t always make a dessert as healthy I can a square meal or snack. If I do have a craving for something sweet, I make it myself and you guessed it: it’s vegan and made with smart substitutes (i.e. whole wheat flour and flax seeds for white flour, maple syrup for white granulated sugar, etc.). I will very often, however, have more raw fruit and/or dark chocolate near the end of the day.

DSC_1779

This typical menu may look like a lot or a little bit of food to you. As I’ve mentioned before, because I am eating mostly raw fruits and veggies and whole grains, I can basically eat as much as I want. When I eat a salad, for example, it is often the size of a large mixing bowl, just to give you an idea. The energy level I maintain is such that I am hungry more often and am burning a lot of calories, even when not exercising very intensely. As a result, I eat when I want to eat and as much as I want to, depending on what I plan to consume, of course.

DSC_1764 Here’s a day in Nolan’s life, which you will notice is not much unlike my own:

  • Breakfast: super food muffin and raw fruit and/or togurt (so far, he will eat any fruit in any capacity and the muffins are a great way to hide vegetables that he isn’t willing to try yet)
  • Snacks (2-3 daily): see above (finely chopped/small pieces)
  • Lunch: will sometimes eat the same salad that I make for myself or will munch on cubes of marinated tofu, baked veggie fries, or any one of the cooked meals above
  • Dinner: will sometimes eat another mostly vegetable or bean salad, but is typically always up for a salad made with grains (e.g. quinoa, wheat berries, etc.) or one of the above cooked meals
  • Dessert: raw fruit, every night before bed

DSC_1733

Lately, I’ve been trying to track what I eat so that I can give you the most realistic picture of my lifestyle possible. These are just rough estimates, and amounts certainly vary from day to day based on what is available at the store, what we have in stock, and what’s on our schedule, but here are more of my food stats:

  • I eat 60-70% raw plant-based foods in a day; the rest are partially or fully sautéed, steamed, boiled, or baked.
  • I eat 3-4 different whole grains daily (e.g. farro, quinoa, brown rice, wheat berries, cracked wheat, rolled oats, etc.).
  • I eat 7-10 different fruits daily, in varying amounts.
  • I eat 10-15 different vegetables daily, in varying amounts.
  • I eat 2-3 significant sources of protein daily (e.g. beans, seeds, nuts, etc.).
  • I eat 2-4 significant sources of calcium daily (e.g. plant milk, seeds, green vegetables, etc.).
  • I eat 6-7 times per day, be it snacks or meals.
  • I drink only water, tea, plant milk, or 100% juice with no sugar added (plus alcohol in reasonable amounts, although not daily).
  • I do not count calories, carbs, or fat grams, but do pay attention to amounts of protein, fiber, and iron, vitamins, calcium, etc. and thoroughly read the list of ingredients when I am considering eating something that is packaged.
  • I eat within an hour of waking up and within 90 minutes of going to bed.

DSC_1765

This certainly isn’t the entire picture and life circumstances can change any strong or poor diet at a moment’s notice, but I wanted you to see how fulfilling it can be to subsist primarily on plants. There are endless combinations and methods and I can assure you that there is, definitely, plenty to eat. 🙂

DSC_1758