Last-Minute Hummus, Two Ways

In small quantities, I’m all about raw onions – which promote skin elasticity, among other things. There’s something amazing, however, that happens to onions when they are sautéed or roasted that makes them just absolutely sweet and delicious. Today, I’m caramelizing them to puree in a fresh hummus.

A couple of days ago, I made some semi-last-minute plans to first, have a girlfriend over for some standard catching up and gossiping, and later, to take Nolan to a friend’s house for dinner. Always one to provide or contribute nosh and drinks, I had to think fast. What was in the pantry? The fridge?

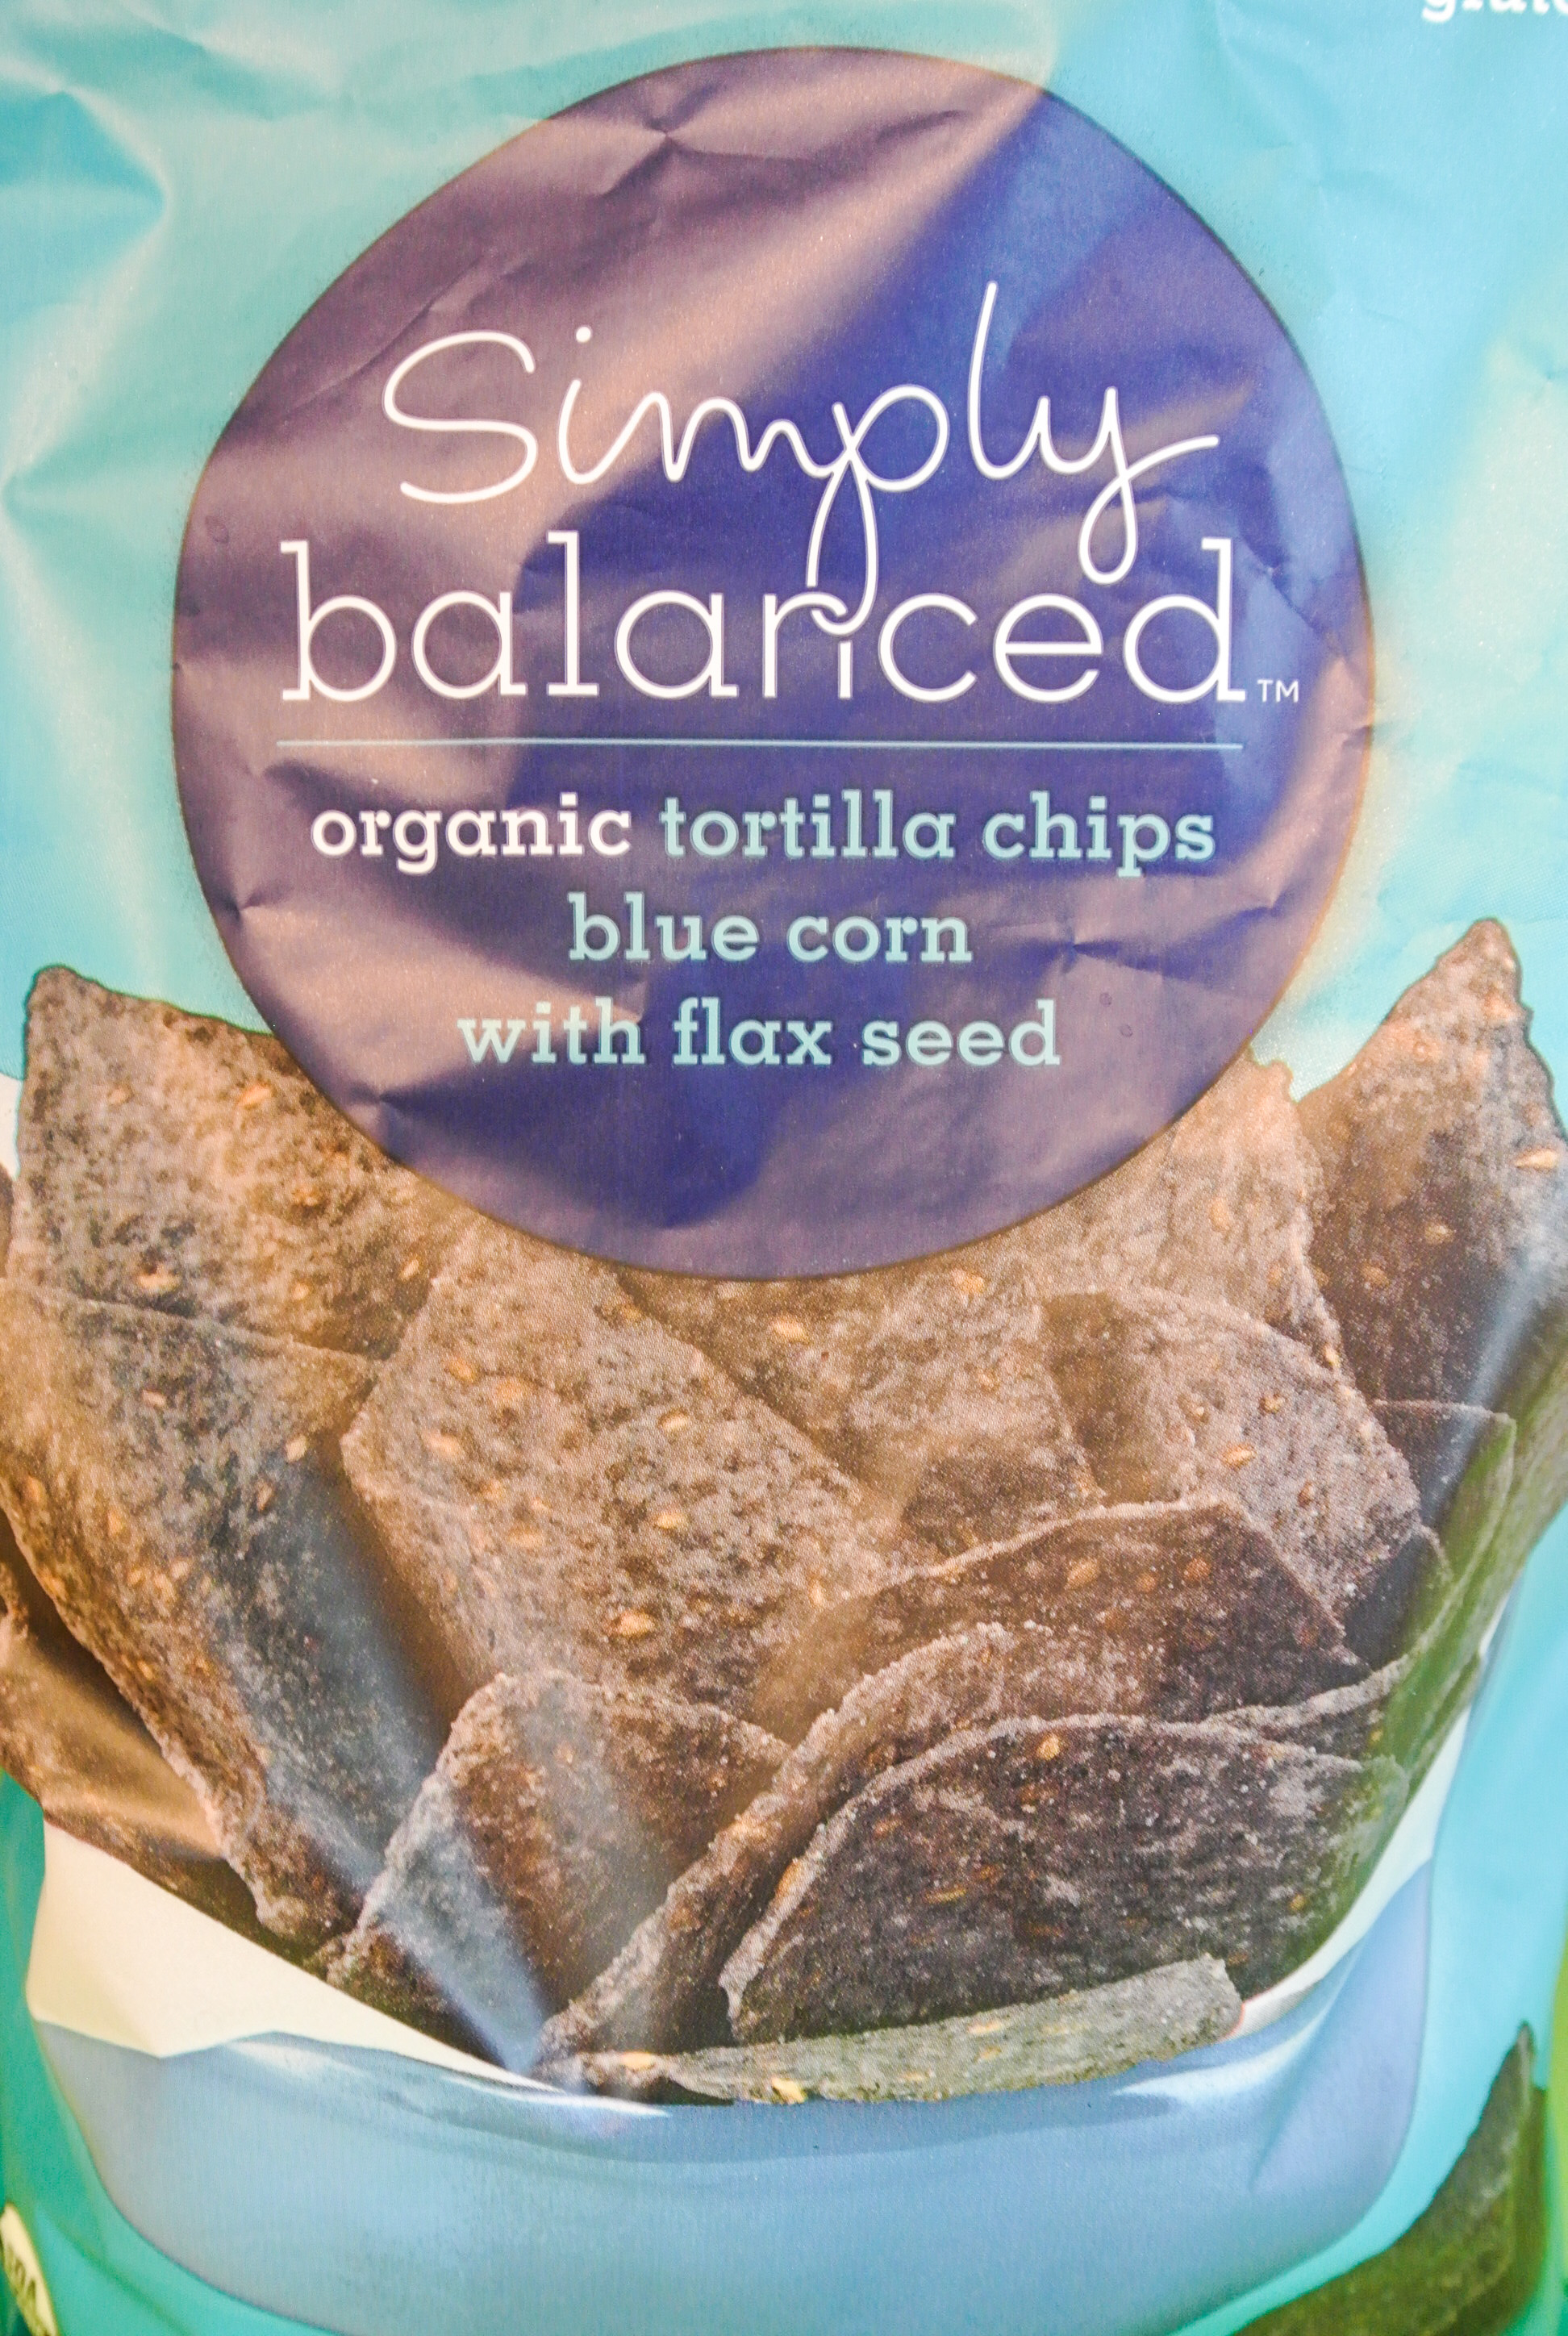
With Travis out of town this past weekend, we forewent our typical weekly Bountiful Basket run on Saturday morning (I’m too preggo to lift all that produce at this point!), so I was surprisingly low in plant stock. I do, though, always have beans, onions, and garlic on hand, so I knew that I could throw together a quick appetizer for both of my events. Having bought tortilla chips for an upcoming party we are hosting (blog post to follow), I was ready to make hummus. I can always buy more chips before the weekend. 🙂

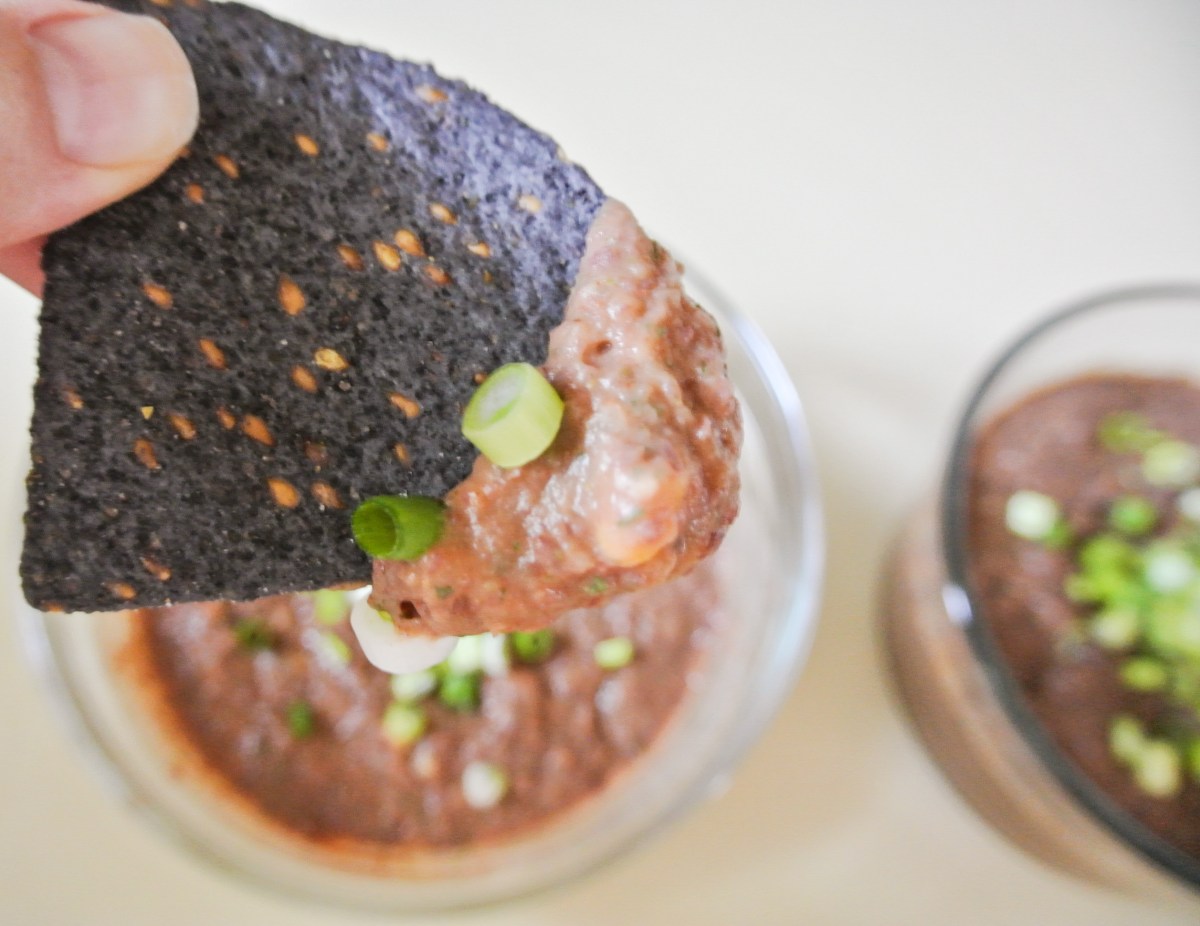
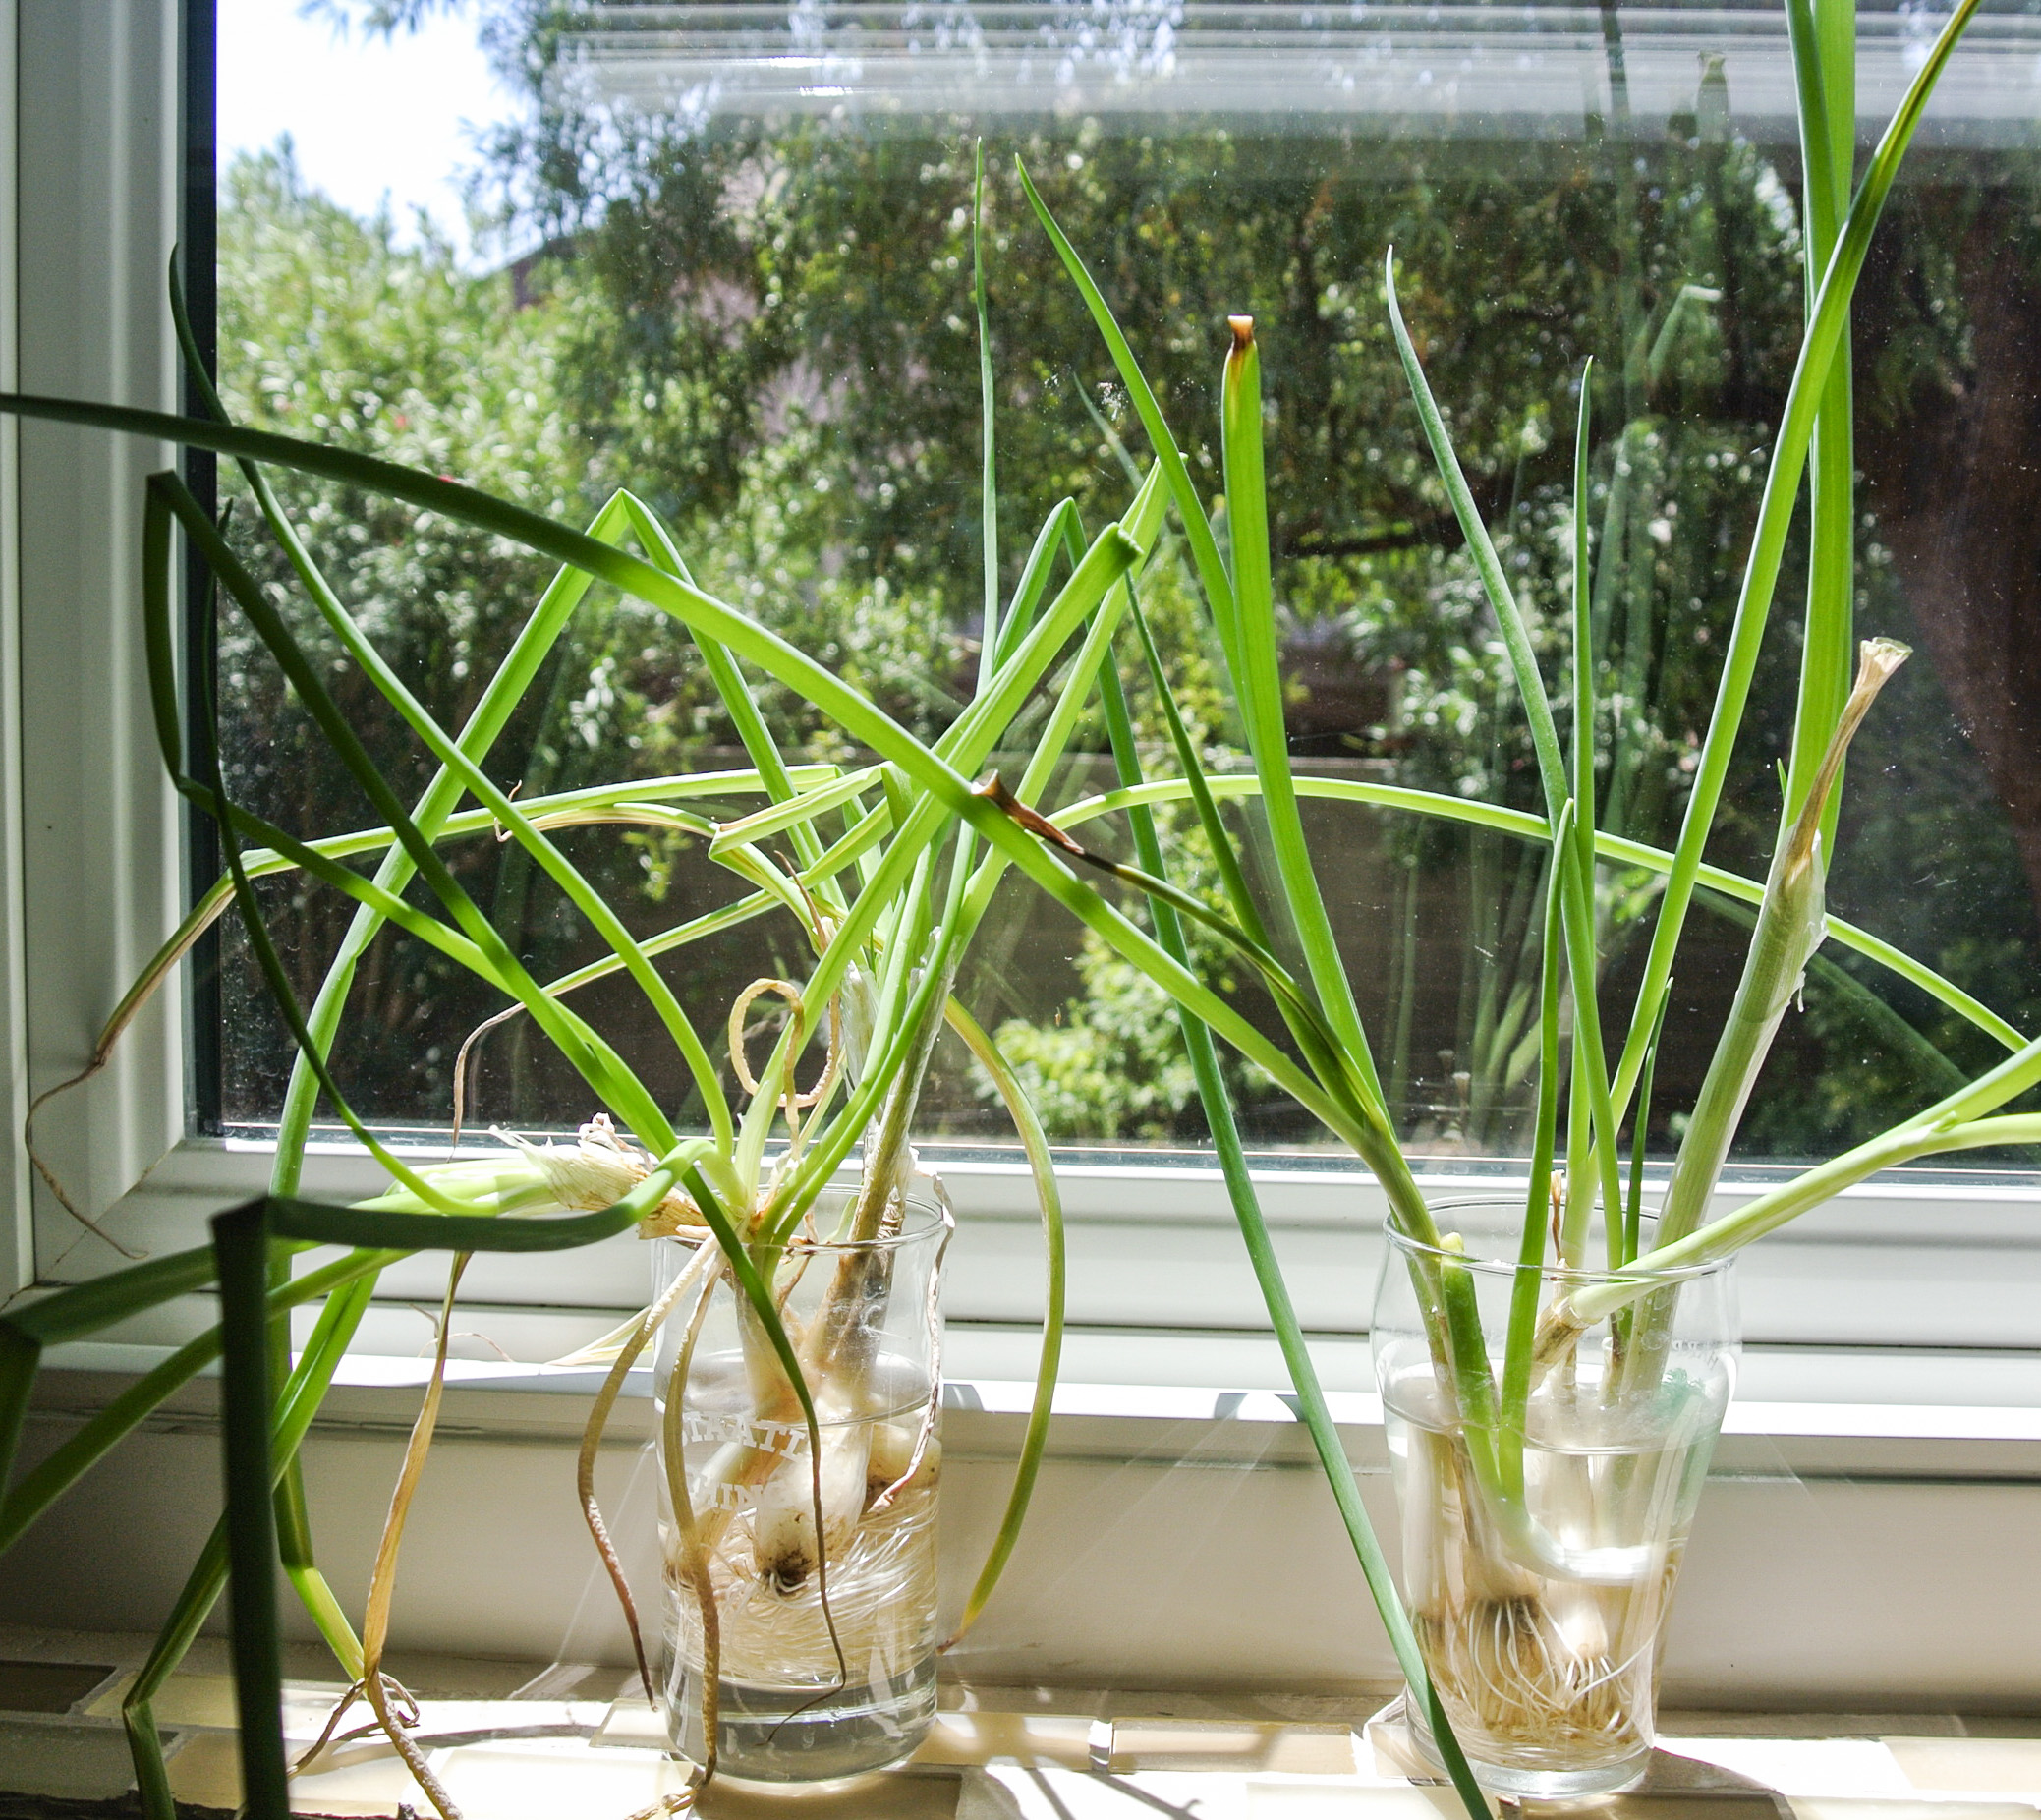
Another win found itself in the green onions that I noticed had blossomed to great heights on my windowsill. Remember when I shared my lettuce wrap formula with you? I encouraged you to save your green onion roots in a cup of water and watch them grow back. A month and half later, check out the jungle I have in my kitchen! I instantly thought of using these to garnish my hummus.

DSC_2330There’s nothing new or incredibly exciting to report in today’s post other than that I created two amazing hummus dishes with the sweetness of caramelized onions in less than 20 minutes with ingredients I already had on hand. Check out what you have, get creative, and a scrumptious result just may surprise you. Enjoy!

FORMULA BASE: HUMMUS

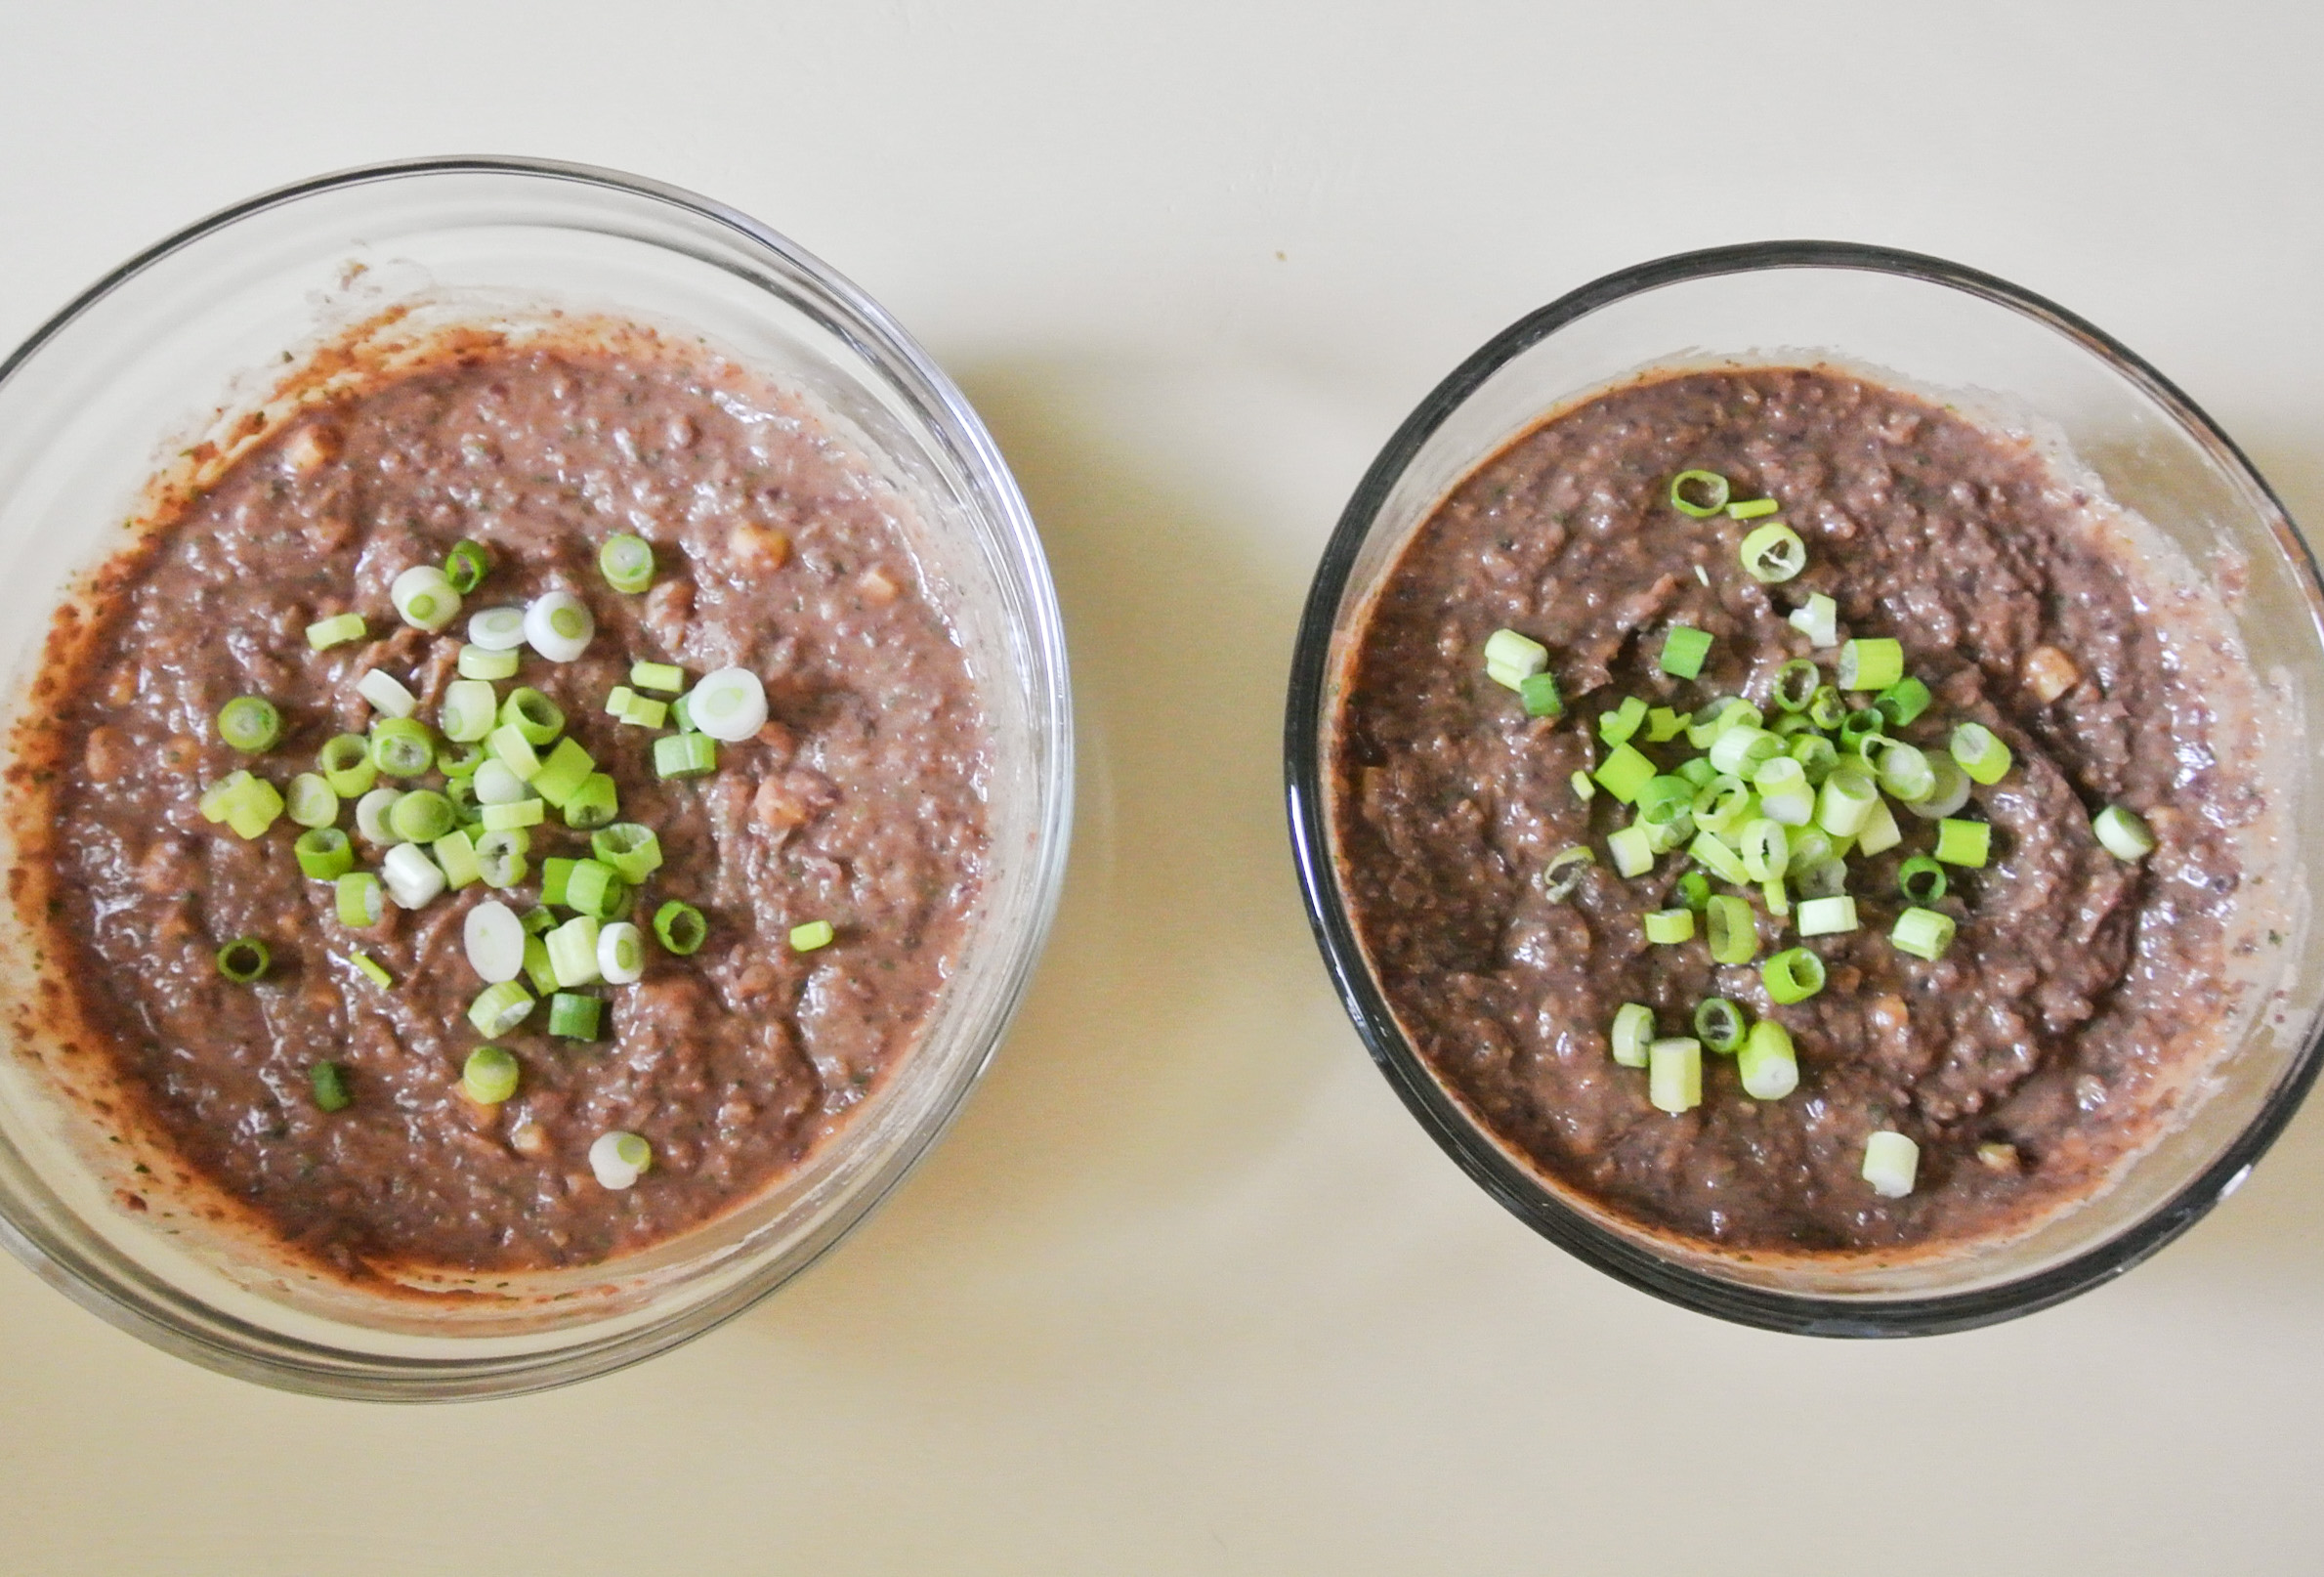
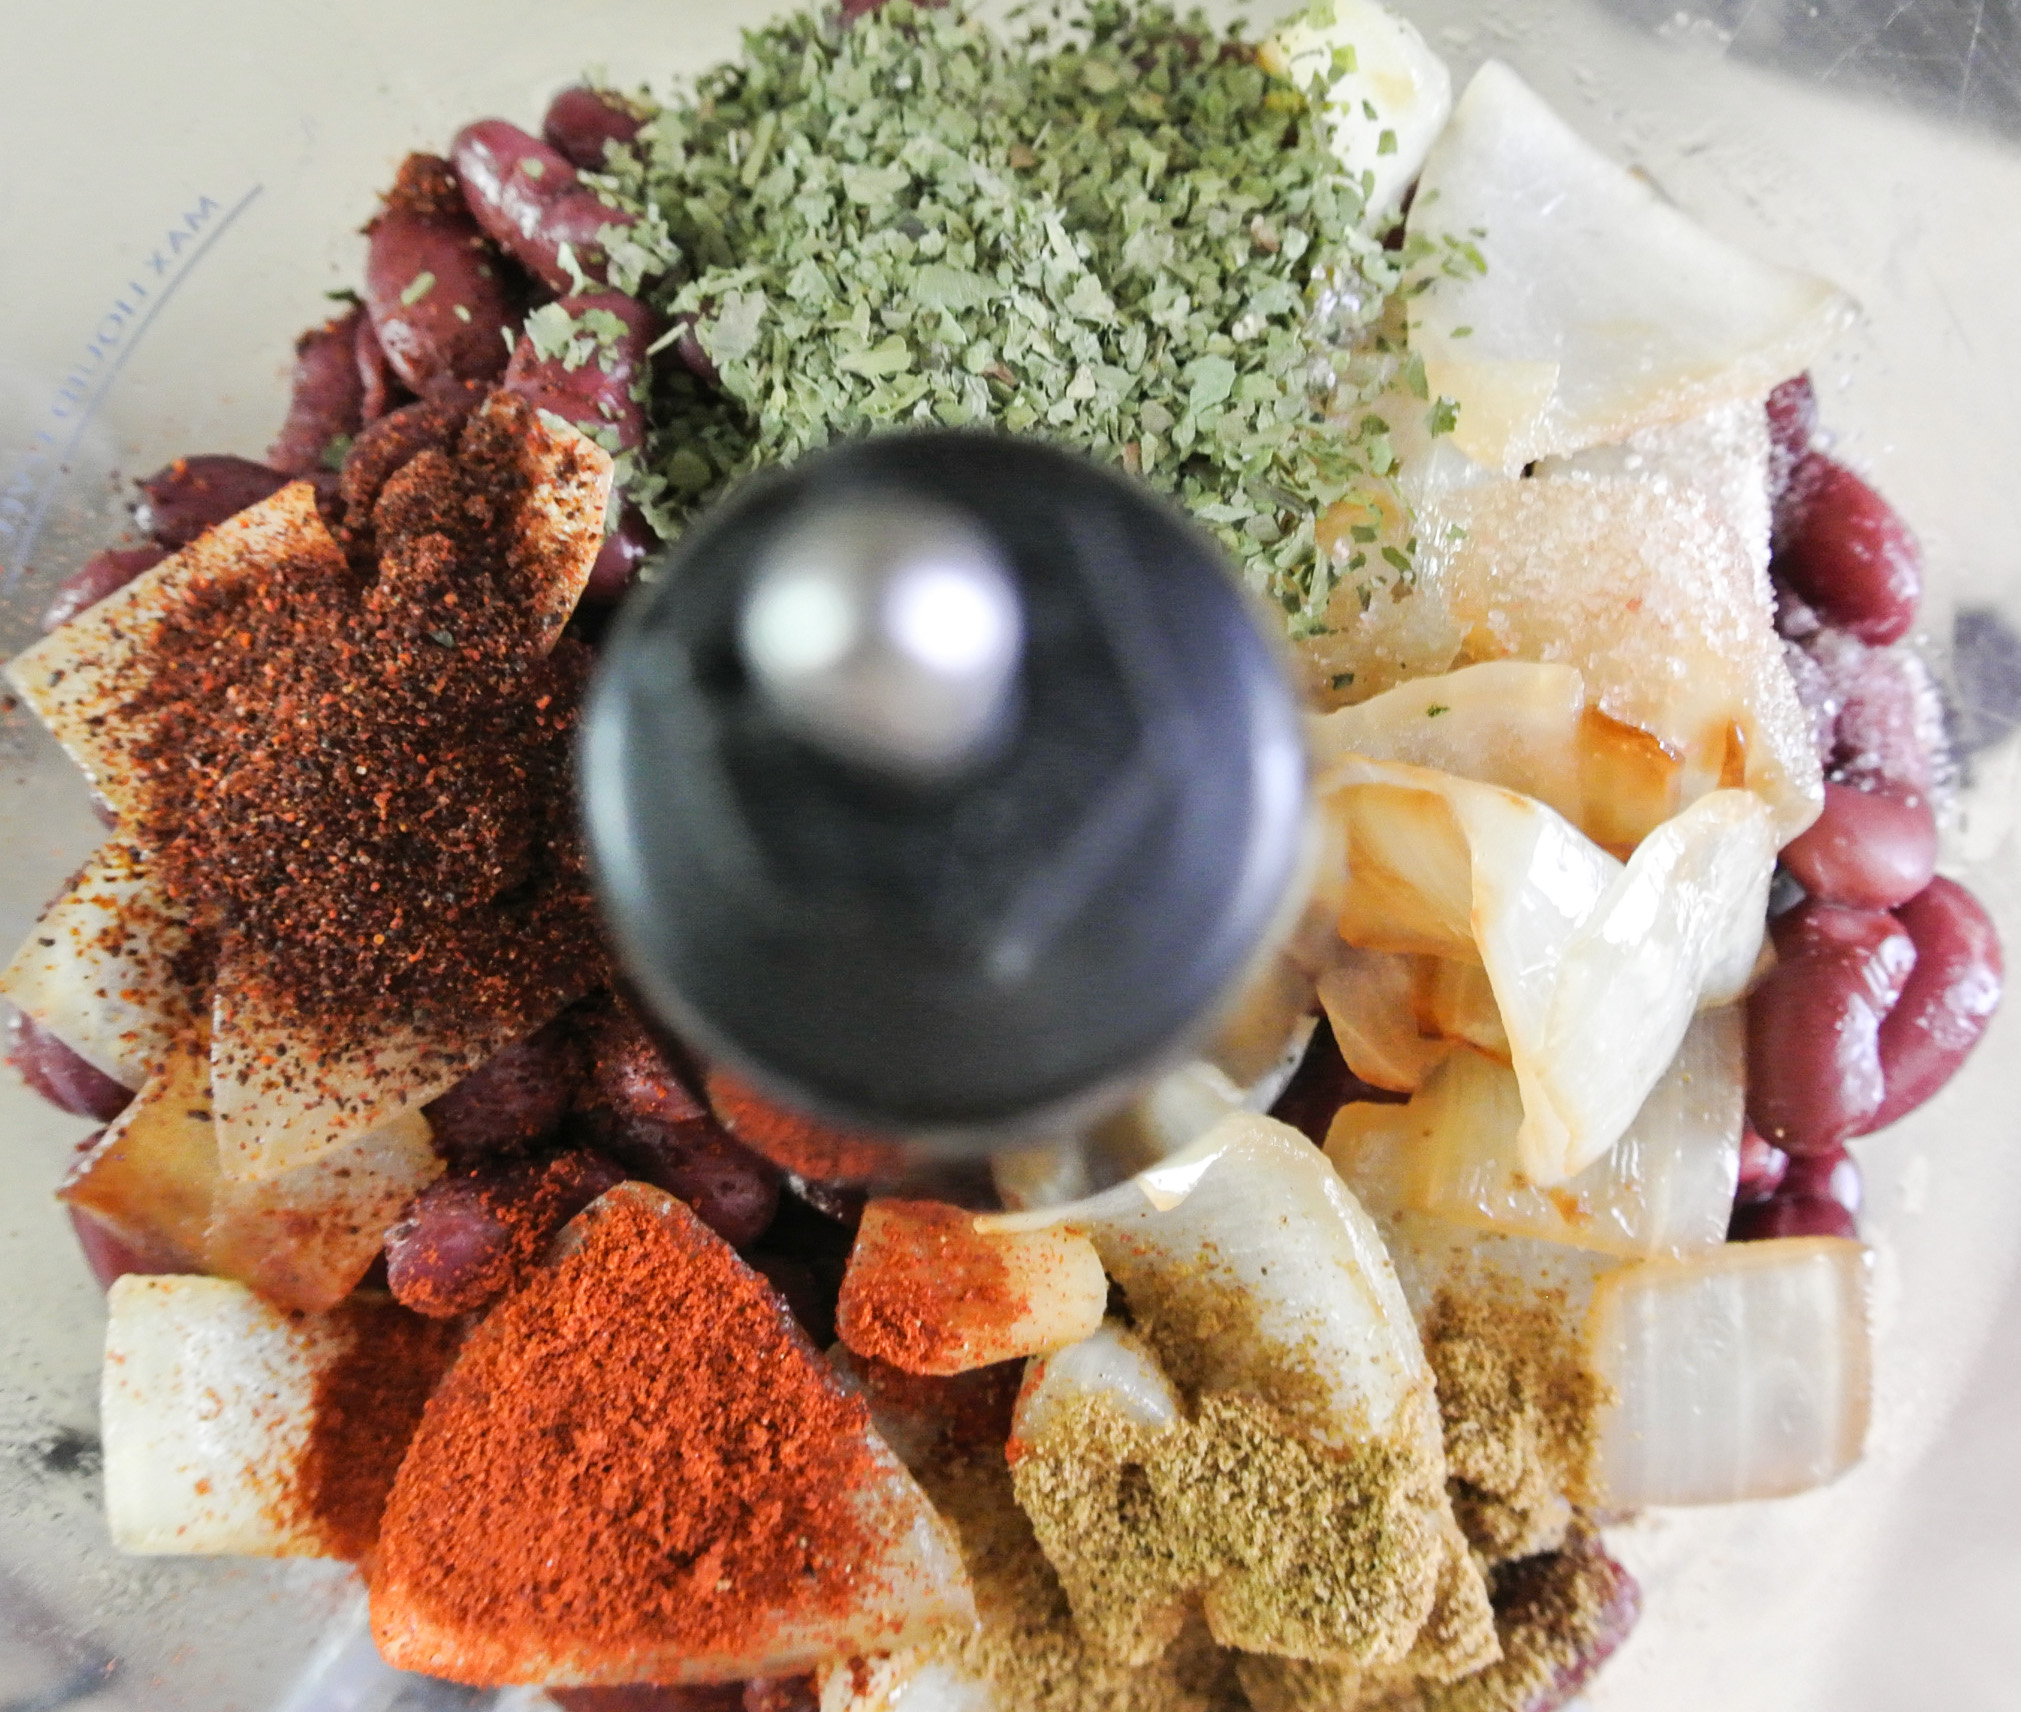
  • 2 cups cooked beans or lentils –>  I’m making two mini-batches of hummus, so I’m using a heaping cup of black beans for one and kidney beans for the other.
  • 2 cups cooked vegetables and/or raw herbs (or more beans and lentils, if you want to keep it simple) –>  I’m using ¾ cup coarsely chopped onions and ¼ cup frozen corn in both batches.
  • Approximately 1 tbsp oil, if including roasted/sautéed vegetables –>  I’m using coconut.
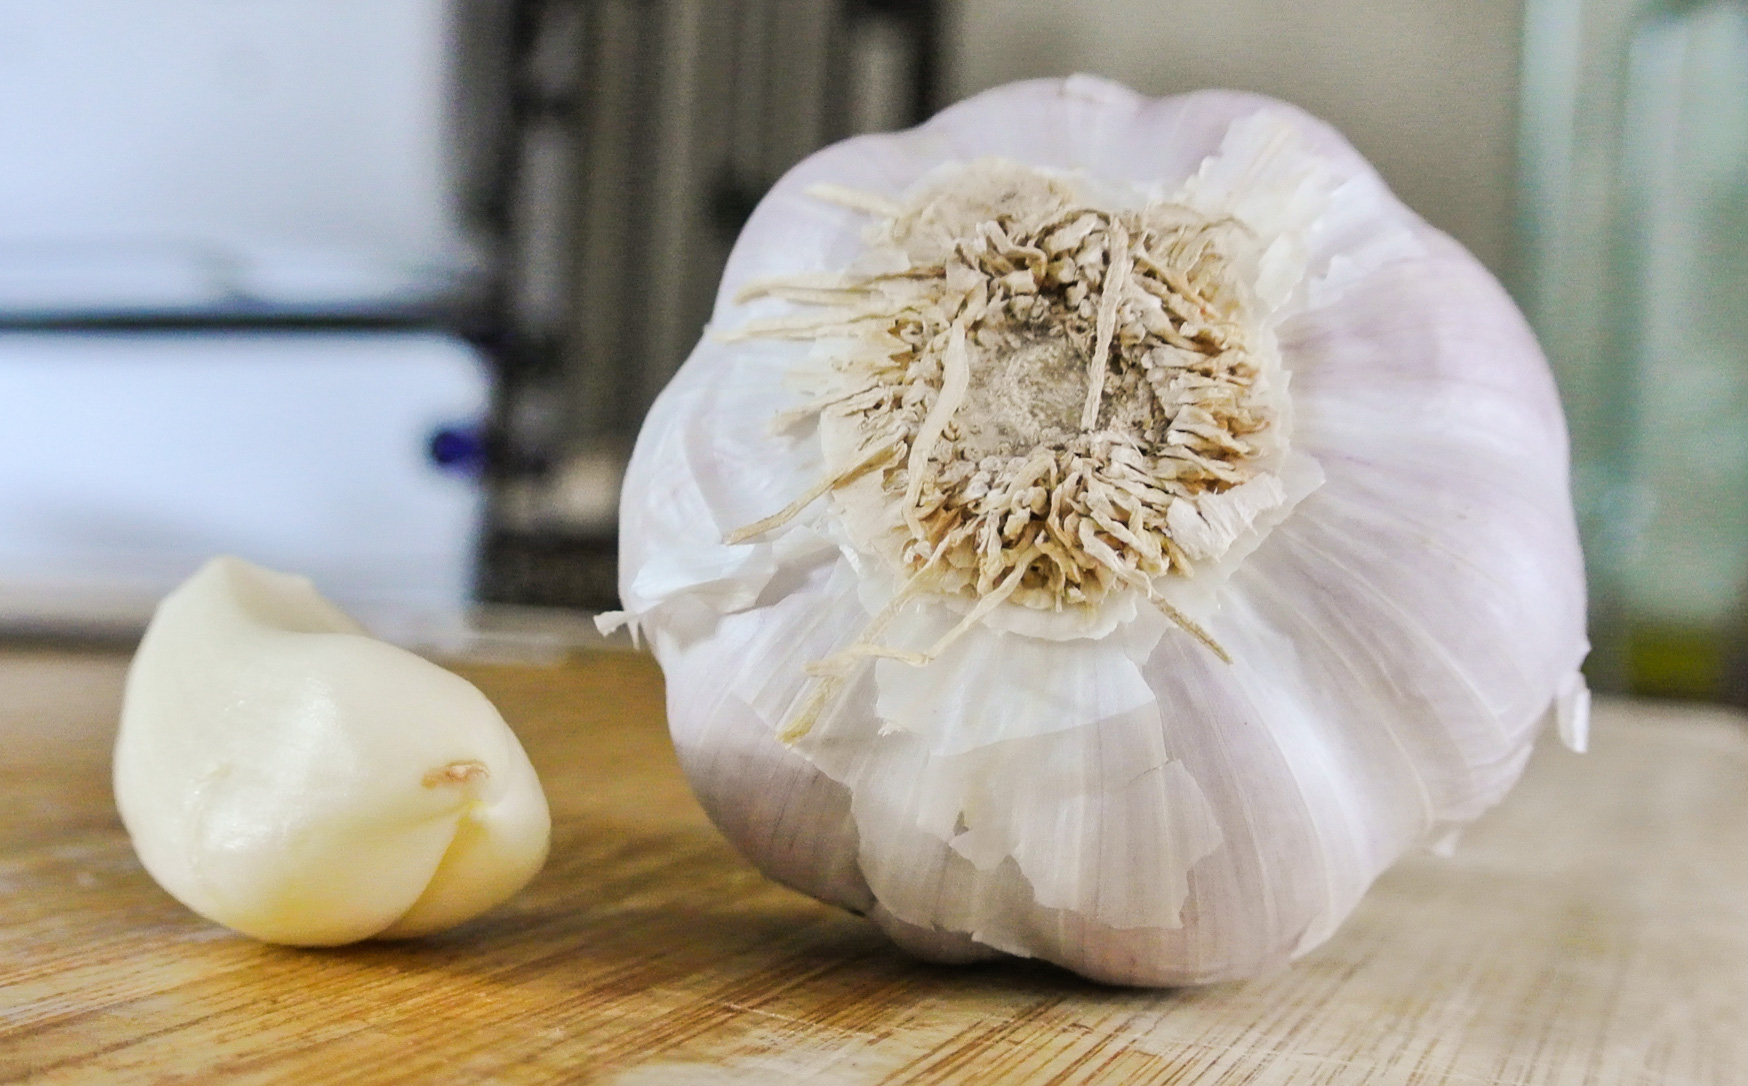
  • 2-4 cloves raw or roasted garlic –>  I’m using 2 cloves in each batch.
  • ¼-½ cup citrus juice –>  I’m using the juice of 2 limes in each batch.
  • 1 tbsp tahini (optional) –>  I’m not using it for this particular recipe.
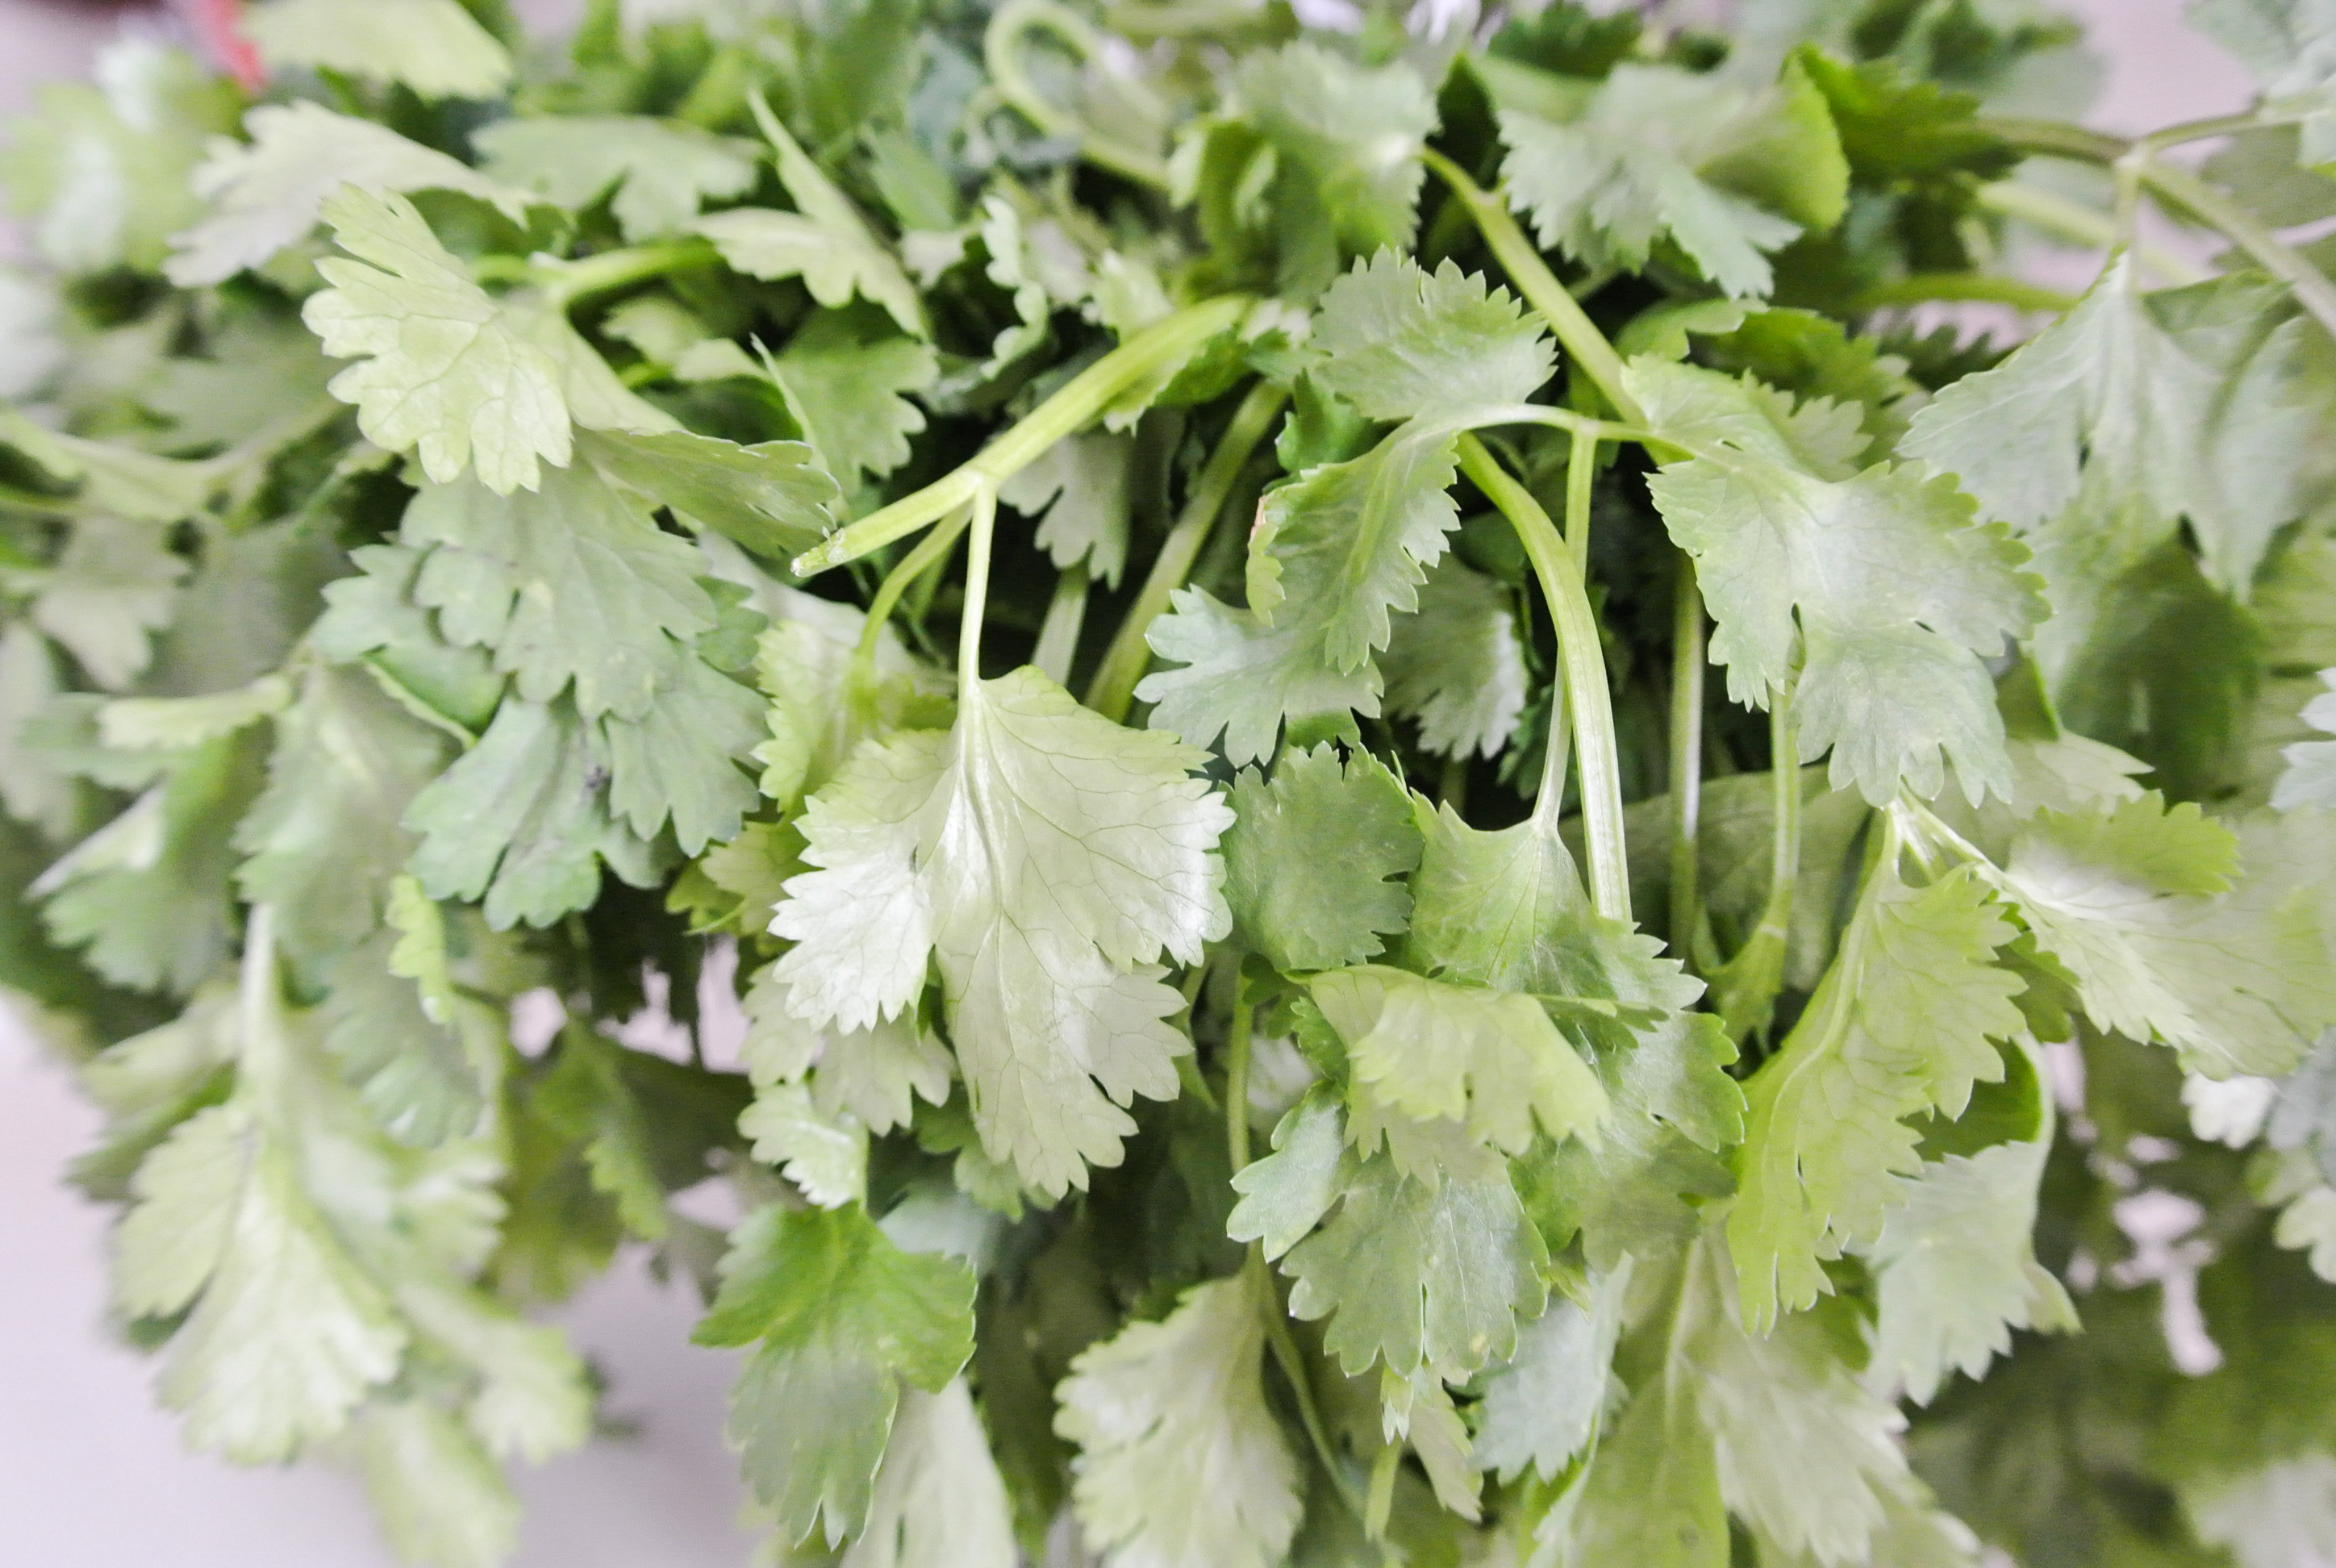
  • Spices, salt, and pepper to taste –>  I’m using 1 tbsp dried cilantro, 1 tsp chili powder, 1 tsp paprika, ½ tsp cumin, and a pinch of pink Himalayan sea salt in each batch.
  • Liquid (water, oil, vegetable stock, vinegar, or more citrus juice) as needed until desired consistency is achieved –>  I’m not using any.
  • SPECIAL ADDITION:  thinly-sliced green onions

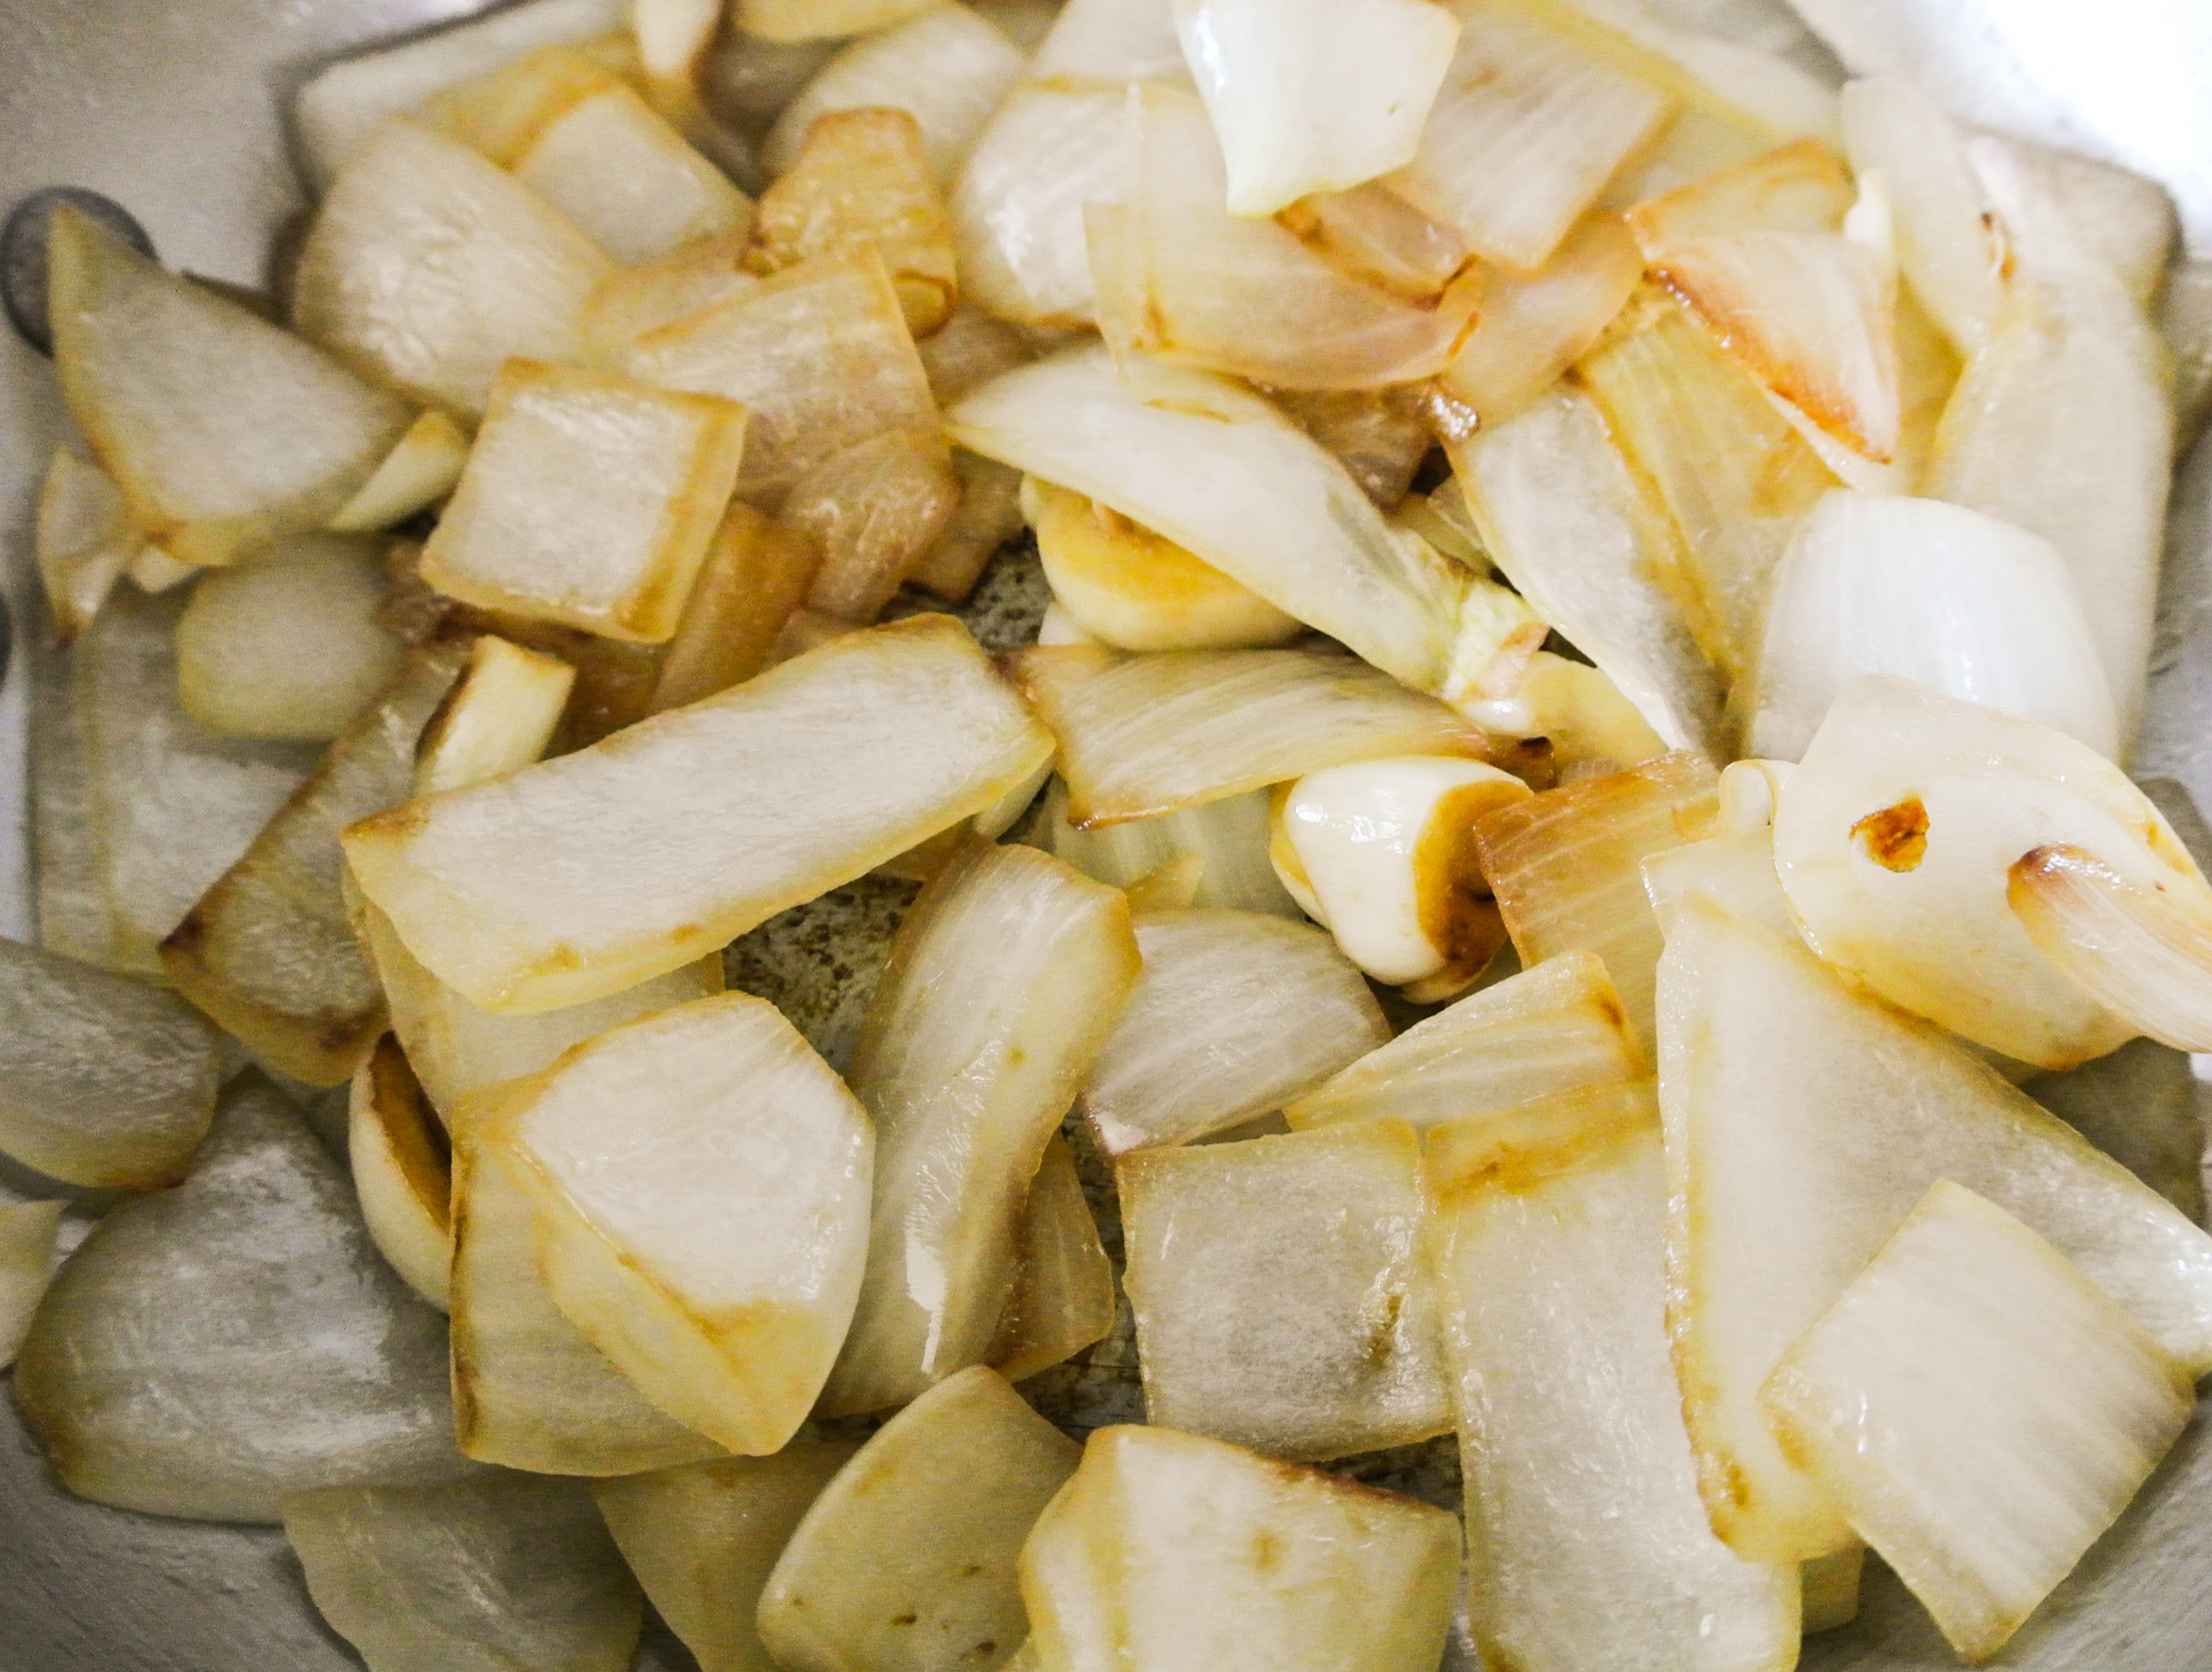
If using, peel if necessary and coarsely chop your vegetables. Decide on a cooking method that works best for the particular vegetable(s) you’re using and have at it. Today, I’m sautéing my onions and garlic.

DSC_2332When the veggies are finished, put all ingredients (except the corn and green onions, in today’s rendition) in a food processor and puree until smooth.  Today, I had to repeat this process for the second batch.

DSC_2334

Stir in the corn and garnish with green onions. Chill for an hour and serve as a dip or use as a spread (just like my pesto or creamy dressing formulas).

Store in the fridge for 3-4 days. Hummus has a tendency to dry out and/or thicken the longer it sits. Enjoy!

DSC_2339

Advertisement

Snack Time: Low-Sodium Pickles

DSC_2129

When our Bountiful Basket yielded pickling cucumbers, I got right online and started to research how to make one of my favorite snacks:  pickles!  Pickles, thankfully, are an easy vegan snack, but they are often loaded with salt and/or sugar.  I’ve pooled my resources to develop a low-sodium, sugar-free pickle formula.

What does a pickling cucumber look like?  There are different varieties, but this one doesn’t look much different than a regular cucumber; it’s just smaller.  In my online research, I found that you can in fact use regular cucumbers to make pickles as well.  Perhaps the process just takes longer?  I’m not sure…

DSC_2118I also found that while many pickle recipes called for distilled white vinegar, there were many that utilized other types of vinegar too.  Thus, I selected apple cider vinegar.  Too much of any acid in the system is not good for the teeth or body, but ACV in particular has some health benefits worth considering.  Among a lengthy list, it can assist in detoxifying the digestive system and even improve your skin and hair.  Not bad!

Finally, below are the ingredients I used to season my pickles.  I prefer a savory pickle over a sweet, so I didn’t use any sugar, but you certainly could.  First, I have dried dill; dill is one of my favorite herbs and it pairs well with acid.  I’m using just a touch of pink Himalayan sea salt and black peppercorns; I like the flavor of both, but not in large quantities.  Finally, one whole clove of garlic and dried minced onions; I put both of these in a lot of savory dishes.  The minced onions have a less abrasive, more concentrated onion flavor than fresh onions, which I sometimes prefer.

DSC_2119Like my jam formula, this one can easily be doubled, tripled, etc. to make pickles in large batches.  In a nutshell, pickles can be made either with a lengthy or quick process, which I found one blogger dubbed “refrigerator pickles.”  That’s what I’m making today because I’m too impatient.  🙂  They are ready with minimal flavor in just 24 hours, but get better with time, and can keep for 3-4 months.

FORMULA BASE:  PICKLES

Makes one 12-ounce jar

  • Pickling cucumbers (enough to nearly fill one mason jar when sliced)
  • ¾ cup water
  • ¼ cup vinegar  –>  I’m using apple cider.
  • 2-3 tsps seasoning of choice (i.e. salt, sweetener, herbs, garlic, etc.) –> I’m using ½ tsp dried minced onions, 1 clove garlic, a few black peppercorns, ¼ tsp pink Himalayan sea salt, and ¼ tsp dried dill.

Slice your cucumbers in disks or long strips.  Place in mason jar, add all ingredients, and shake well to combine.  Store in the fridge for at least 24 hours before snacking.

DSC_2123 DSC_2125 DSC_2127

My Simplest Formula Yet: Salt-Free Salsa

DSC_2028Salsa is an excellent way to eat a mix of great-for-you raw fruits and vegetables. With the combinations being endless, it’s no wonder that so many people love to dip in in front of the TV or at a party or restaurant.

Salsa should be one of those snacks that you don’t feel guilty about. However, if you buy it premade, there’s a chance that it will be loaded with salt. My salsa formula is so simply flavorful that I don’t add any salt at all…not even a pinch.

Why? Chances are, you are eating your salsa with tortilla chips. Most chips are salted to some degree, some more heavily than others. Because consuming minimal salt is a major premise of my plant-based lifestyle, my palate has become very sensitive to foods that are overly salty. Thus, the salt from the chips is enough for me in boosting the flavor of my already delicious salsa.

I really like these chips, from Target’s organic product line. The ingredients are listed as follows: Organic blue corn, organic sunflower oil, organic flax seed, sea salt, lime. (NOTE: If you didn’t already know this, when reading a food’s ingredients on a nutrition label, they are written from greatest to least presence in the product.) True to its name, Simply Balanced, I haven’t found a better premade chip. They are heartier than your average tortilla chip and not too salty, which is perfect for me.

DSC_2029Moving along, today’s formula rendition includes a few fresh ingredients that offer a ton of health benefits. Let’s take a look:

CILNATRO: This common salsa staple is high in antioxidants and prevents oxidation, allowing foods that it is mixed with to stay fresh longer.

DSC_2017GARLIC: There’s a reason that you can buy garlic supplements in the vitamin aisle. Raw garlic, in particular, has anti-inflammatory effects and can lower cholesterol. Those of you who have read up on my health history know how important this is to me!

DSC_2021PINEAPPLE: Pineapple is nutrient-dense rather than energy-dense, meaning that it contains an abundance of nutrients for very few calories (I don’t count, but this may be important to you if you’re trying to lose weight). In one cup of pineapple, for instance, you can consume 40% of the recommended daily Vitamin C intake.

DSC_2023Since we’re on the subject, how do you cut a pineapple? Buying it precut or diced in a can is more expensive. Believe me, breaking it down yourself is easier than you’d expect. I have to give credit to Rachael Ray for my method, which I use for all melon-like fruits and also gourds. Follow these steps to cut a pineapple with ease in minutes:

  1. Lay the pineapple on its side.  Slice off the very bottom and the very top so that you are left with a cylinder that can easily stand flat on the cutting board in its upright position.
  2. While standing upright, take your knife around the perimeter of the pineapple and slice the skin off, top to bottom.  You’re essentially cutting it off in vertical strips until you’ve made it all the way around.
  3. Once the pineapple is peeled, remove the flesh surrounding the core.  While the pineapple is standing upright, put your knife close to the edge of the core and slice downward, effectively removing nearly half of the pineapple.  Repeat this process all around the core until you’ve done it a total of four times (the pieces will be uneven in size).  Your core should appear as a long, thin rectangle when all of the flesh is removed.
  4. Chop your pineapple according to its projected usage and discard the core.  If you happen to own a powerful juicer, you can juice it instead.

On to my simple salsa! Don’t like onions? Don’t use them and compensate with extra fruit and/or vegetables. Play around with different combinations, using your herb of choice as your guide. I’m envisioning a delicious cucumber mint with pita chips or strawberry basil atop crostini…Yum…

Serve as an appetizer or snack, or use it in a dish like my layered burrito bowl. Enjoy!

FORMULA BASE: SALSA

  • 4 cups diced raw fruit and/or vegetables –>  I’m using 2 ½ cups vine ripe tomatoes and 1 ½ cups pineapple.
  • ½ of a medium onion –>  I’m using yellow.
  • 1 large clove of garlic, minced
  • ½ cup finely chopped fresh herbs –>  I’m using cilantro.
  • ¼ cup acid (vinegar or citrus juice*) –>  I’m using the juice of two small limes.
  • Seasoning to taste –>  I’m using a dusting of chili powder, paprika, and cumin.

*Whenever possible, juice whole citrus fruits yourself. 🙂

DSC_2018

Chop your onion and garlic and get them soaking in your acid, just as you did in preparing my bean salad formula. The acidity will help to break them down so that their flavors are less abrasive and don’t monopolize the salsa.

Dice/chop all remaining ingredients, season, and stir. When it comes to salsa, I don’t typically measure seasonings. Once I have all of my produce in the bowl, I lightly sprinkle it with each of my preferred seasonings (if any) from one end of the bowl to another and that seems to work out nicely.

DSC_2024

Serve immediately or store in the fridge for a few days.

DSC_2026

New Formula: Simple Marinara Sauce

DSC_1913

On my mom’s side of the family, I grew up eating authentic Italian cuisine. Buying premade, jarred sauce was sacrilege, and I am not going to be the one to disappoint.

I have clear memories of my mom’s red sauce bubbling away on the stovetop for hours before topping a pasta or filling up a lasagna. Her traditional sauce includes ground beef and although it is delicious, even as a child, I remember picking out the meat.

Today, I have my own totally vegetarian marinara recipe. When I met my husband of nearly four years, he expressed to me that he prefers his Italian cuisine without meat, too. I knew we were meant to be. 🙂 While he likes a sauce that is tarter, I have come to enjoy it best on the sweet side, as my mother adds a little bit of sugar when she’s making hers.

I used to make this recipe with canned tomatoes, simply because it’s quicker and will yield a slightly smoother sauce. After reading an article about the most dangerous foods you can put in your body and seeing canned tomatoes on the list, I have since opted for the path of more resistance. What’s so bad about canned tomatoes? Cans are lined with BPA, and while some canned products do not contain enough acid to leach very much of this chemical into the food itself, tomatoes do and they will.

DSC_1905

DSC_1907

So, I now puree my own tomatoes and the cooking process takes me a little longer. What’s the expression…Nothing that is worthwhile is easy? Something like that. Trust me, your sauce will be delicious and even though you are really really really starting from scratch, this recipe is still quite simple and will be ready in no time. Use this sauce with your favorite Italian dish or try it out with my vegan pizza. Enjoy!

FORMULA BASE: MARINARA SAUCE*

  • 1 ½ pounds tomatoes –> I’m using a combination of vine ripe and roma.
  • ½ of a small yellow or white onion –> I’m using yellow.
  • 3 cloves garlic
  • 2 tbsp sweetener (optional) –> I’m using turbinado sugar.
  • 1 ½ tbsp dried fennel fronds (or a small handful of fresh) –> I’m using dried.
  • 1 tbsp dried basil (or a small handful of fresh) –> I’m using fresh.
  • 1 tbsp dried oregano (or a small handful of fresh) –> I’m using fresh.
  • 1 bay leaf
  • Salt and pepper to taste

*Today, I’m making a double recipe, so don’t be discouraged that the amounts listed above don’t match the pictures. I’m just doubling everything. 🙂

Thoroughly wash your vegetables so that you can save the scraps for homemade veggie stock. Coarsely chop your tomatoes and onion. Throw them into a blender with your garlic, herbs (not the bay leaf), and seasoning and puree until smooth.

DSC_1908

DSC_1909

Pour into a pot on the stove, add your bay leaf, and simmer on medium low for 1-2 hours, or until your sauce reduces by approximately one third.

When I am just over the halfway mark, depending on what I’m going to be using the sauce for, I finely dice vegetables that I don’t anticipate my two-year-old being eager to eat and throw them in the pot. Today, I’m sneaking in some asparagus.

DSC_1910

I’ve pulled one over on Nolan a few times with great success. 🙂 You can skip this step if you want to keep this recipe extra simple.

Remove the bay leaf and your sauce is ready!

DSC_1912

If you’re feeling adventurous and like to plan ahead, quadruple the recipe and freeze in containers the perfect size for a box of pasta. When “there’s nothing to eat” strikes, you’re ready for a quick pasta dinner!