Crouching Basil, Hidden Kale

We can all eat more greens, but naturally, we often don’t want to.  Sometimes, as refreshing as it is, a big ‘ole salad just doesn’t fill us up the same as a bowl of mashed potatoes.  And smoothies are delicious, too, but what if I want something warm?  I could wilt my greens, but then, I’d have a plate of wilted greens (sorry ya’ll—that texture just doesn’t do it for me!).  How am I going to get my greens when I’m in the mood for comfort food?

Pasta to the rescue!  Growing up in an Italian family, pasta was a staple, and to this day, it is the comfort food I seek more than any other.  Pasta is also easy to prepare and extremely versatile.  Sometimes I toss it with my simple marinara, and other times, my creamy vegetable sauce.  You could even use my nacho cheese sauce to create your own mac.  Today, I’m revamping my pesto formula.

Fresh herbs make for one insanely flavorful pesto, but I’ve found that just about any raw greens will yield a bright and complex pasta sauce.  Thus, I’ve readapted my pesto formula to include the option of greens other than herbs.

Today’s rendition uses kale, which Nolan used to eat raw in a salad like a champ but wouldn’t even consider touching now if it isn’t blended up in a smoothie.  🙂  While smoothies remain my go-to for ensuring my toddler gets all of his nutrients on his pickier days, I’ve gotten creative with hiding vegetables.  Of course, hiding veggies in a bacon cheddar cheese omelet makes that effort moot, so I’ve had to work hard to make this game of hide-and-don’t-seek healthy.

If you need a change from hiding veggies in my super food muffins or smoothies, try out this new take on pesto.  Enjoy!

FORMULA BASE: PESTO

Makes about 1 ¾ cups 

  • 1 ½ cups fresh herbs or greens –> I’m using 1 cup kale and ½ cup basil.
  • 1 cup raw nuts –> I’m using cashews
  • 1/3 cup nutritional yeast
  • 5 cloves raw garlic
  • ½ cup citrus juice or water –> I’m using the juice of two lemons.
  • Additional spices (optional) –> I’m not using any.
  • Water/oil as needed for smoothness –> I’m adding water a tablespoon at a time as needed.

Combine all ingredients in a food processor and blend until smooth, adding water and/or oil as needed. The less oil used, the lower in fat the end product will be.  So flavorful, this pesto doesn’t even need salt!

pesto-pasta

Advertisement

Versatile Vegetable Marinade

Although the cellular structure of many fruits and vegetables is more difficult to penetrate than that of meat, it is still possible to marinate produce.  As with marinating meat, typically, the longer the better so that the produce can absorb as much flavor as possible. My marinade formula could certainly be used for meat, but of course, I prefer it on virtually any vegetable and some fruits.

In American cooking, marinating usually leads to grilling (or roasting), and today’s asparagus dish is no exception!  While I prefer to eat the majority of my produce raw, there are some items that are simply unpalatable in a raw state.  For me, asparagus is one of those, in most preparations.  I have had thin shavings of raw asparagus atop a salad before, but there’s quite a bit of work that goes into such a preparation and with the two littles always eat my feet, there isn’t always the time.  🙂

Thus, I’m using asparagus as the vehicle for my pre-grilling vegetable marinade.  When prepared al dente, asparagus—which comes in green, white and purple—is just delightful.  Too mushy and too raw = no bueno.  This fibrous vegetable is high in vitamin K and most notably, folic acid, which may ring a bell if you’ve ever taken prenatal vitamins.  Asparagus is a true super food!

asparagus

Hands down the best part of this marinade is that it need not be tossed once your veggies hit the grill.  Marinating meat leaves you with contaminated leftovers; marinating veggies leaves you with a delicious salad dressing.  Waste not, want not.

Lastly, while I use this marinade primarily on vegetables, you could also soak hearty fruits like pineapple to add a little sweetness to your kabobs.   Enjoy!

FORMULA BASE:  VEGETABLE MARINADE

Yields 1 cup marinade

  • 2 pounds raw vegetables (or fruit) –>  I’m using green asparagus.
  • ½ cup acid (i.e. freshly squeezed citrus juice, vinegar, mustard, etc.) –>  I’m using the juice of three lemons and one heaping tablespoon of whole grain mustard.
  • ¼ cup oil* –>  I’m using extra virgin olive.
  • ¼ cup liquid sweetener (i.e. agave syrup, maple syrup, etc.) –>  I’m using pure maple syrup.
  • ¼ fresh herbs** –>  I’m using rosemary.
  • Salt, pepper, spices, and/or dried herbs to taste –>  I’m using several grinds of black pepper and ½ tsp each garlic powder, onion powder, and pink Himalayan sea salt.

*When it comes to heating, not all oils are created equal.  Ideally, when grilling (or sautéing, frying, or roasting), you want to use an oil with a higher smoke point.  This allows you to optimally maintain nutrients and flavor when the oil is subjected to heat.  In addition, it is safer to cook with oils that contain primarily monounsaturated fats, although occasionally cooking with those primarily composed of polyunsaturated won’t hurt.  Today is one of those days for me as olive oil is not preferred for grilling, but it has the deeper flavor that I want.  Nine times out of ten, I use refined coconut or avocado oil.

**If you don’t plan to save excess marinade, it doesn’t really matter how finely your herbs are chopped.  (The bulk of my rosemary fell away in the grilling process and any excess leaves in the leftover marinade were easy to pick out.  Rosemary, in my opinion, does not have an enjoyable texture, even when finely chopped.)  If you do want to save the excess, however, finely chop your herbs so that you’ve got a more texturally appealing salad dressing when all is said and done.

Prepare your vegetables (peel, chop, etc.) and line them up in a 9 x 13 baking dish.  You can toss them right in or skewer them.

Mix together all marinade ingredients, starting with the wet.  I like to layer the ingredients in a single measuring up so that I don’t have to dirty multiple measuring cups.

pyrex

Pour the marinade over your veggies and let them soak for several hours, turning occasionally.  Once your vegetables are on the grill, drain any excess marinade and save in the fridge for salads.

cooked

Eat Your Vegetables!

If you have a picky child, or are not a huge fan of vegetables yourself, today’s recipe will allow you to hide your veggies among whole grains and a little bit of sweetness so that they go down easily and you don’t miss out on their nutritional benefits.

While I’m proud that my two-and-a-half-year-old consumes nutritious, plant-based eats all day long, I’ve found that he’s definitely not immune to some of the typical behaviors of the picky toddler. As of the last few months, if he sees something he’s never eaten, he’s unlikely to try it. If that something is a vegetable (or at least looks like one), we’re in even worse shape.

Thankfully, my boy has never met a smoothie he doesn’t like, so I’m able to hide a variety of raw vegetables in that component of his daily breakfast. (That’s right – his morning smoothie is just part of his breakfast. He has an insatiable appetite in the morning, eating less and less as the day progresses.) I’ve managed to sneak raw celery, carrots, cucumbers, beets, fresh herbs, and a variety of greens right by him for many a morning now.

Until he’s willing to look at a heap of broccoli and get excited about eating it, I have to get creative. In addition to smoothies, I’ve found that my super food muffin formula lends itself just as nicely to shredded vegetables as it does fruits. Today’s rendition features zucchini, which I find a bit too earthy in flavor to compliment most smoothie combinations. Zucchini, or Italian squash (pictured below, shredded in the food processor), is a solid source of vitamin C and manganese and promotes healthy eyesight, so I definitely want Nolan to have it in his diet.

DSC_2404

My zucchini muffins also include a yummy spice blend that features the following:

CINNAMON: A popular spice that you can purchase as sticks or ground, cinnamon is high in antioxidants.

NUTMEG: Nutmeg, which you can find as a seed or ground, is a great source of fiber, copper, and like zucchini, manganese. The two are often paired together in cooking.

CARDAMOM: Cardamom, available as pods or ground, is also a rich source of fiber and manganese and boasts a notable serving of iron, too.

CLOVES: Use cloves sparingly as their flavor is the strongest of this group of particularly flavorful spices. You can find the cloves whole or ground, and like cinnamon, expect a healthy dose of antioxidants.

When talking recently with a fellow mom, she shared with me that her pediatrician said that if her toddler ate one balanced, nutritious meal per day, that that was success. Obviously, we aim to feed our kids of all ages (and ourselves!) healthful foods all day long, but when it comes to the pickiest of the picky, one well-rounded meal may be the best we can hope for some days.

Thus, one of these muffins in and of themselves contain more super foods than the average toddler may be willing to consume in an entire day, so it’s a small “meal” that parents (and whoever!) can feel good about. (I usually pair Nolan’s with fresh fruit, togurt, and a smoothie.) Small victories, parents, small victories. 🙂

DSC_2408

FORMULA BASE: SUPER FOOD MUFFINS

Makes 12 muffins

  • 1  cup flour –> I’m using whole wheat.
  • 1 cup cooked small grains (e.g. quinoa, kaniwa, millet, etc.)–> I’m using kaniwa (see my veggie burger post).
  • 1/2 cup uncooked rolled oats
  • 2 tsp baking powder
  • 1 tsp baking soda
  • ¼ cup sweetener –> I’m using agave syrup.
  • 1/8 cup oil –> I’m using coconut.
  • 1 cup raw (fresh or frozen) fruit or veggie –> I’m using shredded zucchini*, skin on.
  • 1-1 ¼ cups unsweetened plant milk –> I’m using almond.
  • 3 tbsps seeds (e.g. chia, hemp, poppy, flax, etc.)
  • ½-1 tsp extract (amount will depend on flavor intensity) –> I’m using 1 tsp homemade vanilla.
  • ½-1 tsp spices –> I’m using ½ tsp cinnamon, ¼ tsp nutmeg, and 1/8 tsp each cardamom and cloves. All spices are ground.
  • ½ tsp pink Himalayan sea salt (optional) –> I’m using it.

*Shredded carrots, parsnips, beets, or sweet potatoes would also be delicious!

Preheat your oven to 350 degrees. Shred your zucchini (or other vegetable) in a food processor. Separately combine all of the dry ingredients and all of the wet ingredients. Pour the wet into the dry and mix with a wooden spoon. The batter will be thick and lumpy, but you can always add more plant milk if it seems too dry or dough-like. Spoon the batter into a lined cupcake pan and bake for 25 minutes. Store in the fridge for up to two weeks.

DSC_2410

Veggie Burgers and Bites

Nearly since he started eating solid food, veggie burgers and bites have been a go-to of mine for getting Nolan to eat vegetables.  Hidden amongst other amazing plants—beans, lentils, grains, and seeds—he has never questioned one of my veggie-packed creations.

DSC_2216

Besides being amazing baby, toddler, and kid food, veggie burgers are delicious and nutritious for everyone.  I’ll admit, I very occasionally miss meat, but I rarely miss meat-based burgers.  To be honest, I feel kind of nauseous thinking about the fat and grease oozing out and soaking the bun (you know how I feel about soggy bread, ya’ll!).  I’ve been making my veggie burgers for my family and friends for years now without complaints…no one even asks for ketchup!

Naturally, the star of a veggie burger is the vegetables.  I finely chop or shred my vegetable(s) of choice and don’t typically precook it as it will cook just enough while baking in the oven.

The other powerhouse in these burgers are whole grains, which I use in many of my formulas, from my curry to multi-grain salad.  The grain of the day for this rendition is kaniwa.  I’m new to kaniwa and thought I would give it a try when I noticed it on sale in bulk next to the quinoa.  A smaller grain that is more like a seed, kaniwa is similar in taste and texture to quinoa.  It contains high levels of flavonoids and makes for an excellent gluten-free substitute that contains B vitamins and other nutrients coveted in whole-grain wheat.  Like many other grains, it is also packed with protein and fiber.

DSC_2203Speaking of protein, I have found that beans or lentils are an excellent “glue” (along with an “egg”) for veggie burgers and bites.  Since I don’t use a chicken egg and breadcrumb combo typical of meat patties and balls, I needed something else to bring the other ingredients together.  I puree my beans or lentils like a hummus before combining them with vegetables, grains, seeds, and spices.

One of my favorite things about this formula is that the burgers can be assembled quickly if you have precooked grains, beans, and lentils on hand.  I often, for instance, cook up a big pot of quinoa when I’m making my super food breakfast muffins knowing that I’ll use the extra quinoa in another dish later on.  Try and plan ahead when you can.

While I typically shape my veggie burger dough into patties or “meat” balls, you could certainly experiment with other shapes if you’re using this formula for entertaining as an appetizer or to entice a picky little eater.  Additionally, the flavor combinations are endless; this formula was born from black beans and quinoa with onions, corn, and bell peppers and today, will be a chickpeas and carrots with onions, garlic, and cumin.  Experiment and enjoy!

FORMULA BASE:  VEGGIE BURGERS

Yields 6 patties (or a varying number of bites)

  • 2 cups finely chopped or shredded raw vegetables  –>  I’m using ¼ of a small yellow onion and 1 ½ cups of shredded carrots.
  • 1 cup cooked whole grains  –>  I’m using kaniwa, cooked in homemade veggie stock.
  • 2 cups cooked beans or lentils  –>  I’m using canned, sodium-free chickpeas.  (Remember, cooking dried beans is ALWAYS healthier, but for some reason, those do not agree with my system.)
  • ¼ cup+ liquid for pureeing beans/lentils (i.e. homemade veggie stock, citrus juice, water, unsweetened and unflavored plant milk, oil, etc.)  –>  I’m using lime juice and a splash of extra virgin olive oil.
  • 1 “egg” (1 tbsp chia or flax seeds + 3 tbsps hot water)  –>  I’m using chia.
  • 2-4 cloves raw garlic  –>  I’m using 3.
  • 2 tsps herbs and spices –>  I’m using 1 tsp cumin, ½ tsp turmeric*, and ½ tsp paprika.
  • Pink Himalayan sea salt and fresh ground pepper to taste  –>  I’m using ½ tsp salt and three grinds pepper.

*What’s this?  See my super food smoothie formula.  🙂

If you need to, cook your grains, beans, and/or lentils first.  Once they are finished, preheat your oven to 350 degrees.  Puree the cooked beans/lentils with the garlic until smooth.  Finely chop or shred your vegetables (peel first if necessary) and use a wooden spoon to combine all ingredients except the egg.

DSC_2205

Massage the egg in with your hands.  A thick dough will form.  It should be sticky enough that all ingredients remain together, but not so sticky that your hands are pulling it apart in trying to form shapes.

Lightly grease a baking sheet and assemble patties and/or bites.

DSC_2207 DSC_2210

Cook times will vary depending on shape and thickness.  It takes me, for example, typically about 40-45 minutes for patties or shapes of comparable thickness, flipping halfway through.  Set a timer for twenty minutes to start, check back often, and flip as necessary until your burgers or bites are of a cooked and palatable consistency.

These burgers are so dense and filling that I eat them bun-less, but you can certainly serve them with your bread of choice.  Top with my creamy salad dressing, pesto, or hummus and fresh vegetables.  Travis particularly loves these with my low-sodium pickles on top.  🙂  If you’re serving bites, use one of these sauces as a flavorful dipper and spear with toothpicks.

DSC_2214

Plant-Based Living On the Go

IMG_4852

I’m back!  Travis, Nolan, and I just returned from a ten-day trip to Michigan, where I’m originally from and grew up.  Our vacation was jam-packed with weddings, places to go, and people to visit, but despite the hectic pace, I managed to stick to my values when it comes to plant-based living.

As you’ve read in my bio, I consider myself a mostly-vegan:  I follow a strict vegan lifestyle at home, allowing only the occasional animal product splurge when out and about.  My vacation was no exception.  If you think about it, fresh fruits and vegetables are really the original fast food.

That’s right:  fast food, which need not carry a negative connotation.  Whether you’re looking for a quick snack, need to pack a lunch for work, are meal planning for the week ahead, or are about to embark on a vacation, you will most likely have nature’s fast food available somehow, somewhere.

A dietician I follow (whose research and knowledge I’ve mentioned previously) once posted that if you’re not hungry enough to eat an apple, you’re not really hungry.  I couldn’t agree with this more.  It is ultimately quicker to rinse and bite right into an apple than it is to deep fry and season potatoes or plop a frozen beef patty on the grill.  If you wouldn’t be willing to grab the fresher, faster option, how hungry are you?

I try to keep this as my mantra when I travel.  It is easy to get caught up in all of the treats, especially at occasions like weddings.  Don’t get me wrong – I did a little bit of splurging, but I know my limits and stick to them for the sake of my health and energy level.  I have a two-year-old and I’m pregnant, remember?  🙂

Today, I’m sharing with you the ways that I was able to remain mostly-vegan on vacation.  First, pictured above, I ordered the vegetarian dish at the first of two weddings I attended.  Quite frankly, when I sit down to dinner at banquet hall, I’ve come to expect a bland pasta or lifeless salad of iceberg lettuce and shredded carrots.  Imagine my surprise when this filo dough purse, filled with vegetables and sitting atop polenta, arrived!  The meat entrée recipients at my table were definitely impressed.  “What is that?!  Looks amazing!”  While I don’t think it was vegan—I imagine the dough involved butter at some stage or another and there was a creamy sauce on the plate that probably contained dairy or mayo—and it certainly wasn’t raw, which is generally my preference, it was easily the best vegetarian banquet hall fare I’ve tasted.

Next, we have a veggie burger from Rainforest Café.  Again, I’m not sure it was vegan, as an egg was may have been used in binding the chickpea patty, but I could tell that it was handmade and not frozen.  There was no dairy or mayo on top; just raw veggies and guacamole – yum!  I opted for a side of seasonal vegetables, which I picked at, trying to prioritize the protein of the veggie burger.  While, as a rule, I try not to waste food, I discarded most of the bun.

IMG_4851On to a completely raw vegan salad from Dublin Square, an Irish pub in East Lansing, home of my alma mater, Michigan State University.  Go Green!  While I wish the salad’s base was a heartier green like spinach or kale rather than romaine lettuce, this salad was fresh, filling, and delicious.  The cherry vinaigrette (Michigan is known for its cherries) didn’t hurt!

IMG_4850Finally, oatmeal topped with raw fruit at the bed and breakfast where Trav and I stayed for the night, the Wild Goose Inn, also in East Lansing.  The innkeeper presented us with a small menu that had four choices, following a fruit salad and muffin course.  Three out of the four dishes included eggs, so of course we selected the oatmeal, which contained dried Michigan cherries, almonds, and the raw fruit you see here.  Sweetener—namely brown sugar or honey—was offered on the side; we didn’t even need it!

IMG_4854

The rest of my eating took place in my parents’ home or in the homes of friends and family where we bounced around.  Again, I allowed myself the occasional splurge – what was I supposed to do when my mom baked homemade red velvet cupcakes?!  🙂  At each place we stayed, I tried to make smart choices:  a bagel with peanut butter instead of cream cheese or super food smoothies for breakfast, and I got into the kitchen for some of my old standbys for lunch and dinner:  multi-grain salad with strawberries, bean salad, and more.

I’ll never be perfect at plant-based living, but I work really hard—even on vacation—to meet a high standard for my health and well-being.  You can, too!  Happy eating!

How I Made the Switch

10860945_10105950389328904_2142054229820765234_o_edited

What I love about being an educator is my ability not only to teach students important academic content, but to help shape their lives.  I am thankful that my work habits trickle into my personal life, allowing me to reach those outside of the classroom, too.  Since adopting a plant-based lifestyle over three years ago, I’ve had many students, friends, and family members interested in making the switch themselves.  They’ve asked me for ideas and recipes, just wanting to live a healthier life.

As I’ve always stressed, I am not an expert in nutrition or dieting; I know what I know from old-fashioned research and experimentation.  For me, the proof of my lifestyle and Fresh Formula concept is in how I look, and more importantly, feel, in the day-to-day.  While I’ve never been overweight or unhealthy overall, I really believe that we can always improve, which is what I set out to do.

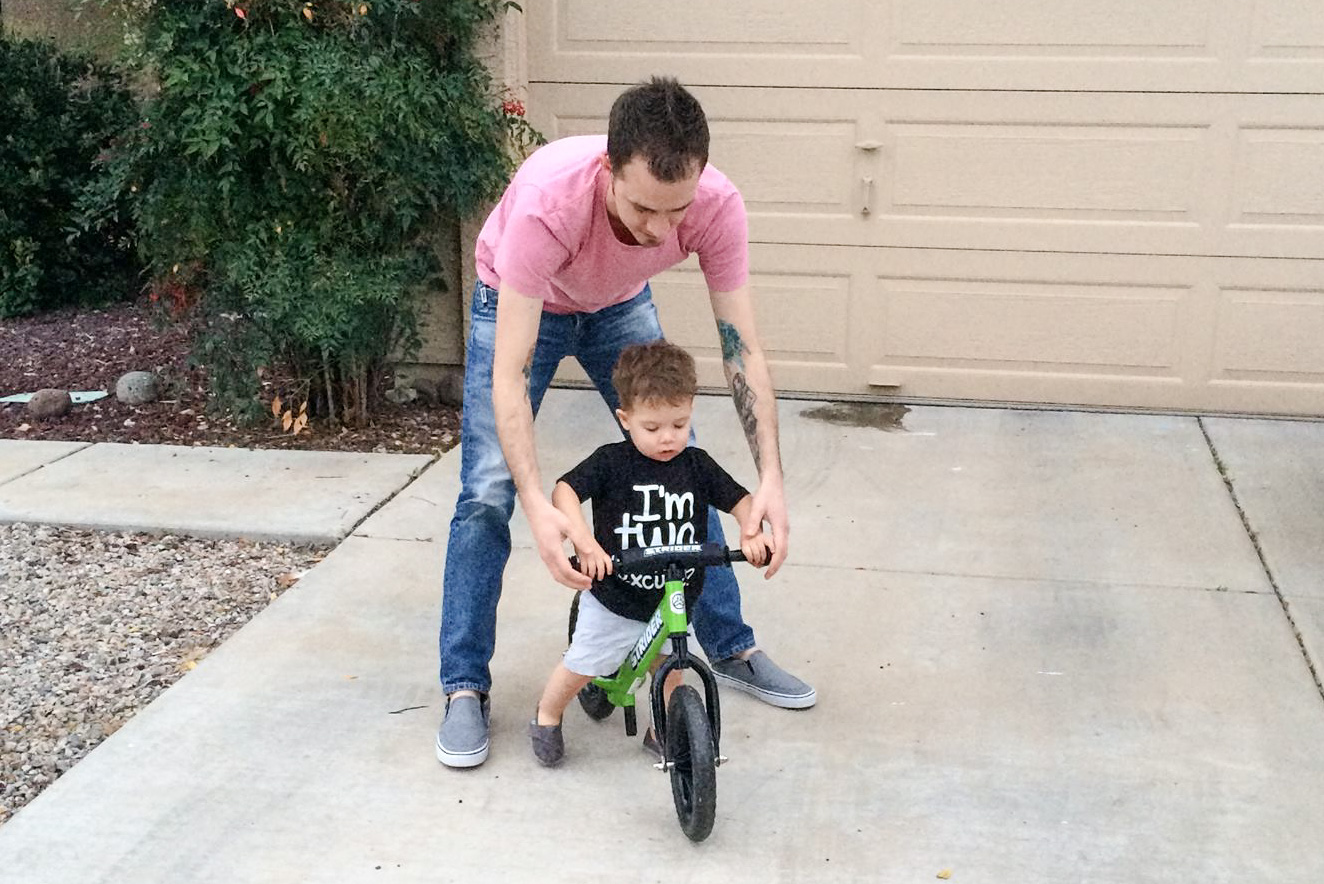
I also believe that the people in my life bring out the best in me, making me want to live as long and as healthy a life as I possibly can.  My husband and son in particular are what inspire me to make smart choices (as my mom always says!) each and every day.  I don’t want to watch my son ride his bike off to school; I want to ride my bike with him.

11001720_10204884344286016_940481854688695948_o_edited198628_10101096867216124_2241408_n_edited The most common question that students (and people in general) ask me once they learn that I don’t typically eat animal products is “What do you eat?”  I addressed this in a previous post, so I’m here today to answer the second most popular question:  “How do/did you do it?”

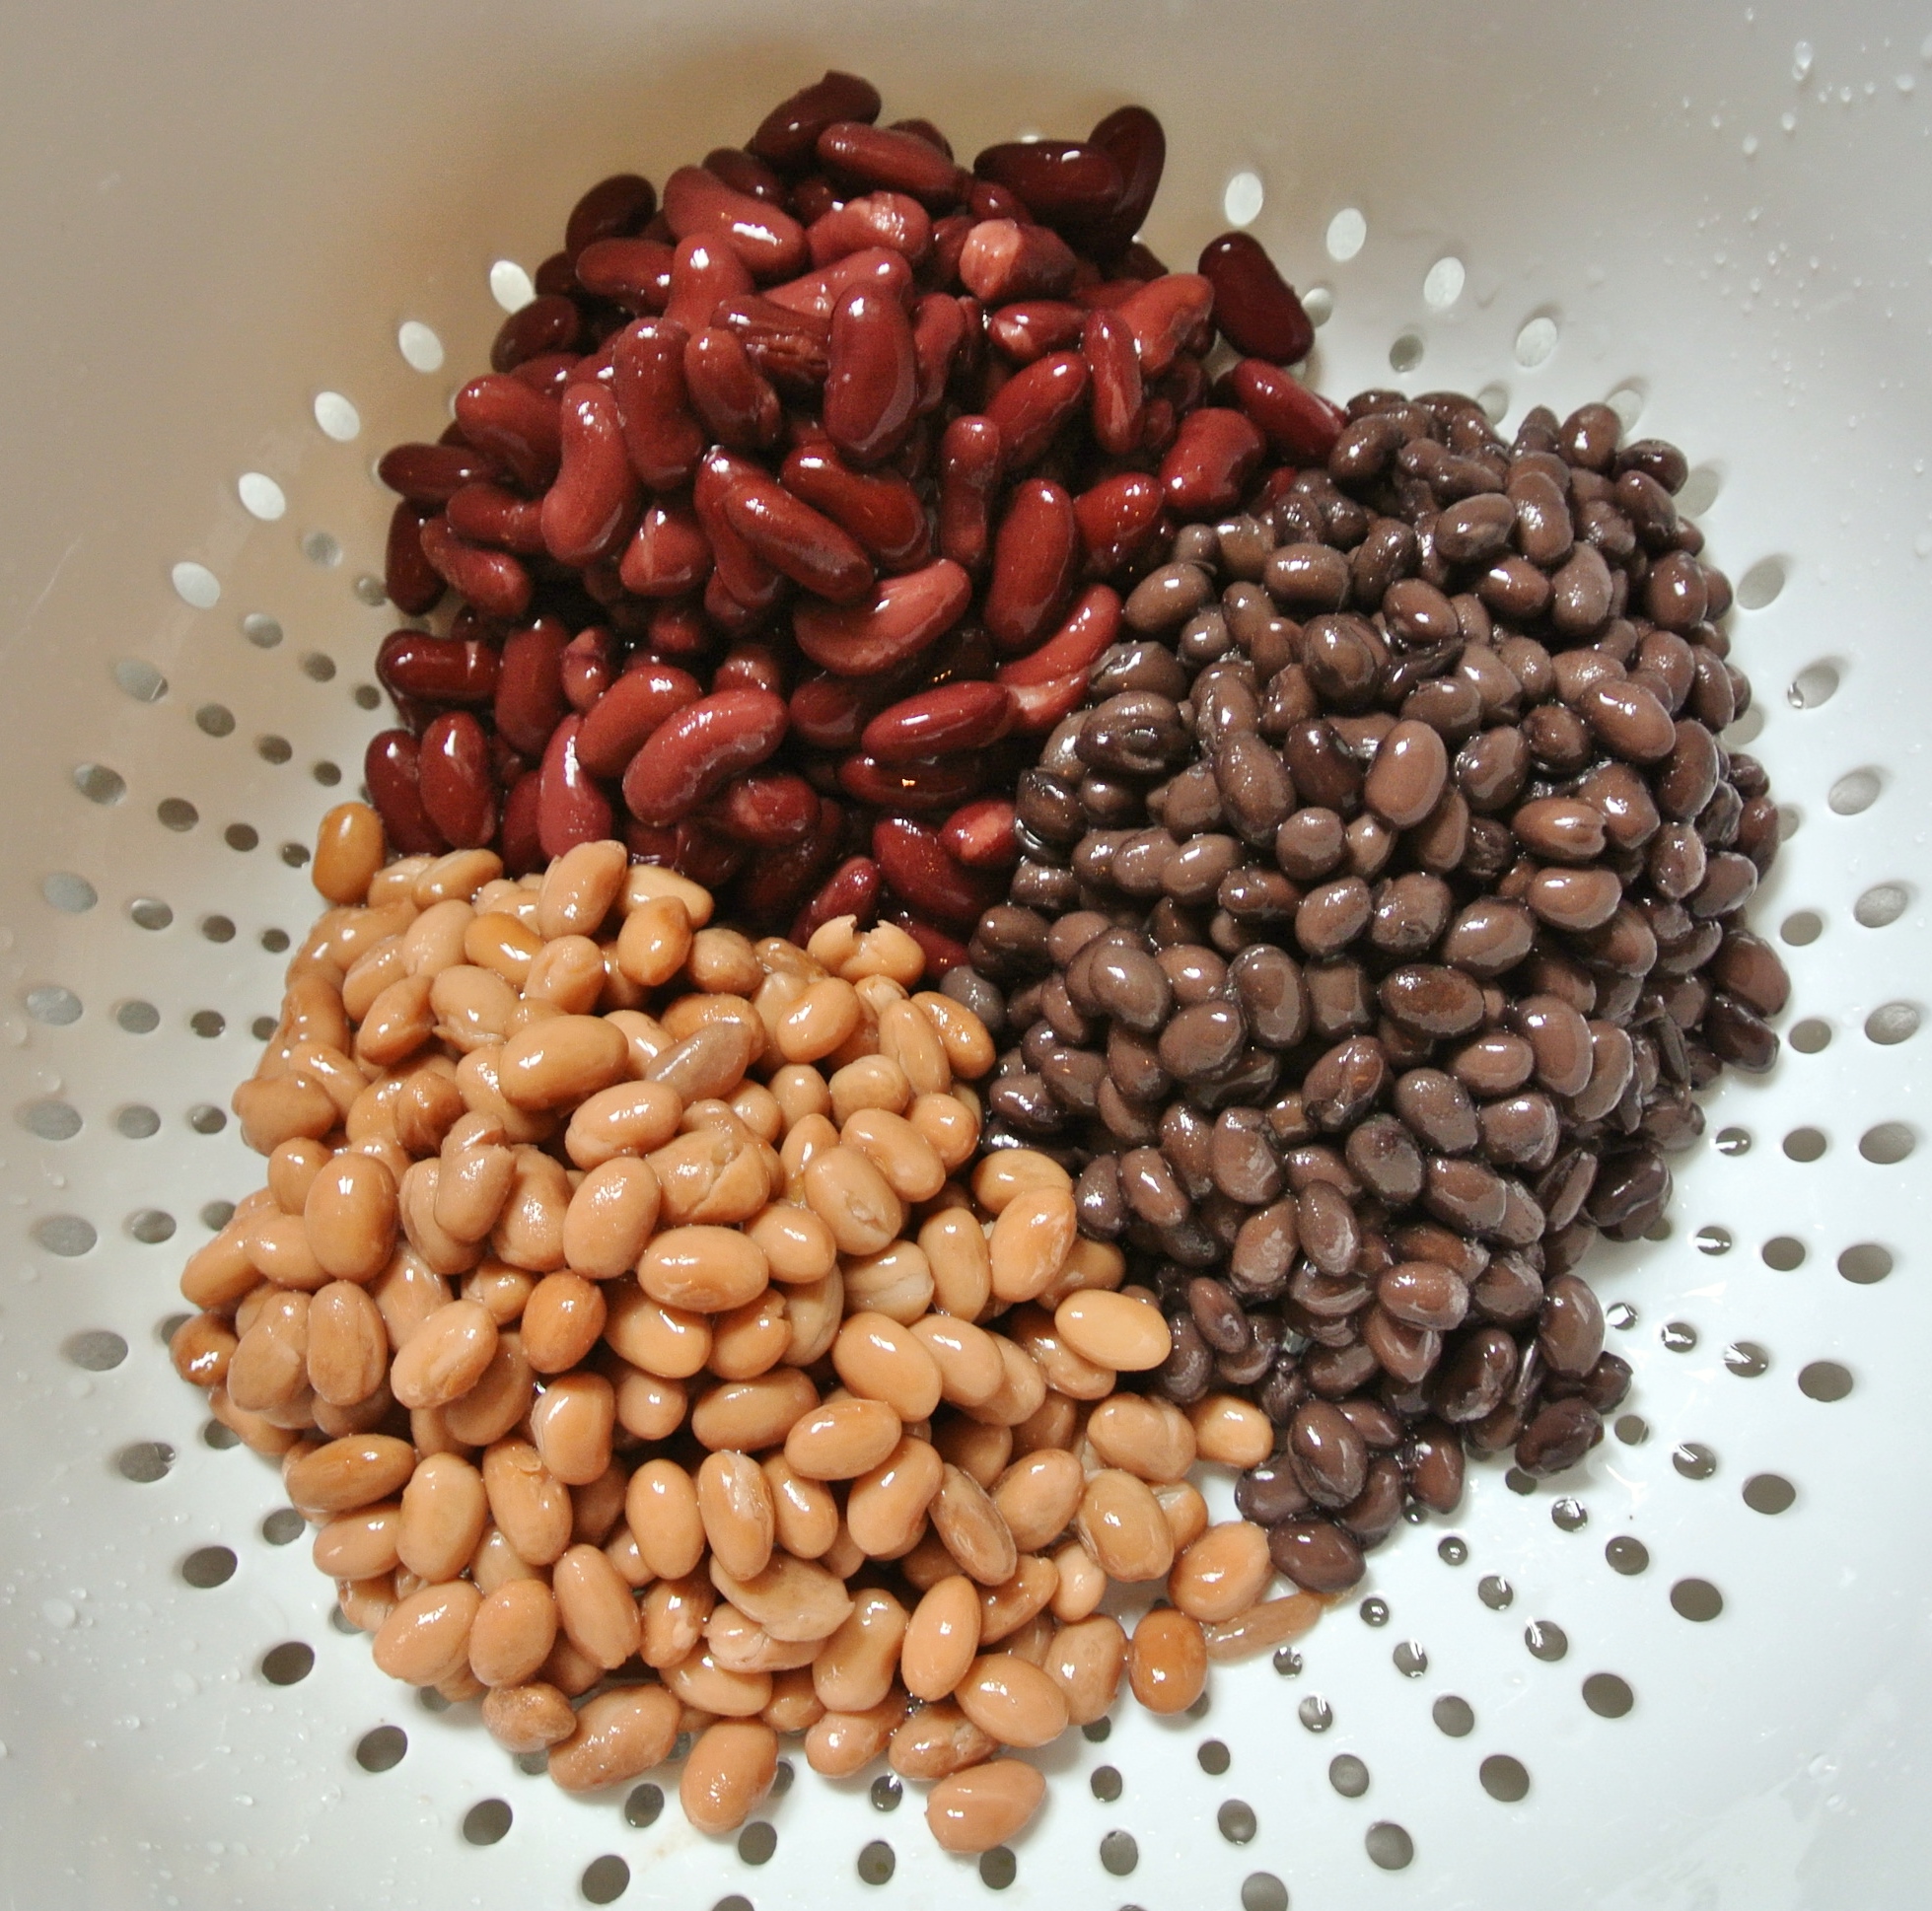
I’m an ordinary person with a busy lifestyle and like many people, occasionally make a really unhealthy food choice.  As a result, I knew that I would have to take baby steps in transitioning from a traditional, animal-laden American diet to one revolving around plants.

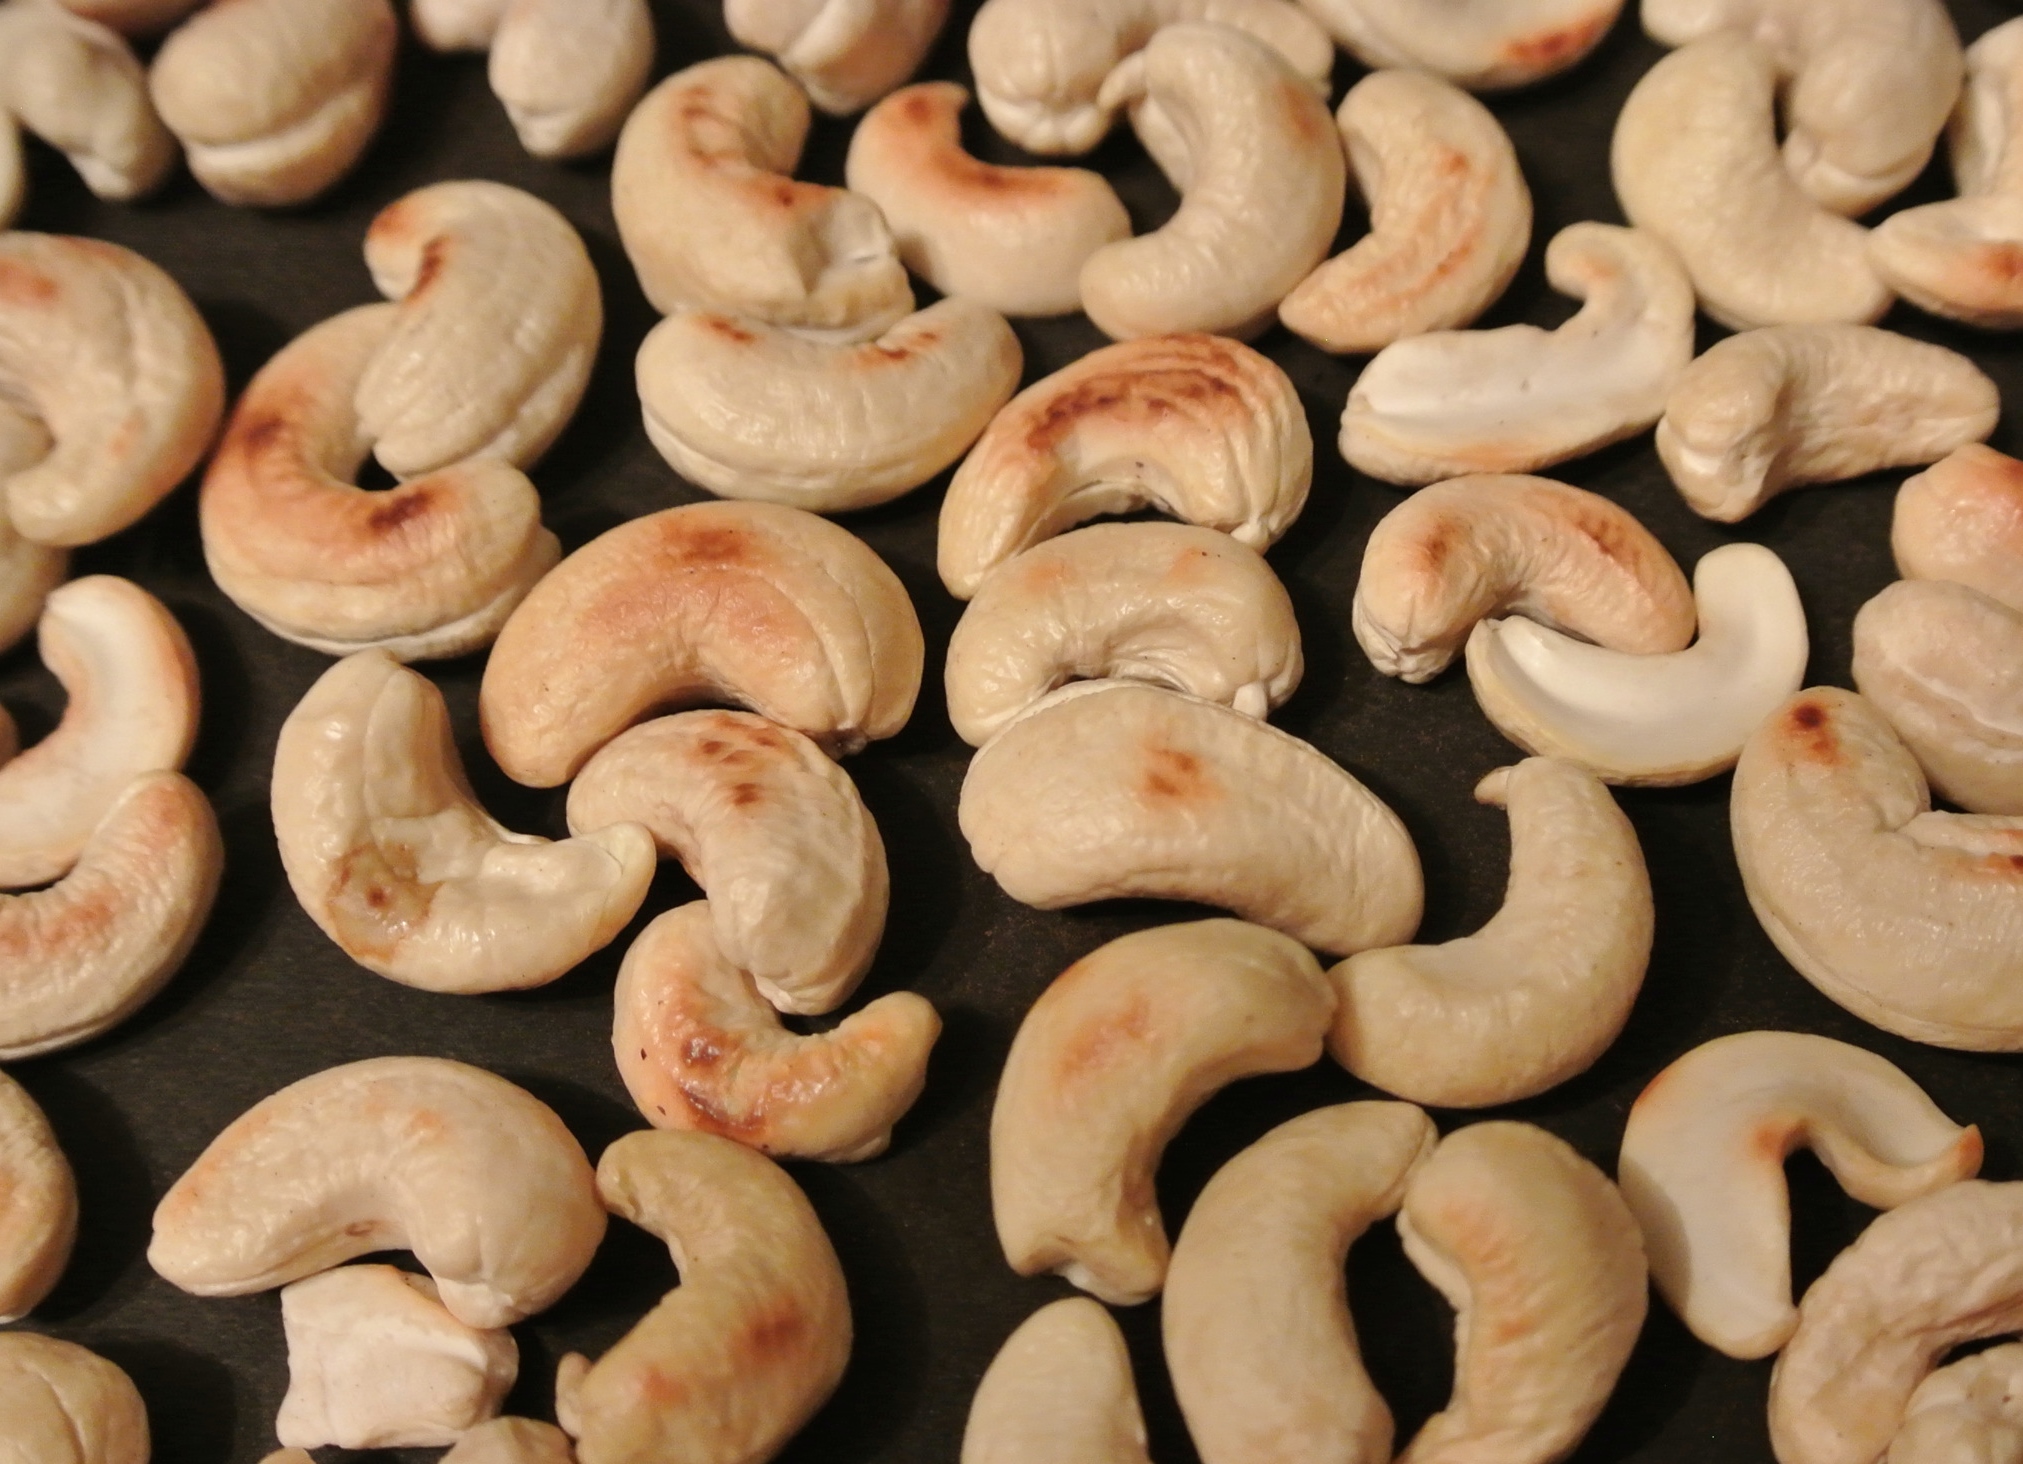
For me, the first step was doing away with cow’s milk.  Many varieties contain added sugar, hormones, and more (I’ll let you research that on your own).  I gave up cow’s milk over six years ago and should have done it sooner, being that I am mildly lactose-intolerant.  Skim milk never irritated my system much, but I knew that it wasn’t the healthiest milk option for me for a number of reasons.  So, I have since switched to plant milk.  I drink primarily almond, but I also like cashew, hemp, oat, and grain.

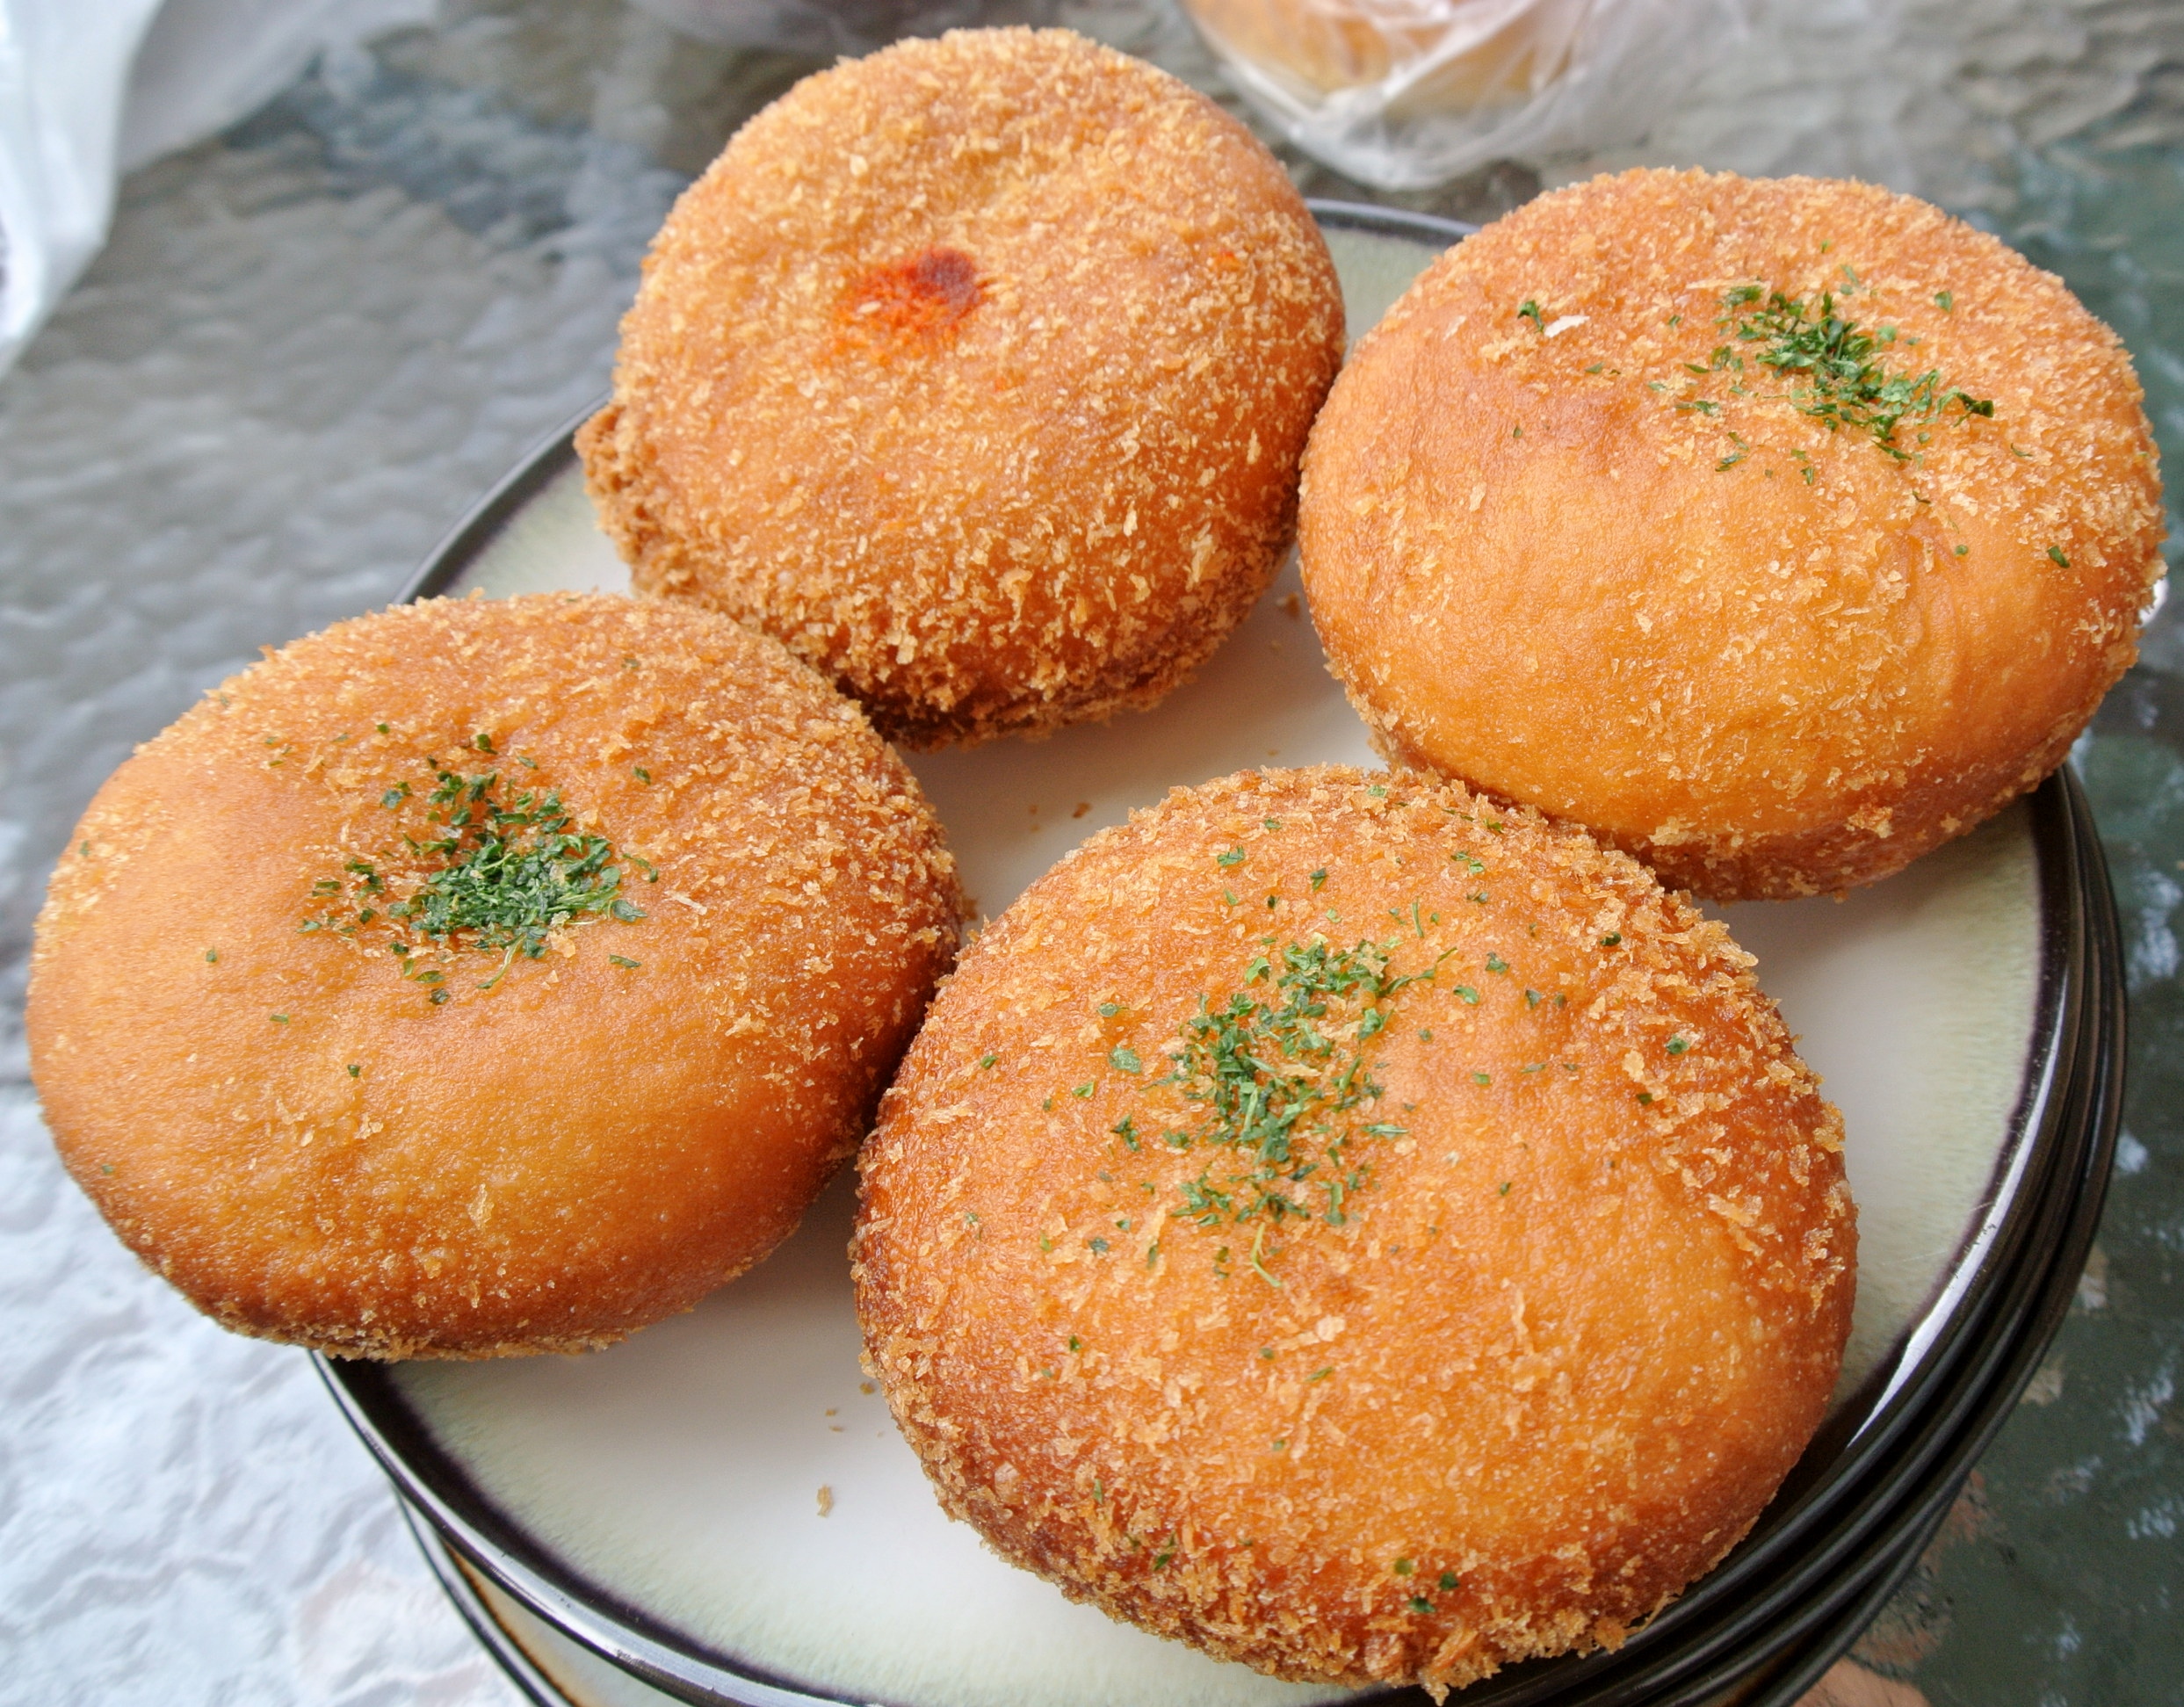
Less than two years later was when I was told I had high cholesterol.  Ugh!  My doctor advised me to give up red meat, pork, eggs, and butter.  I went without these for an entire year—not that I previously ate them much anyway—before I kicked all meat and most dairy to the curb.  Despite being lactose-intolerant, it’s been more difficult to give up dairy because it is often the staple ingredient in comfort foods:  ice cream, mac ‘n cheese, mashed potatoes, etc.  I am no different than the average person – sometimes, comfort food just sounds damn good.

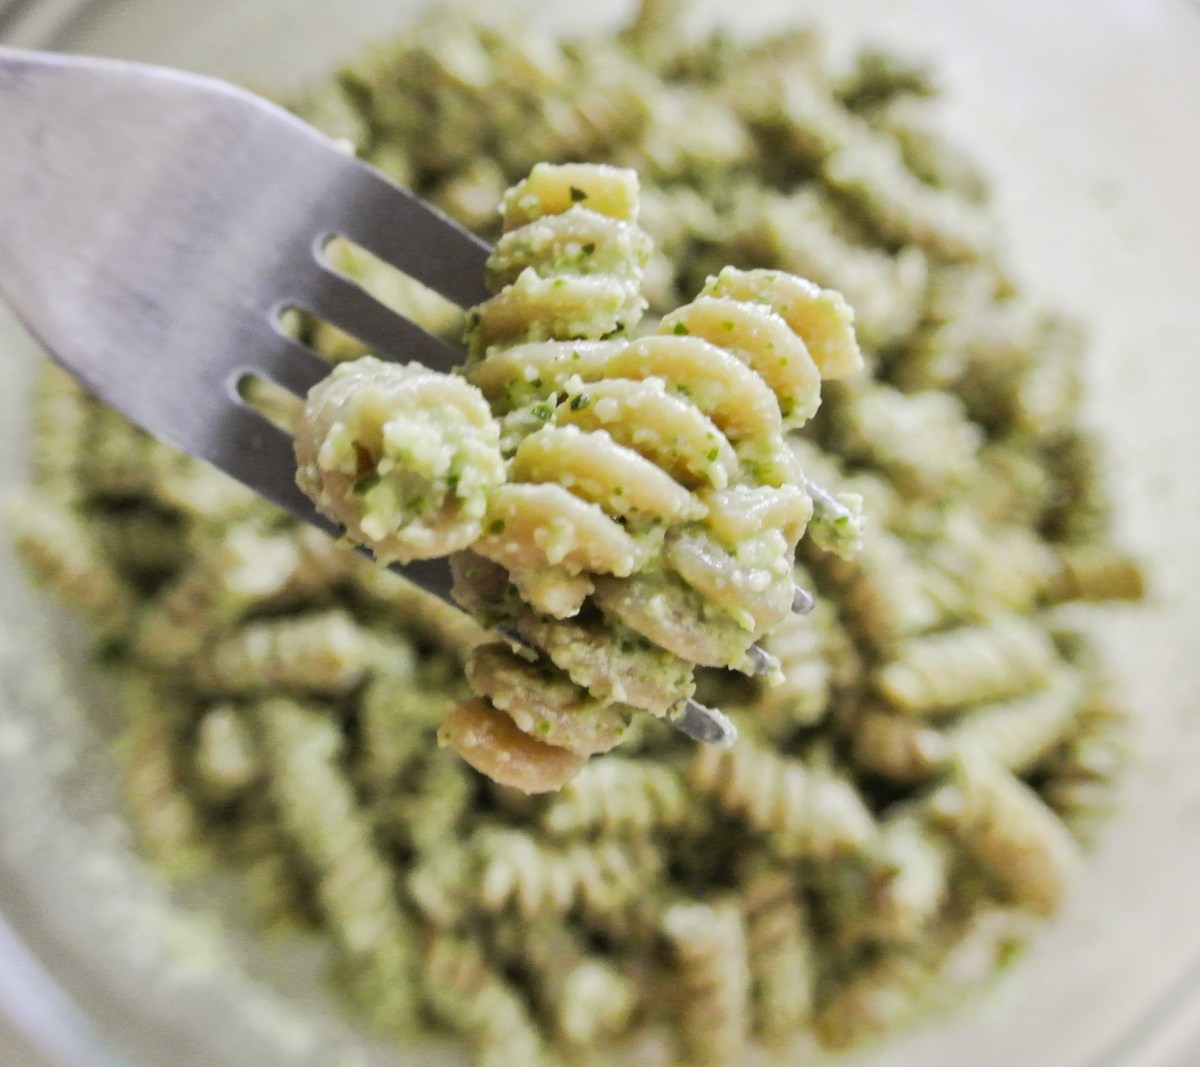
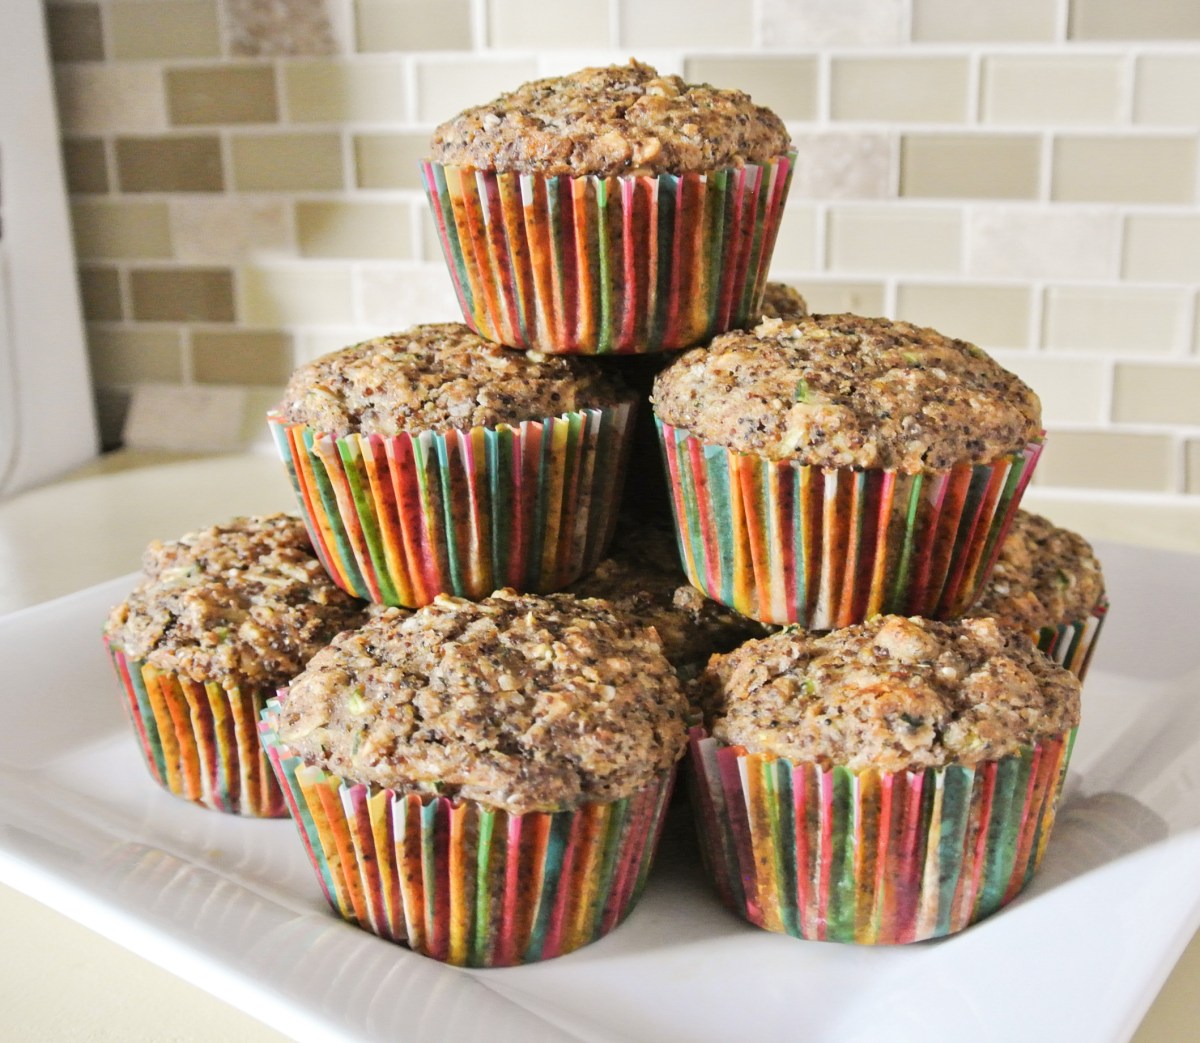
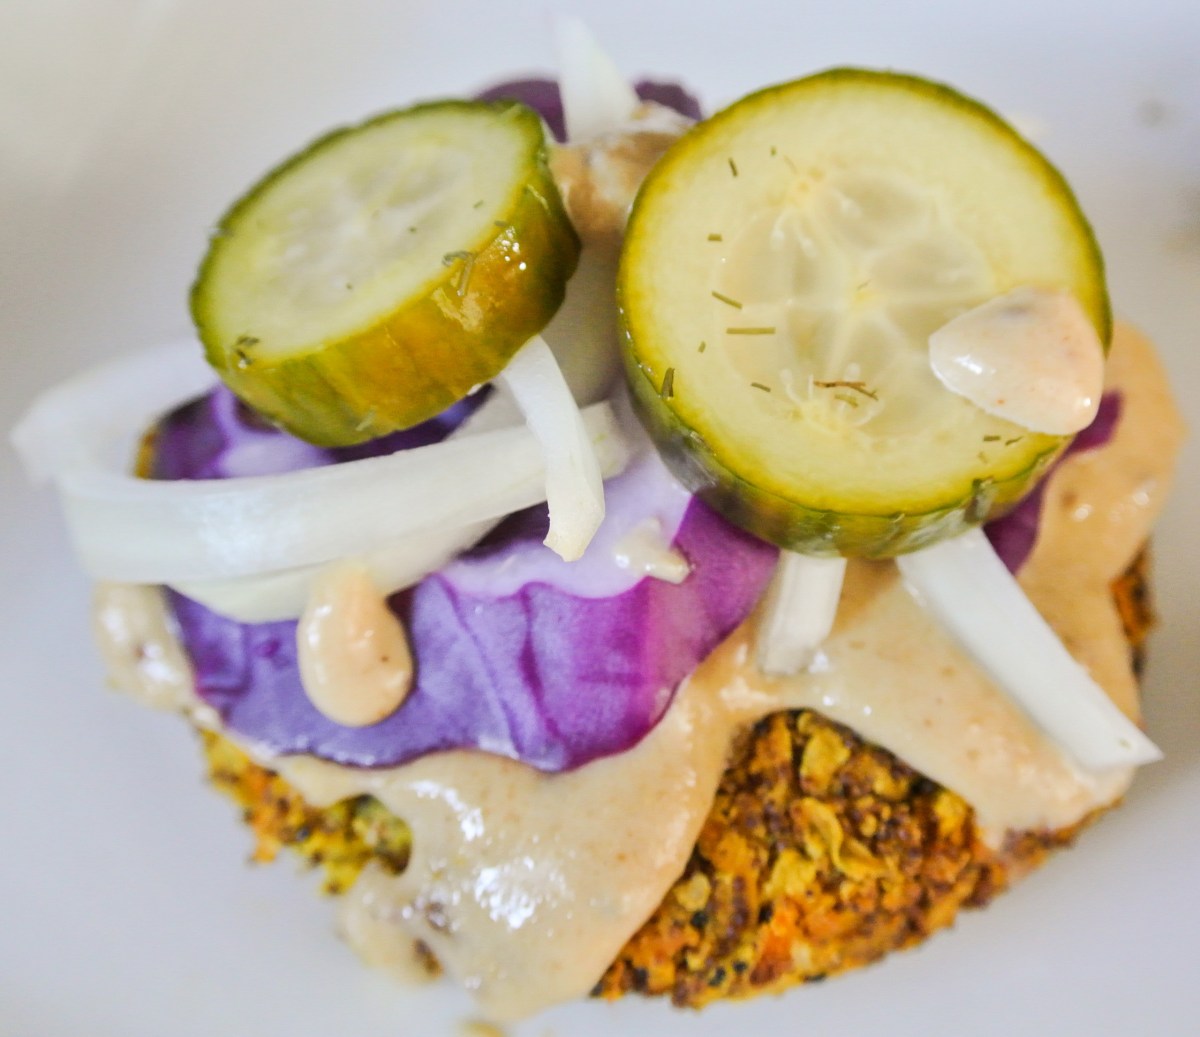
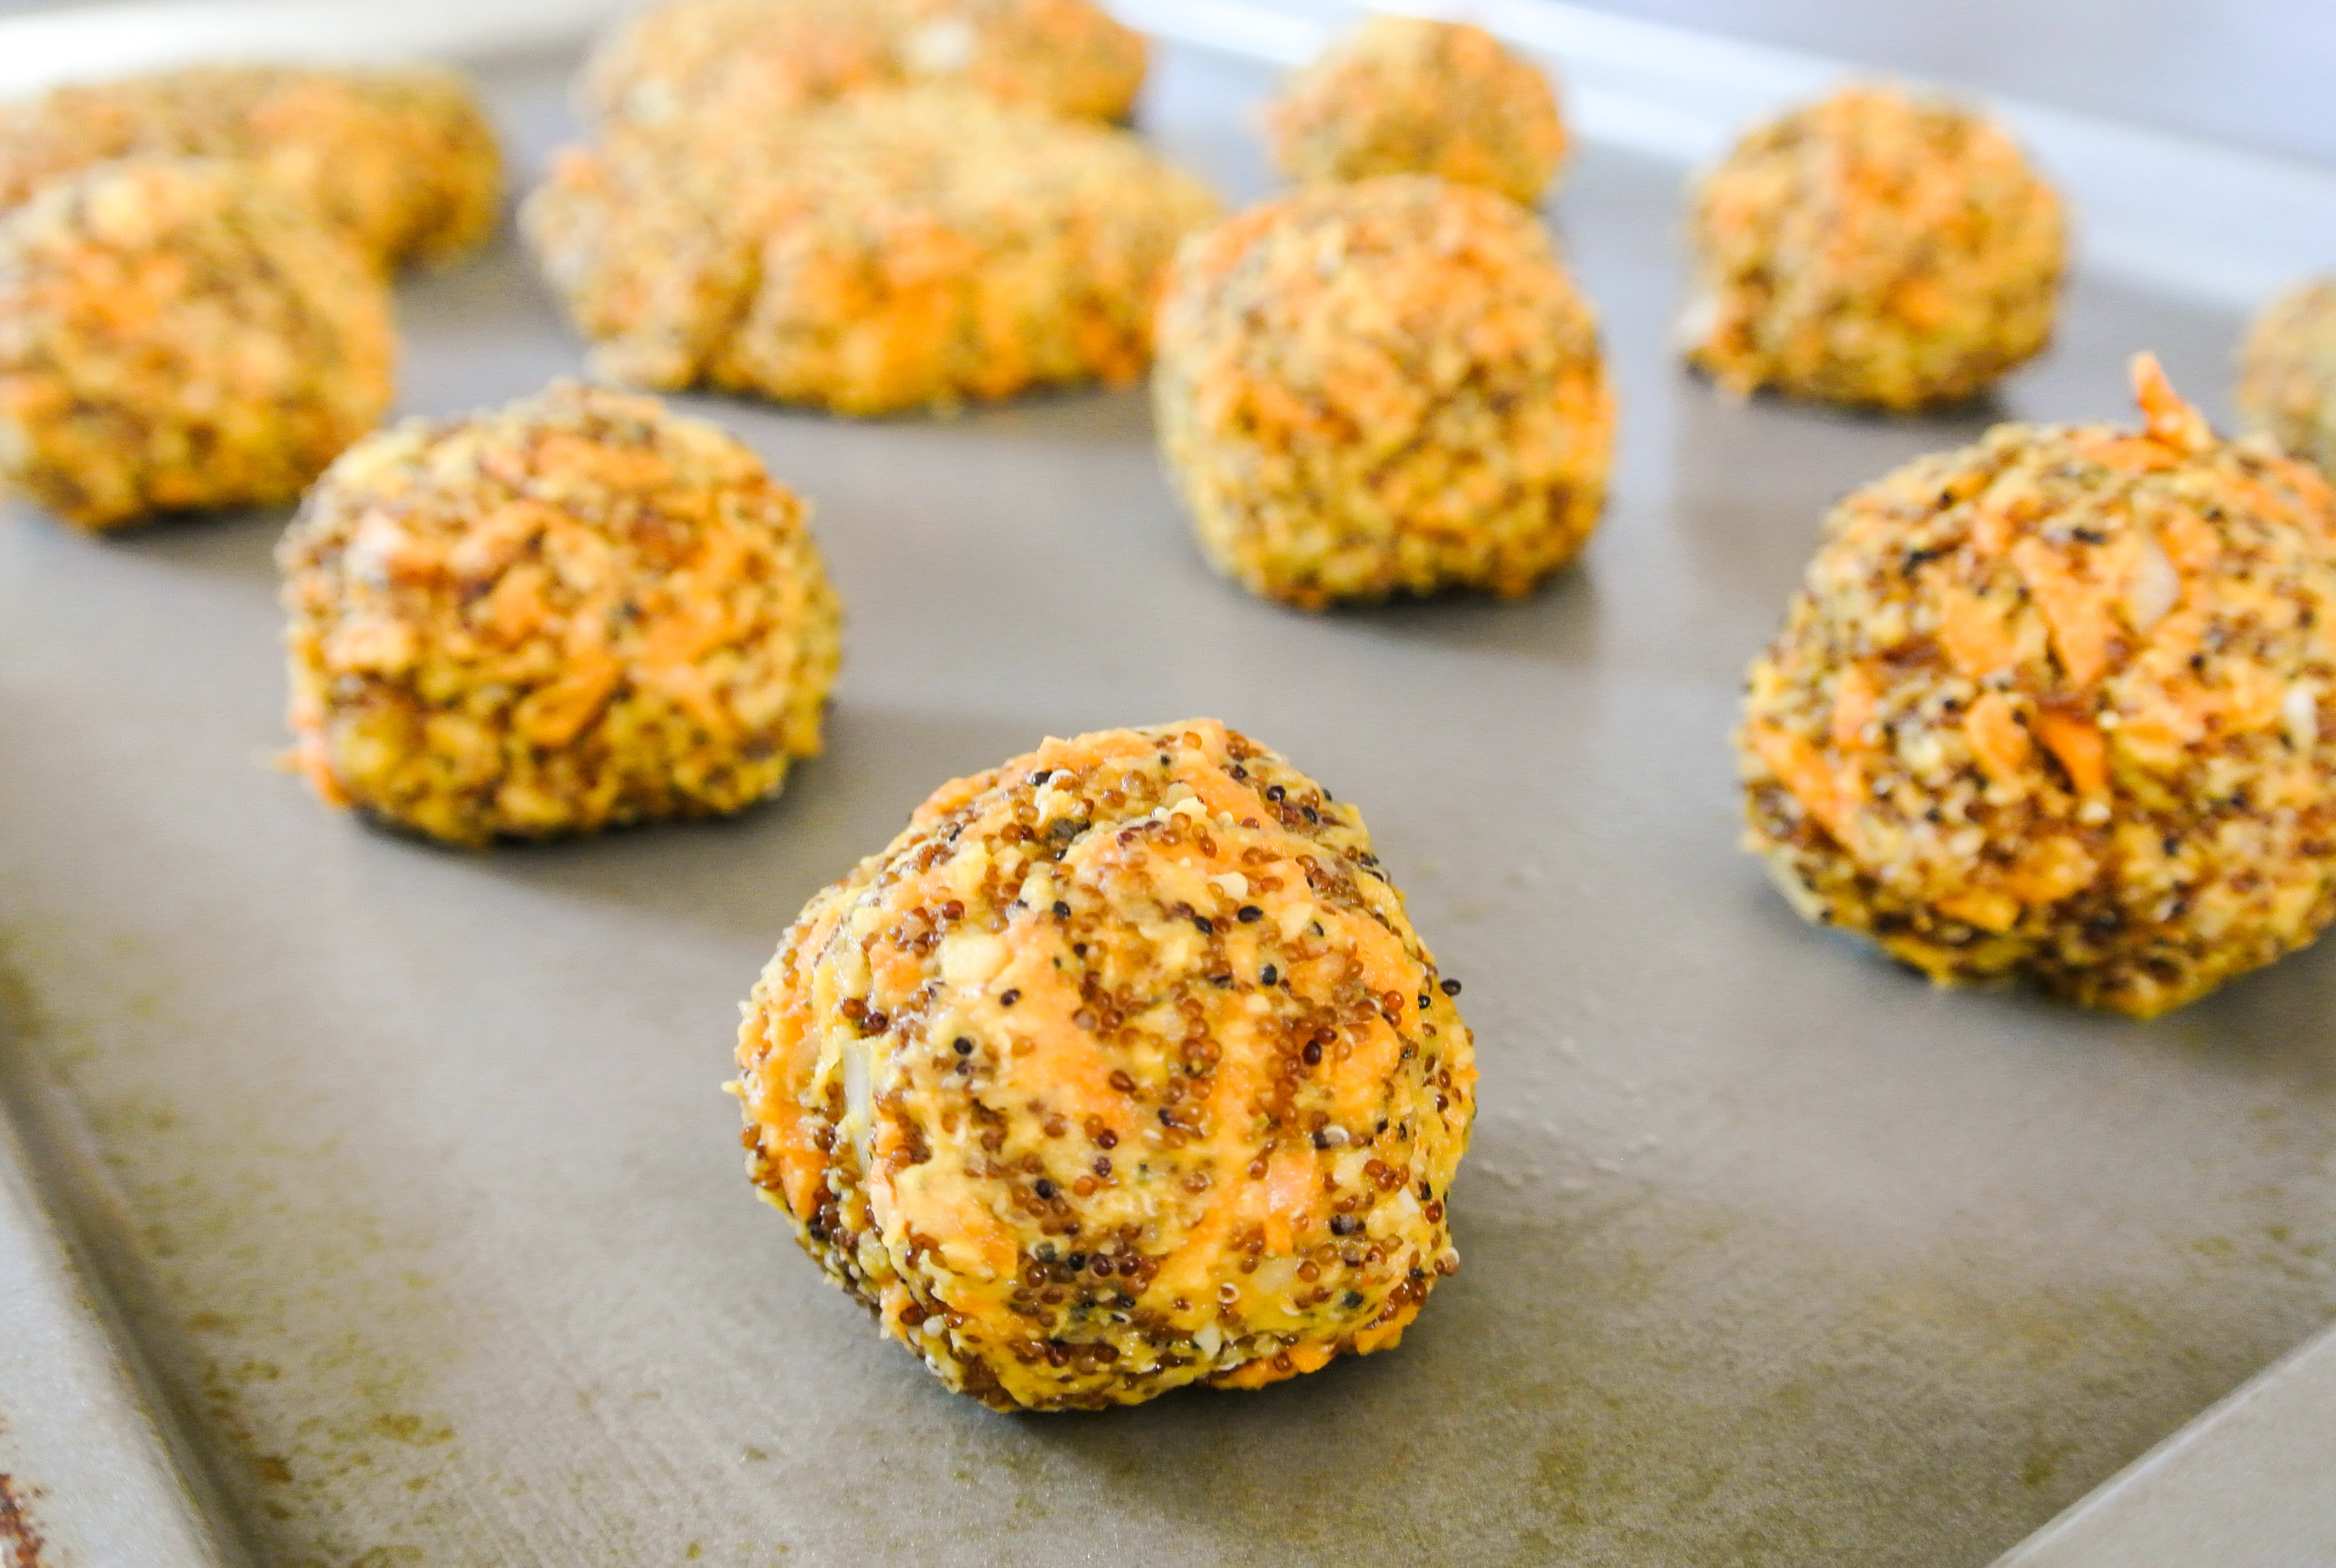
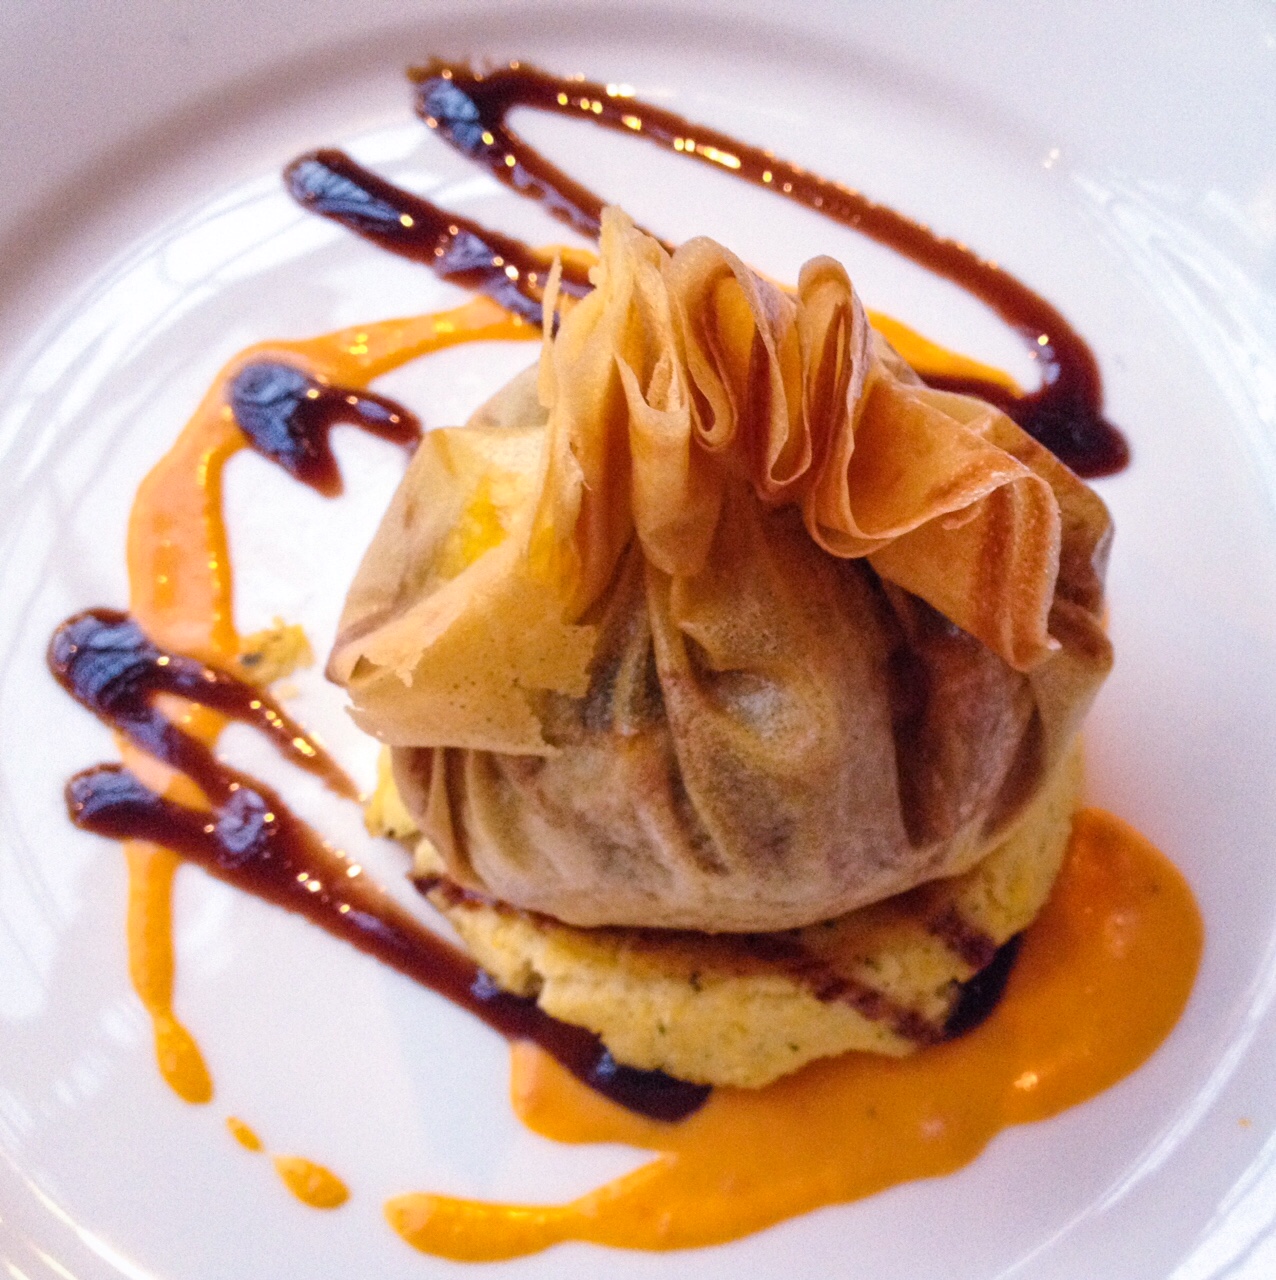
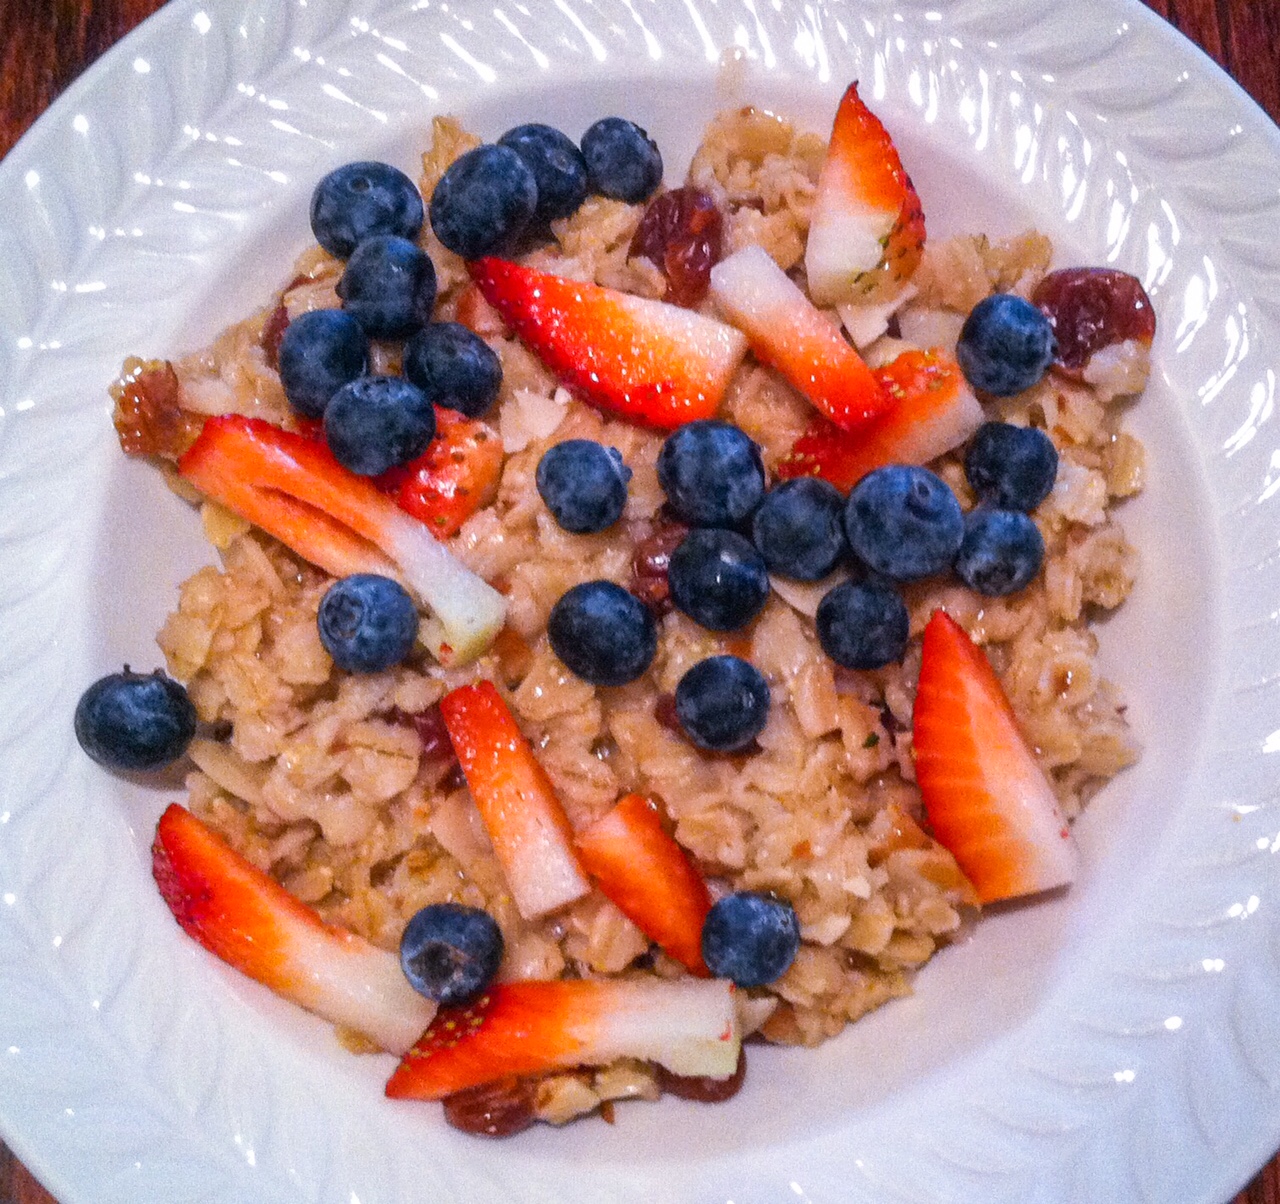
Now, “comfort food” to me is a big salad or rich smoothie because that’s what I’ve come to crave.  I also really look forward to making customary animal-based comfort foods vegan, trying new things, and learning about the latest super foods.  That leads me to the next stage in my plant-based journey…

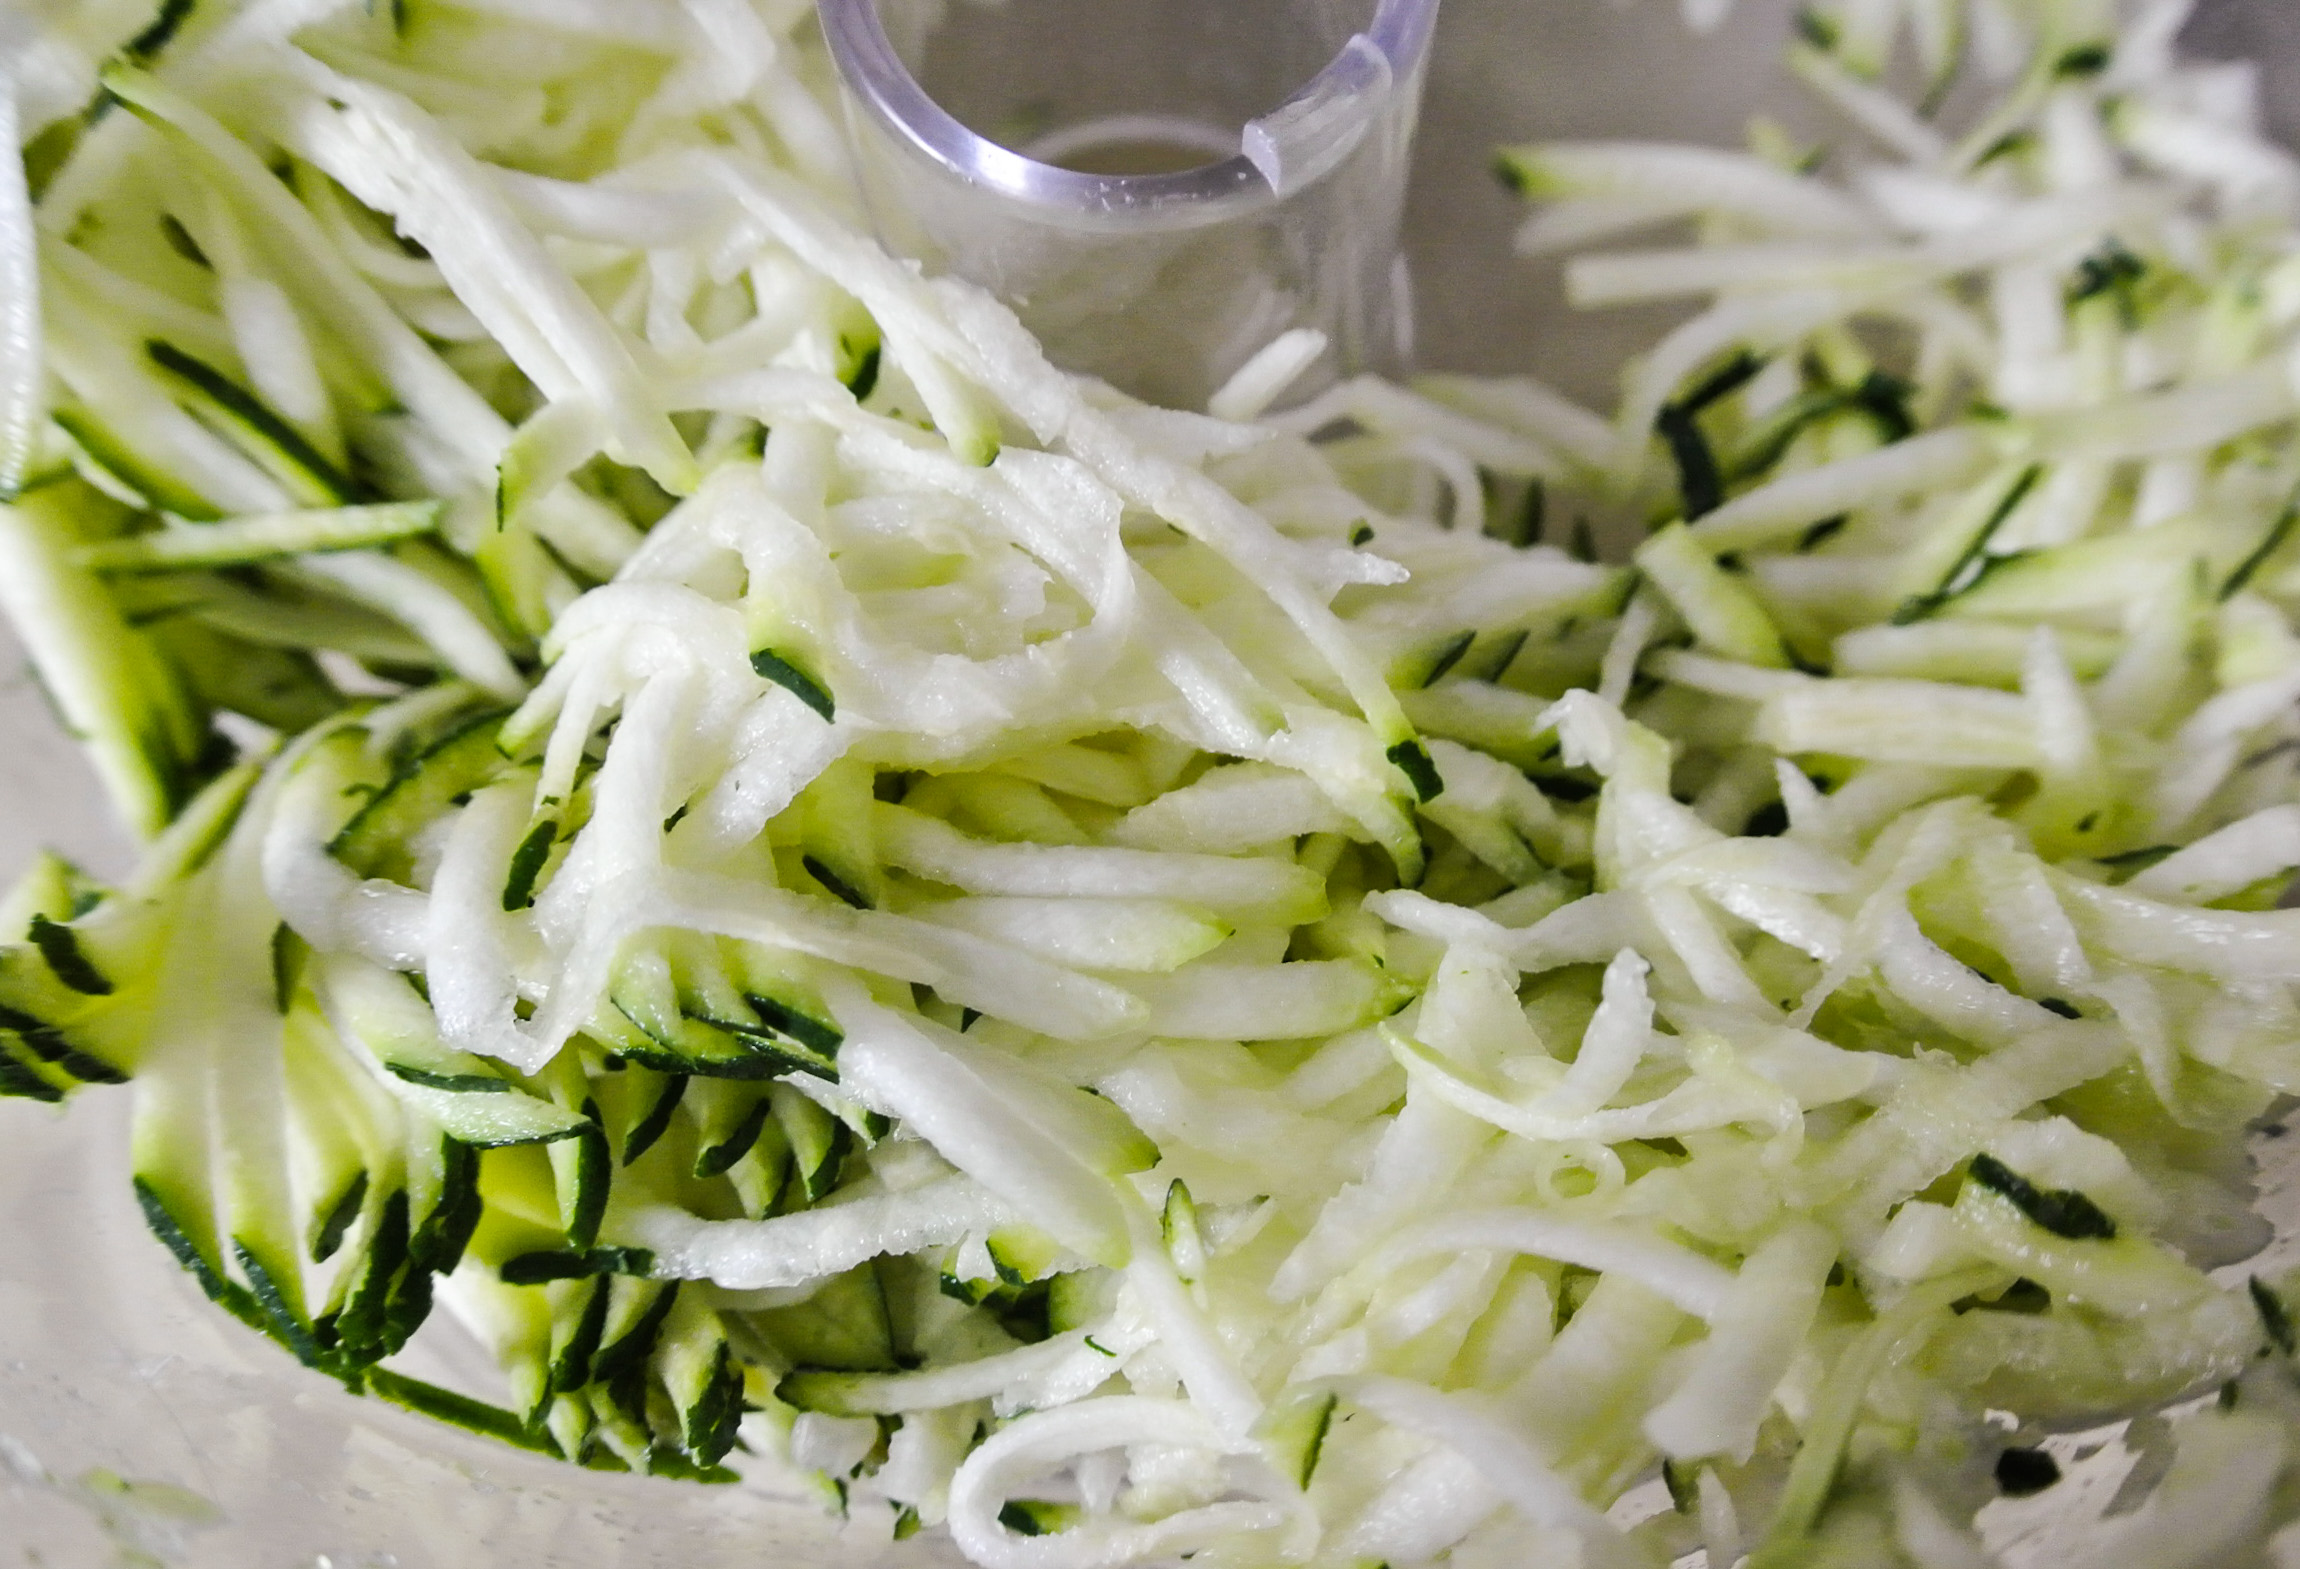
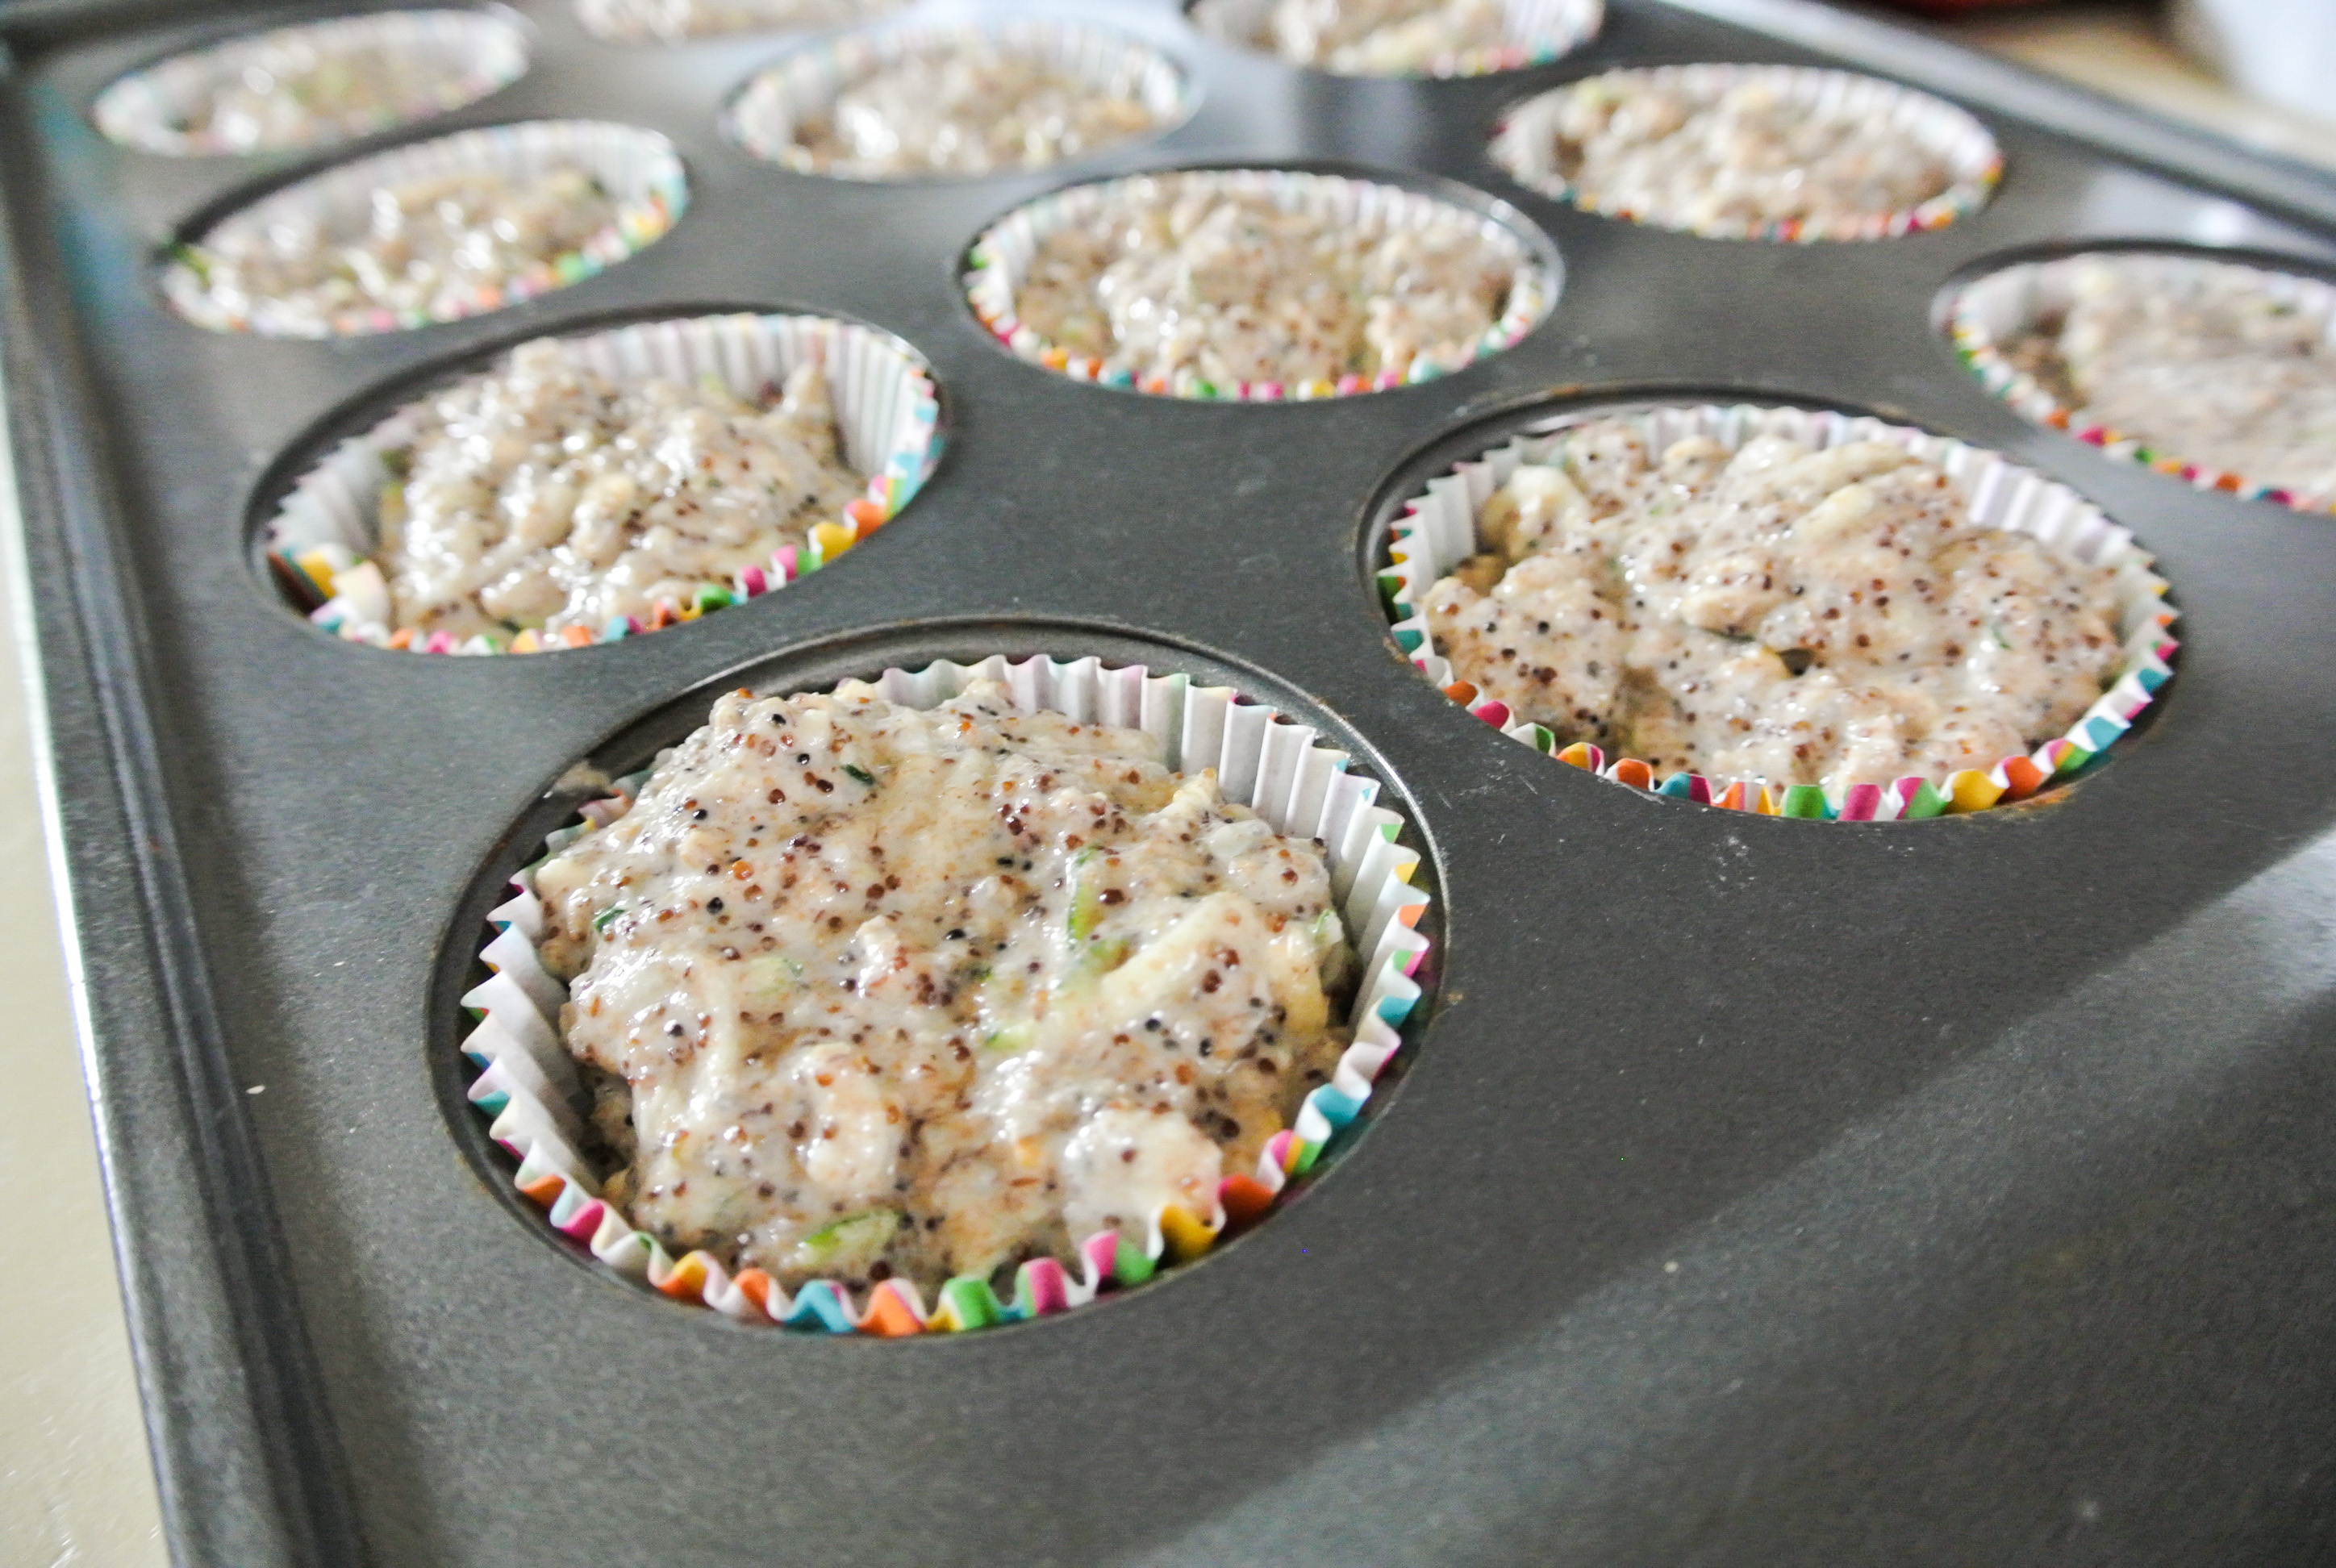
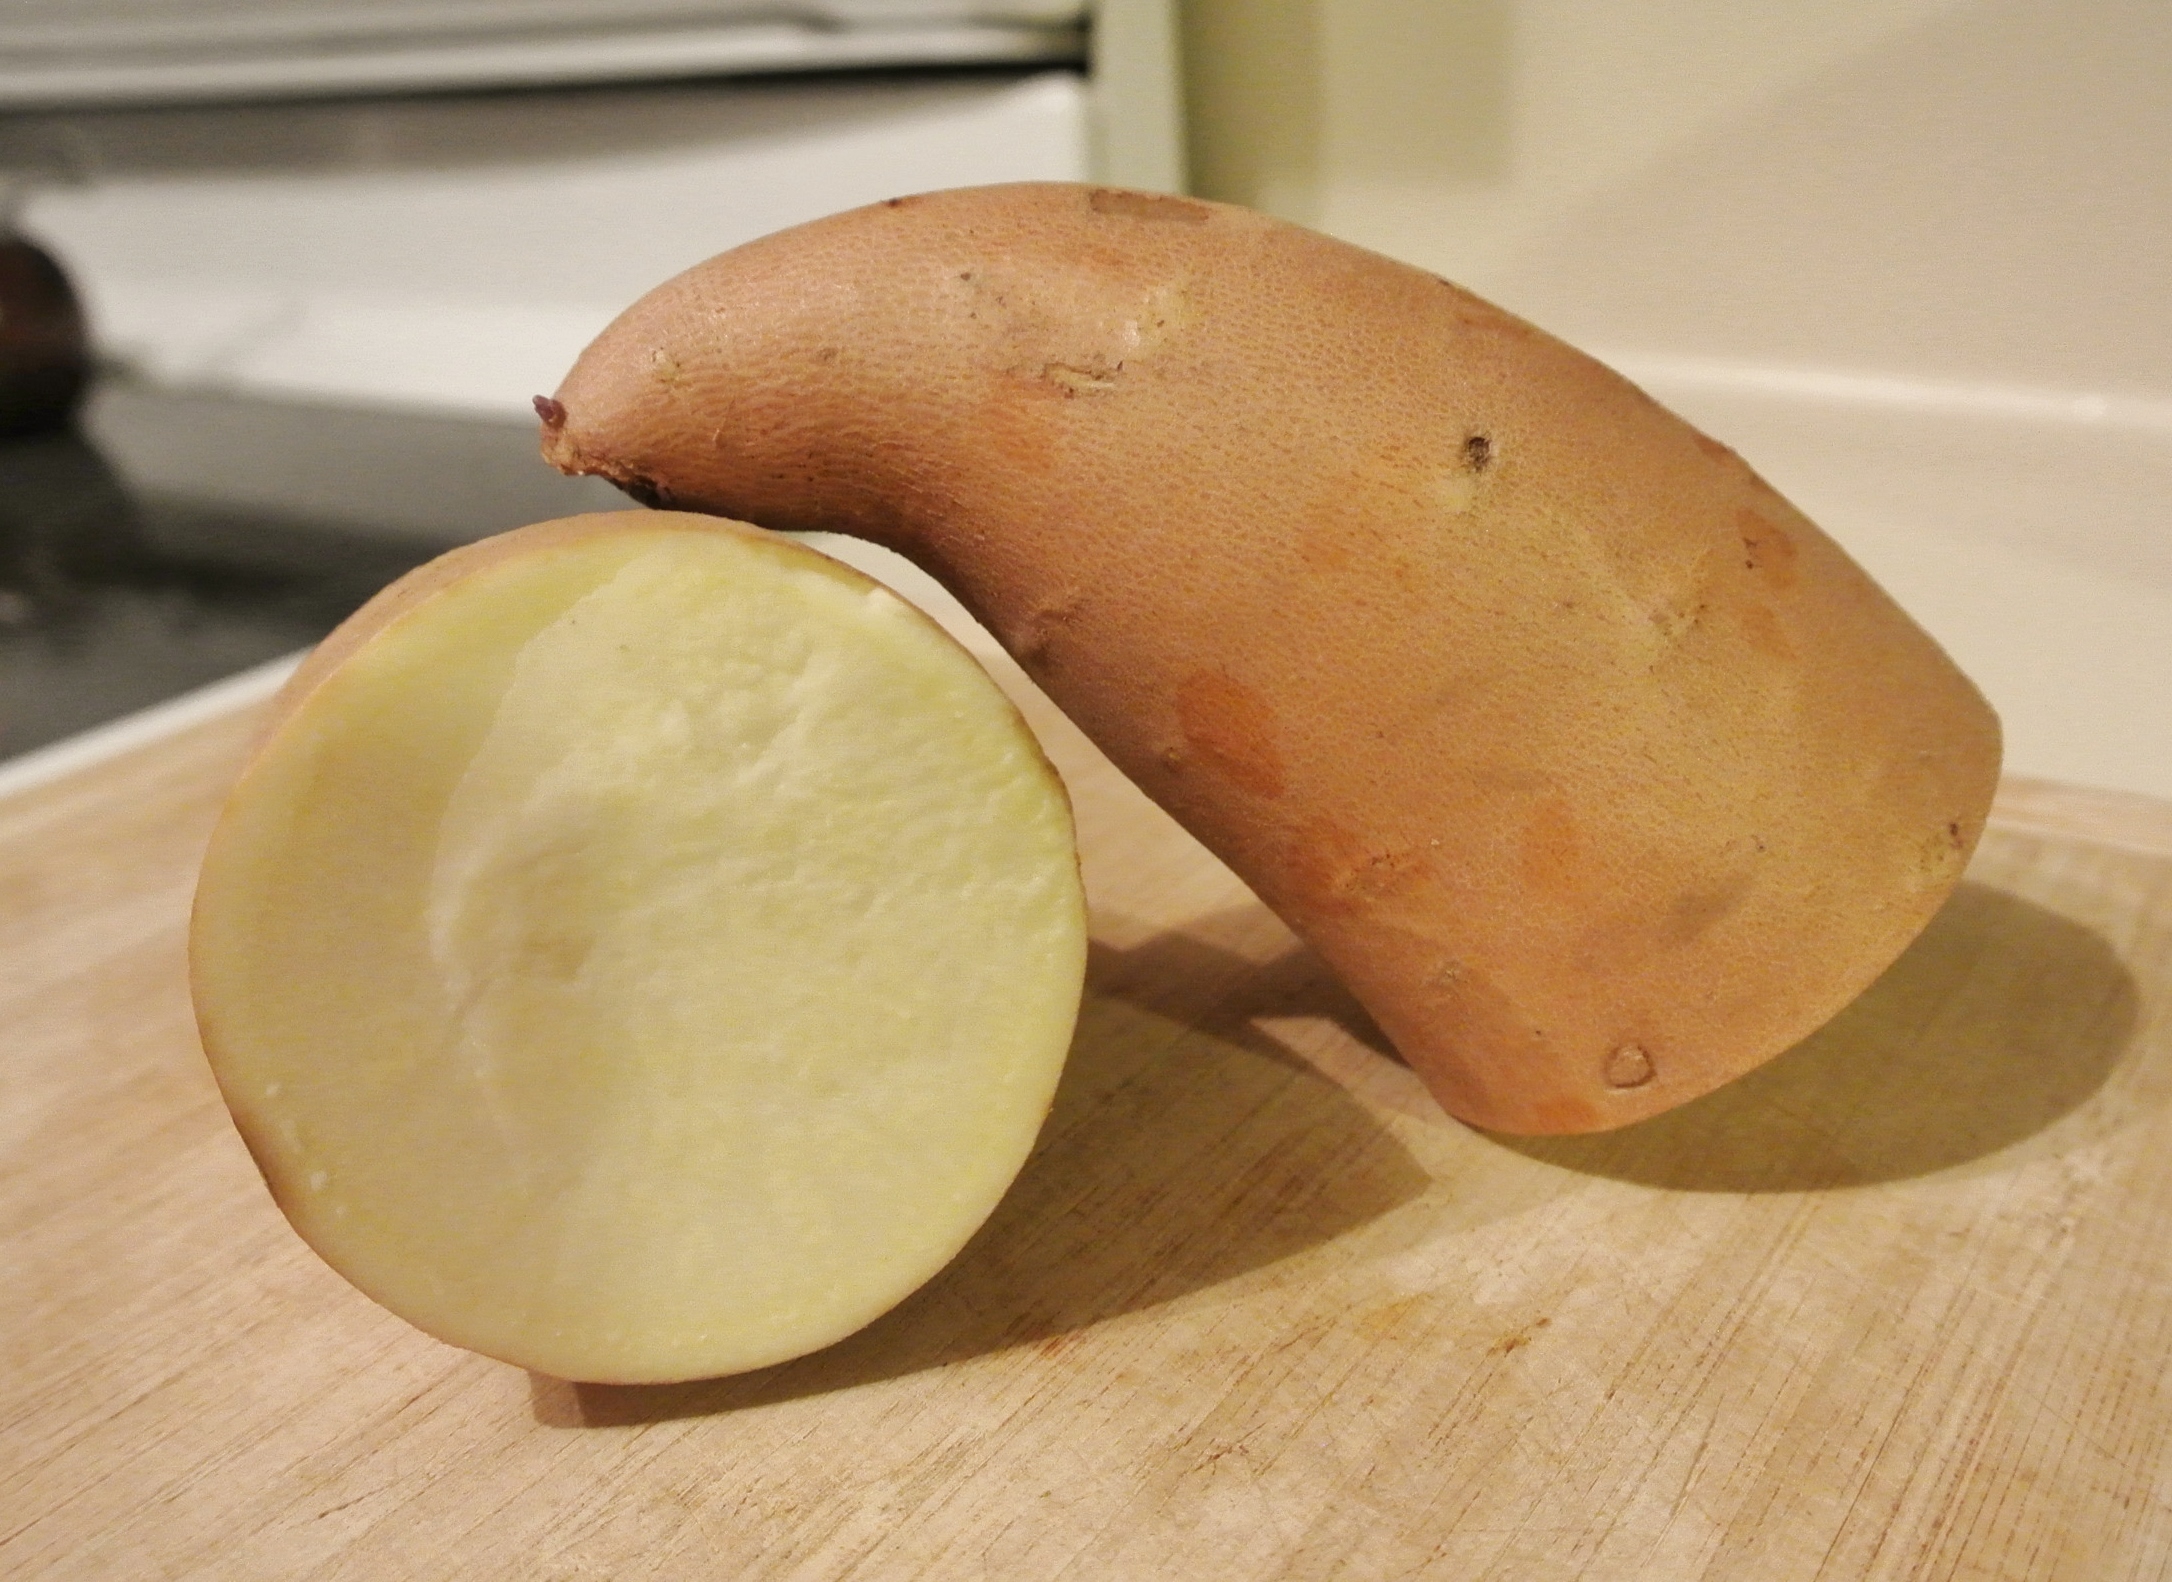
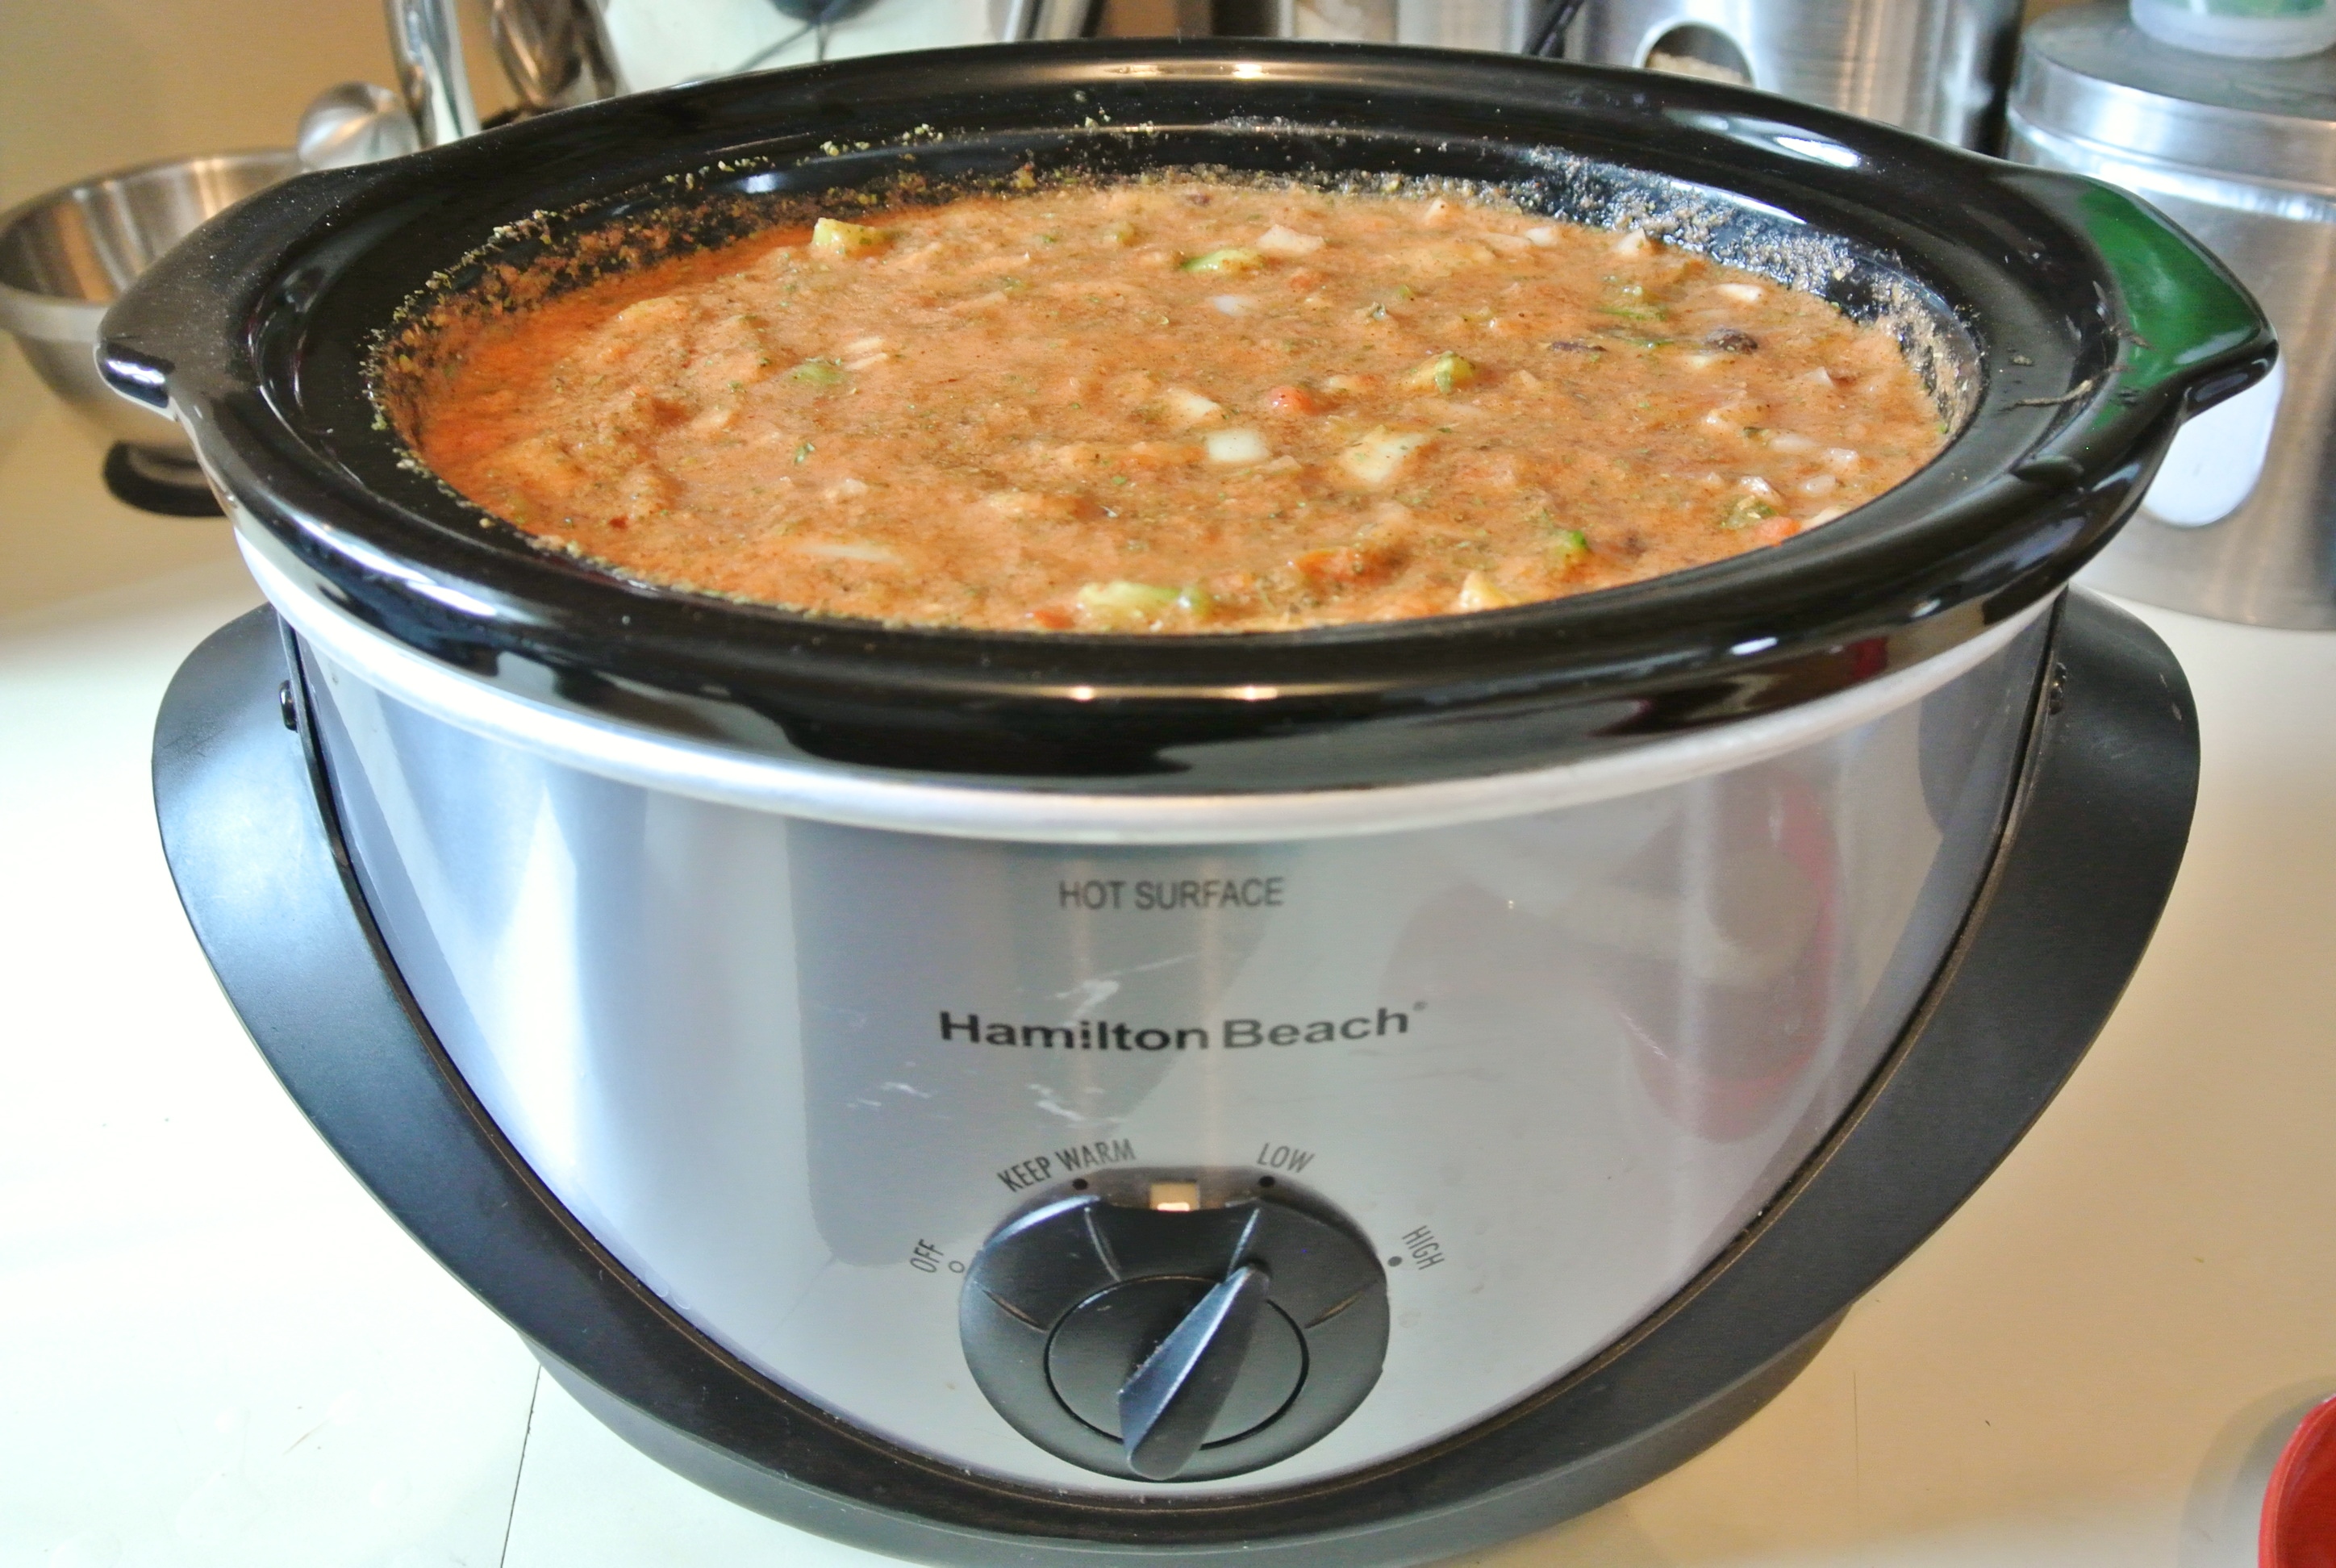
About six months after eliminating animal products, I decided to make it my mission to try new fruits and vegetables.  A friend that I used to teach high school with and I would head out to the farmer’s market and while I would buy plenty of familiars, I would also try to grab at least one or two items that I didn’t recognize.  While this sometimes wound up in failure (you can’t help what you like and don’t like!), 90% of the time I found some—or a lot of—success with new produce.

The last phase in my journey to plant-based living involved what I call, for no particular reason other than simplicity, “picky vegan things.”  I gave up honey, gelatin, white sugar, etc.  In other words, I gave up the foods that don’t outwardly say “I’m made with animal products,” or that we commonly associate with chickens cooped in their pens or salmon being fed corn, but foods that contain animals or are made by animals nonetheless.

Today, I am working on becoming even more dedicated to an imperfect model.  I am not above grabbing a slice of pizza at a party; I just choose not to eat like the majority 95% of the time.  For this, I am healthier than ever, with great blood work, loads of energy, reliable sleep habits, and a normal weight and heart rate.

I hope that taking a look into how I got where I am inspires you to make a healthy change in your lifestyle, however big or small.  There’s nothing wrong with baby steps and there is no perfect diet.  🙂  For more inspiration and ideas, read more about me, plant-based living, and my Fresh Formula concept.  As always, enjoy!

New Formula: Veggie Curry

DSC_1657I’ve always known that I love curry, but I didn’t realize just how much until Travis, Nolan, and I visited my sister and her husband in Japan this past June. In addition to traditional Japanese fare, the streets are sprinkled with tiny, authentic Indian restaurants, serving many varieties of curry with chewy naan. Travis, Petra, Craig, and I decided that we really needed to check out these curry joints; the chefs there must be doing something right if there is just as much curry available in Tokyo as sushi and ramen.

Thus, we embarked on what we lovingly named The 2013 Curry Crawl. We sampled curry from six different Indian establishments over the course of two days, with one day of rest in the middle (curry can be intense, ya’ll). We even found a bakery that sold savory curry-stuffed donuts! Yes, it’s true, and boy were they delicious!  Here you can see me and Petra, members of the Curry Crawl Clean Plate Club, and the donuts.

DSC_1026 DSC_0883

Vegetarian curry was easy to find, but vegan curry? Not so much. While coconut milk is a typical base for the creamy curry sauce, many places use heavy cream or milk. Being lactose intolerant, I knew pretty quickly when I had just wolfed down a cream-based curry rather than the preferred coconut milk variety. Uh oh… 🙂

Full and inspired, I knew I had to come back to Arizona and perfect my own totally vegan curry dish. I experimented with different vegetable and bean combinations, plant milks, and spice levels, and think I just may have figured this out. I discovered that there really is no ideal recipe since I like so many different flavors and because different people prefer their curry differently: sweet, spicy, mild, thick, soupy, etc. Thus, vegetable curry (now under Square Meal Formulas) lends itself perfectly to my Fresh Formula model.

When I’m making this dish—which Travis claims is the best vegetable curry he’s ever had, just sayin’—I throw together whatever vegetables and beans I have on hand and have a unique experience every time. I keep the spice blend and sauce thickness consistent, since to me, that’s what makes my curry, my curry.

Before we get started, I have pictured here an actual sweet potato, since that is what I am using in today’s recipe. If you didn’t already know, while some varieties of sweet potatoes may be orange inside, the orange guys you find in the grocery store may actually be yams, with the true sweet potatoes being pale yellow inside. Does it matter? Yes! Sweet potatoes are higher in protein and fiber than yams and a mega source of vitamin A. While both are extremely nutritious, sweet potatoes have an edge. Just something to consider the next time you are in charge of these starches next Thanksgiving.

DSC_1648Finally, don’t forget to thoroughly wash your vegetables before peeling and chopping. Remember, you can collect the clean scraps in a large bowl in the freezer to make into homemade veggie stock later on. 🙂 On to the curry!

FORMULA BASE: VEGGIE CURRY

Serves 6

  • 2 cups grains + 4 cups cooking liquid –> I’m using short grain brown rice, which I’m cooking in my homemade veggie stock.
  • 2 cups cooked beans –> I’m using garbanzo beans (AKA chickpeas).
  • 1 cup raw nuts –> I’m using cashews.
  • 5-6 cups chopped vegetables –> I’m using 1 medium sweet potato, 2 small carrots, 1 medium zucchini, ½ cup each corn and peas, and ½ of a small yellow onion.
  • 2 cups plant milk –> I’m using 1 cup each of coconut and almond milk. (Although I’ve never sampled a curry where I could actually taste the coconut flavor, which I don’t like, I always still err on the side of caution and mix plant milks. :))
  • 2 cloves minced garlic
  • 3 tbsp curry powder –> The premixed stuff is too spicy for me, so I combine 1 tbsp garam masala, ½ tbsp each of cumin and turmeric, ¼ tsp of ground nutmeg, and ½ tsp of pink Himalayan sea salt and adjust while cooking as my taste buds see fit. If you like it spicy, use a premixed curry powder (beware of added salt) which will likely already carry some heat and add cayenne pepper to taste.
  • ½ tbsp agave syrup (optional) –> I’m using it. I may consider using more if I weren’t included a sweet potato in the mix.
  • 1 tbsp oil (to prevent cooking vegetables from sticking to the pan) –> I’m using coconut oil.

Rinse your grains and place in a rice cooker or stove top pot with their cooking liquid. Set to medium low heat and cover, stirring occasionally. The grains are done when all of the liquid has been absorbed. Cooking times will vary. Brown rice takes 25-35 minutes, depending on the variety and whether or not it is cooking in a rice cooker or on the stove.

Dry toast the nuts in a large sauté pan over medium high heat for 3-5 minutes, or until lightly golden, tossing frequently.

DSC_1649The nuts will darken in color throughout the entire cooking process. While you’re waiting for the nuts to brown, chop up your longest-cooking veggie(s). For me, these are the sweet potato and the carrots, which I am peeling before chopping.

When the nuts have browned slightly, add your oil to the pan, along with your longest-cooking veggie(s). Sauté for about 5 minutes before adding your milk, garlic, agave syrup, and spices. Turn the heat down to medium to reduce the milk for 15 minutes, stirring occasionally. In the meantime, continue to chop all of your veggies. After the 15 minutes, add them to the mix from longest cook time to shortest; my last addition will be the garbanzo beans (rinse and drain if necessary) and frozen peas and corn since they simply need to heat through. Stir your vegetables often to ensure they aren’t sticking to the bottom of your sauté pan, but are still being exposed to the heat.

Cook times will vary depending on the vegetables selected. This version of my curry formula takes just under an hour. When your veggies are all cooked through or to your liking (I prefer them al dente), serve the curry over rice. Enjoy!

DSC_1651

New Fresh Formula: Totally Vegan Chili

DSC_1541

A few days ago, a friend posted an inquiry on Facebook seeking crock pot recipes. I instantly thought of my totally vegan chili recipe, which I always simmer for hours in my crock pot. I thought about what I typically put in the chili and concluded that it’s the tomatoes and spices that make it chili; the beans and vegetables could really be anything. Thus, a new fresh formula—now housed under Square Meals—was born.

This formula is inspired by the spice blend in my mother’s meat chili, a dish I absolutely loved growing up. She now makes her chili vegan, too, often getting creative with her vegetables. She used sweet potatoes in her last batch, which I happened to be in Michigan to taste. Boy was it yummy!

Making this formula work for you will depend on how spicy or sweet (or both) you like your chili, so you’ll see some flexibility in how you prepare it. Consider beans and/or lentils that are on sale, that work well together, and of course, that you enjoy. Call on vegetables that are in season and whenever possible, organic.

A well-stocked spice cabinet should ensure that you’re ready to make this chili at any time. By “any time,” I mean just before you go to bed or leave for work, as it cooks slowly over many hours. It is quite often my go-to dinner when I’m craving something warm and filling and I’m low on veggies, since beans are really the star here.

A note about canned tomatoes: I recently read that canned tomatoes are among one of the most dangerous foods that one can purchase. The high acid level in the tomatoes causes them to eat away at the can’s interior, exposing them to dangerous BPA. As always, starting with fresh is a little more work, but better for you.

Canned beans, on the other hand, I’m okay with, so long as the can contains beans ONLY…no added sodium, spices, or fats.

Finally, rather than cheese or sour cream, I sometimes top this chili with crumbled homemade vegan cornbread, broken tortilla chips, cilantro, green onions, or a squeeze of lime juice… or, I just eat it plain – it’s that good. It also makes for a delicious addition to a burrito or other Latin or southwestern dish. Enjoy!

FORMULA BASE: CHILI

Serves 6

  • 6 cups cooked beans and/or lentils –>  I’m using 2 cups each of black, kidney, and pinto beans.
  • 1-1 ¼ lbs tomatoes  –>  I’m using 6 roma tomatoes.
  • Approximately 4-4 ½ cups vegetables  –>  I’m using one green bell pepper, one yellow onion, and ½ cup frozen corn.
  • 2 cloves garlic
  • 3 tbsp chili powder
  • 2 tbsp dried minced onions
  • 1 tbsp oregano
  • 1 tsp paprika
  • 1 tsp cumin
  • 1 tsp dried cilantro
  • Pink Himalayan sea salt and fresh ground pepper to taste  –>  I’m using ½ tsp salt and no ground pepper.
  • Sweetener to taste (optional)  –>  I’m using 2 tbsp agave syrup. I like a little sweetness to balance out the spices and acidity of the tomatoes.
  • Cayenne pepper to taste (optional) –>  Not for me – I’m a wimp.  🙂

Set your crock pot to low. Coarsely chunk your tomatoes and place in a food processor or blender. Blend until smooth and pour into crock pot. It will look orange/pinkish and frothy right now, but will cook down and deepen in color with time and spices.

DSC_1516

Dice and add all veggies. Mince and add garlic.

DSC_1517

Add all spices, seasonings, and sweeteners, if using.

DSC_1522

Drain and rinse beans/lentils (if necessary) and add to the crock pot.

DSC_1523

Fill any remaining space in the crock pot with water to your thickness preference*. I fill my crock pot almost to the top, knowing that it will reduce a bit.

DSC_1526

I keep the crock pot lid slightly ajar to allow for slow evaporation and ultimately, a thicker chili, but keep the crock pot completely covered for a soupier dish. Simmer for 8-10 hours, depending on the power of your crock pot.

*ALTERNATIVE IDEA: Add only enough additional water to cook your veggies through and create a super thick warm bean dip rather than a chili. A new party favorite with tortilla chips!