Pizza Bread

I have recently acquired two kitchen appliances that I’m obsessed with: an automatic bread maker and a food dehydrator. As you know, I like to bake my own bread. While the bread maker actually takes longer from start to finish than it takes me to crank out a loaf manually, I like being able to dump in my ingredients, push Start, and forget about it. My bread maker came with a recipe book that has inspired many variations on my standard bread formula.

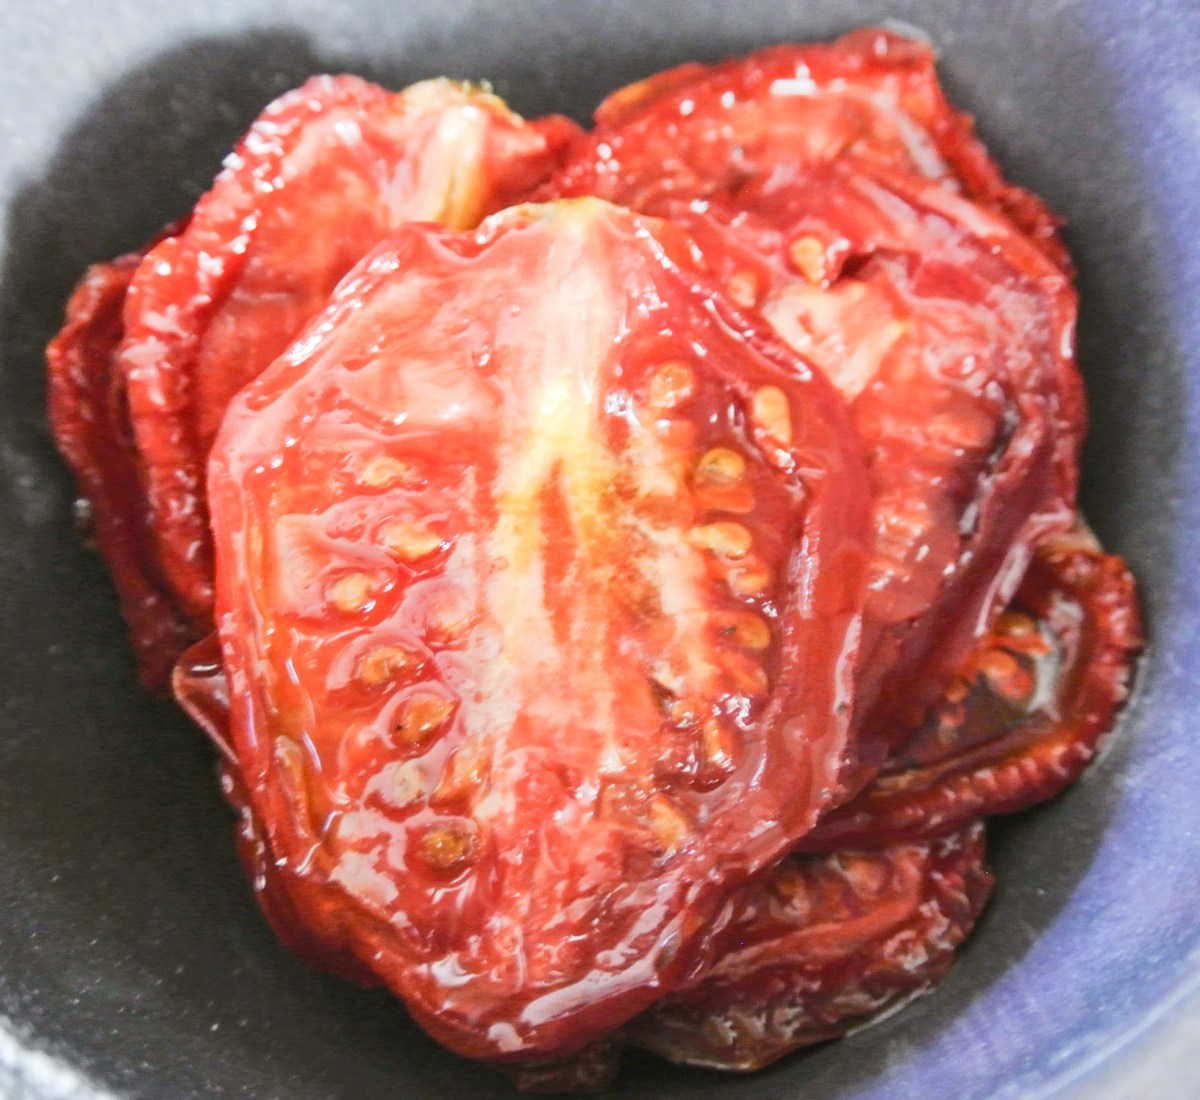
Today’s variation incorporates tomatoes that I dehydrated with my other favorite new appliance, my dehydrator. I asked for one for Christmas mainly to make my own dried fruit. Buying it premade often means signing up for excess added sugar, oil, or salt. I’m happy that I can now control those ingredients myself. The dehydrator also makes veggie chips, all-natural fruit rollups, and all kinds of other yumminess!

DSC_2719

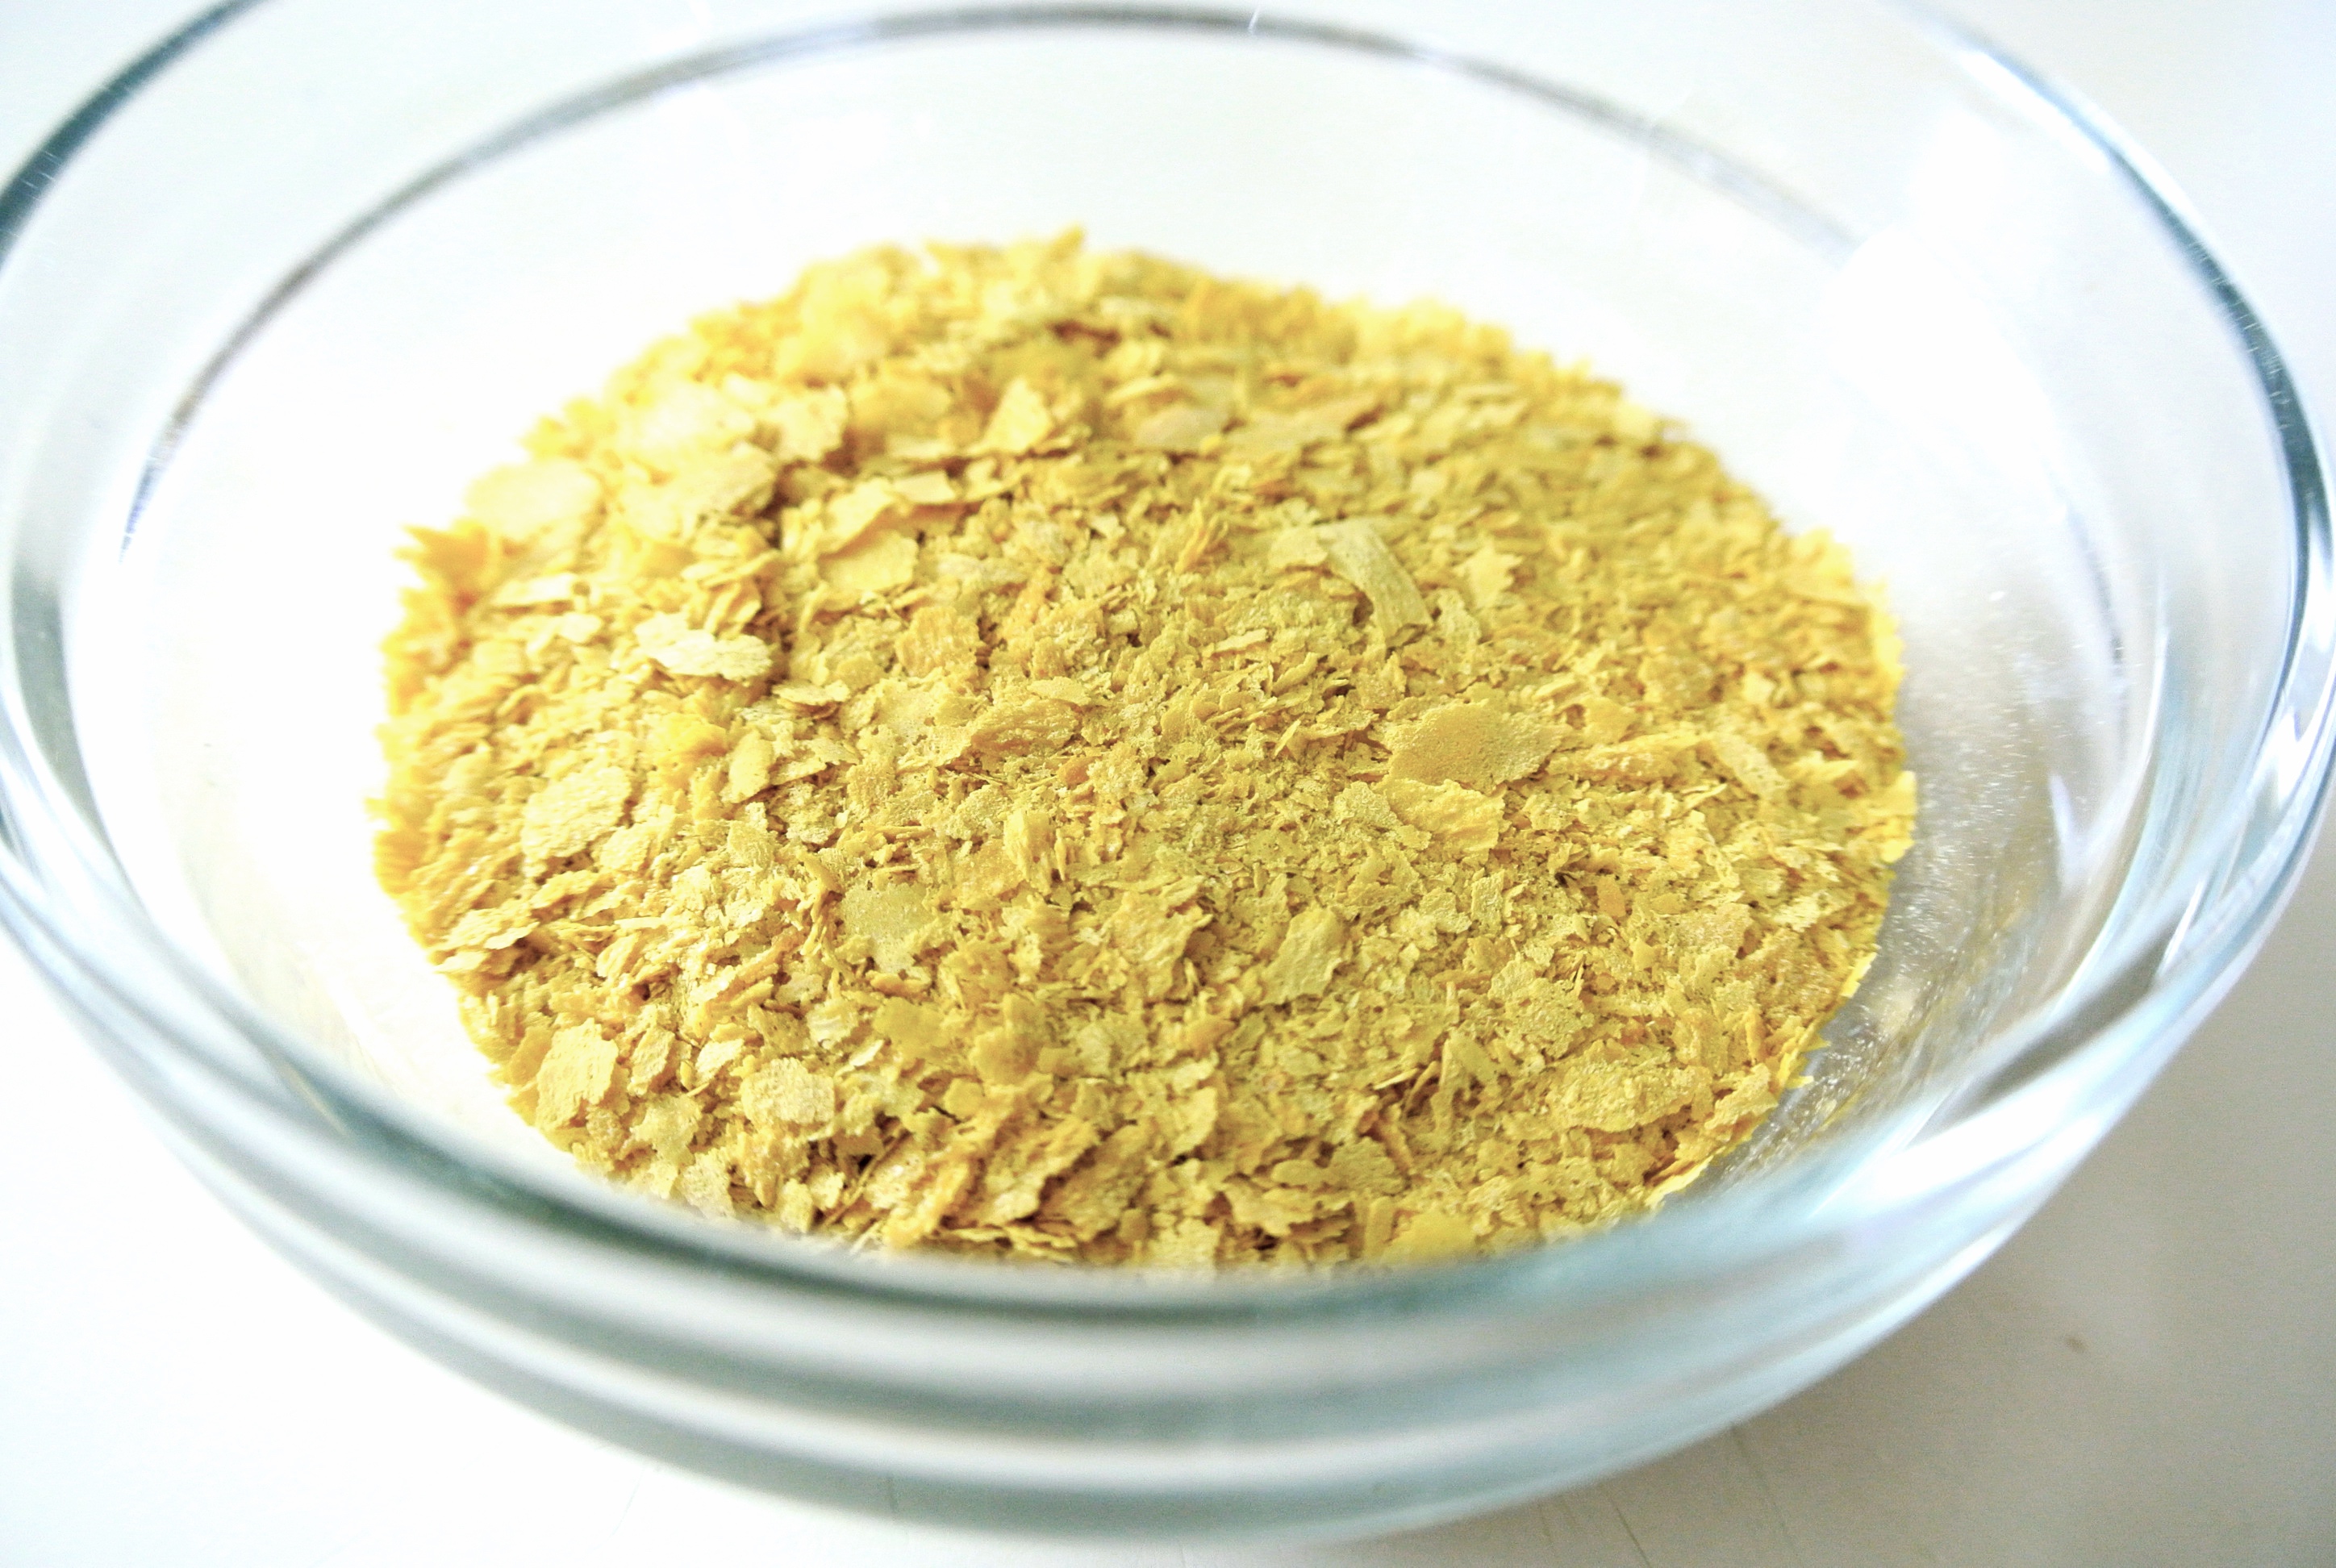
Ok, back to the bread. I played around with my bread formula to come up with a loaf that incorporates all of the flavors of pizza without the cheese. This rendition incorporates a bit of nutritional yeast flakes (also found in my last post, nacho “cheese”) that really do add that much-sought-after cheesy flavor.

You’ll notice that I’ve included the directions for making the bread by hand, should you not own a bread maker. Otherwise, follow the instructors on your appliance. 🙂 Enjoy!

FORMULA BASE: YEAST BREAD

Makes 1 standard size loaf

  • 3-4 cups of flour, plus more for dusting your workspace–> I’m using 2 cups whole wheat flour, 1 ¾ cups bread flour, and ¼ cup nutritional yeast (nooch is not flour, but has a similar dry consistency).
  • ¼ cup ground flaxseed –> I’m using hulled hemp seeds instead.
  • ½ tsp salt –> I’m using pink Himalayan sea salt.
  • 1 packet rapid rise yeast
  • 1 tbsp oil –> I’m using some of the extra virgin olive oil that my sundried tomatoes are packed in.
  • 1 ¾ cups very warm water (hot, but touchable) –> My bread machine requires less water, so I’m using only 1 ¼ cups, but I would maintain this amount for a manual loaf.
  • Up to ½ cup specialty ingredients (optional) –> I’m using nearly ½ cup chopped sundried tomatoes + 1 tsp turbinado sugar, ½ tsp dried basil, and ½ tsp dried oregano.

Attach a dough hook to your stand mixer (you can make the bread entirely by hand, but it will be a little workout!). Thoroughly clean and dry your countertop and sprinkle with flour. Have any specialty ingredients of choice nearby to eventually knead into your bread dough. Lightly oil a large bowl and a loaf pan.

Combine 3 cups of flour (including nooch, in my case), salt, and yeast in the mixer on low. Add any additional spices or sweeteners, if using. Add the water and oil to the dry ingredients and scrape down the sides of the mixing bowl before starting the mixer. Start on low speed and increase the speed as the dry ingredients become incorporated into the wet.

Add all of the flaxseed (hemp seeds in my case) and then, additional flour gradually until your dough forms a minimally sticky ball on high speed. I can tell that the dough is ready for kneading if it is still somewhat sticky to the touch, but does not stick to the mixing bowl itself when whipping around on a high speed.

Flour your hands, remove the dough, and place the dough onto your floured countertop. Knead the dough, adding small amounts of flour as necessary, until it makes a smooth ball. If you are adding ingredients like sundried tomatoes, stretch the dough open 3 times throughout the kneading process to sprinkle in ingredients before folding over the dough and kneading again. Knead for 5-7 minutes total and then place the ball into your oiled bowl. Cover with a clean towel and let it rise in a warm place for 45 minutes.

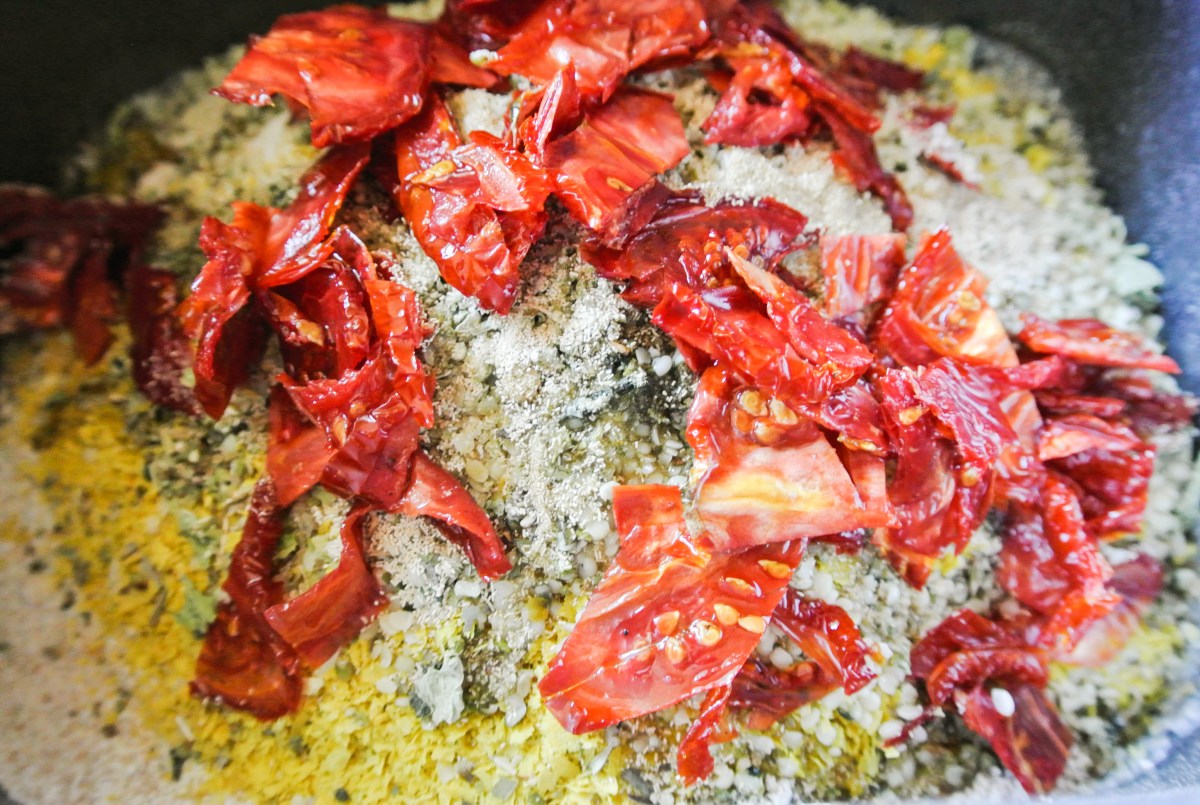
This is what my assembly looks like just before starting the bread machine:

DSC_2723

After 45 minutes, punch down the dough, reform into a loaf shape, and transfer it into your oiled loaf pan. Cover the dough and preheat your oven to 400 degrees. In the time that it takes the oven to preheat, your dough will rise again and then be ready for baking. Bake for 35 minutes. The bread should come out of the loaf pan fairly easily and onto a wire rack to cool.

Need more pictures of the bread making process? Check out my original bread post!

Advertisement

Guiltless Nacho Cheese

No, the title of this post is not a mistake: You CAN load up your nachos with gobs of ooey-gooeyness and NOT stress about what you’re eating. What is this orange slime that I poured all over my nachos? What is it made out of? How is it that orange? How much salt is in this? Those days are done.

I have concocted a number of formulas for vegan alternatives that are just as satisfying as dairy: creamy pasta sauce, mousse, frosting, whipped cream, etc. I have never, however, claimed that they are the same; vegan cheese just isn’t cheese. Period. What matters to me is that my vegan rendition is delicious, nutritious, and an adequate—if not superior—substitute for the real deal.

Today, I’m walking you through a vegan nacho cheese that is seriously going to blow your mind. The color is the same, the texture is the same, and the flavor is on point, as spicy as you’d like to make it. The best part? No guilt: This cheese sauce is potato-based. Who knew “nacho cheese” could be healthy?! (Remember, when not slathered with greasy, cholesterol-laden dairy products, potatoes—even white—are an extremely healthy source of fiber and vitamin C.)

Many of my formula ideas come from Instagram. I follow some amazing vegan bloggers that post a wide variety of sweet and savory drool-worthy pictures and recipes. Every time I’ve seen nacho cheese come up, I’ve scrolled past. There’s no way it’s anything like nacho cheese, I thought. I finally decided to match a batch and I was dead wrong. (Big thanks to @bestofvegan and @silviaryan for the inspiration!)

Travis is always skeptical when I create a formula that is meant to replace a perfectly palatable animal-based version. He figures, why not just eat real cheese if that’s what you’re craving, but at the same time, realizes that doing so is not the most sensible choice for the body. Thus, he keeps an open mind. I can say with confidence that Travis’s perspective on nacho cheese is now forever changed – he said that all my vegan rendition needed was a pinch of salt and it was legit. He can be quite critical (in a helpful way), so if he approved, it’s gotta be good.

Some tips: The type of potato/carrot you use will certainly influence the flavor and color of your nacho cheese. Point being, I wouldn’t use purple. 🙂 The sweetness from either a yam, sweet potato, or carrot balances out the spices…or extreme spiciness if you like it hot. I have only made this cheese with a russet and carrot combo and the sauce was not at all sweet. It would certainly be a bit sweeter with a sweet potato or yam, but even then, I don’t foresee this sauce tasting even close to dessert-like. Finally, you can easily transform this into a queso dip by adding fresh diced tomatoes and peppers.

I promise that you won’t be disappointed with this formula. Pour this nacho cheese over organic, all-natural, low-sodium chips or layer in a burrito bowl and dig in. Enjoy!

FORMULA BASE: NACHO CHEESE

  • 1 medium potato (or the equivalent in fingerlings or another small potato variety) OR 1 large sweet potato or yam –> I’m using 1 russet.
  • 1 large carrot (if you’re NOT using sweet potato/yam) –> I’m using it.
  • 1 cup unsweetened, unflavored plant milk –> I’m using almond.
  • ½ cup raw cashews
  • ¼ cup nutritional yeast
  • 1 tsp paprika
  • ¼ tsp garlic powder
  • ¼ tsp onion powder
  • Salt and Cayenne pepper or hot sauce to taste –> I’m using about ½ tsp pink Himalayan sea salt and a dash of cayenne pepper.

Put your cashews in water and soak for at least four hours (I usually do overnight).

Peel your potato(es) and carrot, if using. Cook using the method of your choice (steam, boil, bake, etc.).

Drain and rinse your cashews. Place in a blender with cooked potato(es) and carrot (if using) and all remaining ingredients. If necessary, add more milk until you’ve reach the desired consistency, keeping in mind that you then may need to adjust your seasonings to prevent the sauce from becoming bland.

DSC_2726DSC_2727

Use immediately or store in the fridge (does keep well!). May require more milk when reheating.

DSC_2738

Eggplant As You’ve Never Seen It Before

Oh, eggplant. I’m sure I’m not alone in stating that it isn’t my favorite vegetable. Up until recently, I’ve only been able to think of a handful of ways to make it truly delicious and appetizing. One of those methods includes breading and frying it in classic eggplant parmesan. Totally scrumptious, yes, but this popular Italian vegetarian dish contains so many unhealthy components that the benefits of the eggplant practically become negated.

When Nolan was just beyond eating only pureed fruits and veggies and on to soft whole foods, I thought that eggplant would make for a unique sauce. Since I was so used to pureeing it for him anyway, I imagined that flavoring it up and pouring it over pasta would make it more appetizing for me, too.

I’m happy to report that that early kitchen experiment was a success. When I had leftover cashew cream from last week’s potato salad, I got creative in taking my original eggplant pasta sauce up a notch. The addition of the cashew cream provided for a dairy-like richness that reminds me of an alfredo, sans all of those animal products.

If you, too, are struggling to make the best of the mysterious purple vegetable that, in fact, is nothing like an egg at all, today, you are in luck! While an appealing flavor and texture transformation might be reason enough to make this pasta sauce, the eggplant contains a whole host of health benefits. First, it contains cholorogenic acid, known to prevent healthy cells from mutating into cancer cells and also a key player in lowering bad cholesterol. Secondly, it is low calories, but high in fiber, vitamins, and minerals. Its blandness—like the russet potato—is an ideal blank slate for something like a pasta sauce.

DSC_2323In other news, you’ll see that this formula calls for some type of acid. I have found that just a touch of something acidic really brightens the sauce, resulting in a creamy pasta experience that won’t leave you feeling heavy and bloated. Today, I’m using white balsamic vinegar; white, simply to maintain that alfredo-like, off-white color. Check out my multi-grain salad formula for more info on the health benefits of vinegar and this brand, which is my go-to:

DSC_2325Truthfully, this formula is in its newborn stages and I’m not sure how it would hold up to substituting different vegetables, but I imagine that it’s the cashew cream that brings it together. Point is, if you pureed nearly any cooked vegetable with the cashew cream, I think that you would achieve a similar sauce (in consistency, at least). Try this out with eggplant first and see how it goes with another of your favorites that you have been fruitless in repurposing. Enjoy!

FORMULA BASE: VEGETABLE PASTA SAUCE

Yields sauce for one box of pasta

  • 2 cups coarsely chopped raw vegetables –> I’m using eggplant.
  • ½ cup cashew cream (soak raw cashews overnight, drain, and blend with just enough water to form a thick cream)
  • 2 tbsps nutritional yeast
  • 1 tbsp acid (i.e. vinegar, mustard, citrus juice, etc.) –> I’m using white balsamic vinegar.
  • ¼-1 tsp seasoning (i.e. fresh/dried herbs, spices, etc.) –> I’m using ¼ tsp ground nutmeg.
  • Pink Himalayan sea salt and fresh ground pepper to taste –> I’m using approximately ½ tsp salt and several turns of pepper.

Peel (if necessary) and chop your vegetables. Steam, roast, or boil (I’m steaming) to cook. The Baby Bullet Steamer: not just for baby food! 🙂

DSC_2324While your vegetables are cooking, bring a pot of water to a boil and prepare your pasta of choice. When the vegetables are finished, combine with all other ingredients (except the pasta, of course!) in a blender and puree until smooth and creamy.

DSC_2326

Pour atop your pasta (or use in another application) and enjoy immediately for most desirable consistency. It will keep just fine in the fridge, but will dry out a bit.

DSC_2327

New Formula: Pesto

DSC_1811

Pesto is easy to make and super flavorful. While it is quite commonly a sauce for pasta dishes, it can also be used as a spread for sandwiches and wraps or a dip or marinade for vegetables. Depending on the application, pesto may be best used immediately as it will change in consistency once it goes into the fridge. This is a result of the oil within solidifying. If you’re looking for the pesto to be “pourable,” use it right away. Otherwise, it can easily keep in the fridge for up to a week.

There are endless combinations that make pesto delicious and versatile. The flavor depends largely on the herbs selected. Thus, I believe that pesto follows a basic formula and although often made with cheese, I’ve found a way to make it “cheesy” and vegan at the same time.

DSC_1806 The “cheesiness” comes from a couple of places. First of all, some nuts have flavors that mimic the nutty quality of cheeses like parmesan. My favorite parm substitute is cashews, which I grind finely and sprinkle on top of pasta often. The other cheesy element to this pesto is nutritional yeast, also known as “nooch.”

DSC_1808 Ummm…what is nooch (pictured above)?! Originally named “nutritional yeast,” it is a member of the fungi family and not the same as say, brewer’s yeast or baking yeast. This strain of yeast has a cheesy, nutty taste and adds a lot of flavor to dishes in small amounts. Most importantly, it is called nutritional yeast for a reason. Nooch is loaded with B-vitamins, protein, zinc, folic acid, and selenium. To sweeten the deal, some brands specifically contain the highly sought out vitamin B12.

Be creative in experimenting with my pesto formula. You could make a cilantro version to spread inside burritos or tacos, a basil version for Italian cooking, or even a mint version to use with falafel. The possibilities are endless. Enjoy!

FORMULA BASE: PESTO

Makes about 1 ¾ cups 

  • 1 ½ cups fresh herbs –> I’m using 1 cup parsley and ½ cup basil.
  • 1 cup raw nuts –> I’m using cashews
  • 1/3 cup nutritional yeast
  • 5 cloves raw garlic
  • ½ cup citrus juice –> I’m using the juice of two lemons.
  • Additional spices (optional) –> I’m using 1 tsp onion powder.
  • Water/oil as needed for smoothness –> I’m going for a thicker dip/spread, so I won’t need any extra liquid today.

Combine all ingredients in a food processor and blend until smooth, adding water and/or oil as needed. The less oil used, the lower in fat the end product will be. 🙂 So flavorful, this pesto doesn’t even need salt!

DSC_1810