Cheesecake Fail Turned Happy Accident

As I mentioned in my nice cream post, cheesecake is a popular dessert among vegan cooks, chefs, and bloggers right now. Many that I follow are experimenting with recipes to create a dairy-free version of this classic dessert and are taking it up a notch by making it no-bake and sometimes, raw, too.

Turns out, a successful vegan cheesecake is not easy, and I have yet to join the ranks of those who have successfully gone before me, despite seemingly knowing my stuff. When I develop a new Fresh Formula, I do so through either through experimentation in my own kitchen, research among other vegan cooks, or a combination of both. From those that I follow, I learned that the “cheese” in such a vegan concoction is made possible with cashews and sometimes, coconut cream, two ingredients that I’ve been obsessed with of late (see my potato salad and nice cream formulas).

I developed a formula that I saw as the right balance between sweet, creamy, and decadent without going overboard in any one flavor profile. I tasted the filling as I went, making adjustments as necessary, and came up with a final product that I was sure was the cheesecake winner.

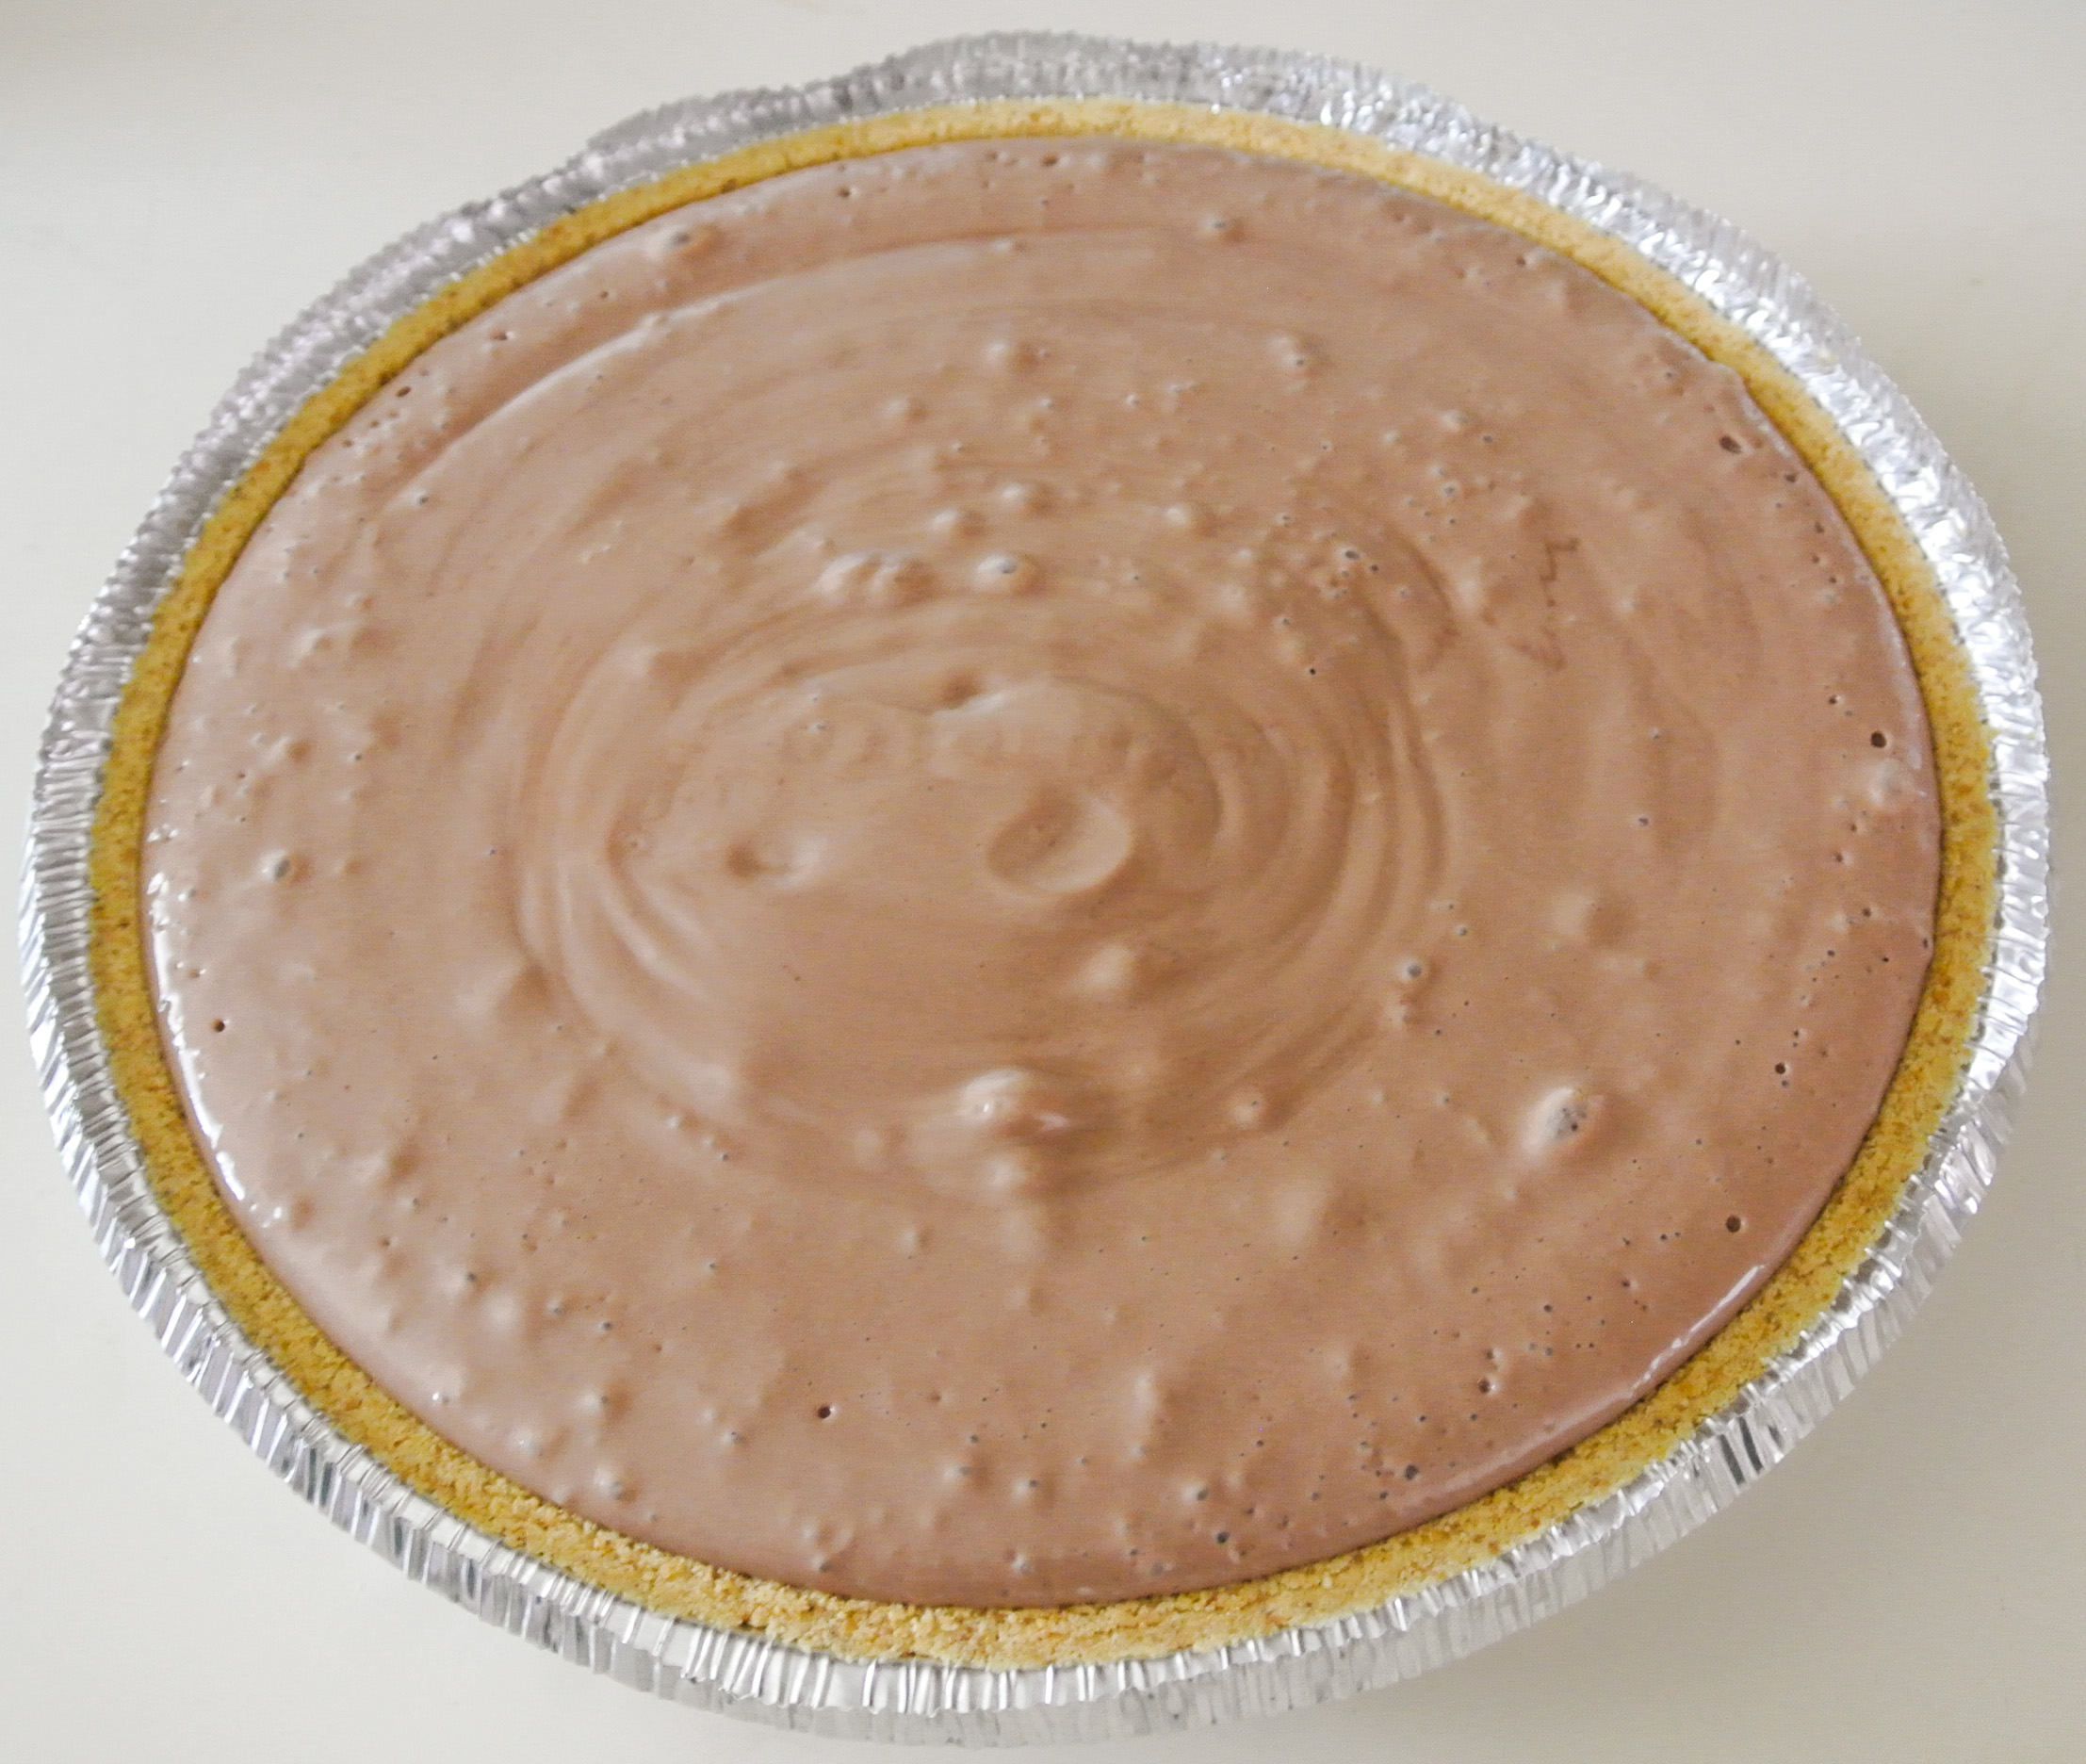
Well, everything was fine until I went to thaw my mini-cheesecakes (all of the recipes I researched stressed the need to freeze and then thaw them to secure the desired shape) and they melted. 😦 Somehow, other vegan cooks have figured out how to make these beauties hold their shape, just like a dairy cheesecake. I, however, have to yet to find success in form. What did happen, though, was amazingly delicious: mousse!

As you know, I already have one mousse formula that is tofu-based. This is a trusty standby for me as it holds its shape well and is jam-packed with protein. I’m not doing away with that mousse rendition; now, I just have more options! And, as far as protein content is concerned, nuts can hold their own, too, so I’m not “missing out” with my new formula.

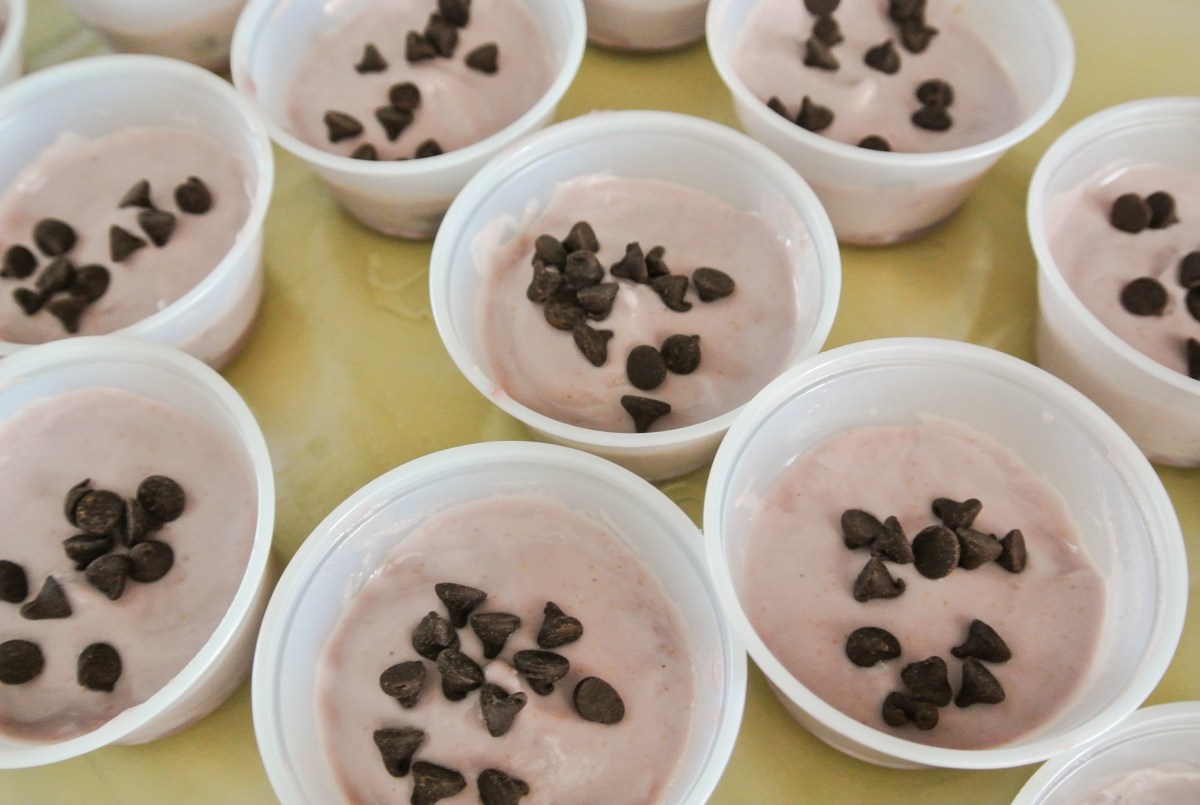
This mousse formula—which I’m calling “Fruit Mousse,” as the other one is chocolate-based—does, however, contain more fat and sugar. These are natural, cholesterol-free fats and sugars, but two ingredients I try to use sparingly nonetheless. Point is, make this as a special treat and serve it at a party where you will no doubt impress the omnivores in attendance, too (that’s what I did and it was a huge hit…more to follow on that). I would recommend serving in individual containers since this mousse won’t keep its shape when sliced as a pie.

A quick note about citrus zest…You’ll notice that I’m using lemon zest in today’s mousse, in addition to lemon juice. Isn’t the juice enough? The zest packs a ton of added flavor and to me, is actually even more flavorful than the juice. Plus, I’m a huge fan of using as much of the fruit as possible, so there’s that. Finally, lemon zest, in particular, contains five to ten times more nutrients than the juice of the fruit, providing health benefits, too. Be careful when you zest not to grate your citrus fruit down to the white pith, which is bitter.

DSC_2350

All-in-all, while I don’t have a cheesecake in my fridge (I will keep trying!), I’m pretty happy with how my unexpected mousse turned out. One person’s fail is another person’s victory?! In this case, both of those people were me. J Enjoy!

FORMULA BASE: FRUIT MOUSSE

Makes 24 mini-cups

For the crust (optional):

  • ½ cup unsweetened dried fruit (no added oil) –> I’m using 5 pitted medjool dates.
  • ¼ cup raw, unsalted nuts/seeds –> I’m using pecans.
  • 1 ½ tbsps oil or nut/seed butter –> I’m using coconut oil.
  • ¼-½ tsp seasoning (spices, salt, etc.) –> I’m using ¼ tsp cinnamon and a pinch of pink Himalayan sea salt.

For the filling:

  • 1 ½ cups raw cashews, soaked in water overnight
  • 1 cup raw fruit –> I’m using ¾ cup raspberries and the juice of 2 lemons.
  • ½ cup coconut cream
  • ½ cup liquid sweetener –> I’m using raw agave syrup.
  • 1 tbsp oil* –> I’m using coconut.
  • ½-1 tbsp combination of spices, extracts, fresh herbs, etc. (optional) –> I’m using the zest of my 2 lemons and a quick splash of almond extract.
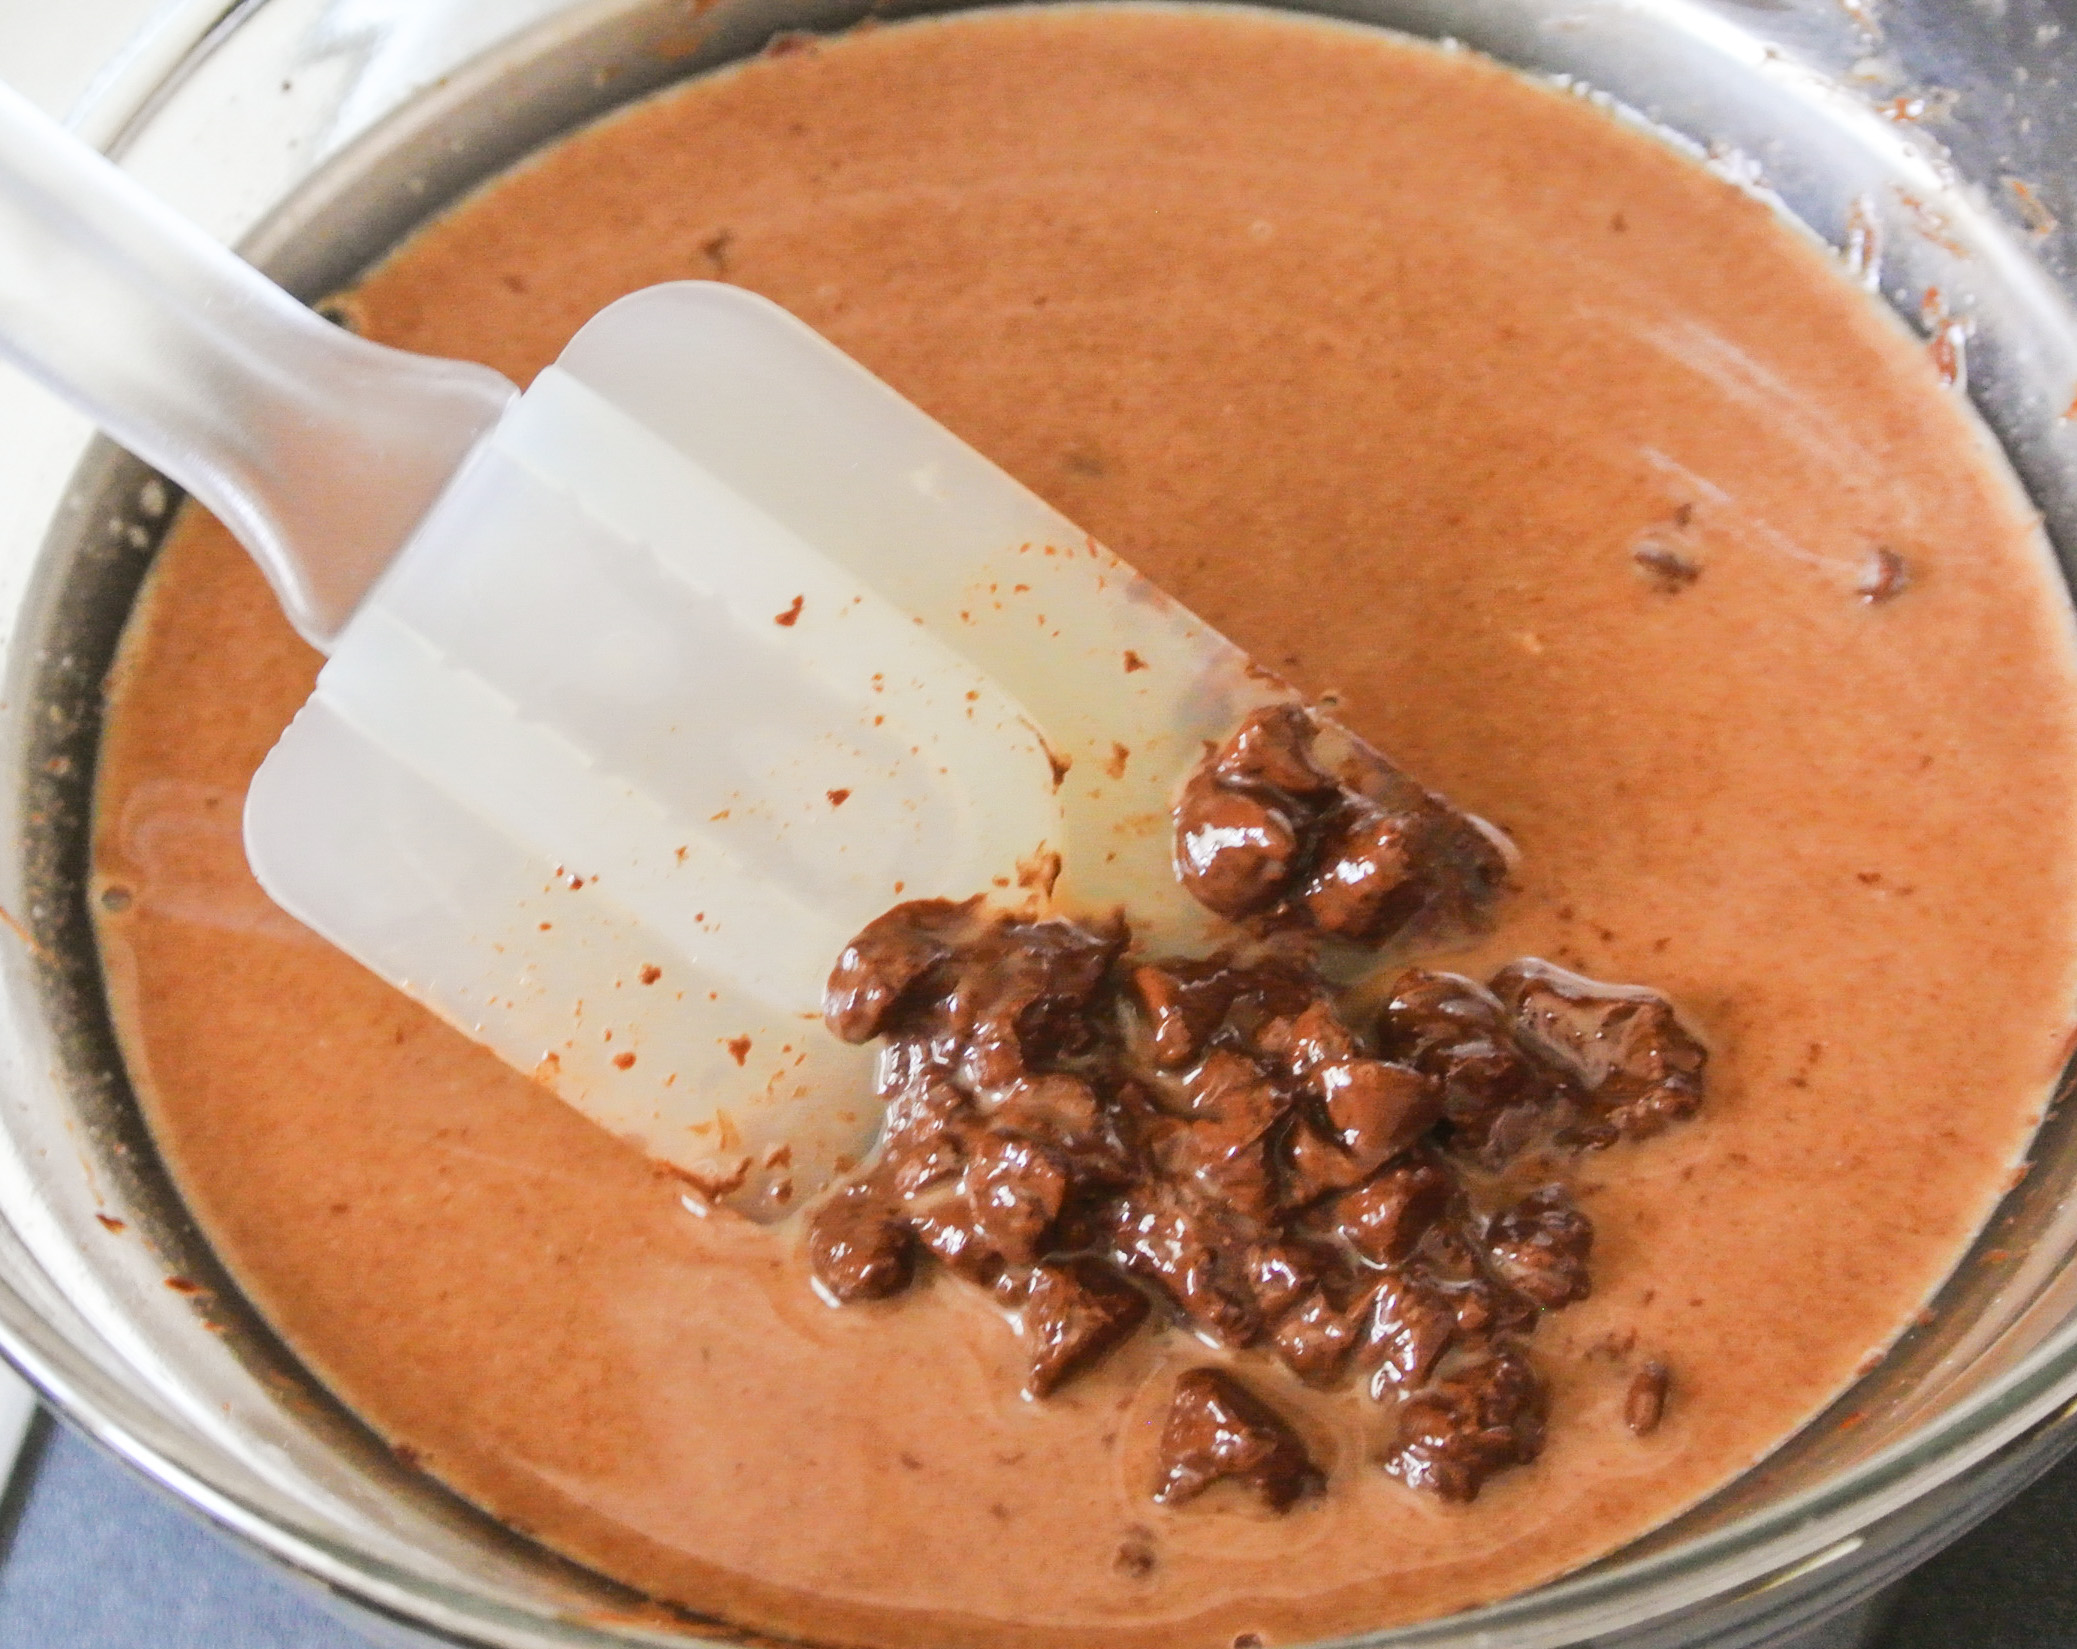
  • 2-4 tbsps garnish (raw seeds, nuts, herbs, spices, citrus zest, dried fruit, chocolate chips, etc.) (optional) –> I’m using mini-semisweet chocolate chips (vegan).

*I only used oil because all of the cheesecake recipes I researched called for some oil. I don’t know that it is essential to mousse, so you may be able to opt out of it. I won’t know until I try making this again at some point!

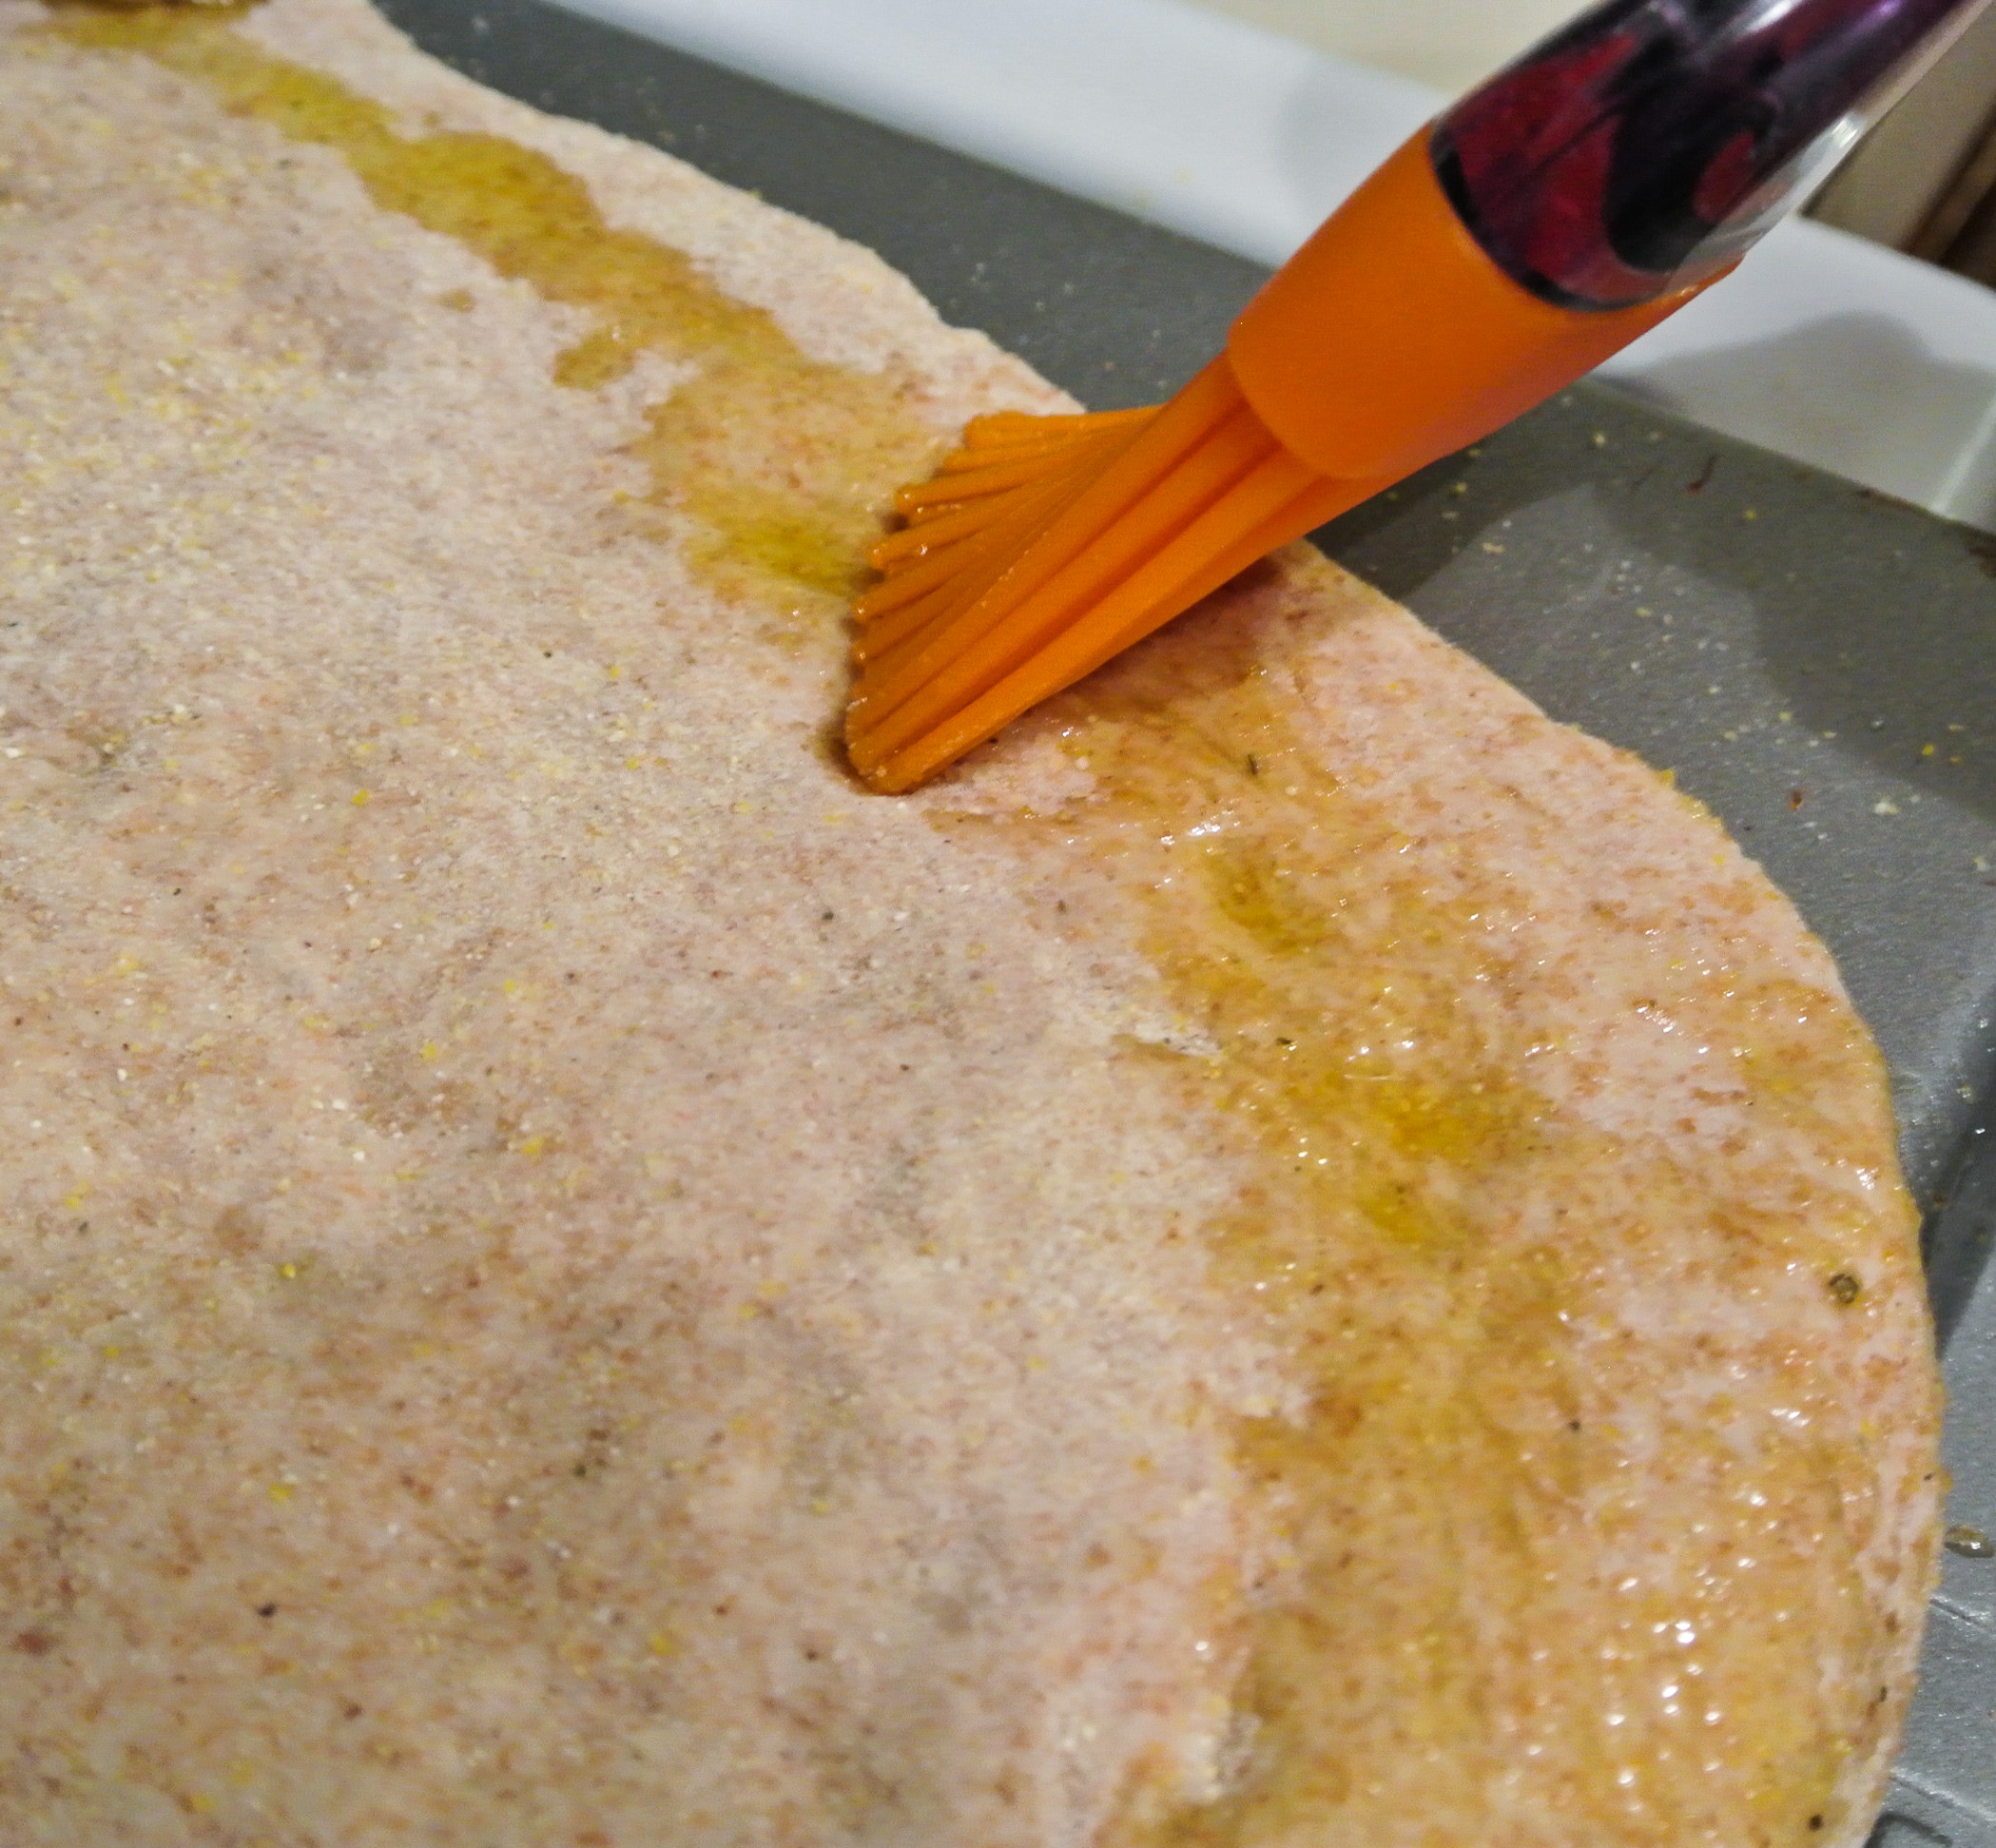
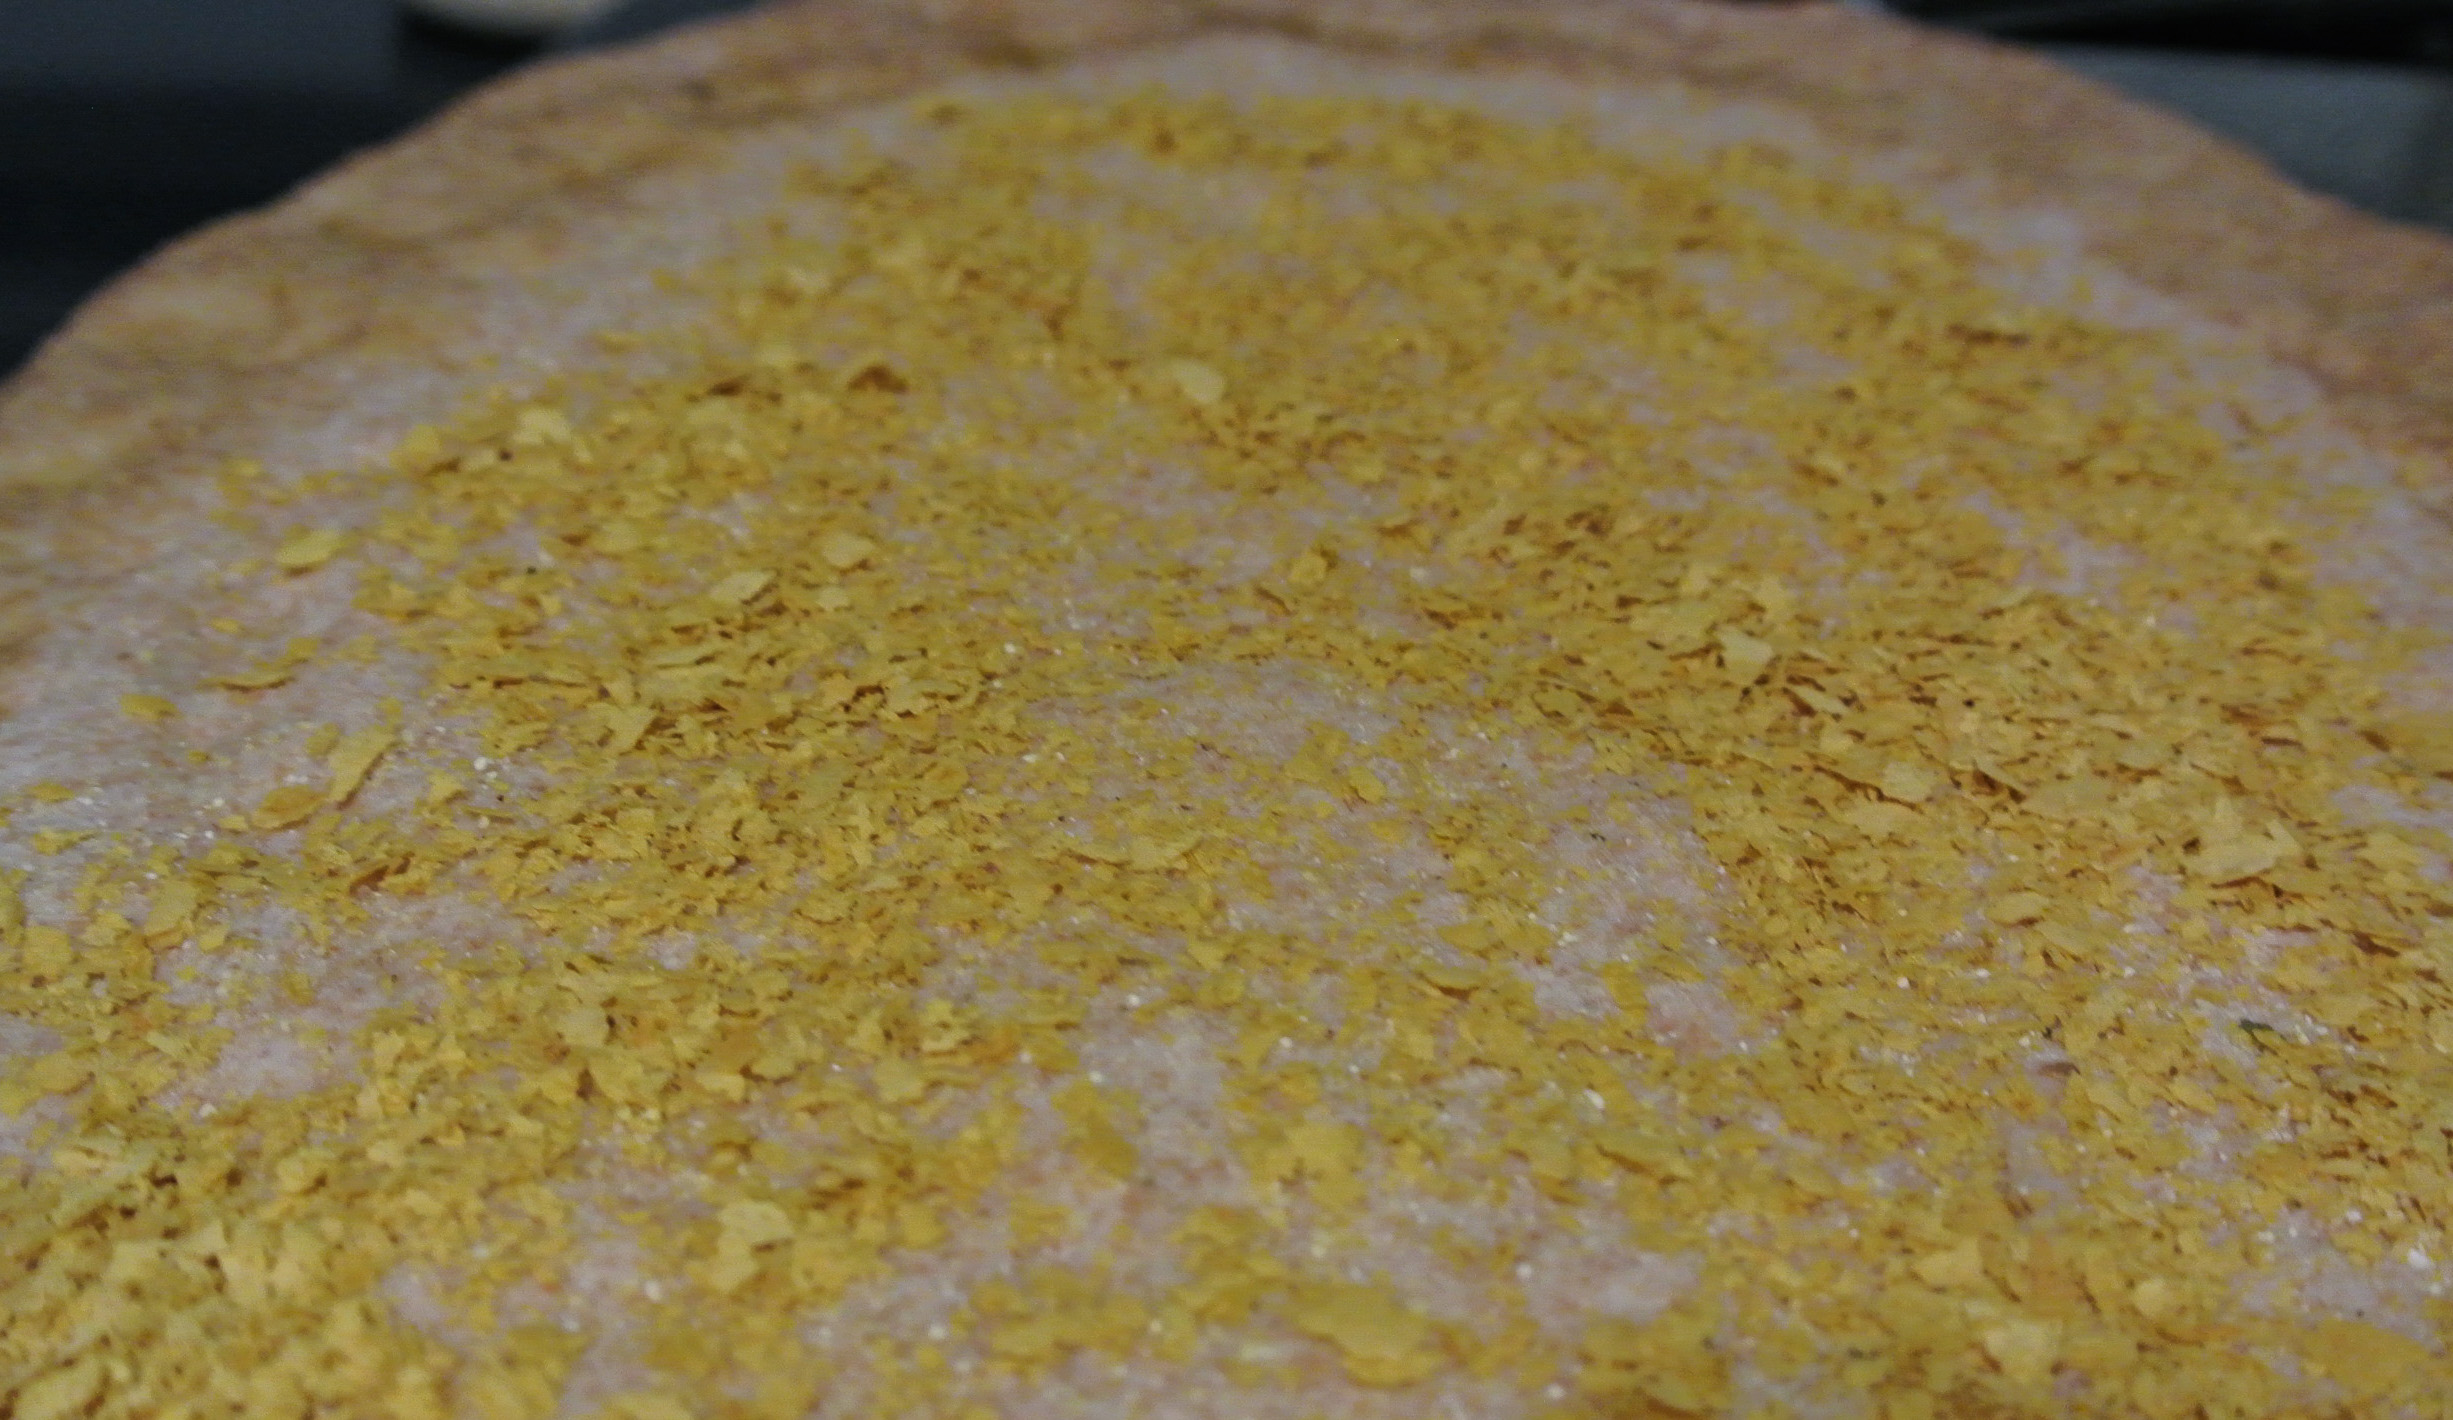
If using, put all of the ingredients into a food processor. Pulse until well-combined, but sticky. Press into your individual serving vessels of choice. I originally planned to make these in a mini-muffin pan and pop them out frozen to thaw, thus why you see them that way here. Later, when I realized that the mousse would not maintain a mini-pie shape after being popped out of the pan, I transferred each mousse to an individual plastic cup, which is where I would have started my crust to begin with, had I known what was going to happen. 🙂  Place crusts in the freezer to firm up.

DSC_2347

Drain and rinse your cashews. Put all of your filling ingredients (except the garnish, if using) in a blender and puree until silky smooth. Pour over prepared crusts, garnish, and place in the fridge to chill. Again, knowing what I know now, I would not use the mini-muffin pan! Make sure your individual mousse cups are in a container that you can put a lid on. Remove from the fridge when you’re ready to serve.

DSC_2352

Advertisement

‘Tis the Season for Cherries

‘TIS THE SEASON FOR CHERRIES

While I’m not enjoying Phoenix’s 100 degree+ summer temperatures, I am loving that some of my favorite fruits are in season:  berries, stone fruits, melons, and cherries.  I’ve capitalized on numerous opportunities to stock up on these for cheap through our Bountiful Basket co-op.  This past weekend, I scored eighteen pounds of cherries for $1.59/pound – a smokin’ deal!

While I will surely eat most of these in salads, snacks, and breakfasts, I know I won’t get to all of them before they spoil, so I need to get creative.  I’m making a good portion of the cherries into jam (see my jam formula), am dehydrating a bunch to chop and add to my granola, and today, have even attempted a totally vegan cherry pie.  As with all of my formulas, this pie is lower in fat, sodium, and sugar than many (if not most) typical animal-product versions and of course, cholesterol-free.

What I came to discover in researching making a pie from scratch is that there are actually very few ingredients involved.  Of course, the fruit is the star and the crust is a close second.  I prefer to consume fruit raw and for the most part, under-ripe; in other words, I prefer fruit rock hard and crunchy.  So, the fruit preparation in pie kind of goes against how I prefer to eat it, thus making a crisp crust essential to balance out what to me, is “mushy” fruit.

Pie crust needs something to make it rich and dense.  In an ordinary pie, this is usually butter or some other form of fat.  My crust incorporates a little fat—from coconut oil—but achieves the bulk of its density from the garnet yam.  What?!  In my pie crust research, I came across a vegan blogger who uses banana in lieu of most of the typical fat.  In creating my formula, I thought that I would do the same, but didn’t have any ripe bananas on hand (for like the first time ever in my life!).  True to my Fresh Formula concept, I got creative and decided to substitute a garnet yam I had sitting on the counter.

As I explained while introducing you to my curry formula, yams are not sweet potatoes.  Although similar in taste and texture, sweet potatoes—often pale yellow inside—boast greater nutritional benefits, not that the yam is a poor choice whatsoever!  Many people use what they think are sweet potatoes in Thanksgiving dishes because of the appealing bright orange color.  With that said, beyond an attractive appearance, yams are also loaded with fiber, protein, and vitamins A and C.

DSC_2222I’m proud to have developed a formula that combines the flavors and textures I love while packing a ton of nutrients.  Cherries, in particular, have a number of amazing health benefits.  The most significant reason to chow down on cherries, in my opinion, is that they can help boost your melatonin production, thus resulting in better sleep.  Now five months pregnant with a babe that is constantly on the move and a bladder that has been squished to what seems like the size of a thimble, sleep is becoming more difficult; cherry season couldn’t have come at a better time!

DSC_2224Take this pie to your next summer barbeque and see if anyone even notices that it’s vegan.  🙂  Depending on how many cherries you have on hand, you can also make multiple pies and freeze them for when cherry season has long passed.  Enjoy!

FORMULA BASE:  FRUIT PIE

Makes 1 pie

For the crust:

  • 2 cups flour (+ ½ cup for dusting your work surface)  –>  I’m using whole wheat.
  • 1 cup mashed fruit or vegetable (e.g. banana, potato, applesauce, etc.)  –>  I’m using garnet yam, peeled and boiled.
  • ¼ cup chilled oil (+ 1 tbsp for greasing the pie plate)  –>  I’m using coconut.
  • ¼ ice cold water (literally, float ice in it while you’re prepping other ingredients)
  • 1 tbsp sweetener (+ 1 tbsp for topping the crust once the pie is assembled) –>  I’m using 100% pure maple syrup.
  • ½ tsp pink Himalayan sea salt
  • 1 tsp spices (optional)  –>  I’m using ½ tsp cinnamon, ¼ tsp nutmeg, and ¼ tsp cardamom.
  • 1 tbsp unsweetened plant milk  –>  I’m using hazelnut.

If necessary, peel and steam or boil your fruit/vegetable of choice and cool completely in the fridge or freezer.  Place this fruit/vegetable in your food processor first to puree.  Next, add all remaining ingredients except the water and plant milk.  Start the food processor and stream in the cold water (sans ice) from the top as the ingredients come together.  You should end up with a semi-sticky dough (similar to that of my bread formula).

DSC_2225Sprinkle ¼ cup of the remaining flour onto your preferred work surface.  Empty the dough onto the surface and knead with your hands just until the flour is incorporated and the dough is less sticky.  Place in a bowl, cover, and chill for at least 30 minutes.  Pit cherries while you’re waiting or complete any necessary fruit prep (i.e. peeling and steaming, etc.).

DSC_2229For the filling:

  • 4 cups raw cherries, berries, or another peeled and chopped fruit (e.g. apples, pears, peaches, etc.)  –>  I’m using sweet red cherries.
  • ½ cup sweetener  –>  I’m using turbinado sugar.
  • ¼ cup cornstarch or arrow root  –>  I’m using cornstarch.
  • ½-1 tsp extract (depending on flavor intensity)  –>  I’m using ½ tsp almond.
  • Pinch of pink Himalayan sea salt

If you’re using them, pit your cherries.  This is a long process!  While your dough is chilling, pop down in front of the TV with your cherries and get pittin’!

By the time you’re done preparing those cherries, it’ll be time to preheat your oven to 400 degrees.  Retrieve your chilled dough and separate into two balls:  one is approximately 2/3 of the dough and the other 1/3.  Use remaining flour to dust your work surface and roll out the larger ball.  It should be approximately an 1/8 of an inch thick and in as much of a circle shape as possible – perfection isn’t necessary.

DSC_2230

Grease your pie plate.  Carefully lift your smooth, flat circle into your pie plate and press down to coat the entire inside of the plate.  Make sure that this is as even in coverage and thickness as possible.  Again, perfection isn’t necessary.  Pinch the edges of the dough (if that’s your thing!) and mix up your glaze (plant milk + remaining sweetener from crust formula above).  Use a kitchen brush to glaze your crust and poke holes in the bottom to vent.  Set aside remaining glaze.

DSC_2231Pre-bake the crust—without the filling—for 10 minutes.  During baking time, roll out the smaller dough ball to the same thickness as the base and cut into your shape of choice.  Want to keep things simple?  Make a nice, smooth circle that you can use to cover the filling completely (slice vents on top).  If you’re feeling adventurous, use a pizza cutter to create strips for a traditional lattice pattern, or use a sharp knife to cut out other shapes.

DSC_2234Once the bottom crust is out of the oven, reduce the temperature to 350 degrees.  Combine all filling ingredients and pour into the pre-baked crust.  Gently top your filling with the remaining dough, pinching the edges to connect it with the bottom crust.  Glaze the top crust and vent if necessary.

DSC_2236 DSC_2239Place the pie back into the oven for 40-50 minutes or until the filling is bubbling and the top crust is golden brown and crisp.  Let cool before serving.

NOTE:  The edges of the crust on my pie are a little overdone.  🙂  Travis said that next time I can prevent this by covering just the circumference of the pie with foil.  Just a tip!

DSC_2244 DSC_2251

Nutrient-Rich Chocolate Mousse

DSC_1977

You read that title correctly:  Nutrient-Rich Chocolate Mousse.  As I’ve mentioned before, I don’t make traditional desserts a regular part of my diet, but like many people, I definitely get a sweet tooth now and then. Between my cake formula, dessert smoothie formula, and today’s feature—chocolate mousse—I can typically quench my desire for sweets pretty quickly and with a healthier option.

Friday night was my department chair’s retirement party and I signed up to bring dessert. I was told that many instructors offered to do the same, so my dessert need only be a sweet nibble for approximately six people. I knew that my chocolate mousse—which today, I’m making as a pie—would do just the trick. Wanna bet that party-goers didn’t even notice it’s vegan?! 🙂

The base of this mousse is of course, chocolate. Your options are dark chocolate (likely with an added sweetener) or vegan semi-sweet chocolate. Today, I’m using semi-sweet chocolate chips that I’ve found don’t contain milk fat, as some varieties do. Don’t forget to read the packaging to make sure.

DSC_1972

While I use cocoa powder in other chocolatey concoctions, it won’t work in this mousse. When bar or chip chocolate is melted, it will eventually re-solidify, ultimately stiffening the mousse so that it isn’t a runny mess. I have tried doing this with cocoa powder, simply because it contains fewer processed ingredients and it just doesn’t allow the mousse to stiffen up the way that it needs to, especially if being served as a pie that requires slicing.

Today, I’m taking some help from the store with a premade graham cracker crust (I know, sooo not like me!). The main reason for this is that it comes in a disposable aluminum pie plate that I can just leave at the party. Remember, you don’t need a crust, but if you’re not pressed for time and are able to use (and easily get back!) a glass pie plate, you can make your own. Consider crusts made from foods other than graham crackers, too. (Travis’s homemade vegan graham cracker recipe is another post, another day. :))

This mousse is just sweet enough to satisfy a craving without being too rich. Topping with chopped fresh fruit will add even more sweetness of the best kind: natural. Experiment with various flavor combinations and textures, considering fruit and nuts particularly. Dessert could certainly be worse for you than this one, jam-packed with protein (from the tofu), calcium (from the plant milk), antioxidants (from the chocolate), fiber, vitamins, and minerals (all from the fruit). Enjoy!

FORMULA BASE: CHOCOLATE MOUSSE

Serves 4-6

  • 1 block (14 oz) silken tofu (see my togurt formula for an explanation of tofu)
  • 3/4 cup semi-sweet chocolate chips (sans milk fat) or chopped dark chocolate –> I’m using semi-sweet chips.
  • 1/2 + 1/8 cup plant milk –>  I’m using almond.
  • ½-1 tsp extract of choice (amount depends on flavor intensity) –>  I’m using 1 tsp vanilla.
  • 1 tbsp sweetener (optional) –>  I’m not using any.
  • ½-1 cup specialty ingredients (optional) –>  I’m using one small banana.

Using a double boiler, melt the chocolate into your plant milk. It doesn’t need to completely melt, but rather, soften enough to puree easily.

DSC_1974

Let cool for a minute or two and transfer into a blender with all remaining ingredients. Blend until smooth.  The air bubbles are normal.  You can smooth them out with a spatula or cover them up with toppings later! Pour into your serving dish(es) of choice, with or without a crust, and chill for at least two hours.

DSC_1975

After chilling, I like to top mine with fresh fruit and/or chopped raw nuts before digging in.  🙂

DSC_1978

New (And Surely Long-Awaited) Formula: Pizza

DSC_1869

I’m excited to report that Travis and I have found a way to make cheese-less pizza totally delicious. We’ve always known it was damn good, but the proof was in my meat-and-dairy-loving father’s approval; when he comes to Phoenix to visit, he always requests that we make our vegan pizza.

What’s especially wonderful about pizza meets The Fresh Formula is that the creation of this American favorite is already formulaic in nature: dough + sauce + toppings in endless combinations. I’m here today to help you with ideas, quantity, and process…the rest is up to your taste buds and creativity.

Great news: If you’ve already mastered my yeast bread formula, you can make pizza dough! Woo! Below, you’ll see my bread formula with a few slight changes, suggestions, and optional ingredients that you may want to consider. The key is determining the type of crust you want—chewy or crunchy—and going from there.

Next, you’ll want to think about sauce. We most often use a homemade marinara (another post, another day), but have also made pizzas with barbeque sauce, pesto, and curry at the base. While I haven’t yet done a post about BBQ, I have written about how you can make pesto and curry, if you want to go an atypical route. I also have a formula for a “cheesy” sauce similar to an alfredo if you’re looking for what some restaurants call a “white” pizza.

Finally, toppings. Earlier this week, I made my first homemade vegan sausage (pictured below) and used that to top the pizza in this post. If you’re after a protein punch, you could use something similar (homemade, of course), or add tofu, tempeh, beans, nuts, or seeds. Wait…beans on a pizza?! Yessir, I wouldn’t make my BBQ “chicken” (tofu) pizza without black beans…

DSC_1857You might also consider adding fruits or vegetables. Most fruits don’t hold up to the high heat that pizza requires for baking, but a classic such as pineapple or a hearty fruit like pears will. Determining which vegetables to add comes down to preference of flavor and texture. Cooked vegetables will maintain fewer nutrients and be higher in calories, but will have a softer texture and richer flavor. Raw vegetables, will then, be higher in nutrients, lower in calories, crunchier, and a little less flavorful. Since I’m in the business of eating as many raw fruits and vegetables as possible, I do not typically pre-cook them before they top the pizza; they will par-cook a little in the fifteen or so minutes that the pizza is in the oven.

Here are a few combinations that we love:

  • “Sausage,” fennel, and leek atop marinara sauce (featured today)
  • Ground “chicken” (crumbled tofu), black beans, corn, onions, and bell peppers atop BBQ sauce
  • Zucchini, bell peppers, onions, pineapple, and cashews atop curry sauce
  • Pears (or apples), pistachios, and rosemary atop pesto

NOTE: Plan pizza night well in advance. 🙂 I always have yeast in my pantry, but you may not if you haven’t—until now!—made your own bread or dough. You also need a number of ingredients for a sauce and toppings, so don’t wait until you’re starving to start a pizza adventure.

Also, this is a formula best executed as a team. You can do it alone, but with a dough and sauce to make from scratch, a whole bunch of toppings to chop, and an intricate prep and baking process, having an extra set of hands would help. Man, I can’t wait until Nolan is old enough to pitch in!

FINALLY (imagine chorus singing): Pizza you can feel good about! No grease, no cholesterol, and tons of nutrients. Enjoy!

FORMULA BASE: PIZZA

For the dough*:

  • 3-4 cups of flour –> Travis recommends all whole wheat flour for a chewy crust, all bread flour for a crunchy crust, or half and half to achieve both textures.
  • ½ tsp salt –> We use pink Himalayan sea salt.
  • 1 packet rapid rise yeast
  • 1 tbsp oil
  • 1 ¾ cups very warm water (hot, but touchable)
  • 1 tbsp sweetener (optional) –> Trav usually adds turbinado sugar to “feed” the yeast.
  • Spices or herbs to taste (optional)
  • Cornmeal and additional flour for dusting your workspace –> This prevents the dough from sticking to the pan later. Trav keeps cornmeal in a food storage container premixed with spices, flour, and a little salt to add even more flavor to the dough.

*If you need to see step-by-step pictures in making the dough, check out my bread post

For the sauce:

See my pesto, curry, or alfredo formulas for unique inspiration, or use your own recipe for BBQ or marinara sauce. If you’re concerned about biting off more than you can chew your first time making pizza, use a high quality premade jarred or bottle sauce (just this once!) or ask Mom to make a little extra of her secret recipe for you to take home in a food storage container. 🙂 No matter your decision, you’ll need about 2 cups. I’ll do a more extensive post about homemade marinara sauces at a later date, but if you want to try making mine, you’ll need:

  • 1 ½ pounds tomatoes –> I’m using about 7 medium to large romas.
  • ½ of a small yellow or white onion –> I’m using yellow.
  • 3 cloves garlic
  • 2 tbsp sweetener –> I’m using turbinado sugar.
  • 1 ½ tbsp dried fennel fronds
  • 1 tbsp dried basil
  • 1 tbsp dried oregano
  • 1 bay leaf
  • Salt and pepper to taste

For the toppings:

  • 1 tbsp oil (for rubbing on the crust) –> I’m using olive.
  • 2 cups chopped/sliced raw or cooked protein and/or produce –> I’m using 1 cup homemade vegan sausage and ½ cup each thinly sliced raw fennel and leek.
  • Approximately 1-2 tbsps nutritional yeast (nooch)
  • Homemade vegan cheese (optional) –> I’m new to this world, so I’m not using it today…another post, another day. 🙂
  • Spices, herbs*, salt, and pepper to taste (optional)

*If you want to use fresh herbs, use these to garnish the pizza after it is cooked.

If you are making a sauce from scratch, get that started first. To make a homemade marinara, for example, as I’m doing today, very coarsely chop the tomatoes, onion, and garlic and puree them together in a blender or food processor. Pour into a sauce pan, add the remaining ingredients, and simmer on medium-low heat for 1-2 hours, or until the sauce has reduced by at least one third. Remove the bay leaf at this point.

DSC_1862If you’re not making sauce from scratch, have it on standby to top your dough when it’s ready.

Next, attach a dough hook to your stand mixer. Thoroughly clean and dry your countertop and sprinkle with cornmeal.  Lightly oil a large bowl.

Combine 3 cups of flour, salt, and yeast in the mixer on low. Add the sugar and any additional spices or herbs, if using. Add the water and oil to the dry ingredients and scrape down the sides of the mixing bowl before starting the mixer. Start on low speed and increase the speed as the dry ingredients become incorporated into the wet.

Add additional flour gradually until your dough forms a minimally sticky ball on high speed. I can tell that the dough is ready for kneading if it is still somewhat sticky to the touch, but does not stick to the mixing bowl itself when whipping around on a high speed.  (See my bread post for more pictures.)  Flour your hands, remove the dough, and place the dough onto your dusted countertop.

Knead the dough, adding small amounts of flour as necessary, until it makes a smooth ball.  Knead for 5-7 minutes total and then place the ball into your oiled bowl. Cover with a clean towel and let it rise in a warm place for 45 minutes.

After 45 minutes, punch down the dough, and separate into two smaller balls of dough.  Leave sitting uncovered on your workspace for about 15 minutes.  About 10 minutes into this second rise, preheat your oven to 425 degrees. In the time that it takes the oven to preheat, you will roll out and top your dough.

DSC_1858

Just to keep the pizzas simple, albeit not the prettiest, we roll each of our dough balls into oval-ish shapes that fit perfectly on the BACK side of a cookie sheet (don’t want the lip of the sheet interfering with sliding the pizza off later).  After you roll out each ball, make sure that the bottom has been freshly dusted with cornmeal and place the cornmealed side down on the back of your cookie sheet. Brush the crust with oil to keep some of the moisture in, sprinkle the entire middle with nutritional yeast, and top with sauce, etc. as you see fit.

DSC_1859 DSC_1861One at a time, your pizzas go into the oven atop the cookie sheet for 8 minutes.  After 8 minutes, gently slide the pizza onto a pizza stone for an additional 6.  The stone assists you in achieving a crunch to the bottom of the pizza, even if you are going for chewy inside.  If you don’t have a pizza stone, bake the pizza atop the cookie sheet for approximately 15 minutes total.  Either way, when the pizza is cooked, slide onto a large cutting board and slice.  This shape won’t give you typical pie-shaped pieces, but it doesn’t matter how they look as long as they taste fantastic!

DSC_1865Store in the fridge for 2-3 days, keeping in mind that without a thick layer of cheese on top to lock in moisture that the pizza will slowly dry out the longer that it sits.

DSC_1863