Sweet Cherry Nice Cream

My little family and I returned from a trip to Michigan a few weeks ago and the boys developed colds just a few days later.  I know from growing up in The Mitten that the weather patterns can be unpredictable, but I truly didn’t expect snow in the middle of May.  🙂

Nolan, like many little ones, I assume, is not one for much eating when he isn’t feeling well, especially if he’s complaining of a sore throat.  I didn’t have to think too long about a special treat that I knew would cheer him up and provide him essential nutrients:  nice cream!

My nice cream formula is easy to make if you have some frozen bananas on hand, which I typically always do.  In a recent Bountiful Basket, we ordered thirty-eight pounds of bananas, most of which we peeled, chunked, and froze.  I’m ready to whip up nice cream at a moment’s notice!

I decided to make this batch using cherries, for a few reasons.  First of all, cherries are in season now.  I wish I could have brought some back from Michigan—the United States capital of cherries, if you didn’t already know—but my family spoiled my boys with nearly more gifts than I could transport back to Arizona, so I bought some here instead.  🙂  Secondly, cherries are loaded with antioxidants and known to aid with sleep, which the boys tend to get less of when they aren’t feeling well.  This nice cream was bound to be a win-win before the fruit hit the blender.  Lastly, I missed cherries!  Haven’t done much with them since my first-ever pie from scratch.  We were overdue for more cherry deliciousness.

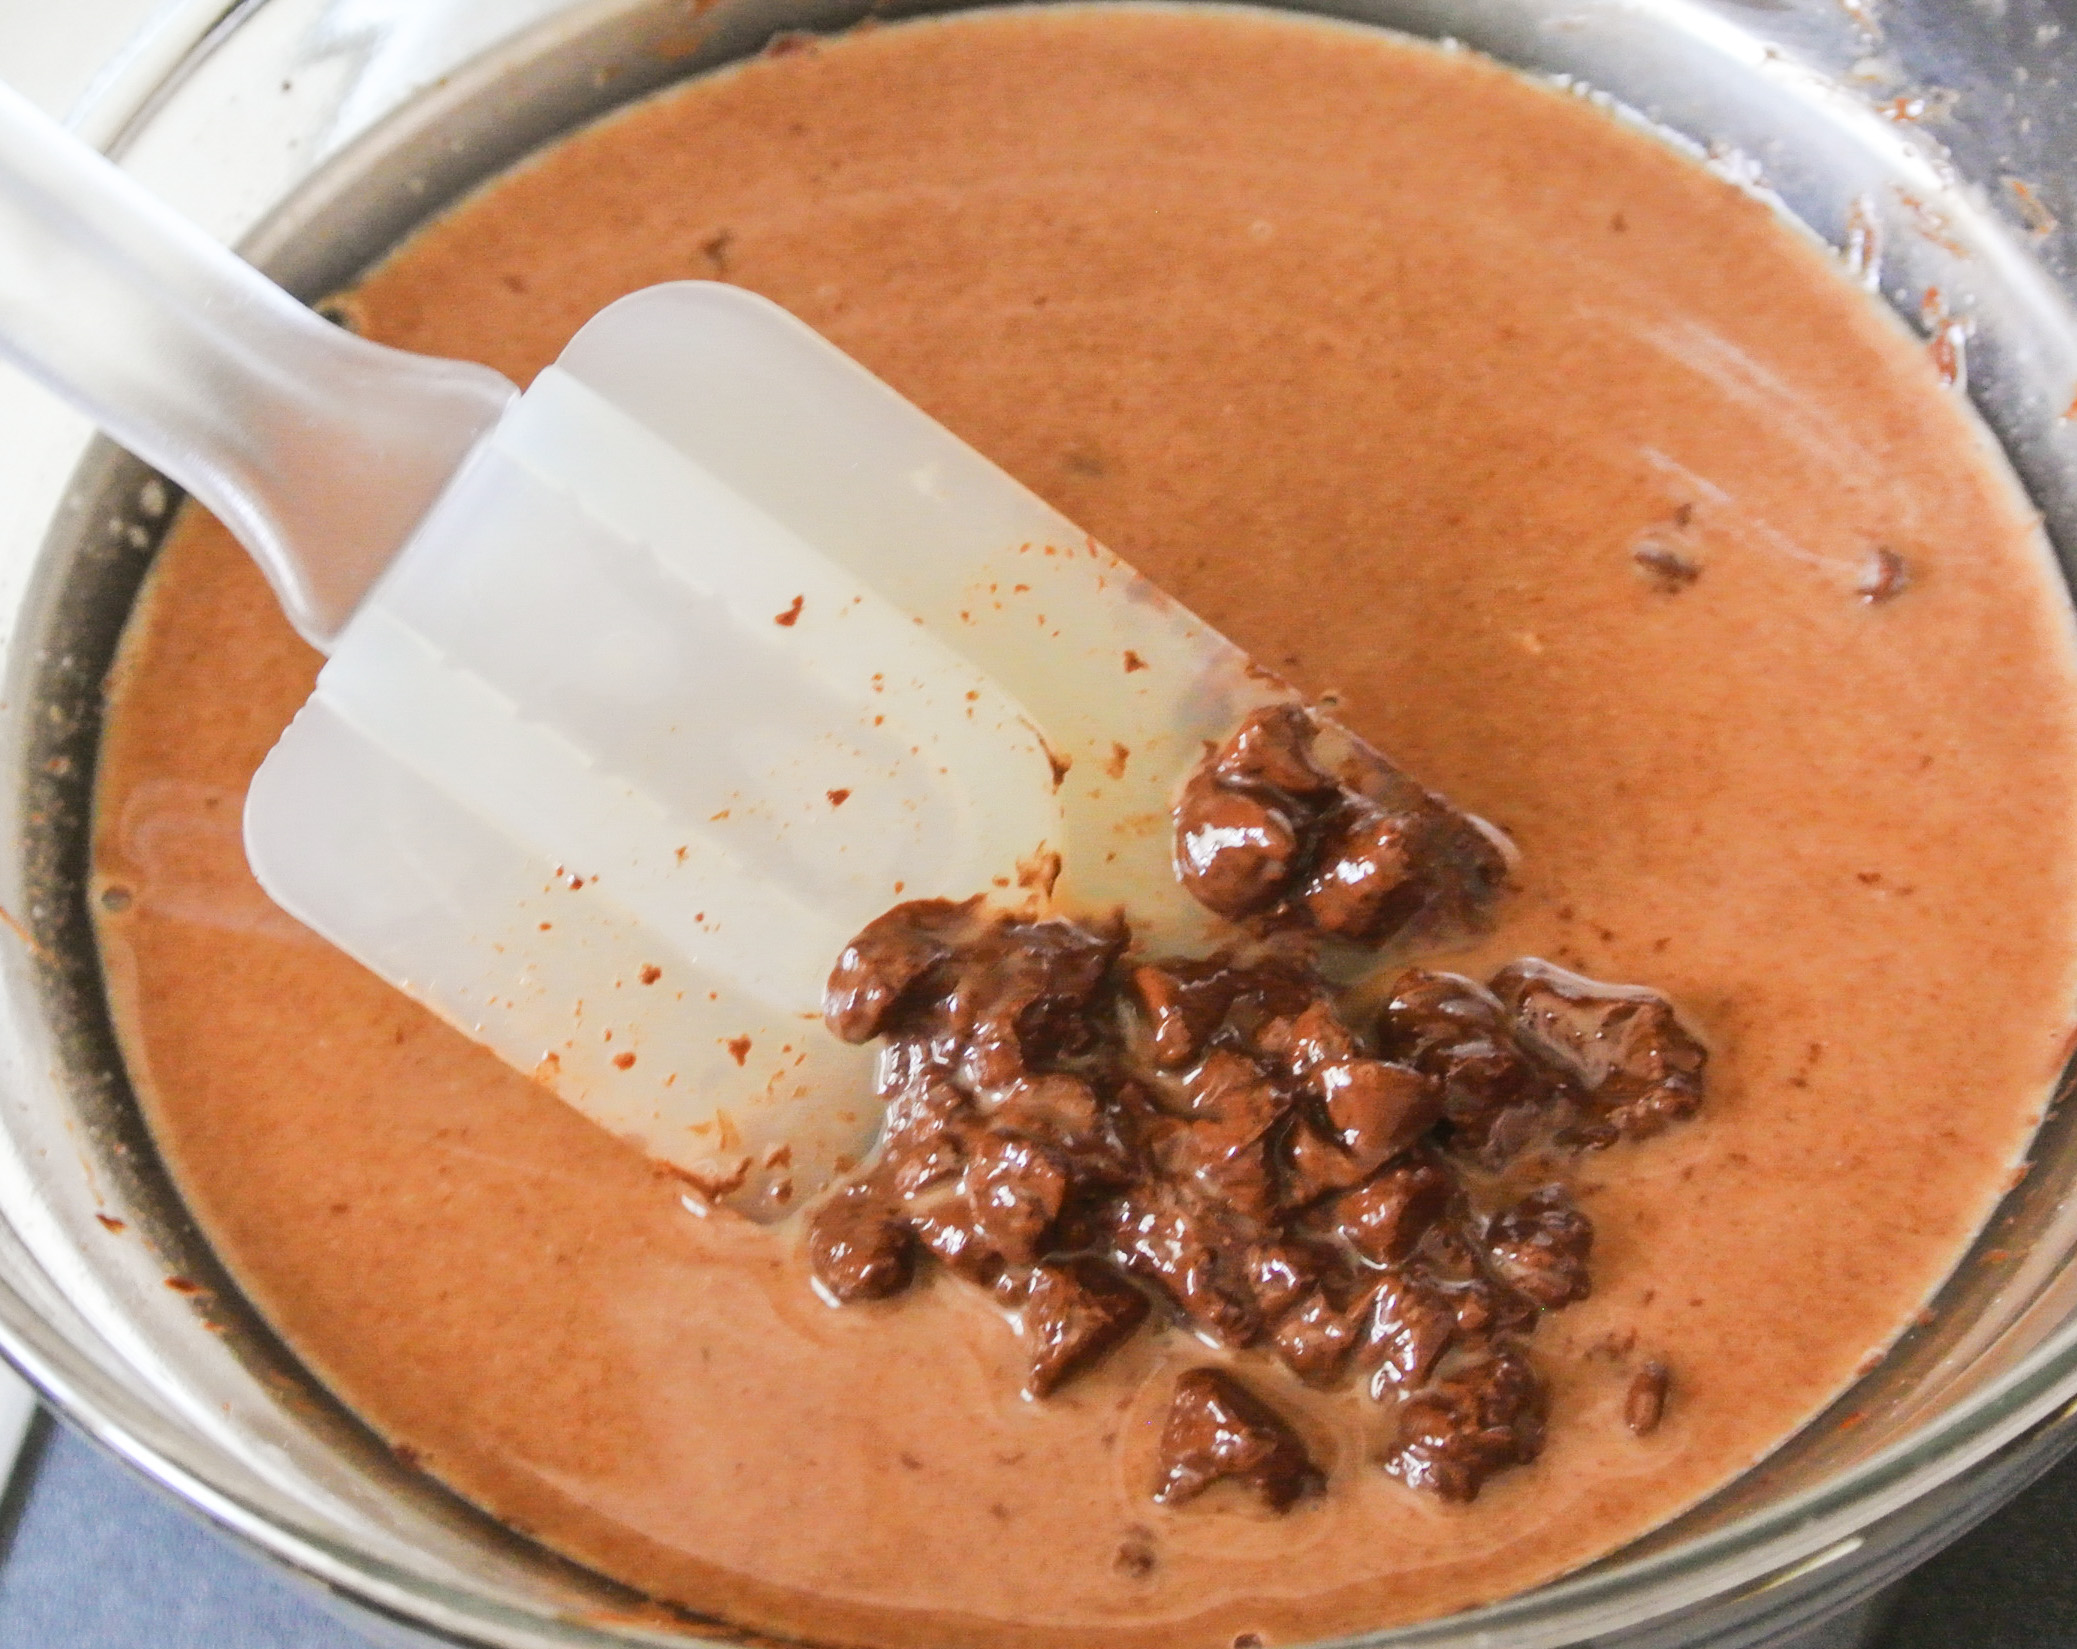
I topped Nolan’s nice cream with vegan whipped cream—made from coconut milk—but you could opt out to save on the sugar.  The splurge—which also included a melted dark chocolate bar drizzle and mini-chocolate chips—was totally worth it to see my sick babe smile.

FORMULA BASE:  NICE CREAM

Serves 3-4

  • 2 frozen bananas (or fresh bananas and ice)
  • ¾-1 cup specialty ingredients –> I’m using 1 cup of pitted sweet cherries.
  • ¼-½ tsp extract of choice (optional, and amount depends on flavor intensity) –> I’m using ¼ tsp almond.
  • Pitted medjool dates as needed for sweetness –> I’m not using any.
  • Juice or plant milk until desired consistency (start with just a splash) –> I’m using a touch of almond.
  • ¼ cup extras for mixing in by hand (optional) – think nuts, dried fruit, chocolate chips, etc. –> I’m topping my nice cream with mini-semi-sweet chocolate chips (vegan).

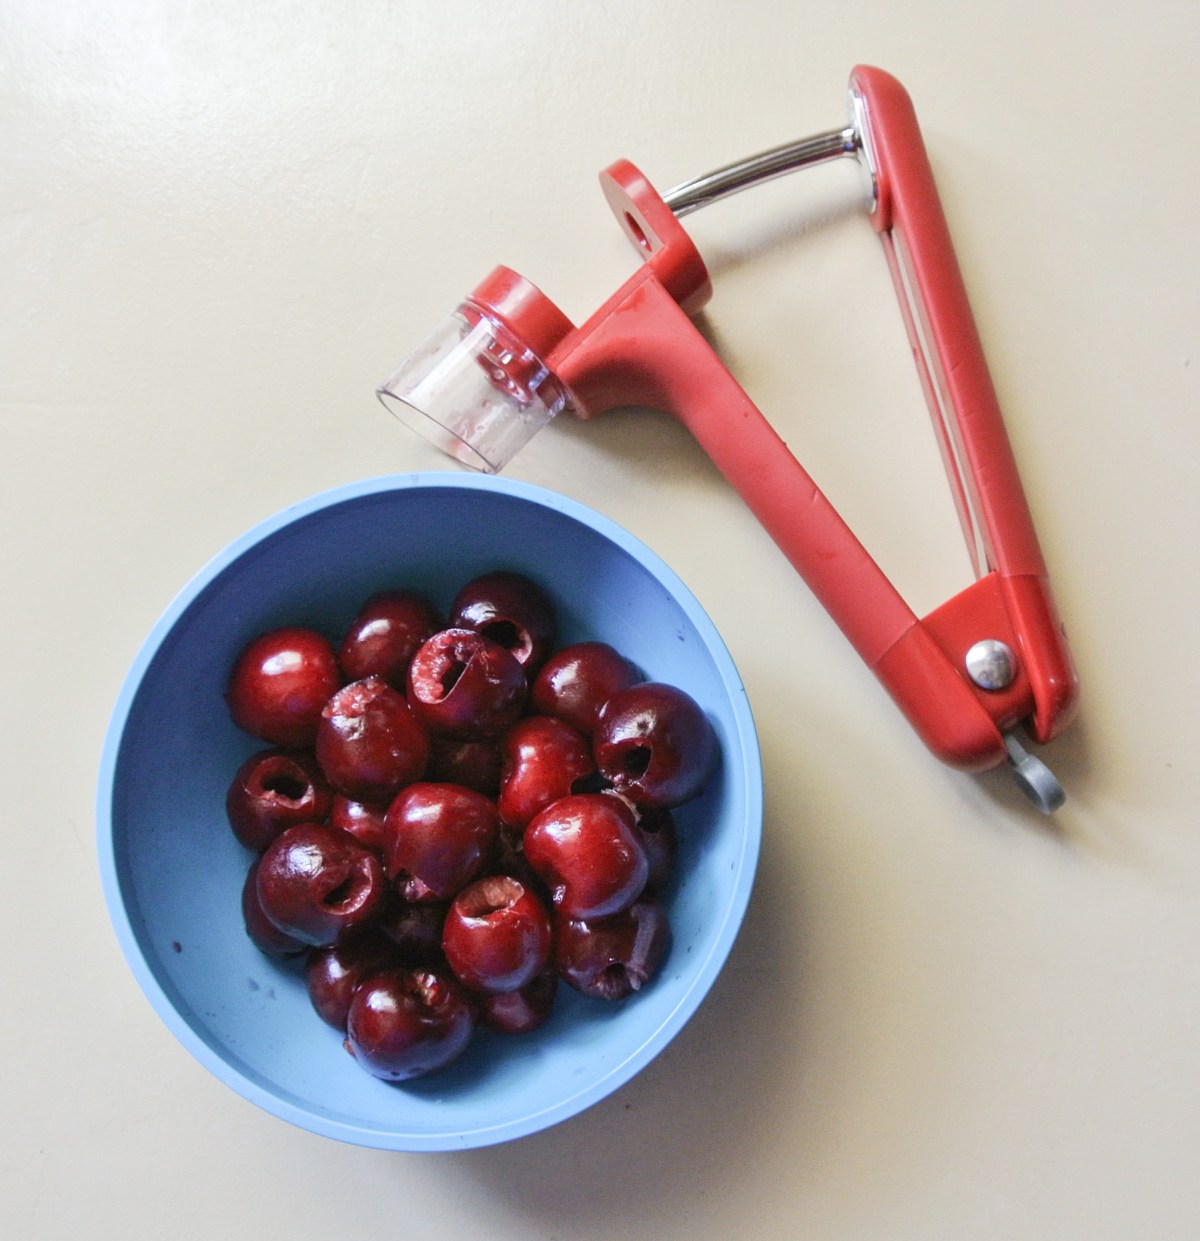
If you plan to make whipped cream to accompany your nice cream, place a mixing bowl in the fridge to chill while you prepare the other components.  Start by pitting your cherries.  This device saves some time, but your hands will do just fine.

cherry pitter

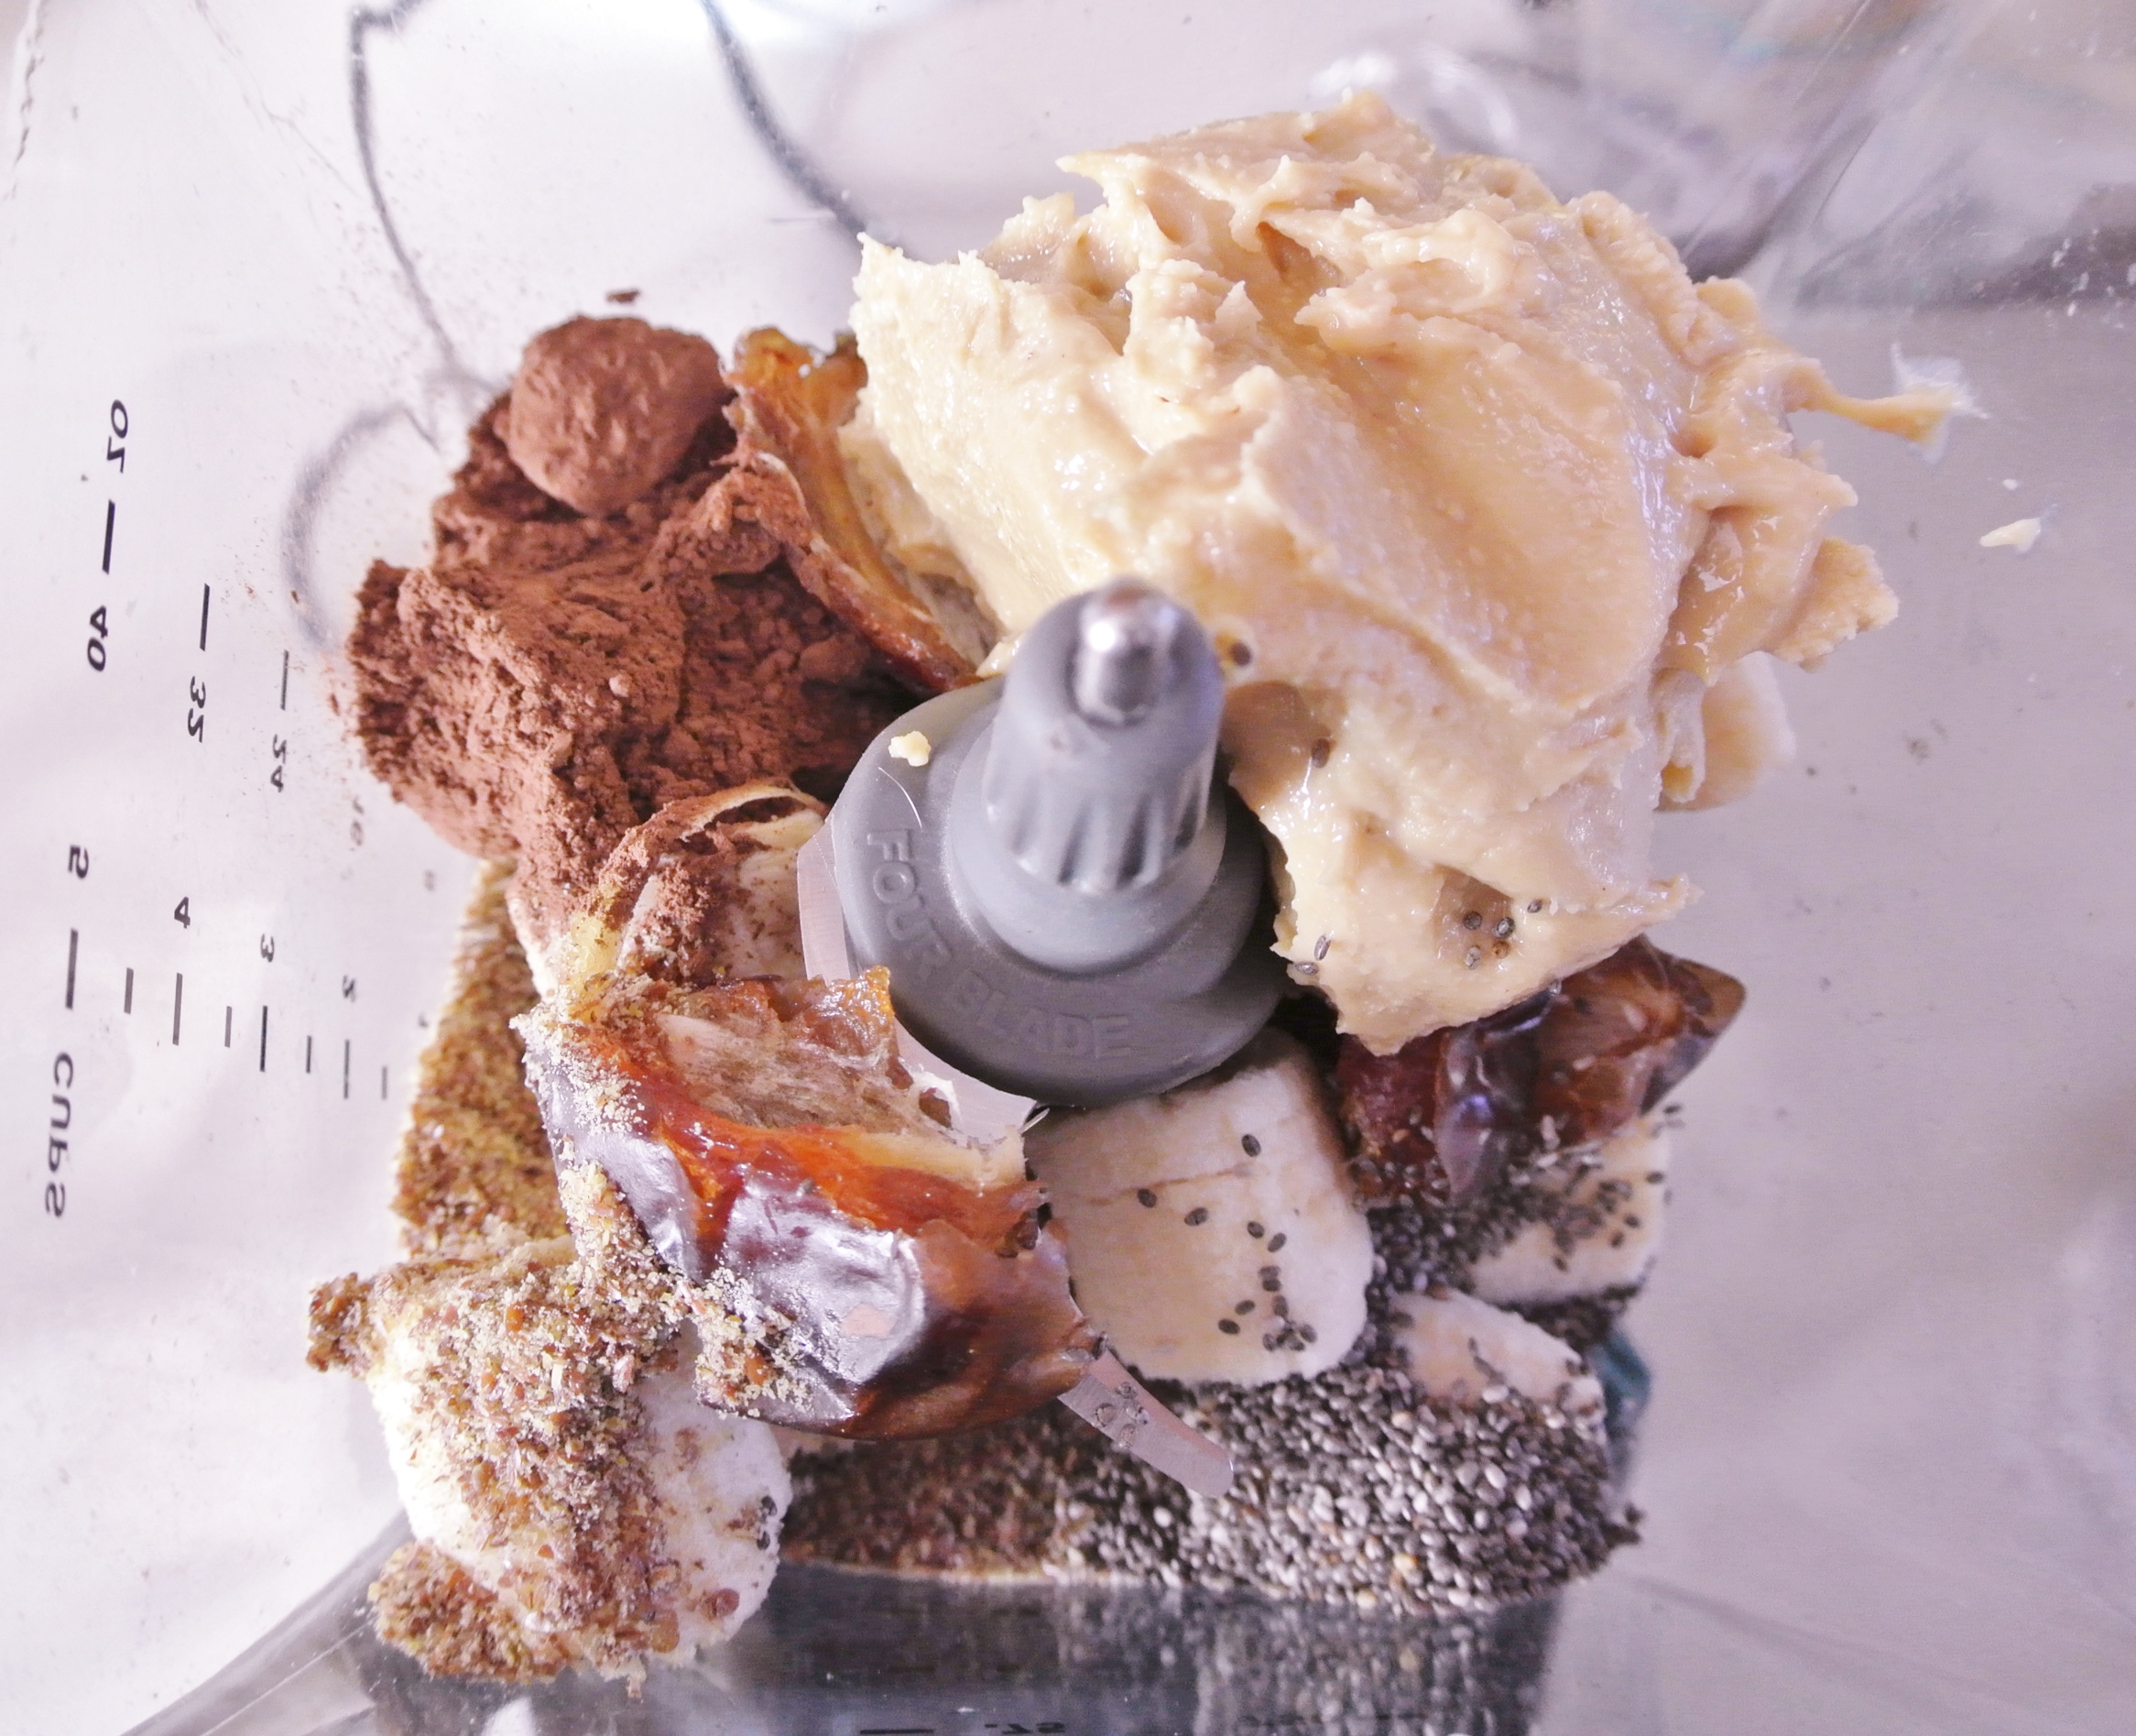
Combine all ingredients (except the extras) in a blender or food processor and puree until smooth. Scoop the mixture into a bowl and fold in any extras you are using by hand. Cover and place in the freezer while you prepare your toppings (if any).

Whipped coconut cream:

  • 1 can coconut cream or full fat coconut milk
  • Powdered sweetener to taste (start with ¼ cup) –> I’m using a heaping ¼ cup of powdered turbinado. You can easily make powdered sugar out of higher quality vegan sugars by using the dry blade on your Vitamix or other high powered blender.  (Remember, white, refined sugar lacks nutrients and flavor and tumbles with bone char to achieve its color.  Definitely not vegan.)
  • ¼-½ tsp extract (depending on flavor intensity) (optional) –> I’m using ½ tsp vanilla.
  • 1 pinch-¼ tsp spices (optional) –> I’m not using any.

Chill your can of coconut cream/milk in the fridge overnight. After your nice cream is tucked away in the freezer, prepare your powdered sugar and remove your chilled mixing bowl from the fridge.

Empty the can into the bowl and whip with a hand or stand mixer until smooth and creamy, about a minute. Add sweetener (and extract and spices, if using) and continue whipping until smooth and fluffy, about 3-5 minutes. This whipped cream will not quite achieve the height and stiffness of dairy whipped cream, but it will become a bit fluffy nonetheless. Store any extras in the fridge.

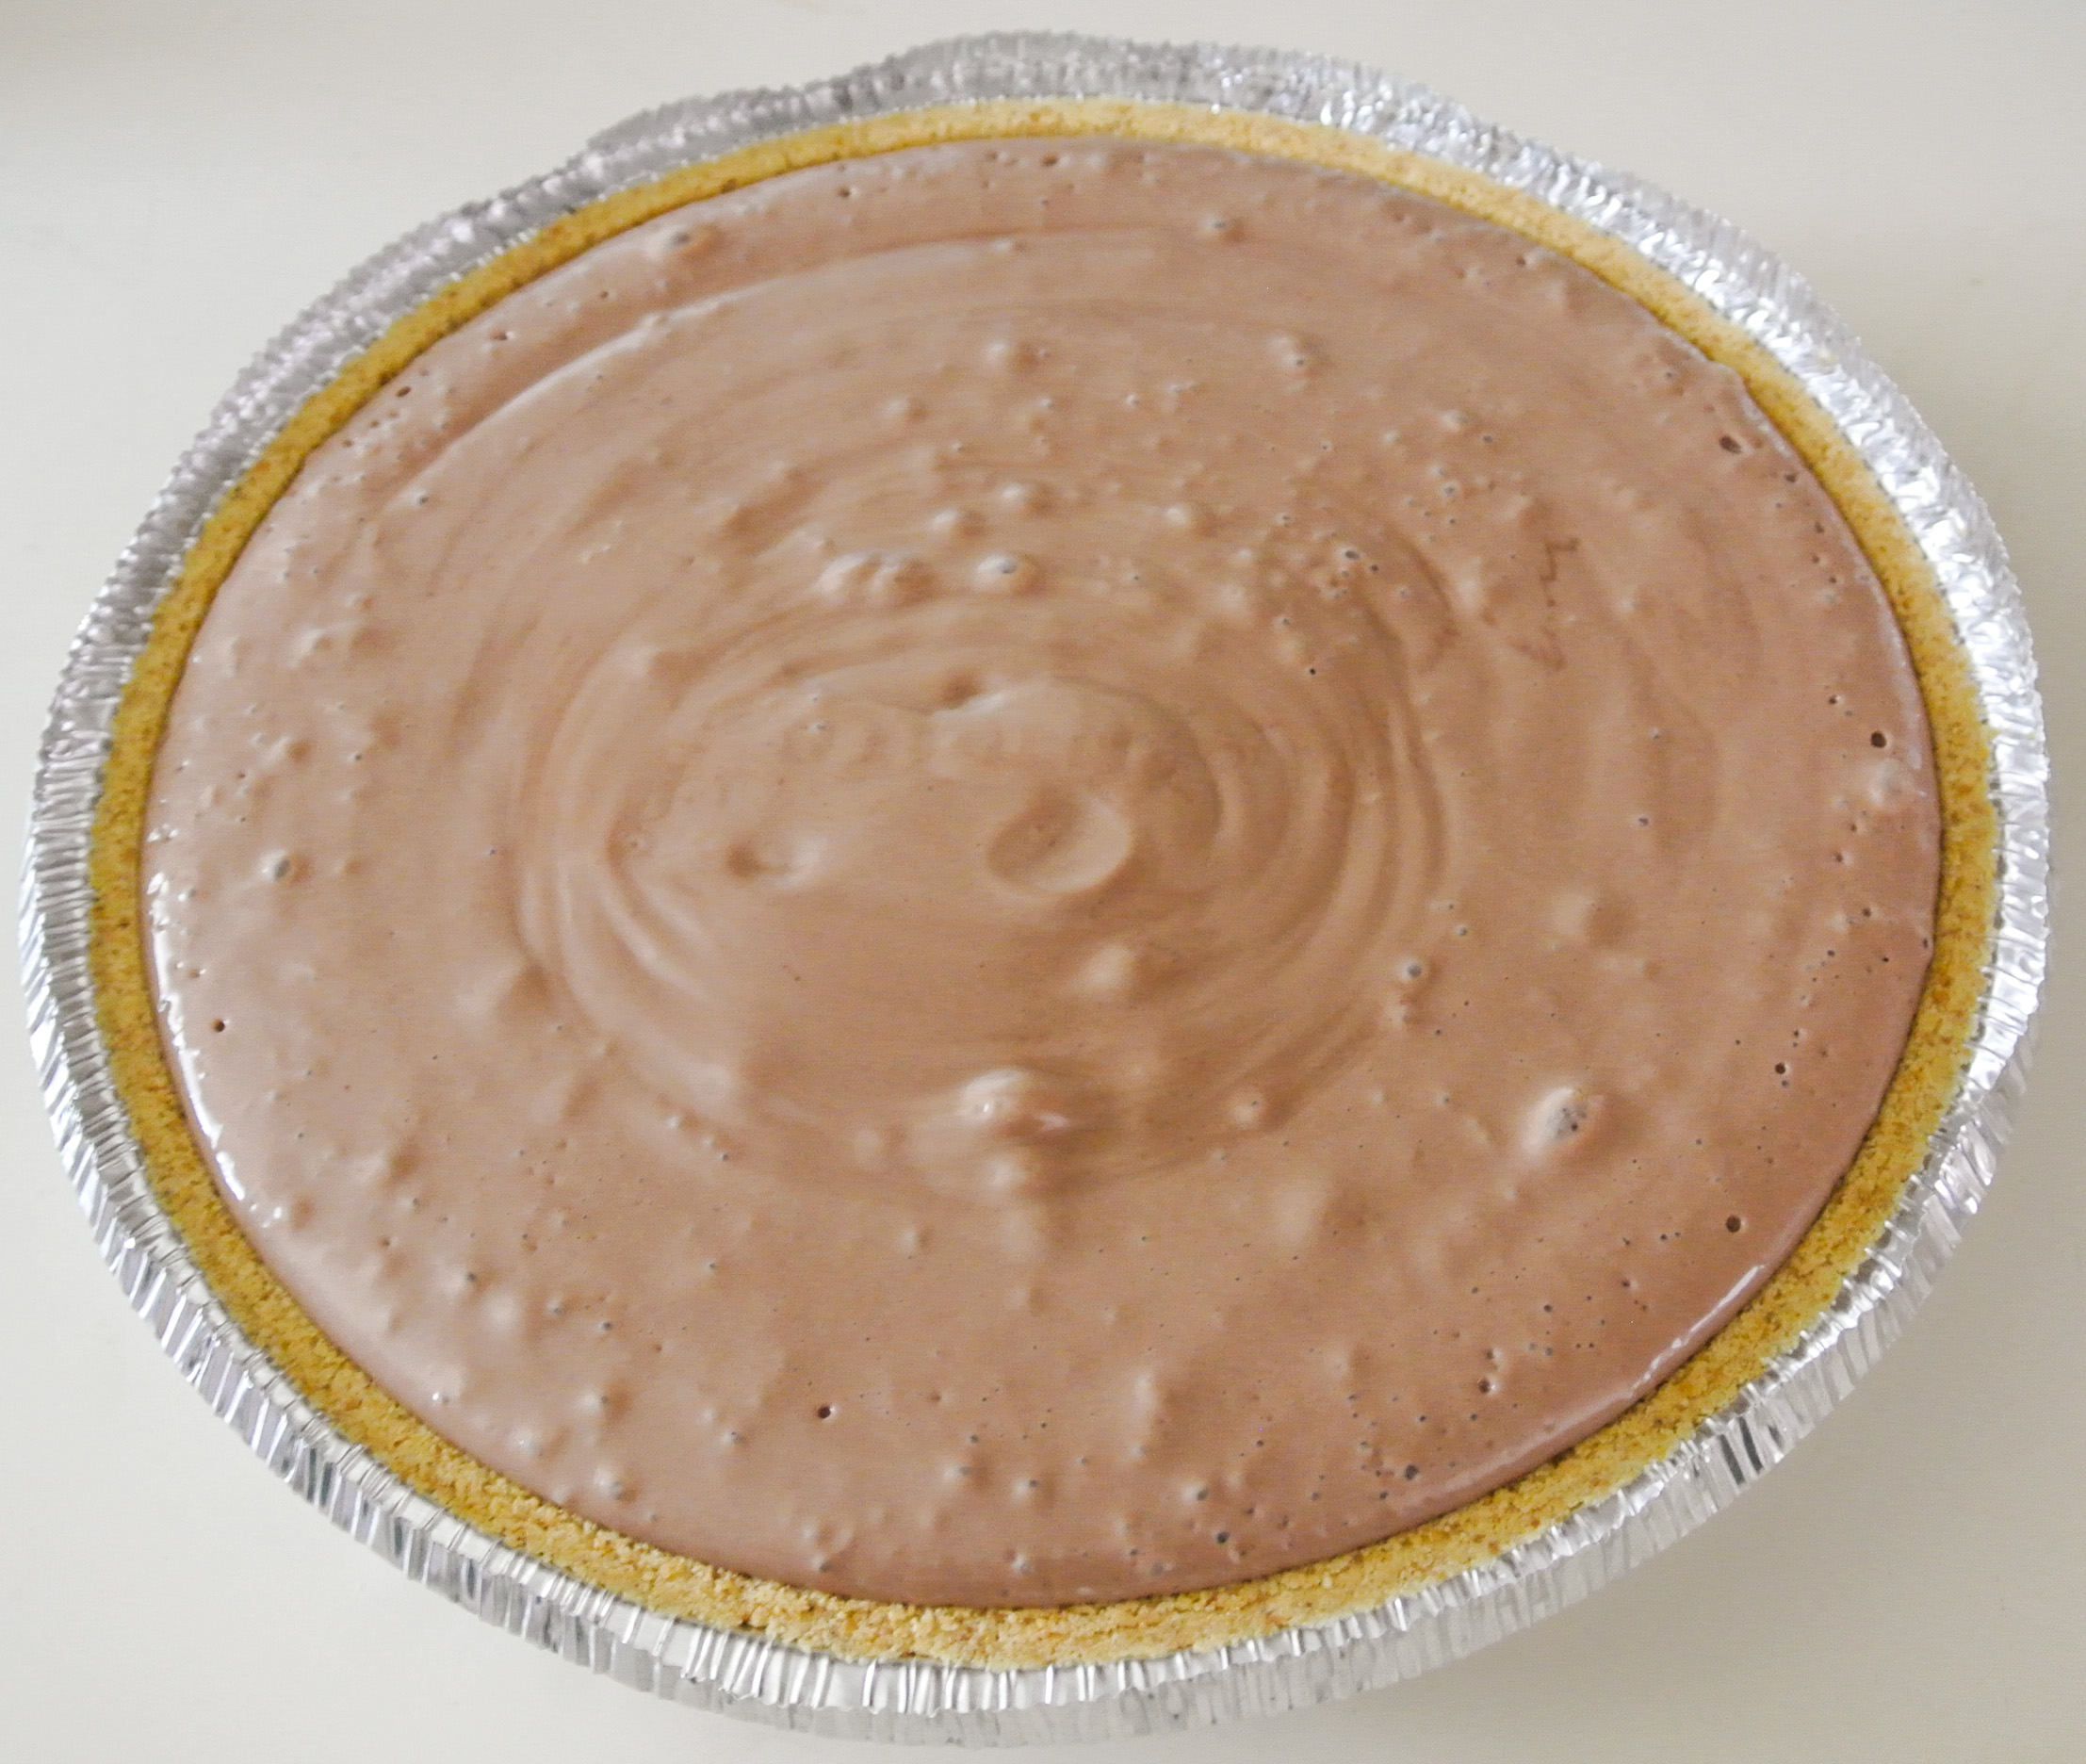
Assemble your nice cream sundae and absolutely, enjoy!

sundae

Advertisement

Back-to-School Brownies

This summer, I’m teaching a one-month ENG102 course that meets four times a week for two hours a day.  At this point in my pregnancy, I need to eat at some point in the two hours, even if it is just a little nibble.  So, I thought I would start a snack sign-up for the students, bringing a snack for them on the first day so that they knew I meant business.  🙂

Brownies are a decadent, sweet, rich treat that seems to please even the pickiest of eaters.  Because these are Fresh Formula brownies, you can additionally expect my version to be healthier than the boxed variety or even those homemade with animal products.

The health benefits of what makes a brownie a brownie—cocoa powder—are numerous, and detailed in my chocolate peanut butter banana smoothie post.  Before we get to baking, I am going to cover two other featured ingredients:  pecans and coconut oil.

Pecans, besides being easy to chop and chew, are buttery and delicious.  Pecans are notably high in fiber and magnesium, which has anti-inflammatory benefits.  While pecans are high in fat, they boast healthy fatty acids, such as oleic acid (also found in olive oil), and contain no cholesterol.  Nut allergies?  Don’t worry – this formula does not require nuts to work.  I just really enjoy them for their protein content and yummy crunch!

DSC_2139Speaking of fat, coconut oil is loaded with it…but a lot of other amazingness, too.  Brownies rely on some fat to achieve their fudgy texture and glistening appearance, but you can make smart choices about what type of fat and how much you are going to use.  Coconut oil is everywhere in health news of late.  It can be used as sunscreen, hair conditioner and even toothpaste!  When it comes to ingesting it, it doesn’t contain many health benefits, per se, but can withstand a higher cooking temperature than many other oils, lessening your exposure to free radicals or carcinogens.  And of course, it doesn’t contain cholesterol.

DSC_2141

Whichever oil you choose, keep it mind that some will affect the flavor of the brownies; I found that coconut oil did not.

Finally, brownies are an excellent canvas for all kinds of chips.  Like my classic chip cookie formula, “chips” here can be a lot of things:  chocolate, nuts, seeds, dried fruit, etc.  My chips for today’s take on the formula are pecans.

As I’ve mentioned before, dessert is dessert and it won’t be the healthiest item you put into your mouth all day, vegan or not, but we can always strive to do better.  For me, they really are a special treat, popping out of my oven only two or three times a year.  Oh, and in case you were wondering, my students gobbled these up…even after they learned they were vegan.  Plant-based victory!

FORMULA BASE:  BROWNIES

Fills a 9 x 13 pan with approximately ¾-inch thick brownies

  • 2 cups flour –> I’m using all whole wheat except for the last 1/3 cup; I ran out and used brown rice flour to fill in the rest.
  • 1 cup plant milk –> I’m using unsweetened, unflavored almond.
  • 1 cup sweetener –> I’m using turbinado sugar.*
  • ¾ cup unsweetened cocoa powder
  • ½ cup oil –>  I’m using coconut.
  • 1 tbsp ground flax or chia seeds + 3 tbsp hot water (“egg”) –> I’m using flax.
  • 1 tsp extract –> I’m using homemade vanilla.
  • ½ tsp baking powder
  • ½ tsp pink Himalayan sea salt
  • OPTIONAL:  ½-1 cup chips

*What’s this?  See my cake formula.

Preheat your oven to 350 degrees.  In a large bowl, mix your dry ingredients, sans sweetener.  In another bowl, mix your wet ingredients, plus sweetener.  This includes your “egg,” which should be prepared separately before adding it to the rest of the wet ingredients.

Slowly mix your wet ingredients into your dry until a dough forms.  That’s right, this mixture will likely be more dough-like than batter-like, although different sweeteners and oils may change the consistency slightly.  Point is, don’t be concerned if what you expected to be a drippy batter turns out thick.  🙂

DSC_2144Mix in your chips or save them to sprinkle on top.

Lightly grease a 9 x 13 backing pan or dish (I prefer glass).  Spread your dough evenly throughout and top with chips, if you’d like.  Lightly press any toppers into the dough with a spatula before heading into the oven.

DSC_2145

Bake for 20-22 minutes for a fudgy brownie or 23-25 minutes for a cakey brownie.  Enjoy!

Feel the No-Bake Power!

DSC_1996

When it comes to natural sources of protein and energy, the health-conscious are turning to homemade bars, balls, and bites. From what I’ve seen, creators are calling on dried fruit, nuts, seeds, and grains to put them together. My power ball formula also includes a classic crowd pleaser, chocolate!

I am not a fan of or advocate for protein powders or shakes. They are expensive, overly processed, and while some taste decent, many have a chalky aftertaste. I follow a blogger that is a dietician by day and athlete by night. She follows a mostly raw vegan diet, is totally opposed to powders and shakes, and is able to gain plenty of lean muscle mass (if that’s what you’re going for) using plant-based sources of protein and energy.

Her posts and my commitment to a minimally-processed, DIY plant-based lifestyle inspired me to create a power ball that my whole family will eat. Because they are dense, rich in flavor and consistency, and somewhat expensive to make, I only eat one or two a day when I have them in my fridge.

The base of any solid bar, ball, or bite is whole grains (often oats) and something sticky and gooey to hold the whole thing together. Creating the dough is quick and easy; rolling it into easy-to-grab-and-eat balls is a little more time-consuming, but yields you the perfect portion.

DSC_1995

Pop a power ball as a snack, eat one or two with fresh fruit for breakfast, or treat yourself to a super healthy mock dessert. You could even serve them at a party because they are just so darn cute…power lollipop anyone?! 🙂 In general, these remind me of truffles, without the animal fat, cholesterol, and excessive sugar. Enjoy!

FORMULA BASE: POWER BALLS

Makes 12-14 small balls

For the dough:

  • 1 cup nut or seed butter (nuts/seeds only) –>  I’m using peanut.
  • 1 cup uncooked whole grains –>  I’m using rolled oats.
  • ½ cup unsweetened dried fruit (without added oil) –>  I’m using 6 small pitted medjool dates.
  • 2 tbsps natural liquid sweetener –>  I’m using pure maple syrup.
  • 1 tbsp ground flaxseed
  • 1 tbsp unsweetened cocoa powder

Garnish ideas (approximately 4 tbsps):

  • Raw seeds*
  • Raw finely chopped nuts
  • Unsweetened coconut flakes
  • Unsweetened cocoa powder
  • Finely chopped unsweetened dried fruit bits (without added oil)
  • Melted dark chocolate (which will re-solidify after dipping)

*Today, I’m using a combo of sunflower, chia, and hulled hemp.

Turn your whole grains into flour using your food processor or blender. You could also use rolled oats as is. The texture of the balls will be different, but rolled oats are one of few grains soft enough to be palatable without becoming flour.

DSC_1986

Combine the flour and your remaining ingredients in a food processor. Run until a thick, pliable dough forms. You will probably have to scrape down the sides of the processor with a spatula at least once.

DSC_1987

Shape the dough into 1-1 ½ inch balls and roll in garnish.

DSC_1990

Enjoy immediately or store in the fridge.

DSC_1997

Nutrient-Rich Chocolate Mousse

DSC_1977

You read that title correctly:  Nutrient-Rich Chocolate Mousse.  As I’ve mentioned before, I don’t make traditional desserts a regular part of my diet, but like many people, I definitely get a sweet tooth now and then. Between my cake formula, dessert smoothie formula, and today’s feature—chocolate mousse—I can typically quench my desire for sweets pretty quickly and with a healthier option.

Friday night was my department chair’s retirement party and I signed up to bring dessert. I was told that many instructors offered to do the same, so my dessert need only be a sweet nibble for approximately six people. I knew that my chocolate mousse—which today, I’m making as a pie—would do just the trick. Wanna bet that party-goers didn’t even notice it’s vegan?! 🙂

The base of this mousse is of course, chocolate. Your options are dark chocolate (likely with an added sweetener) or vegan semi-sweet chocolate. Today, I’m using semi-sweet chocolate chips that I’ve found don’t contain milk fat, as some varieties do. Don’t forget to read the packaging to make sure.

DSC_1972

While I use cocoa powder in other chocolatey concoctions, it won’t work in this mousse. When bar or chip chocolate is melted, it will eventually re-solidify, ultimately stiffening the mousse so that it isn’t a runny mess. I have tried doing this with cocoa powder, simply because it contains fewer processed ingredients and it just doesn’t allow the mousse to stiffen up the way that it needs to, especially if being served as a pie that requires slicing.

Today, I’m taking some help from the store with a premade graham cracker crust (I know, sooo not like me!). The main reason for this is that it comes in a disposable aluminum pie plate that I can just leave at the party. Remember, you don’t need a crust, but if you’re not pressed for time and are able to use (and easily get back!) a glass pie plate, you can make your own. Consider crusts made from foods other than graham crackers, too. (Travis’s homemade vegan graham cracker recipe is another post, another day. :))

This mousse is just sweet enough to satisfy a craving without being too rich. Topping with chopped fresh fruit will add even more sweetness of the best kind: natural. Experiment with various flavor combinations and textures, considering fruit and nuts particularly. Dessert could certainly be worse for you than this one, jam-packed with protein (from the tofu), calcium (from the plant milk), antioxidants (from the chocolate), fiber, vitamins, and minerals (all from the fruit). Enjoy!

FORMULA BASE: CHOCOLATE MOUSSE

Serves 4-6

  • 1 block (14 oz) silken tofu (see my togurt formula for an explanation of tofu)
  • 3/4 cup semi-sweet chocolate chips (sans milk fat) or chopped dark chocolate –> I’m using semi-sweet chips.
  • 1/2 + 1/8 cup plant milk –>  I’m using almond.
  • ½-1 tsp extract of choice (amount depends on flavor intensity) –>  I’m using 1 tsp vanilla.
  • 1 tbsp sweetener (optional) –>  I’m not using any.
  • ½-1 cup specialty ingredients (optional) –>  I’m using one small banana.

Using a double boiler, melt the chocolate into your plant milk. It doesn’t need to completely melt, but rather, soften enough to puree easily.

DSC_1974

Let cool for a minute or two and transfer into a blender with all remaining ingredients. Blend until smooth.  The air bubbles are normal.  You can smooth them out with a spatula or cover them up with toppings later! Pour into your serving dish(es) of choice, with or without a crust, and chill for at least two hours.

DSC_1975

After chilling, I like to top mine with fresh fruit and/or chopped raw nuts before digging in.  🙂

DSC_1978

Dessert for Breakfast? Yes, Please!

DSC_1509

Today, I made my favorite dessert smoothie for breakfast. Above, you can see the finished product, ready for consumption by one busy mommy and on-the-go toddler.  While you’ll love this sweet treat in a traditional post-meal capacity, it can serve as a decadent start to your day, too. Jam-packed with protein and calcium, it puts many other breakfast options to shame.

A few words about some of the ingredients (pictured below) in this chocolate peanut butter banana concoction…

DSC_1504

First, we have cocoa power. To keep the sugar content low, it is imperative that it be unsweetened. Cocoa powder, which contains powerful antioxidants, has numerous health benefits, so it may be tempting to add a lot, but its flavor is quite intense. Start with a tablespoon and slowly add more if you want your smoothie extra chocolaty.

Secondly, seek out a peanuts-only peanut butter. Many peanut butters contain added sugar, oil, and salt, which may result in you initially finding a simpler peanut butter bland. The purer taste, however, will grow on you over time; I now find myself off-put by peanut butter with unnecessary additives.

Lastly, because the cocoa power, peanut butter, and almond milk in this recipe are all unsweetened, you have only the bananas to rely on to give this smoothie a dessert-like quality. Riper bananas will be sweeter, but if even that is not enough for you, add medjool dates–which are rich in fiber and vitamins–for a little something extra. As you can see in the photo, they do contain pits, which can be easily removed by splitting the dates in half with your thumbs. Medjool dates are very soft, easy to work with, and blend well, if you have a high quality blender.

That leads me to my blender: the Ninja, which includes pitchers in two different sizes. The most basic model will run you about $100, where the more advanced models with more equipment will be over $300. While I would love someday to own one of the hailed Vitamix or Blendtec processors, for a little less coin, I’m happy with the Ninja for now. If you do not own a blender with advanced capabilities and fear that the less-than-perfect puree of the dates would result in an unappealing texture, you could substitute another sweetener of your choice.

DSC_1501

Overall, this smoothie blends up nicely, with the exception of the chia seeds, which I’m not sure would completely puree in any blender. Their texture reminds me of the tiny seeds on strawberries or in kiwis and does not bother me, but you can eliminate them if you so choose. I have chia seeds in many of my formulas/recipes, as they are a super food loaded with omega-3 fatty acids, calcium, fiber, and protein.

But the seeds and peanut butter are fattening, right? Yes, they are. I’m happy to report, however, that seeds and nuts contain cholesterol-free fats. If you’re following a fairly strict plant-based diet, seeds and nuts are among the only sources of fat that you will ingest. Think about that squishy, white-ish edge of a pork chop or the grease that floats on top of a cheesy pizza and you will celebrate the addition, in moderation, of a different kind of fat to your diet. Also, this smoothie need not be your everyday breakfast (I make it once or twice a week) – check out my fruit and veggie smoothie formula, too.

With that said, on to dessert!

FORMULA BASE:  DESSERT SMOOTHIE

  • 2 frozen bananas (or fresh bananas and ice)
  • ½-1 cup specialty ingredients –>  I’m using ½ cup peanut butter and 1 heaping tbsp of unsweetened cocoa powder.
  • 1 tbsp chia seeds
  • 1 tbsp ground flax seeds
  • ¼-½ tsp extract of choice (optional, and amount depends on flavor intensity) –>  I’m using no extract in this recipe.
  • Pitted medjool dates as needed for sweetness  –>  I’m using 2.
  • Juice or plant milk until desired consistency (start with 4 oz)  –>  I’m using unsweetened almond milk.

DSC_1505

Combine all ingredients in a blender. Taste and adjust specialty ingredients as necessary.  Enjoy!