Salsa Verde with Semi-Homemade Chips

If you thought making my basic raw salsa was easy, you’ll appreciate the simplicity of my salsa verde, which uses nearly the same formula.  Although there is one extra step—cooking the tomatillos—one step is removed:  the fine dicing.  Salsa verde comes together with a food processor and requires only coarse chopping (we’re talking a few big pieces) of an onion.  And, just like my other salsa, this one is salt-free.  A win-win!

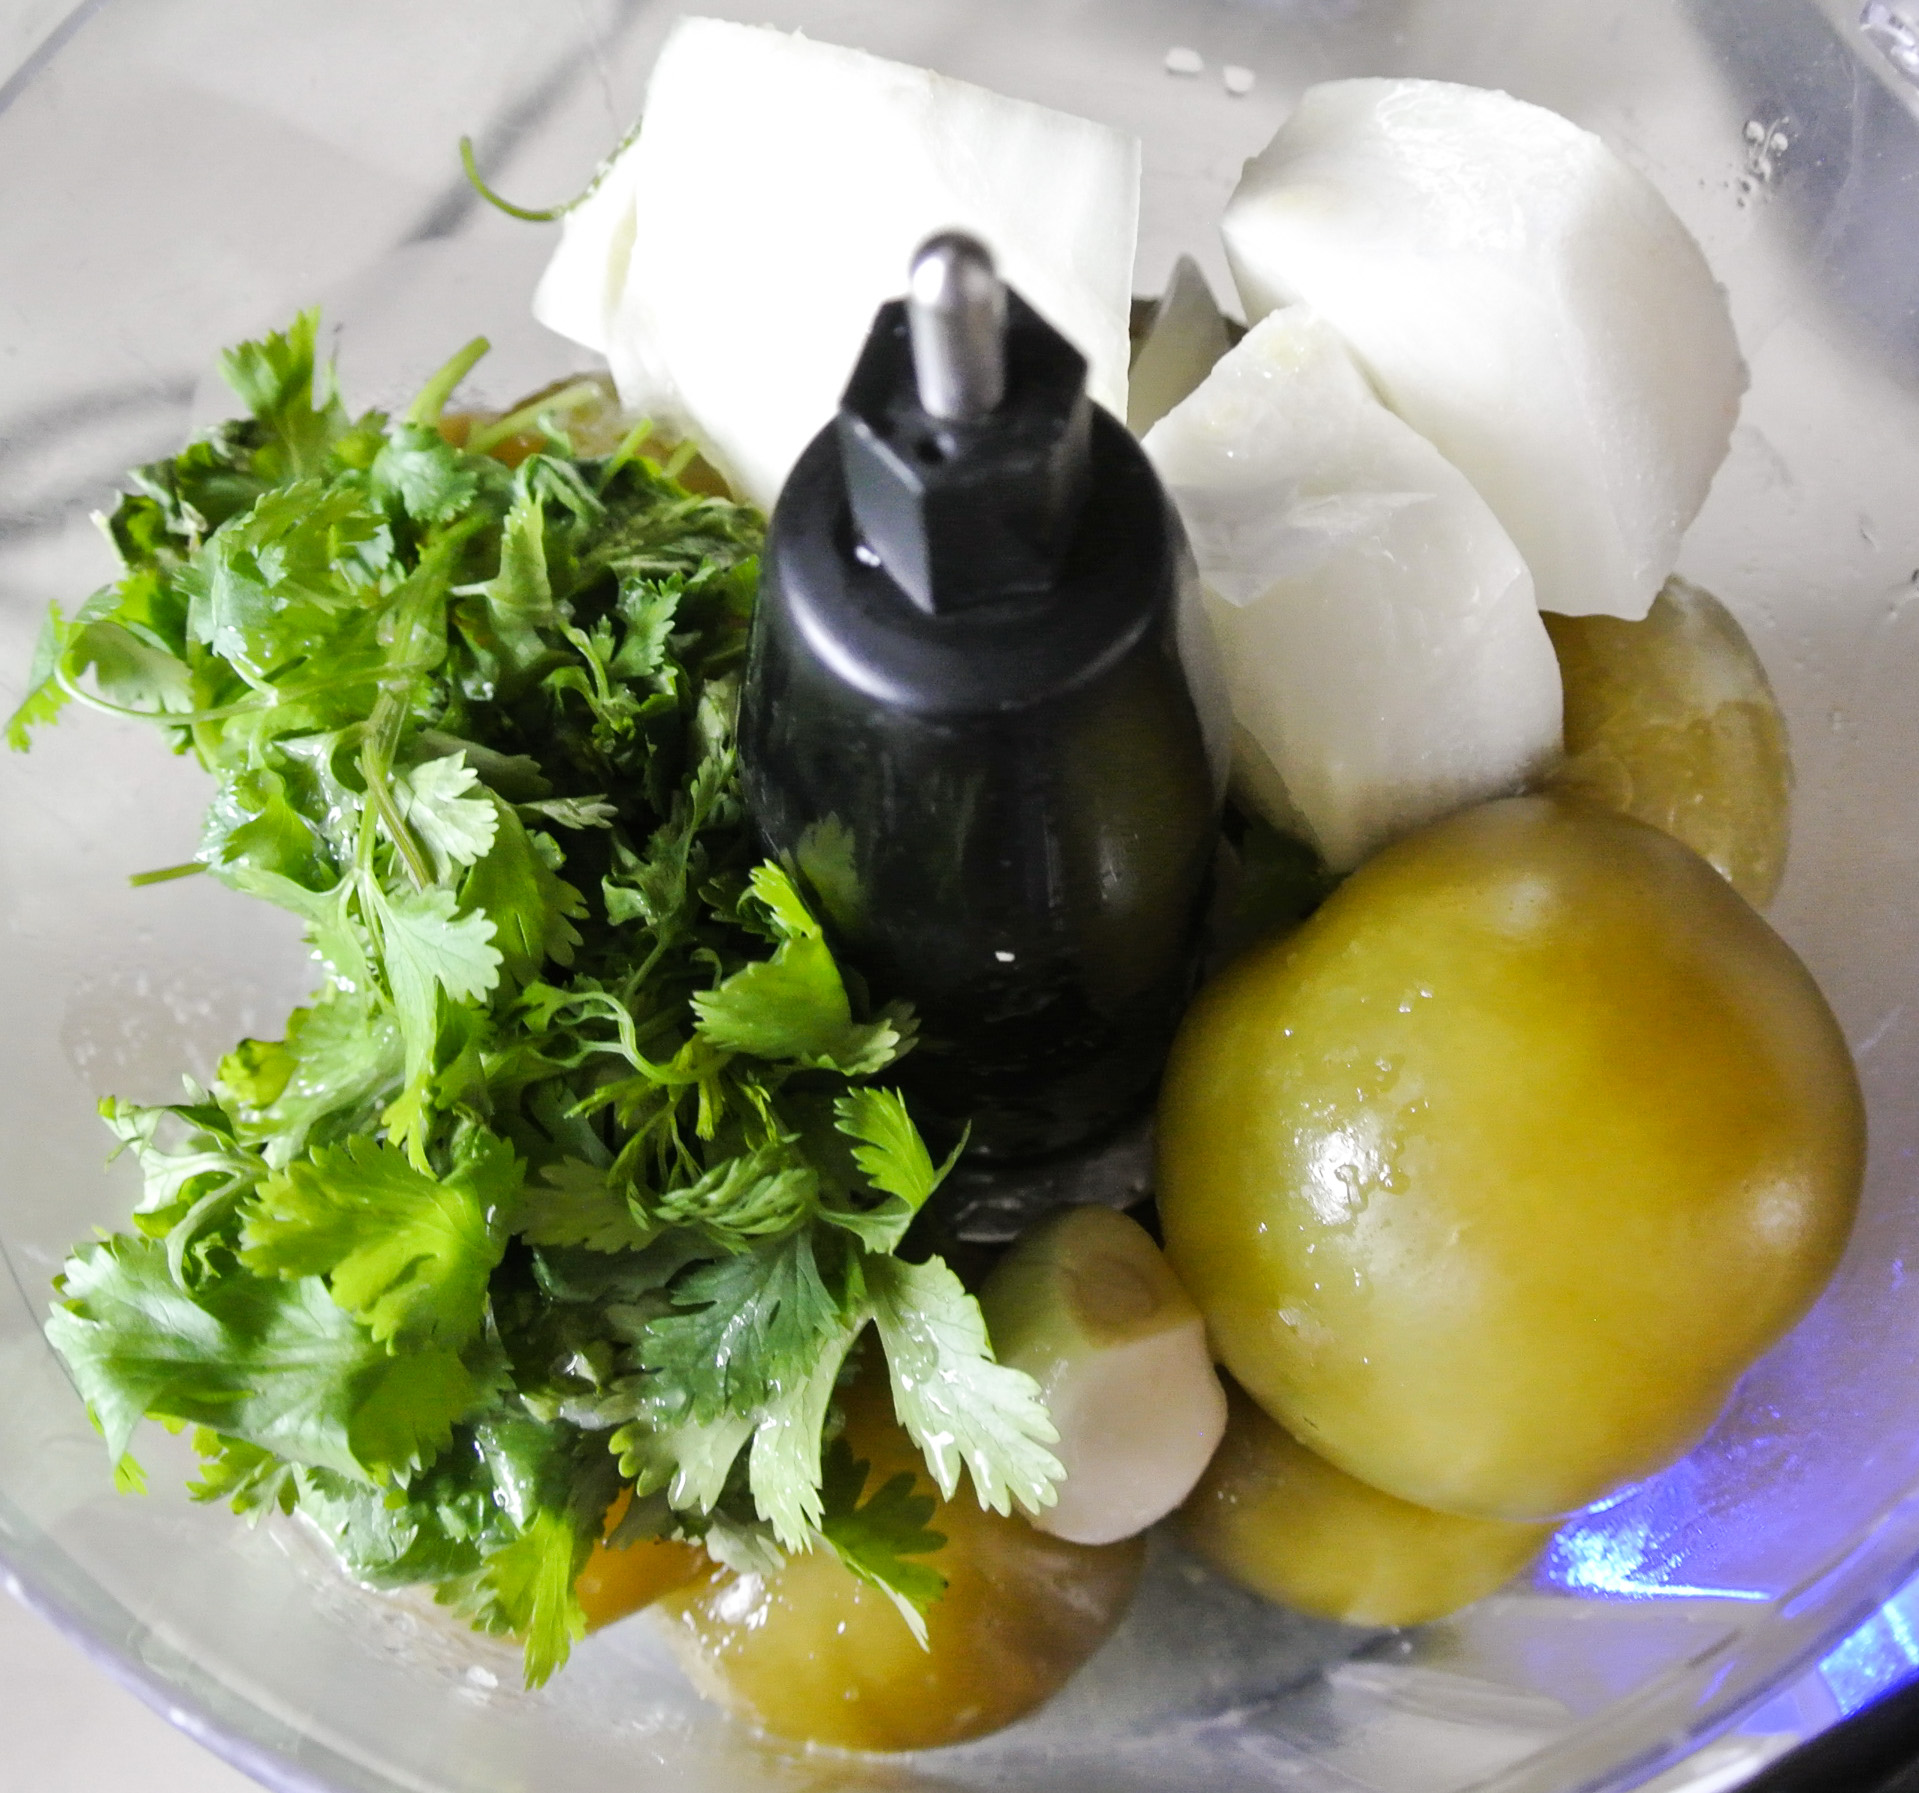
The basis of salsa verde is the tomatillo.  The tomatillo is a green vegetable that comes in a husk like corn (husk removed in the picture below), but resembles a tomato in appearance and interior texture.  It is loaded with vitamin C, fiber, and niacin and has a tart, somewhat bitter flavor.  The best way to describe a raw tomatillo is that it is hard and green when it is ripe, unlike traditional red, yellow, or orange tomatoes that are at this stage when they are just beginning to grow.  As a result of tomatillos’ tough outer texture, they are traditionally cooked in some way before becoming a salsa or sauce.

DSC_2268

As you know, I try to eat most of my fruits and vegetables raw, but I recently learned that tomatoes are one of the few vegetables (or fruits, technically) that are actually more nutritious in a cooked state.  In my research, I couldn’t find whether or not this applies to tomatillos as well—despite their resemblance, they aren’t tomatoes—but since I’m cooking them regardless, I’m just going to go with it and assume that I am reaping their maximum nutritional benefits!  (I am opting for simmering rather than roasting, which typically requires the addition of some oil, which you’ll see, I’m using plenty of below.)

The second component of today’s snack is the semi-homemade tortilla chips.  When they are offered with our weekly Bountiful Basket, Travis and I always pay a little extra for a variety pack of tortillas.  In addition to plain, the variety pack typically offers tortillas made with spinach, tomato and basil, and chipotle peppers, too.  We keep one flavor in the fridge for veggie wraps and the rest in the freezer.

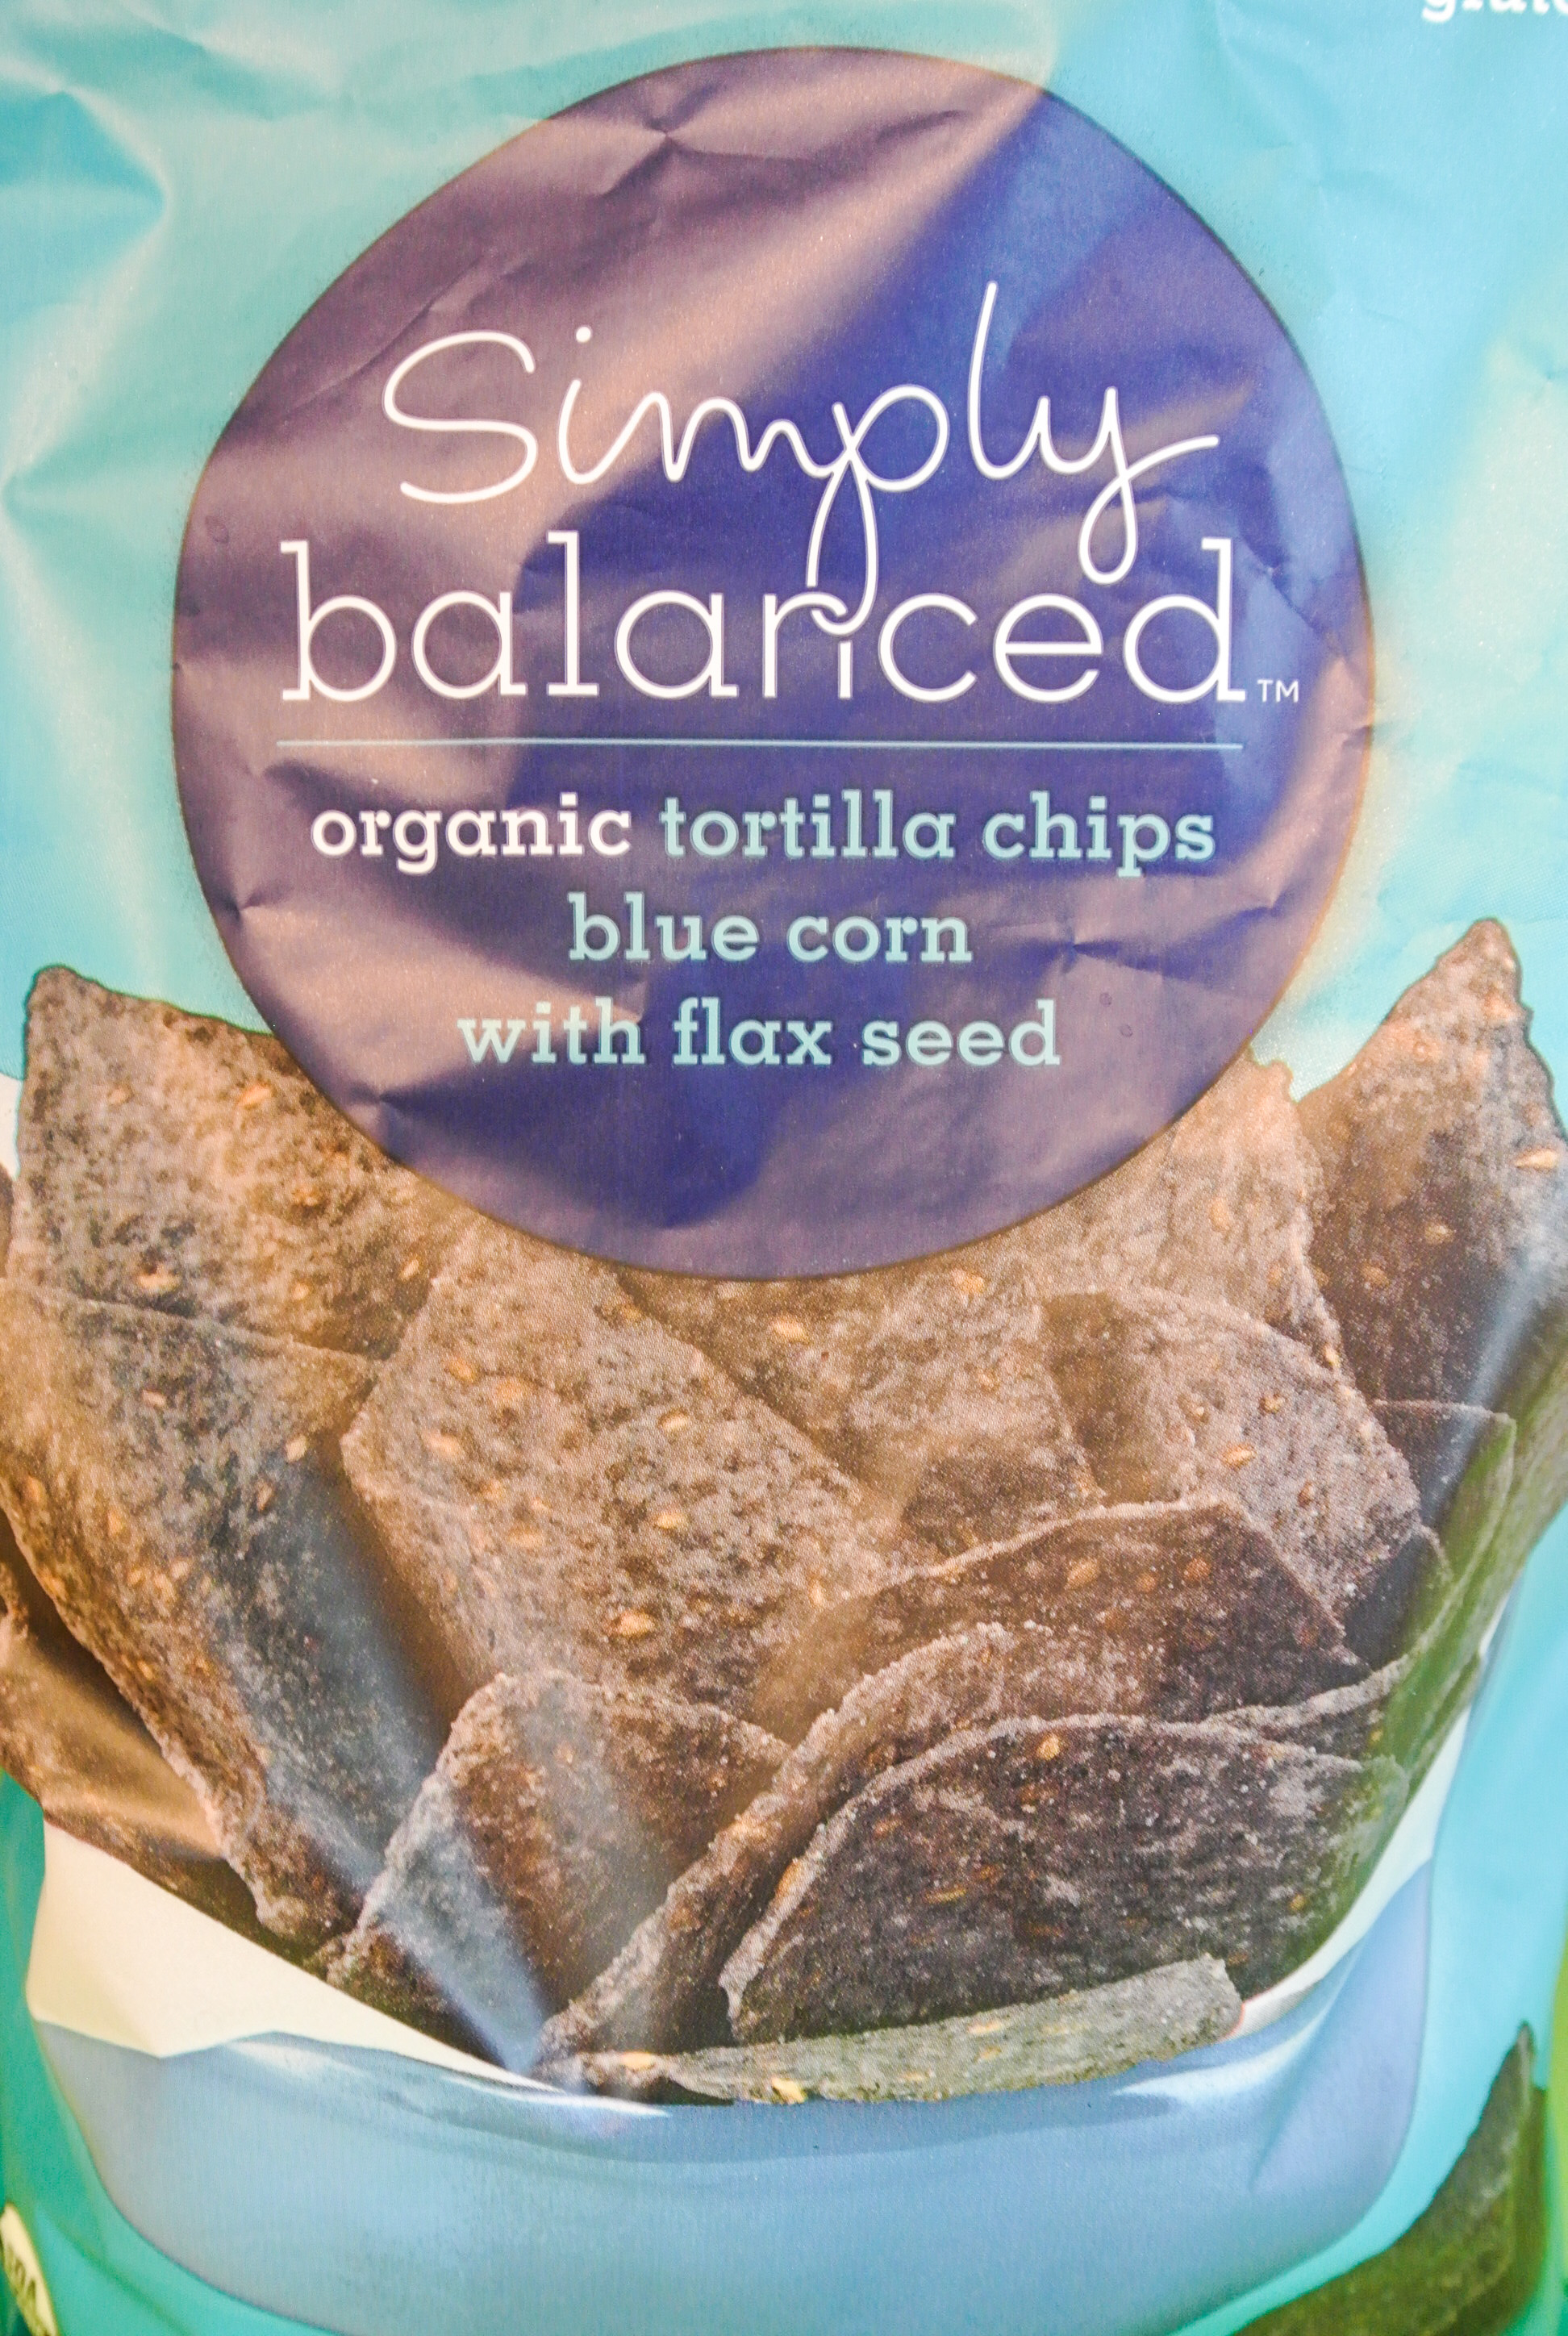
Every once in a while, we don’t go through the fridge wraps before one or two start to get stale on the edges.  In the event that this occurs, not one to waste food and always innovating in the kitchen, I bust out our little deep fryer and turn the slowly hardening tortillas into semi-homemade chips.  Obviously, frying food isn’t its healthiest preparation option, but the occasional batch of prepared-at-home tortilla chips is a nice alternative to the store-bought dippers that are high in sodium and oftentimes fried as well.  (When I do buy store bought, you know I love Simply Balanced organic blue corn tortilla chips with flaxseed!)

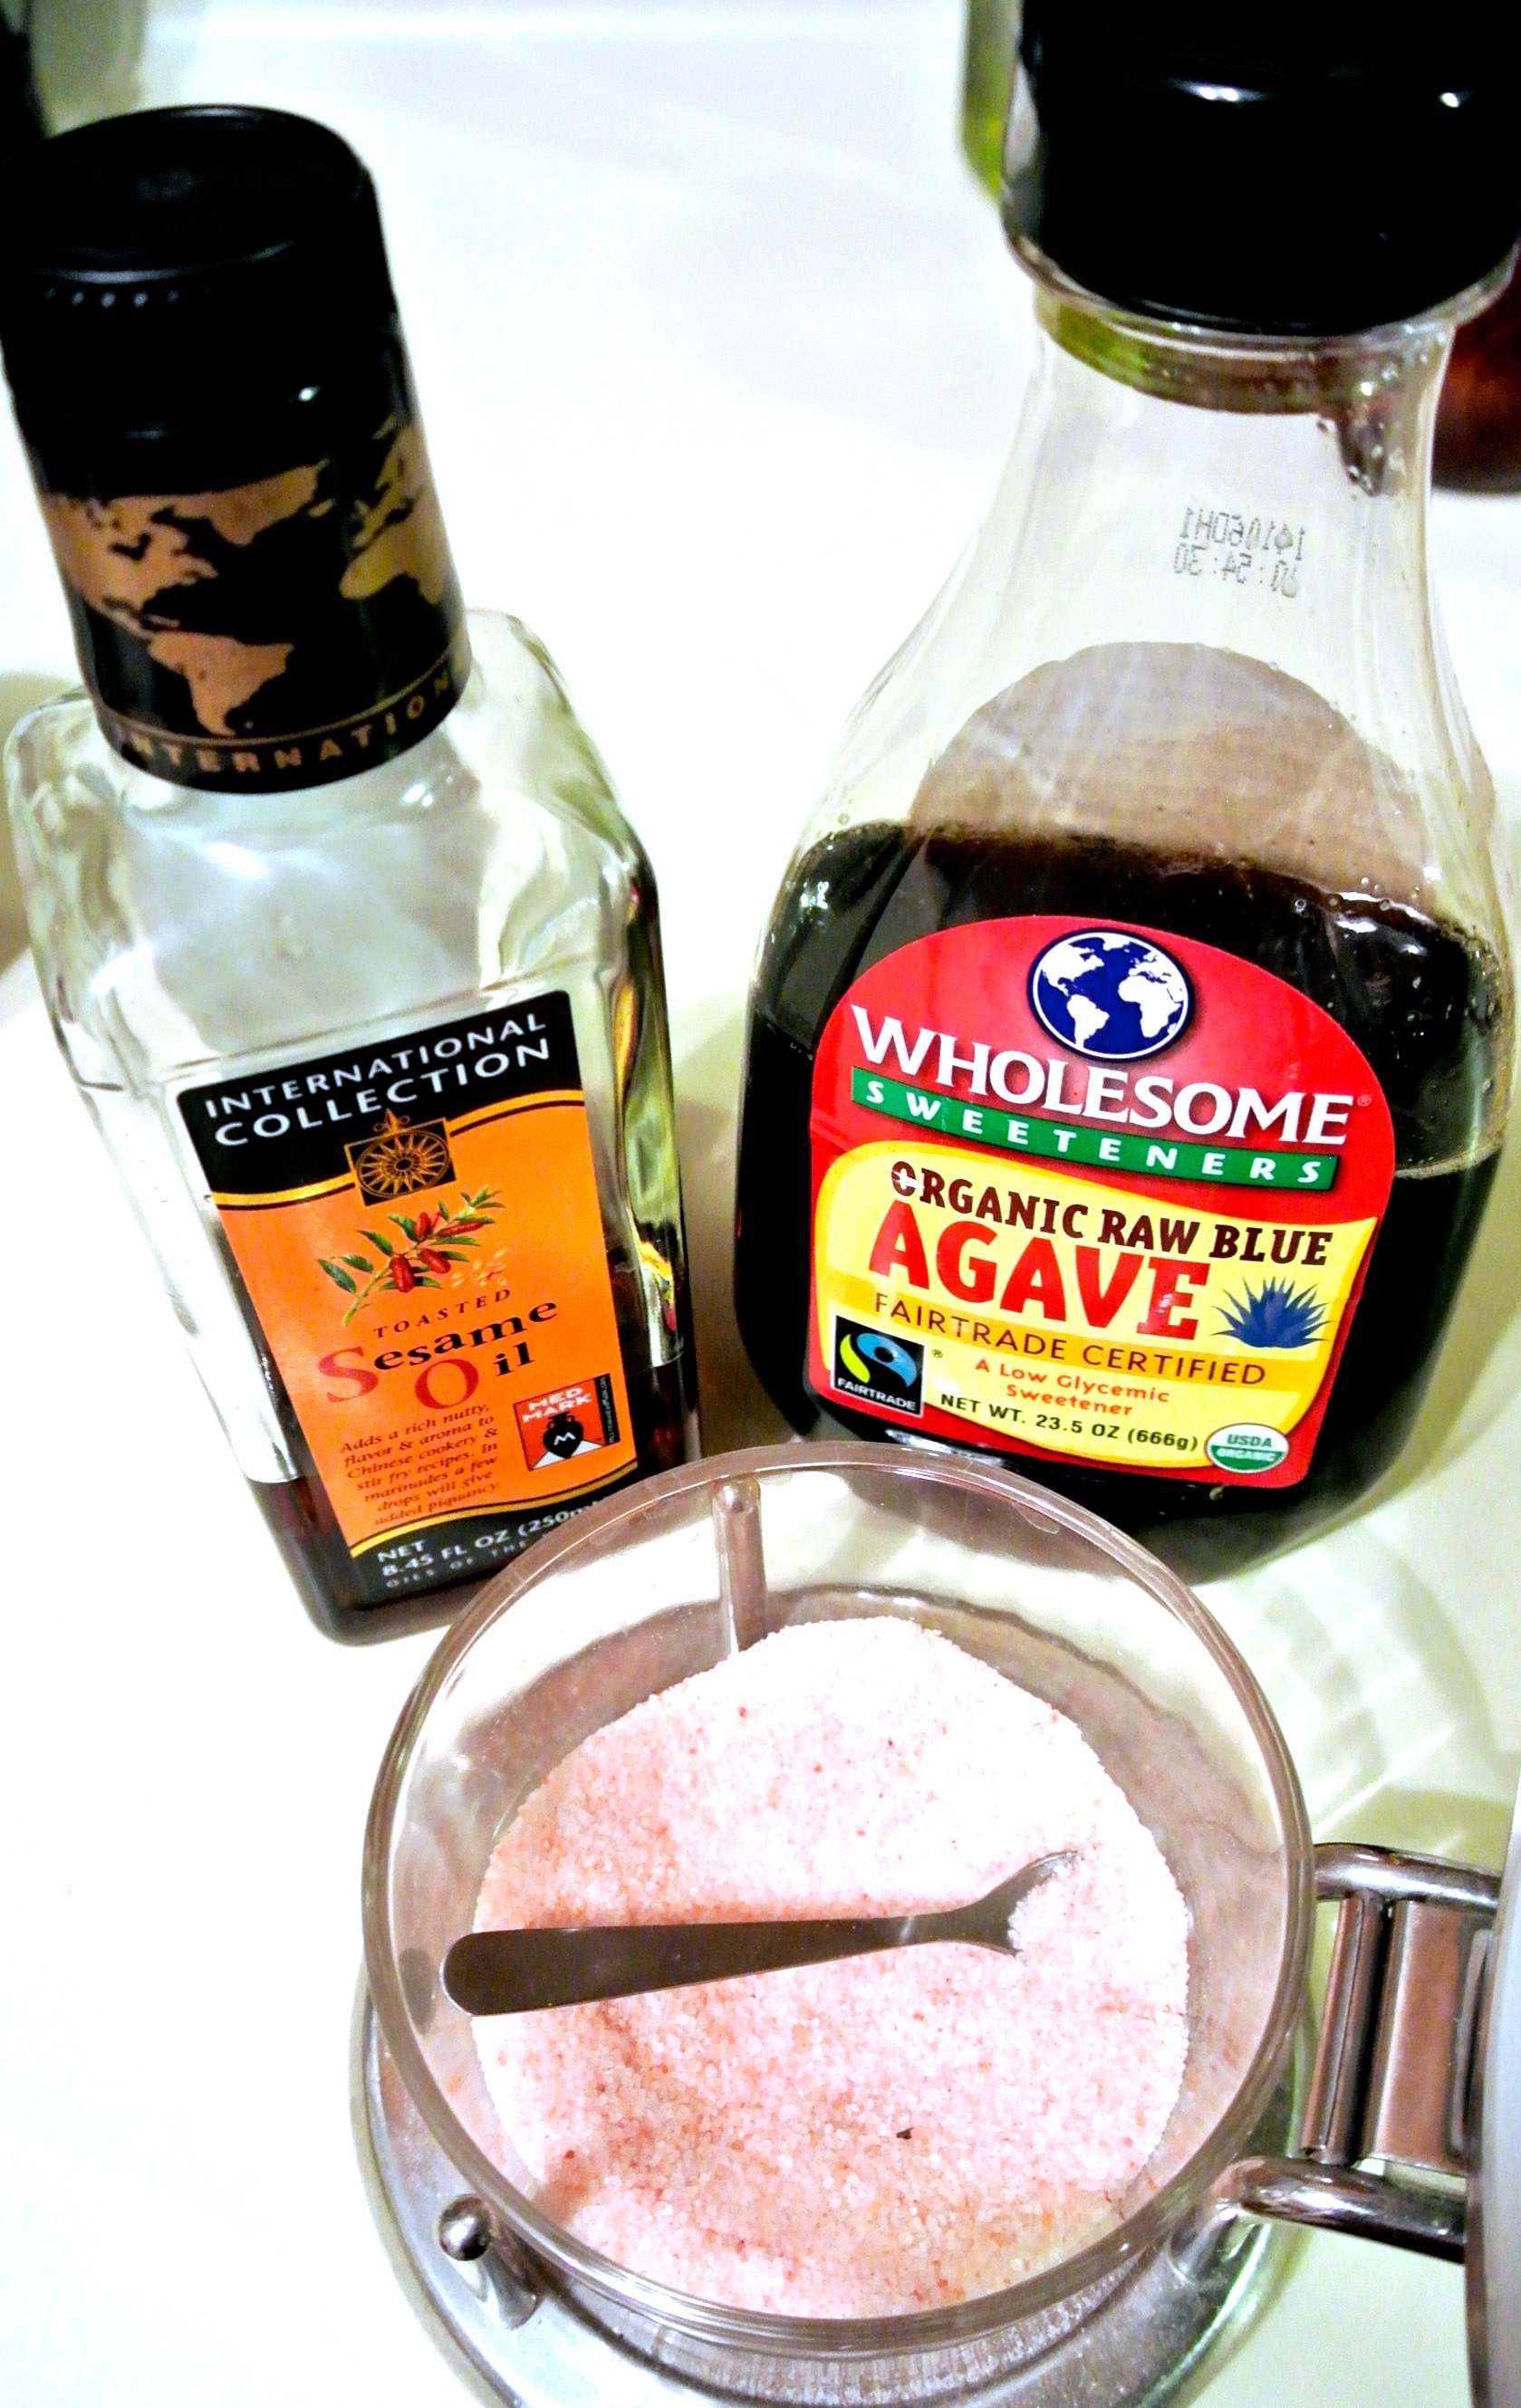
I figure that if I’m going to eat something fried, I’d like to control the quality.  Travis and I use peanut oil, which is among the oils tolerant to high cooking temperatures.  I finish them with a light dusting of pink Himalayan sea salt.  One large tortilla makes ten to fifteen chips, depending on how you cut it.

You can, of course, buy chips for dipping or use your salsa verde in a number of other applications.  Layer it in a cheaper-than-but-inspired-by-Chipotle burrito bowl, marinate tofu or mushrooms for tacos or lettuce wraps, or thin it out for a quick and healthy salad dressing.  Salsa verde is delicious, nutritious, and versatile.  Enjoy!

FORMULA BASE:  SALSA VERDE

  • 1 ½-2* pounds whole husked tomatillos
  • ½ of a medium onion –>  I’m using yellow.
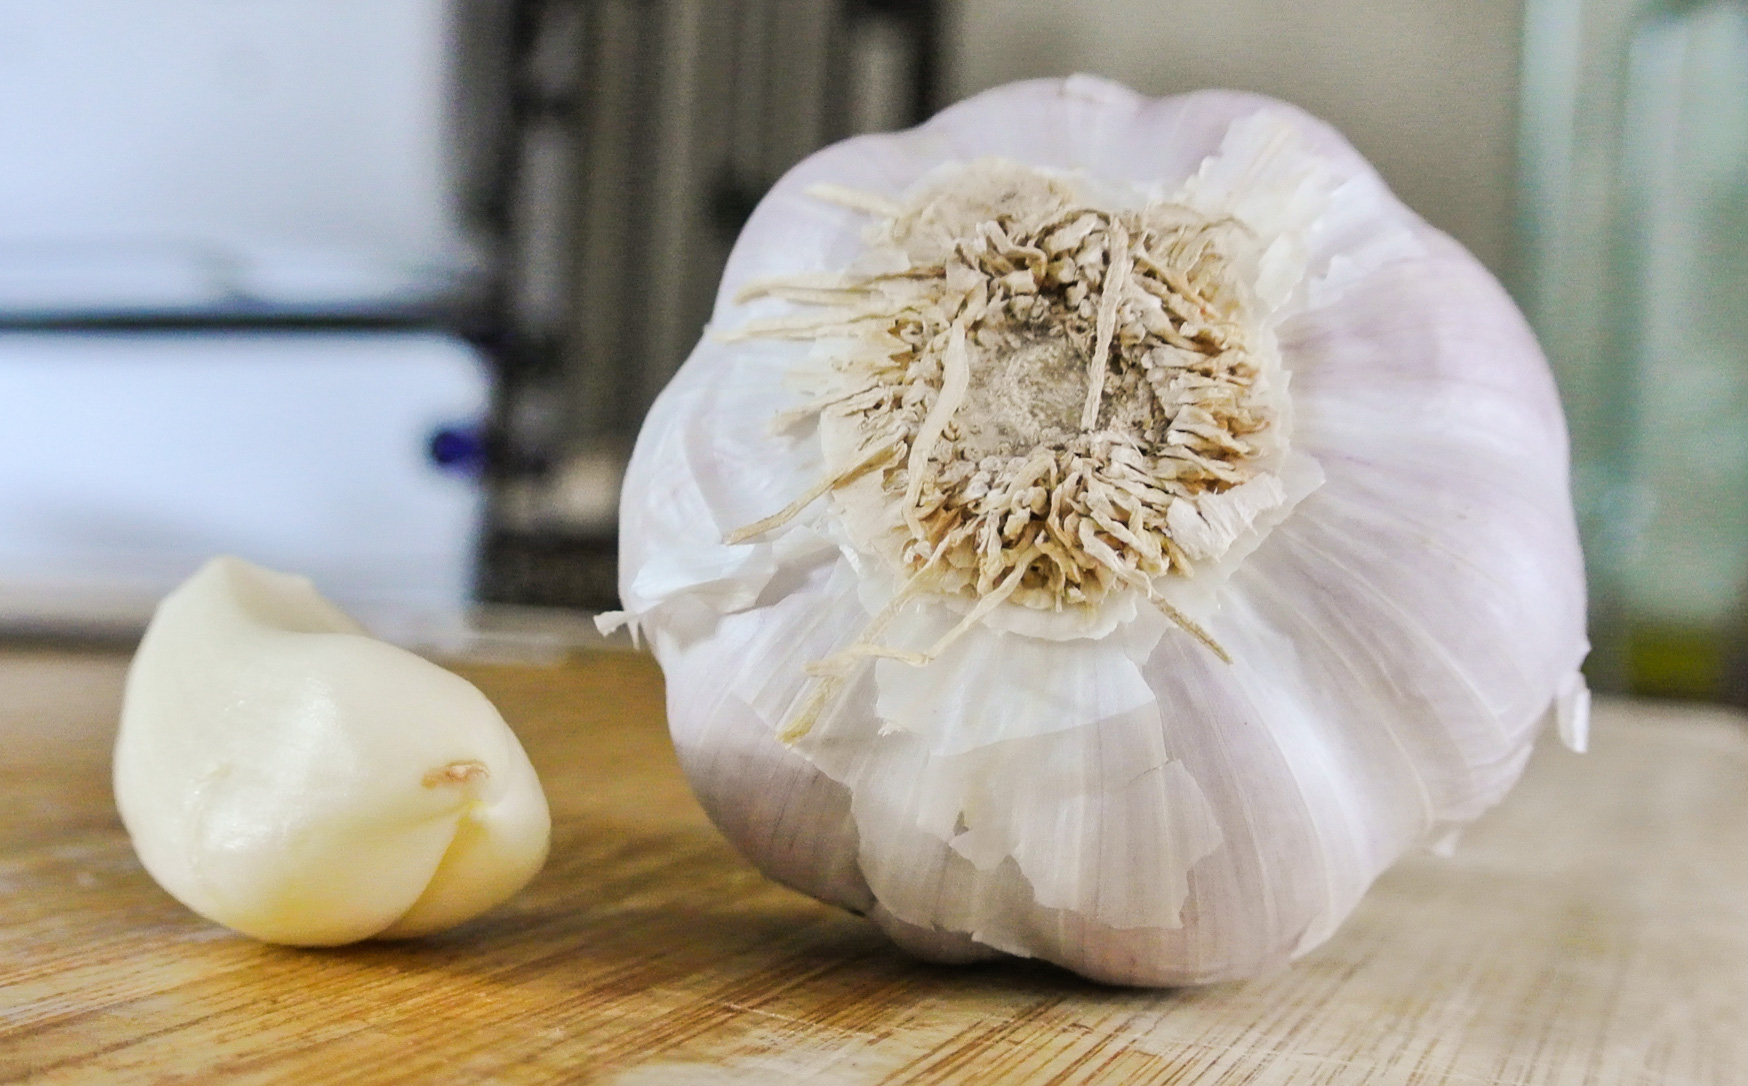
  • 1 large whole clove of garlic, peeled
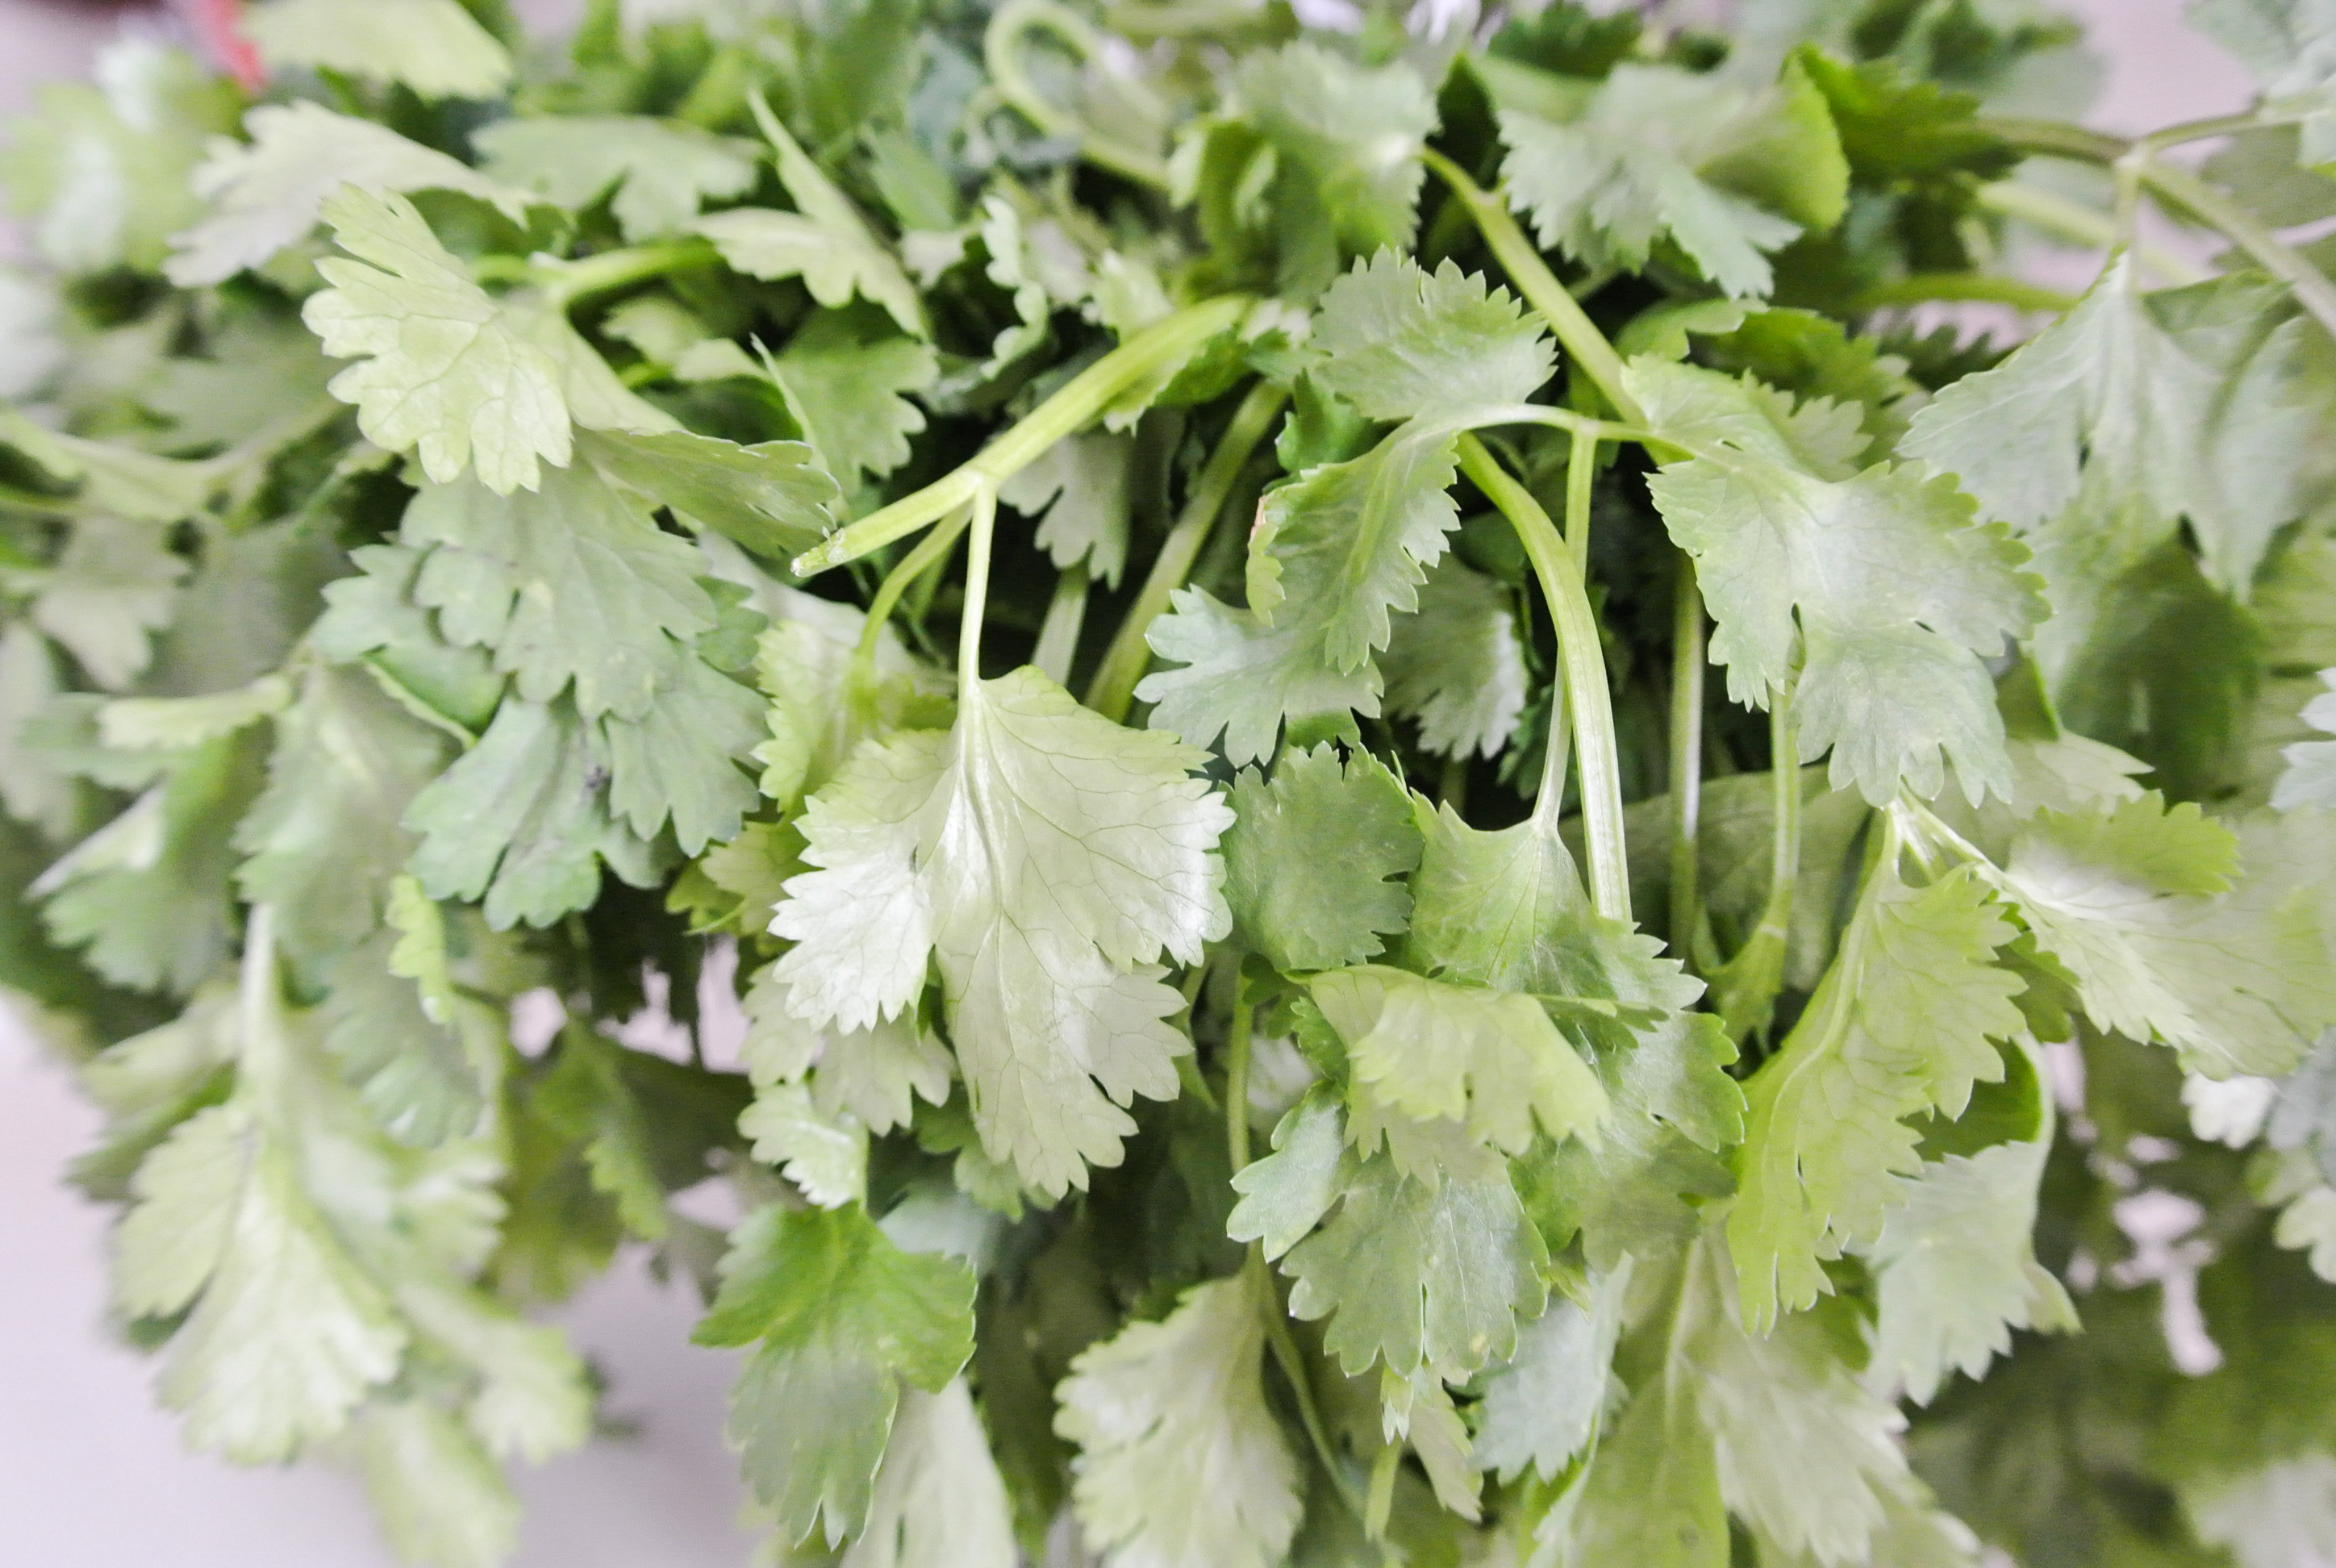
  • ½ cup fresh herbs  –>  I’m using cilantro.
  • ¼ cup acid (vinegar or citrus juice**)  –>  I’m using lime juice.
  • Seasoning to taste

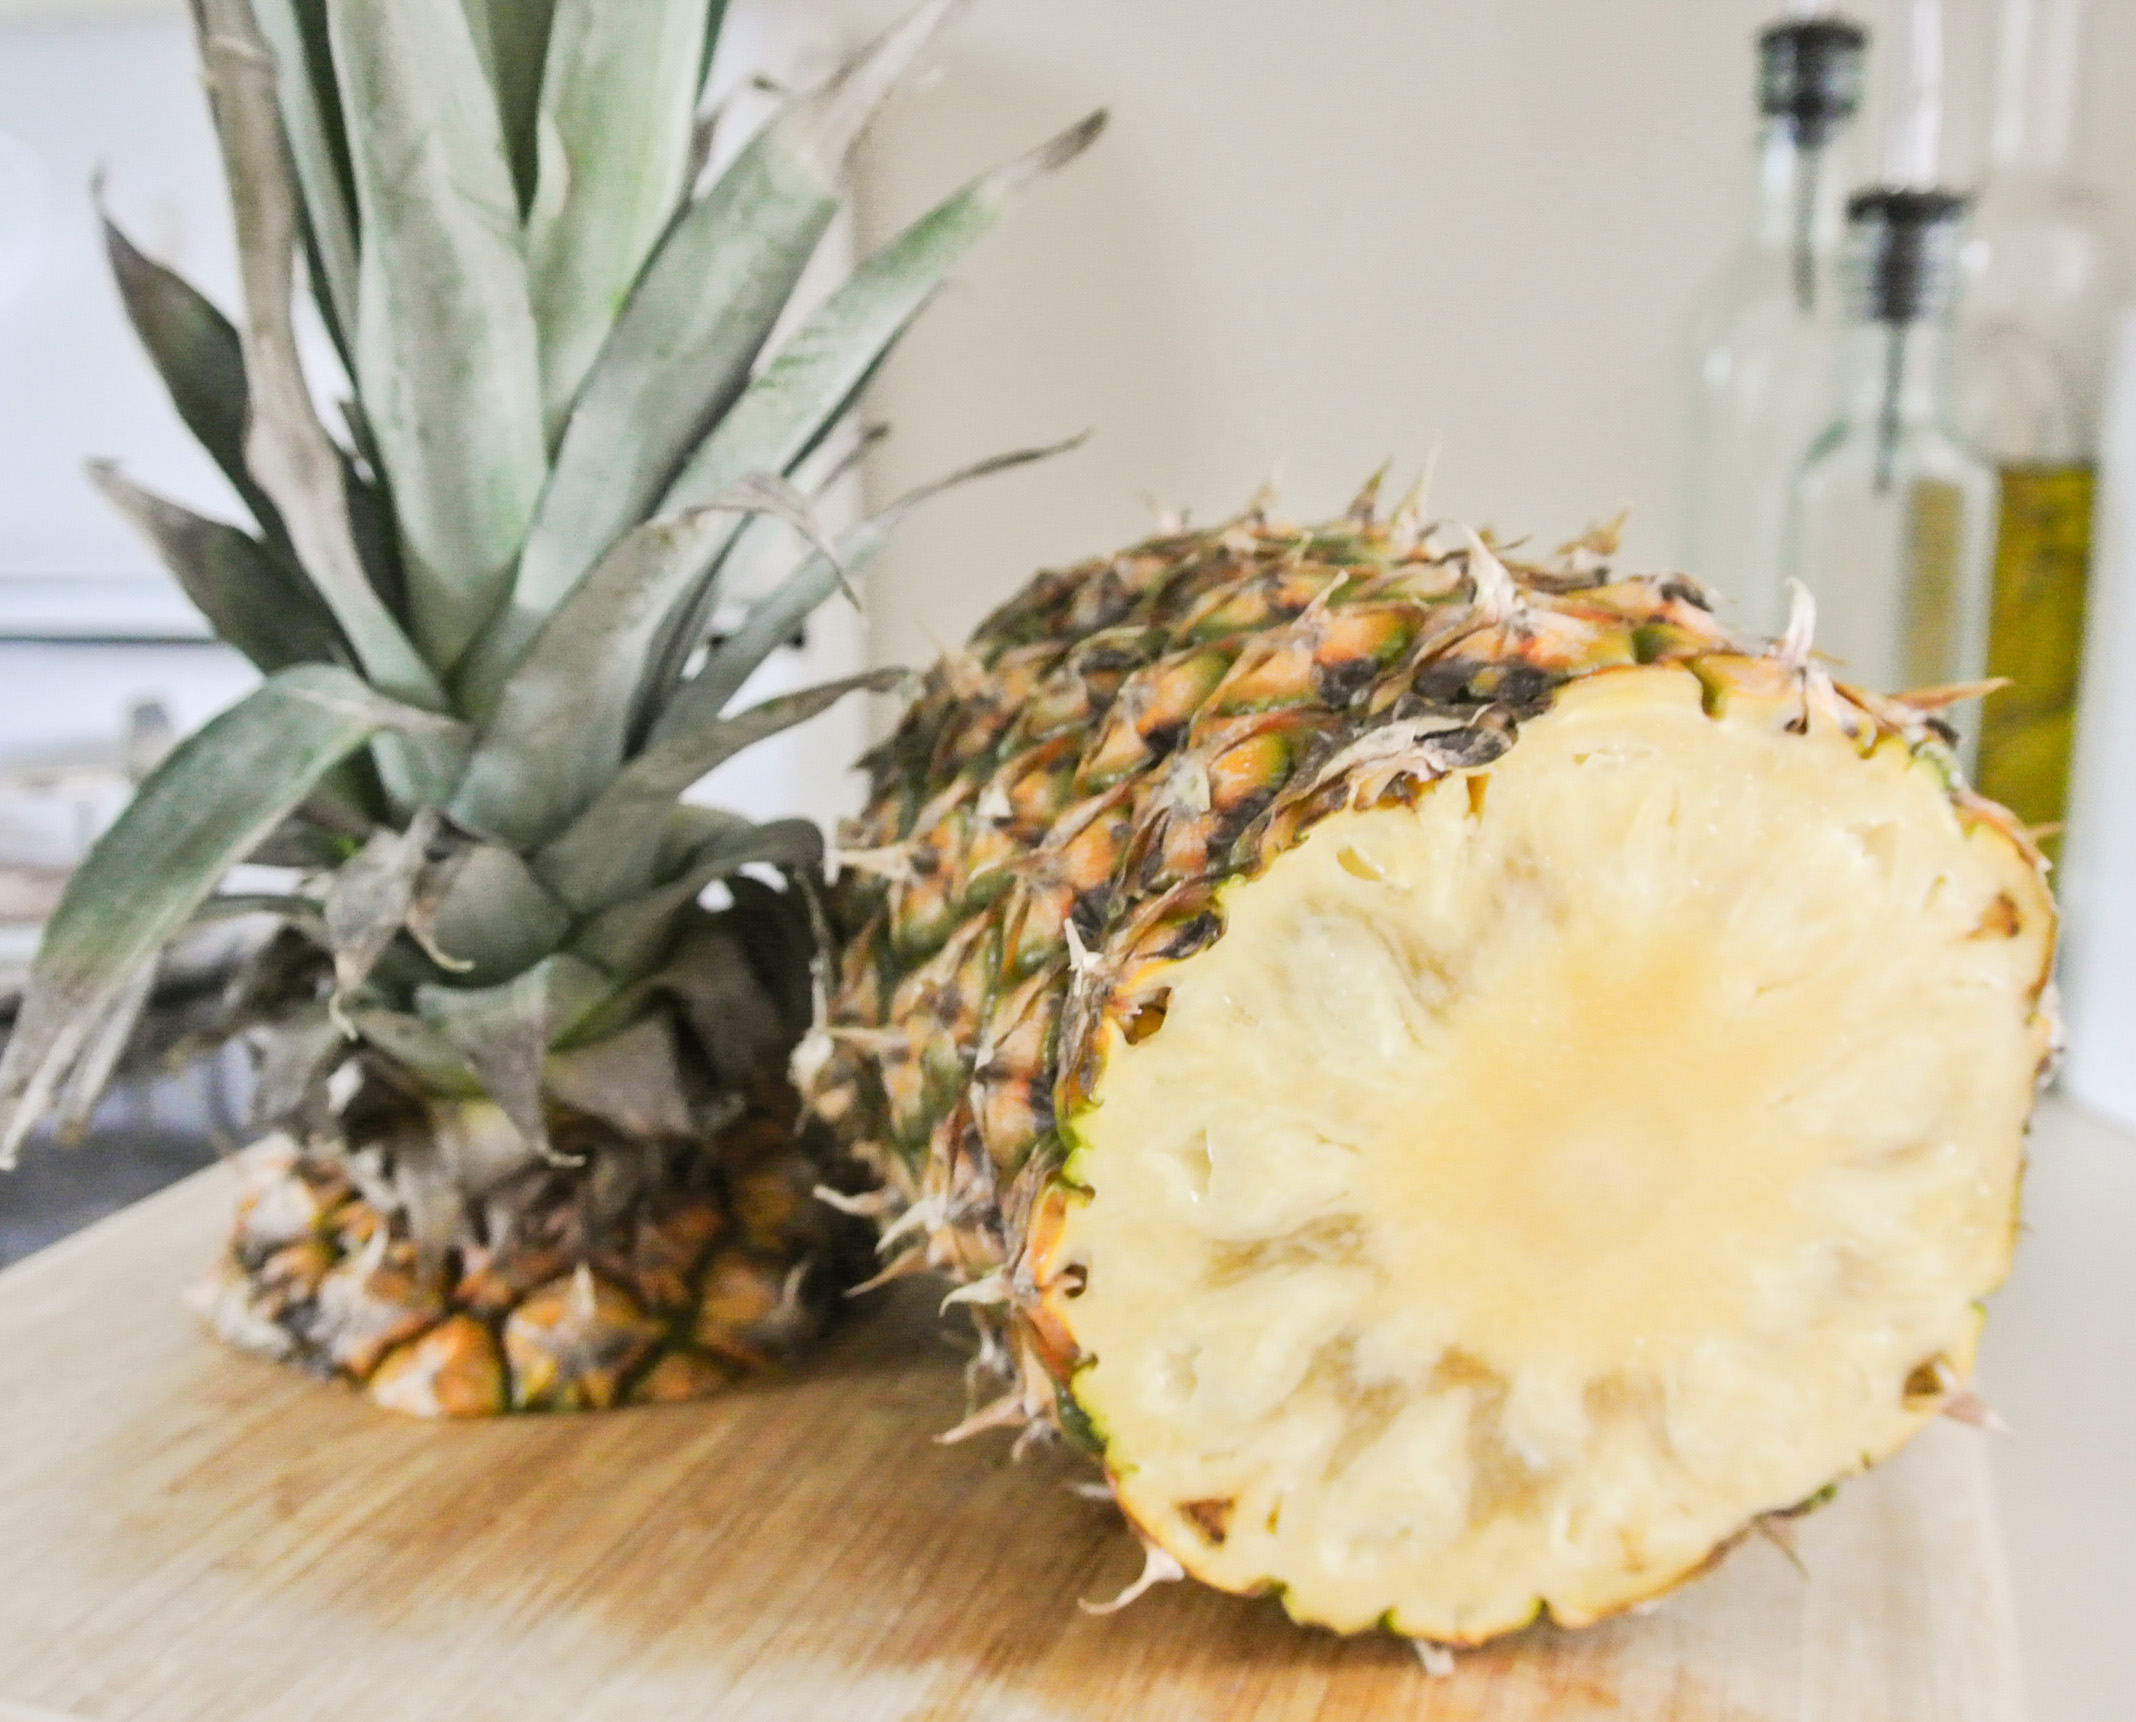
*Use fewer tomatillos if you would like to add extras like jalapeños or other peppers, or even fruit.

**Whenever possible, juice whole citrus fruits yourself. 🙂

Place your whole tomatillos in a deep sauté pan and cover with water to the best of your ability.  The tomatillos will bob and float a bit.  Bring the water to a boil and then turn down to medium high heat.  Simmer the tomatillos for 10 minutes, flipping over halfway through.

DSC_2269

Coarsely chunk your onion and any other vegetables (optional) that you’re adding to your salsa.  Place all ingredients–including the soft, whole, cooked tomatillos–into a food processor and pulse or puree until desired consistency is achieved.  Chill before serving and store in the fridge for a few days.

DSC_2280 DSC_2282

To make your own semi-homemade chips:

Preheat oil according to deep fryer directions or on the stove top in a sauté pan (about a 1 ½-in depth) over medium high heat.  Using a serrated knife, cut a soft tortilla(s) into triangles or the shape of your choice.

DSC_2275

Line a mixing or serving bowl with paper towel.  When the oil is to temperature, drop the tortilla triangles in in batches, ensuring that the cooking vessel isn’t crowded with overlapping chips.  Fry for 10-20 seconds on each side or until the edges start to lightly brown.  Empty into the mixing bowl and lightly dust with pink Himalayan sea salt, if you wish.  Repeat until all triangles are fried.  Let cool and enjoy with your salsa verde, raw salsa, or another dip (see my hummus or pesto for ideas).

DSC_2277

Advertisement

My Simplest Formula Yet: Salt-Free Salsa

DSC_2028Salsa is an excellent way to eat a mix of great-for-you raw fruits and vegetables. With the combinations being endless, it’s no wonder that so many people love to dip in in front of the TV or at a party or restaurant.

Salsa should be one of those snacks that you don’t feel guilty about. However, if you buy it premade, there’s a chance that it will be loaded with salt. My salsa formula is so simply flavorful that I don’t add any salt at all…not even a pinch.

Why? Chances are, you are eating your salsa with tortilla chips. Most chips are salted to some degree, some more heavily than others. Because consuming minimal salt is a major premise of my plant-based lifestyle, my palate has become very sensitive to foods that are overly salty. Thus, the salt from the chips is enough for me in boosting the flavor of my already delicious salsa.

I really like these chips, from Target’s organic product line. The ingredients are listed as follows: Organic blue corn, organic sunflower oil, organic flax seed, sea salt, lime. (NOTE: If you didn’t already know this, when reading a food’s ingredients on a nutrition label, they are written from greatest to least presence in the product.) True to its name, Simply Balanced, I haven’t found a better premade chip. They are heartier than your average tortilla chip and not too salty, which is perfect for me.

DSC_2029Moving along, today’s formula rendition includes a few fresh ingredients that offer a ton of health benefits. Let’s take a look:

CILNATRO: This common salsa staple is high in antioxidants and prevents oxidation, allowing foods that it is mixed with to stay fresh longer.

DSC_2017GARLIC: There’s a reason that you can buy garlic supplements in the vitamin aisle. Raw garlic, in particular, has anti-inflammatory effects and can lower cholesterol. Those of you who have read up on my health history know how important this is to me!

DSC_2021PINEAPPLE: Pineapple is nutrient-dense rather than energy-dense, meaning that it contains an abundance of nutrients for very few calories (I don’t count, but this may be important to you if you’re trying to lose weight). In one cup of pineapple, for instance, you can consume 40% of the recommended daily Vitamin C intake.

DSC_2023Since we’re on the subject, how do you cut a pineapple? Buying it precut or diced in a can is more expensive. Believe me, breaking it down yourself is easier than you’d expect. I have to give credit to Rachael Ray for my method, which I use for all melon-like fruits and also gourds. Follow these steps to cut a pineapple with ease in minutes:

  1. Lay the pineapple on its side.  Slice off the very bottom and the very top so that you are left with a cylinder that can easily stand flat on the cutting board in its upright position.
  2. While standing upright, take your knife around the perimeter of the pineapple and slice the skin off, top to bottom.  You’re essentially cutting it off in vertical strips until you’ve made it all the way around.
  3. Once the pineapple is peeled, remove the flesh surrounding the core.  While the pineapple is standing upright, put your knife close to the edge of the core and slice downward, effectively removing nearly half of the pineapple.  Repeat this process all around the core until you’ve done it a total of four times (the pieces will be uneven in size).  Your core should appear as a long, thin rectangle when all of the flesh is removed.
  4. Chop your pineapple according to its projected usage and discard the core.  If you happen to own a powerful juicer, you can juice it instead.

On to my simple salsa! Don’t like onions? Don’t use them and compensate with extra fruit and/or vegetables. Play around with different combinations, using your herb of choice as your guide. I’m envisioning a delicious cucumber mint with pita chips or strawberry basil atop crostini…Yum…

Serve as an appetizer or snack, or use it in a dish like my layered burrito bowl. Enjoy!

FORMULA BASE: SALSA

  • 4 cups diced raw fruit and/or vegetables –>  I’m using 2 ½ cups vine ripe tomatoes and 1 ½ cups pineapple.
  • ½ of a medium onion –>  I’m using yellow.
  • 1 large clove of garlic, minced
  • ½ cup finely chopped fresh herbs –>  I’m using cilantro.
  • ¼ cup acid (vinegar or citrus juice*) –>  I’m using the juice of two small limes.
  • Seasoning to taste –>  I’m using a dusting of chili powder, paprika, and cumin.

*Whenever possible, juice whole citrus fruits yourself. 🙂

DSC_2018

Chop your onion and garlic and get them soaking in your acid, just as you did in preparing my bean salad formula. The acidity will help to break them down so that their flavors are less abrasive and don’t monopolize the salsa.

Dice/chop all remaining ingredients, season, and stir. When it comes to salsa, I don’t typically measure seasonings. Once I have all of my produce in the bowl, I lightly sprinkle it with each of my preferred seasonings (if any) from one end of the bowl to another and that seems to work out nicely.

DSC_2024

Serve immediately or store in the fridge for a few days.

DSC_2026

Dip, Salsa, or Square Meal?

DSC_1552

To answer your question, this dish, based off of my bean salad formula, is all three: dip, salsa, and square meal. I’m housing it under my Square Meal Formulas because while it makes for a great snack, it can serve as a delicious, filling, and protein-packed lunch or dinner, too.

If you tuned in last week for my chili recipe and are not ready to leave the Southwest, you will love trying out my bean salad. This recipe is a cross between my mom’s “Texas caviar” bean dip and my husband’s mango salsa. It is served cold and alone, with tortilla chips, or as an addition to a Latin or southwestern dish.

Before we get into making this dip, salsa, and square meal, a word about a few ingredients that I love: sesame oil, agave syrup, and pink Himalayan sea salt. As this blog grows, you will see these ingredients throughout many of my fresh formulas and recipes. Here’s why…

DSC_1542While my recipes minimize added fat, sugar, and salt, I do sometimes add just a little to maximize flavors. Sesame oil lends itself perfectly to this philosophy, as it is extremely flavorful in quite small amounts. To keep your blood sugar levels at bay, organic agave syrup—a low glycemic sweetener—is a great alternative to white, granulated sugar, which I haven’t purchased in years. Finally, pink Himalayan sea salt is the super salt of the sodium world! This salt contains over 80 vitamins and minerals, is naturally high in iodine, has less sodium per serving than table salt, and has a myriad of other health benefits. If you’re adding salt, this is the way to go.

If you’re feeling extra adventurous, make your own tortilla chips to compliment this bean salad. Never having yet made them myself, I’ve purchased a few from a local Arizona Mexican restaurant so I can see how it’s done!

FORMULA BASE: BEAN SALAD

Serves 4-6

  • 2 cups cooked beans, no added salt –> I’m using extra beans today, in an effort to mimic elements of my mother’s Texas caviar recipe. I’m incorporating equal parts kidney, pinto, and black beans (just like my chili recipe), totalling about 5 ½ cups.
  • 2 cups chopped raw fruits/veggies –> I’m using ½ of a small green bell pepper, ¼ cup frozen corn, 1 medium size mango, and ¼ cup fresh, finely chopped cilantro.
  • ¼ chopped raw onion –> I’m using yellow.
  • ½ cup seeds and/or chopped raw nuts –> I’m using raw sunflower seeds, a little less than a ½ cup.
  • Citrus juice (size matters…start small) –> I’m using the juice of two limes.
  • Spices, herbs, salt, and pepper to taste –> I’m using ½ tsp each of chili powder, paprika, garlic powder, and pink Himalayan sea salt, and ¼ tsp cumin.
  • SPECIAL ADDITIONS: 1 tsp sesame oil and 1 tbsp agave syrup (I would use less or none at all if my mango were sweeter.)

Before anything else, chop your onion and get it soaking in the citrus juice. The citrus helps to break down the abrasive flavor of the onions.

DSC_1545

Next, drain and rinse your beans, allowing them to drip dry in your colander while chopping your fruits/veggies. Combine all ingredients and mix. Store in the fridge up to a week.

DSC_1551