Let me start by saying that I think Larabars are absolutely fantastic. I love the company’s transparency with ingredients and even better, I love how simple the ingredients are. The truth of the matter is, to buy quick and easy snacks made with natural, whole foods and no preservatives is NOT cheap. So, true to my Fresh Formula concept, I make my own.
Don’t get me wrong – it’s still somewhat expensive to make Larabars at home, but you save in not paying for packaging and you can tailor the formula to what is on sale in bulk (which is how I purchase all of my nuts and seeds for trail mix and more). More importantly, you can customize the ingredients to perfect an already pretty darn delicious model. Of course, I’ve created an easily adaptable formula that works with both nuts and seeds, if you’re concerned about any allergies.
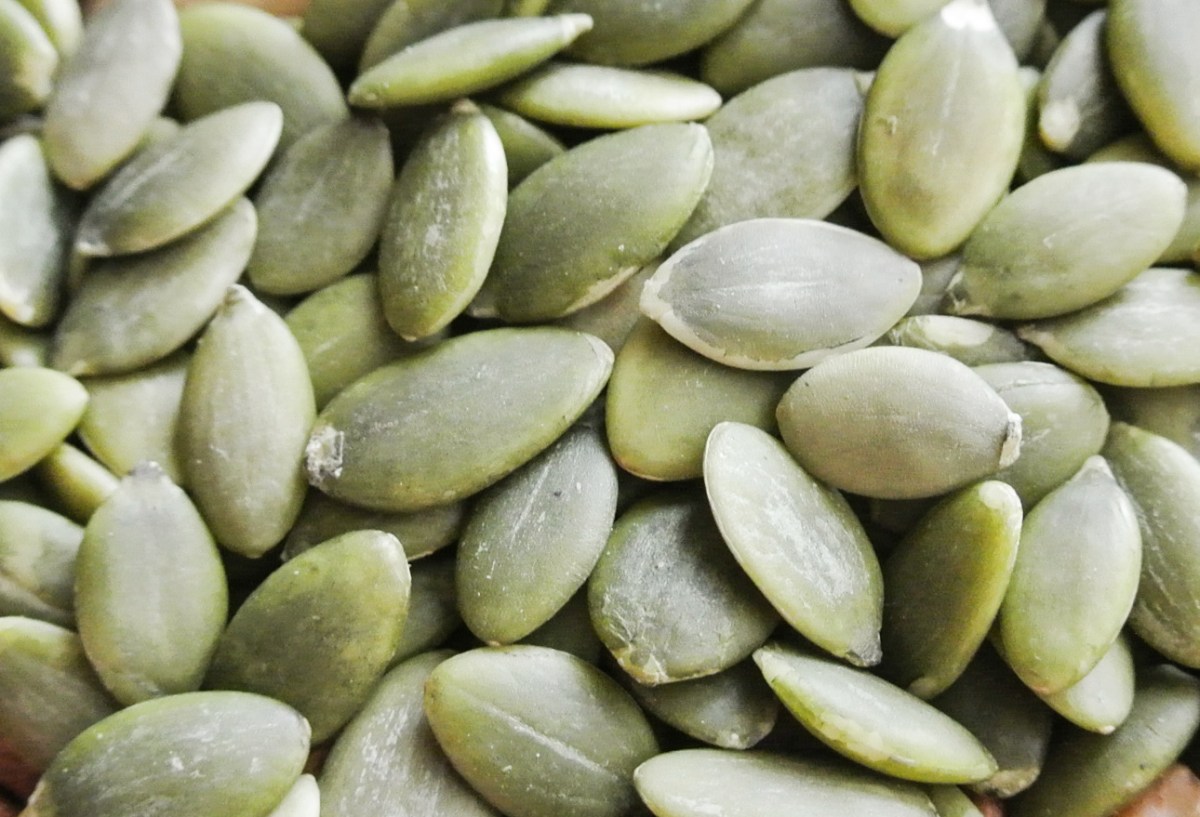
In today’s rendition, I’m using a variety of raw nuts and pepitas. The pepita is the kernel of the pumpkin seed, which you can see below. If you checked out my original power bar recipe, you know that pepitas are a powerhouse of nutrition. I put them in recipes like today’s and throw them atop salads, too.
As far as the dried fruit in my Larabar formula is concerned, you’re going to get your easiest process with medjool dates. When they are fresh, they are soft, creamy, and easy to blend. Other dried fruits will do just fine, but you may need more of them to achieve the same effect as the dates.
My son (well, my whole family really!) LOVES these. I pack them in his lunch for school and you can cut them into any shapes you want for your littles. No added sugar, salt, or oil = delicious and nutritious. Enjoy!
FORMULA BASE: COPYCAT LARABAR
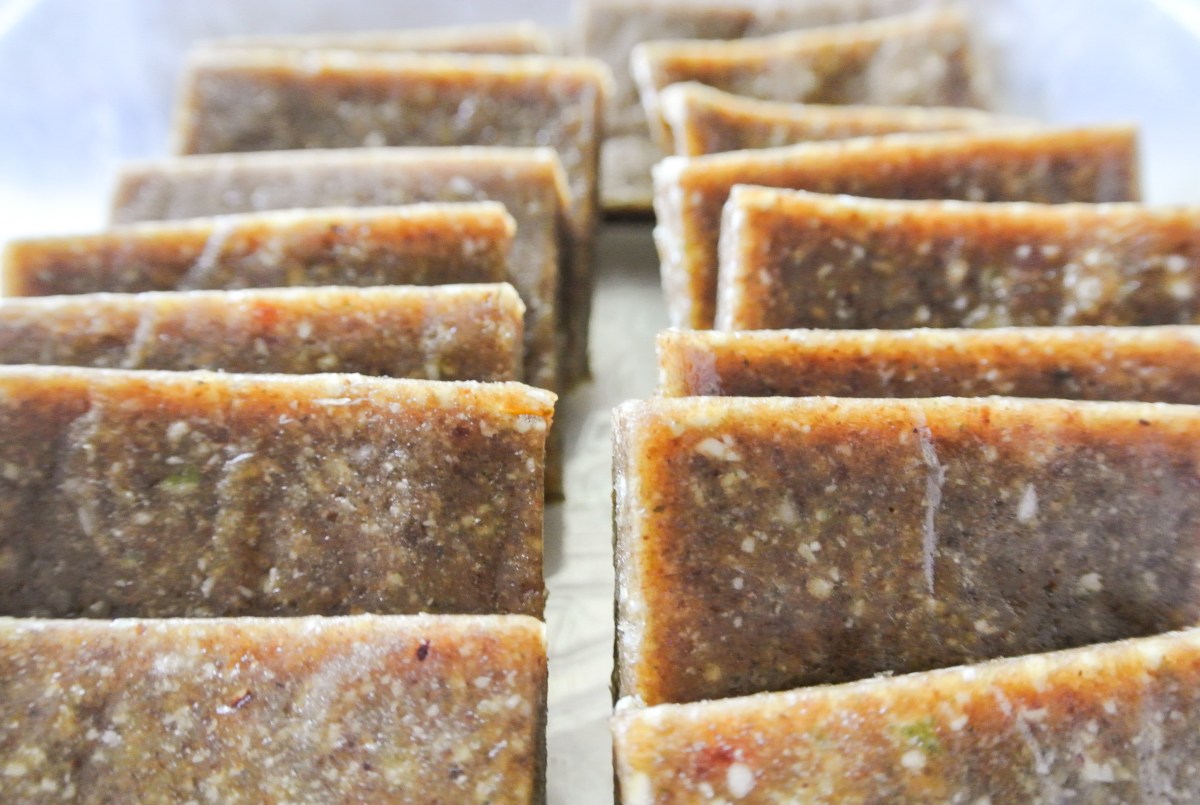
Makes 16-18 bars
- 2 cups unsweetened dried fruit –> I’m using pitted medjool dates.
- 1 cup raw nuts and/or seeds –> I’m using a mix of walnuts, pecans, almonds, cashews, brazil nuts, hazelnuts, and pepitas.
Blend all ingredients in a food processor until a thick, pliable dough forms.
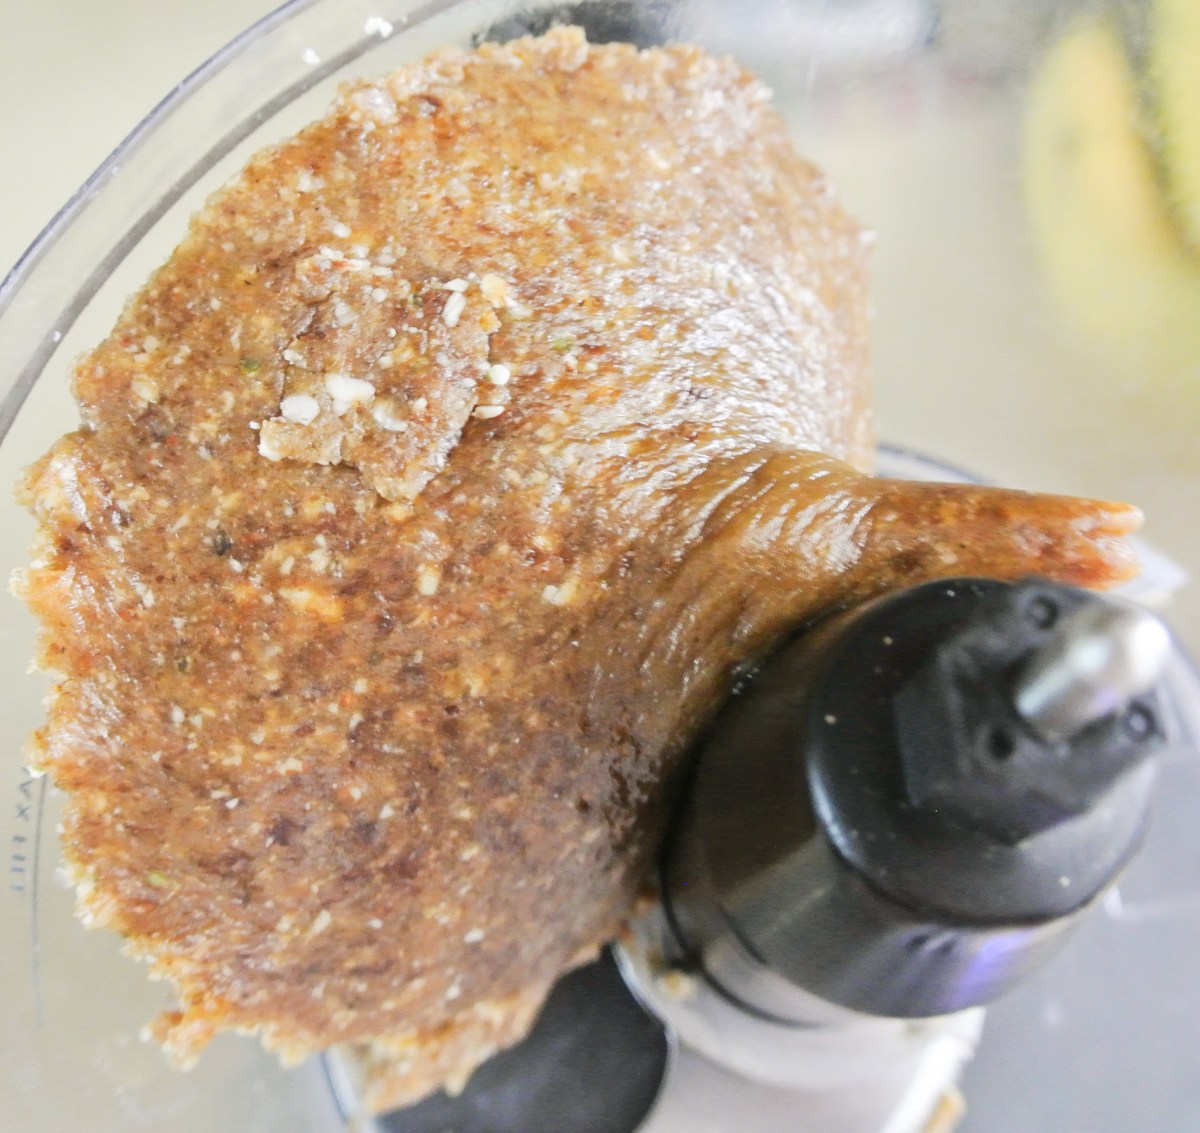
Press into an 8 x 8 pan lined with wax paper. Flatten with your hands. Cover the dough with an additional piece of wax paper and smooth out the dough (it need not be perfect).

Let chill in the fridge for a couple of hours before cutting. Store in the fridge for a firmer consistency.
