New Formula: Hummus

DSC_1836

I love to browse social media for pictures of what my friends are cookin’ up in the kitchen. While all of my formulas and recipes are originals, I often get inspiration from the culinary creations of others. When it came time to develop a hummus formula, I had one particular image in mind.

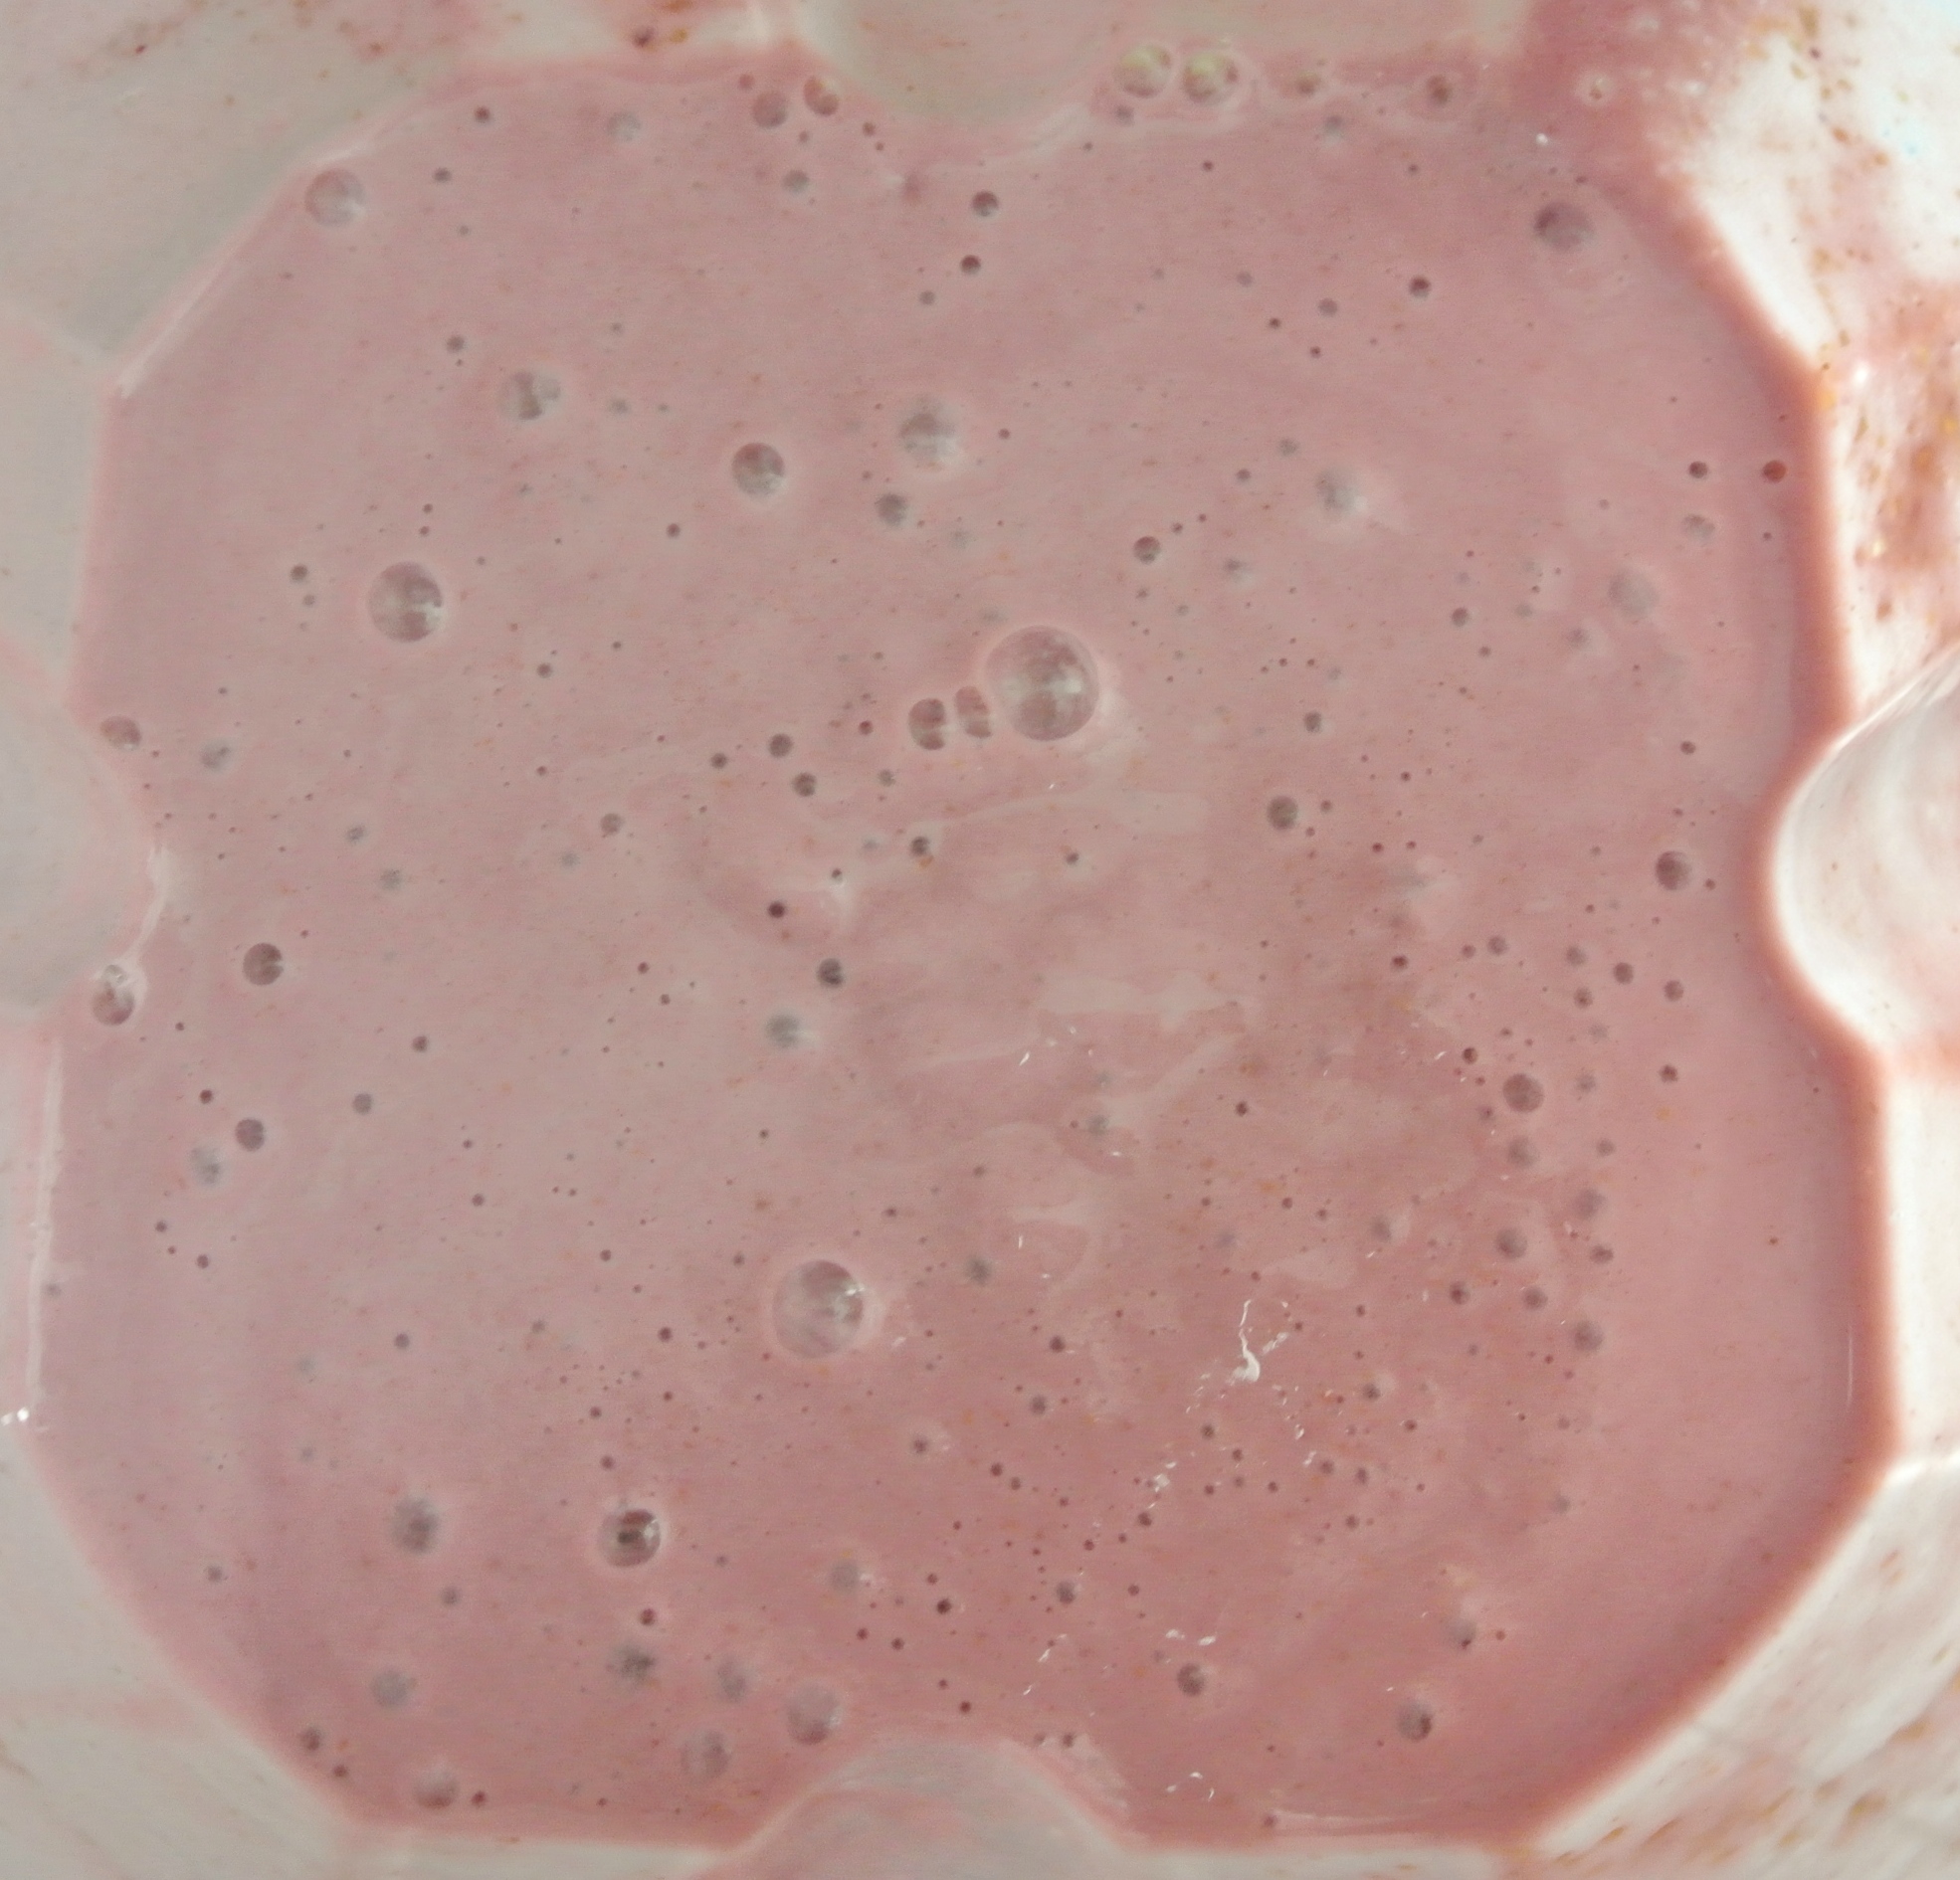
A friend of mine from high school posted a picture of a scrumptious vegetarian spread on Facebook a couple of weeks ago. Every dish was mouth-watering, but what really stood out to me was a big bowl of pink hummus, which I read contained beets. This got me thinking about how many different ways hummus can be made unique and delicious.

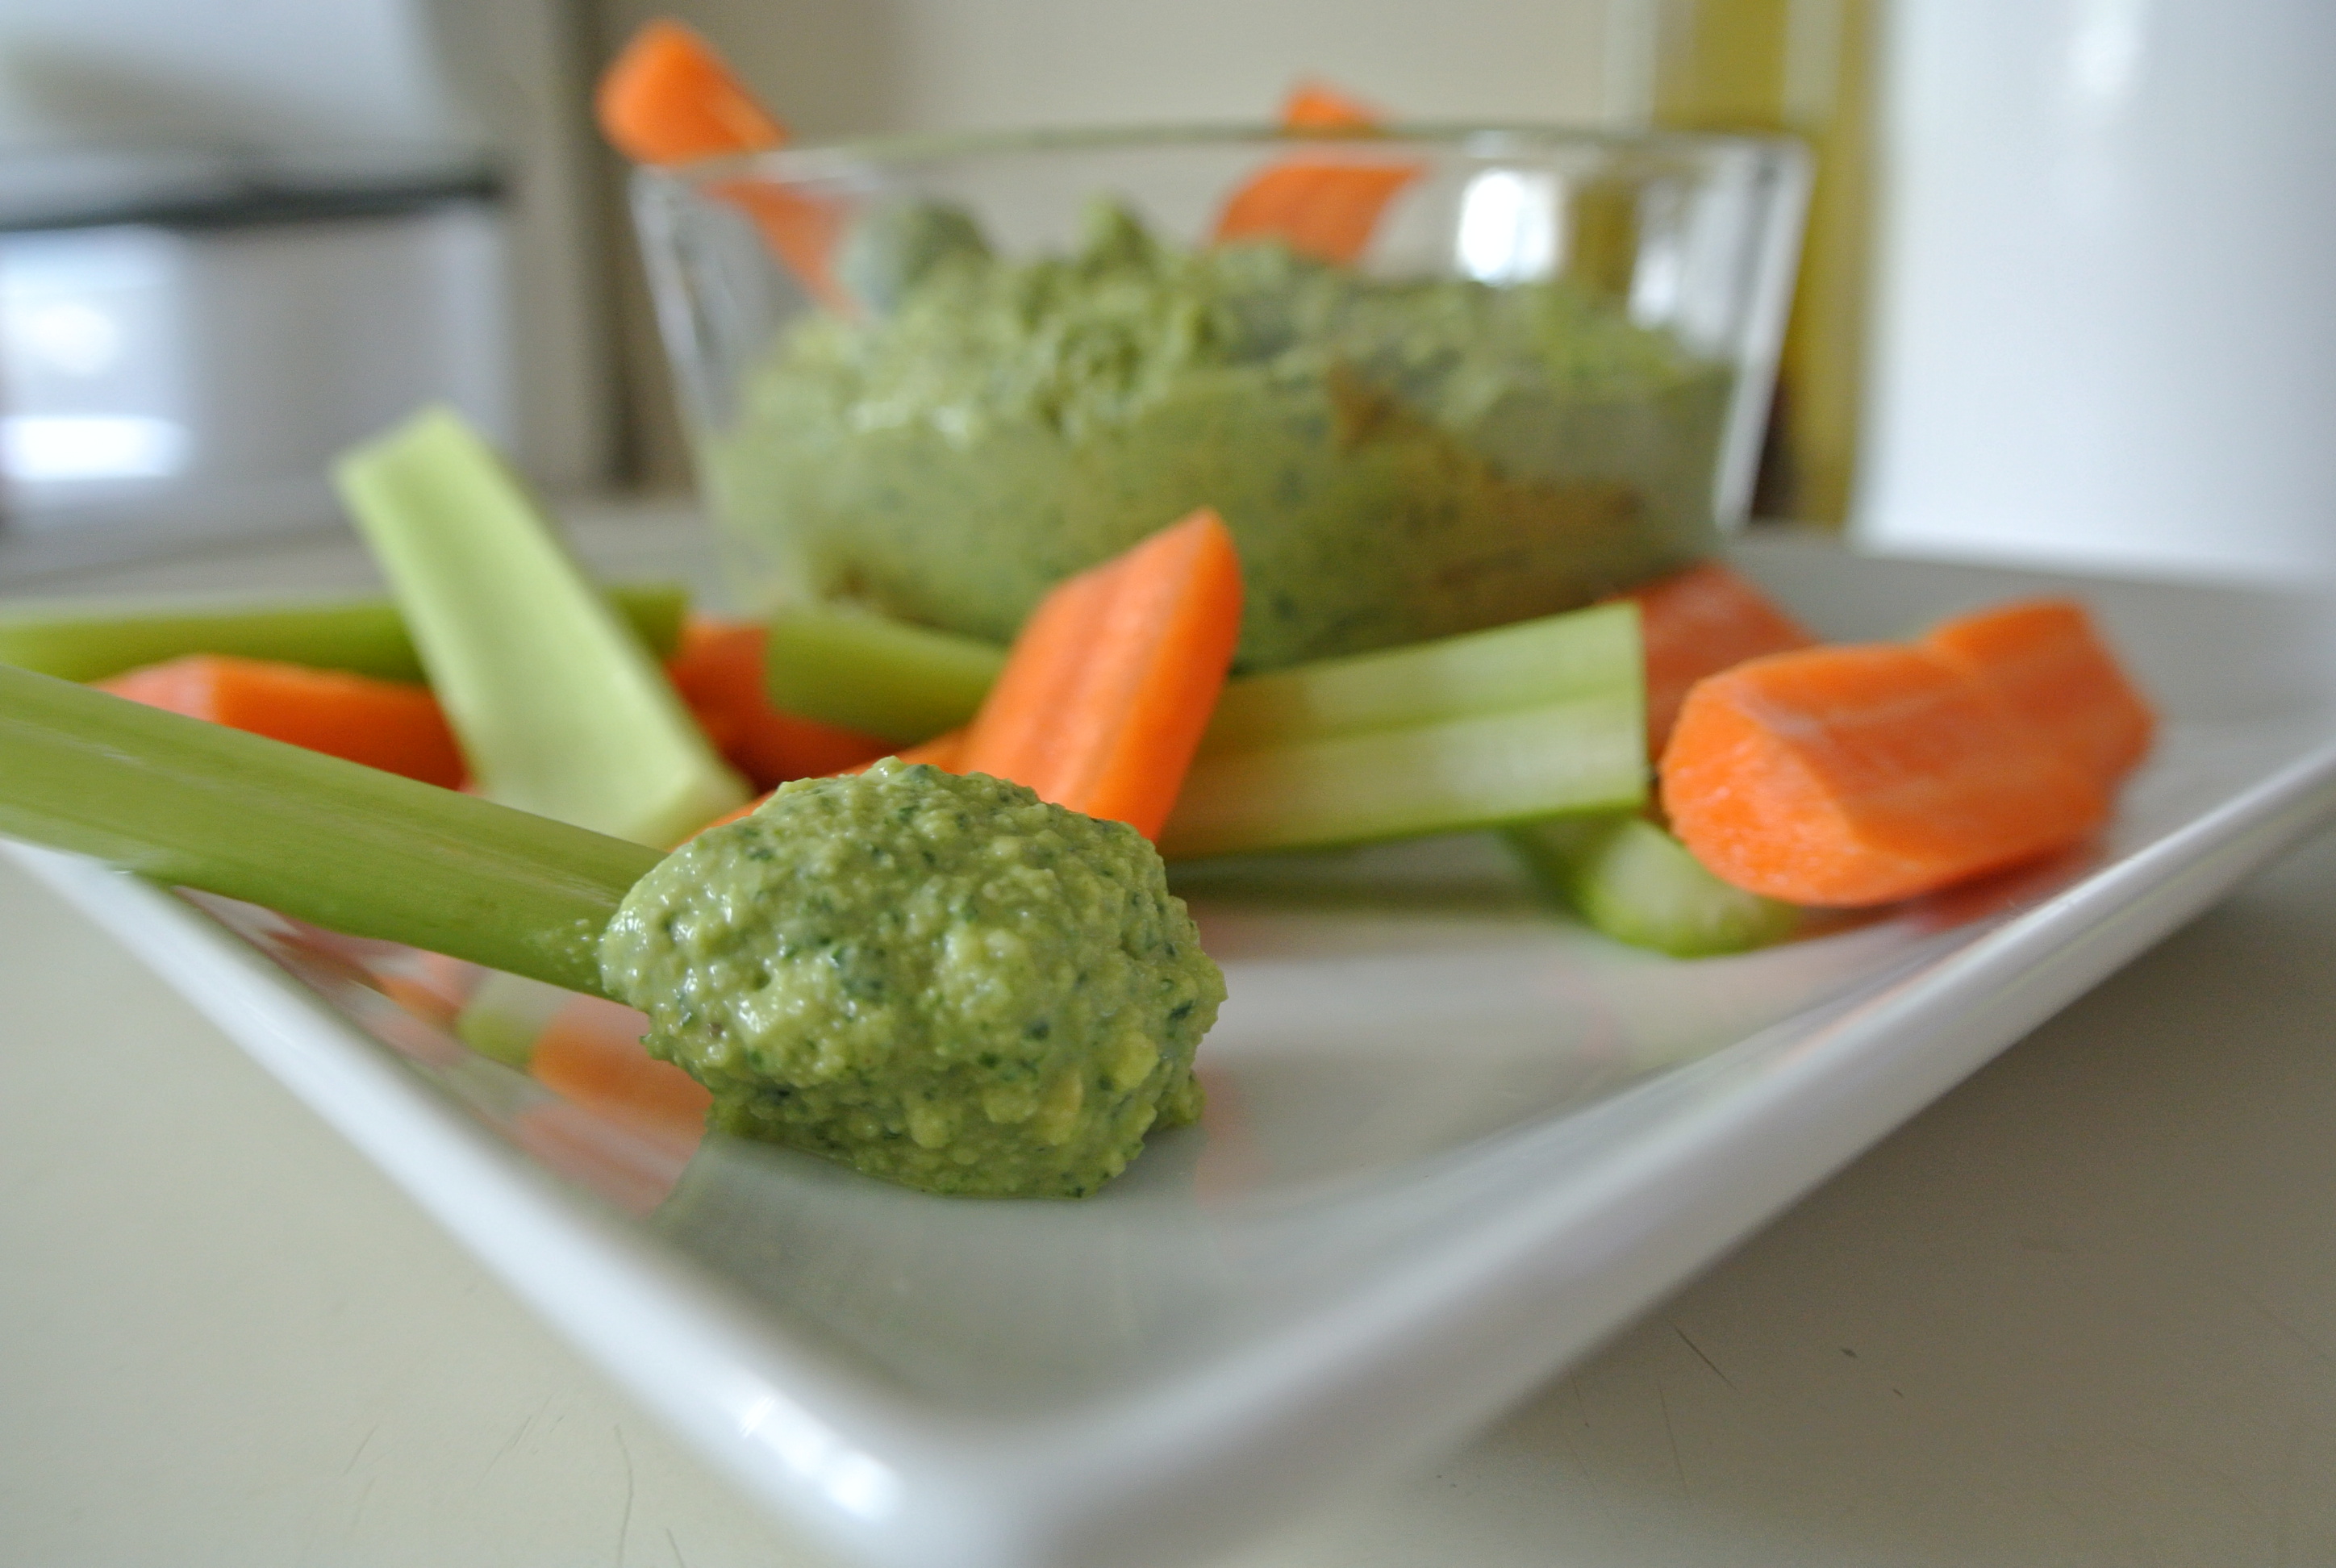
Hummus is a chickpea-based dip and spread popular in Greek and Middle Eastern cuisines. It is often served as a dip with pita bread, chips, or raw vegetables, or spread in wraps or sandwiches. Hummus is typically made by pureeing cooked chickpeas, lemon juice, and tahini (sesame seed butter). It is an easy dish to make, eat, and bring with if you need quick appetizer for a party or family dinner.

The formula (under Snacks) I’ve developed works with any cooked beans or lentils. You can keep it traditional and simple, or add extras like fresh herbs or vegetables, as was the case with my friend’s beet hummus. I’ve found that a bean/lentil base is what gives hummus its creamy, dip-able texture; any other ingredients you select will blend right in.

As noted in my post about what I consume in a typical day, I try to eat most of my vegetables raw, but I really believe that hummus made with their addition calls for the cooked variety. They puree more smoothly and have a richer flavor, which is essential for competing with beans/lentils, which can be pretty blandly overpowering. Consider some of these alternatives to traditional hummus:

  • Lentil hummus with curry
  • Black bean hummus with lime and cilantro
  • Pinto bean hummus with roasted red peppers
  • Edamame hummus with miso
  • Chickpea hummus with roasted tomatoes

The list goes on…

Today, I’m taking a stab at the beet hummus that caught my eye a few weeks back. As if simplicity and yumminess were not enough, consider the protein power of beans. A question that I am often asked as an almost-vegan is “Where do you get your protein?” These answer is simple: from beans, lentils, nuts, seeds, whole grains, and of course, fruits and vegetables.

Beans in particular:

  • Are high in soluble protein, which can lower cholesterol (high cholesterol is why I adopted plant-based living to start with…see my bio).
  • Contain no cholesterol – woo!
  • Are packed with protein, approximately 7 grams per ½ cup.
  • Can prevent constipation.
  • Are gluten-free diet friendly.
  • Are a source of complex carbohydrates that keep you fuller longer.
  • Are inexpensive, especially compared with other protein sources.
  • Are a powerhouse of vitamins, minerals, and antioxidants.
  • Are super versatile (see my bean salad, chili, and curry formulas to glean ideas).

So, get dippin’…for your health! 🙂

FORMULA BASE: HUMMUS

  • 2 cups cooked beans or lentils –>  I’m using chickpeas.
  • 2 cups cooked vegetables and/or raw herbs (or more beans and lentils, if you want to keep it simple) –>  I’m using 1 ½ cups steamed beets and ½ cup fresh parsley.
  • Approximately 1 tbsp oil, if including roasted vegetables –>  I’m steaming, so I don’t need oil in this case.
  • 2-4 cloves raw or roasted garlic –>  I’m using two raw cloves.
  • ¼-½ cup citrus juice –>  I’m using the juice of one large lemon.
  • 1 tbsp tahini (optional) –>  I’m not using it for this particular recipe.
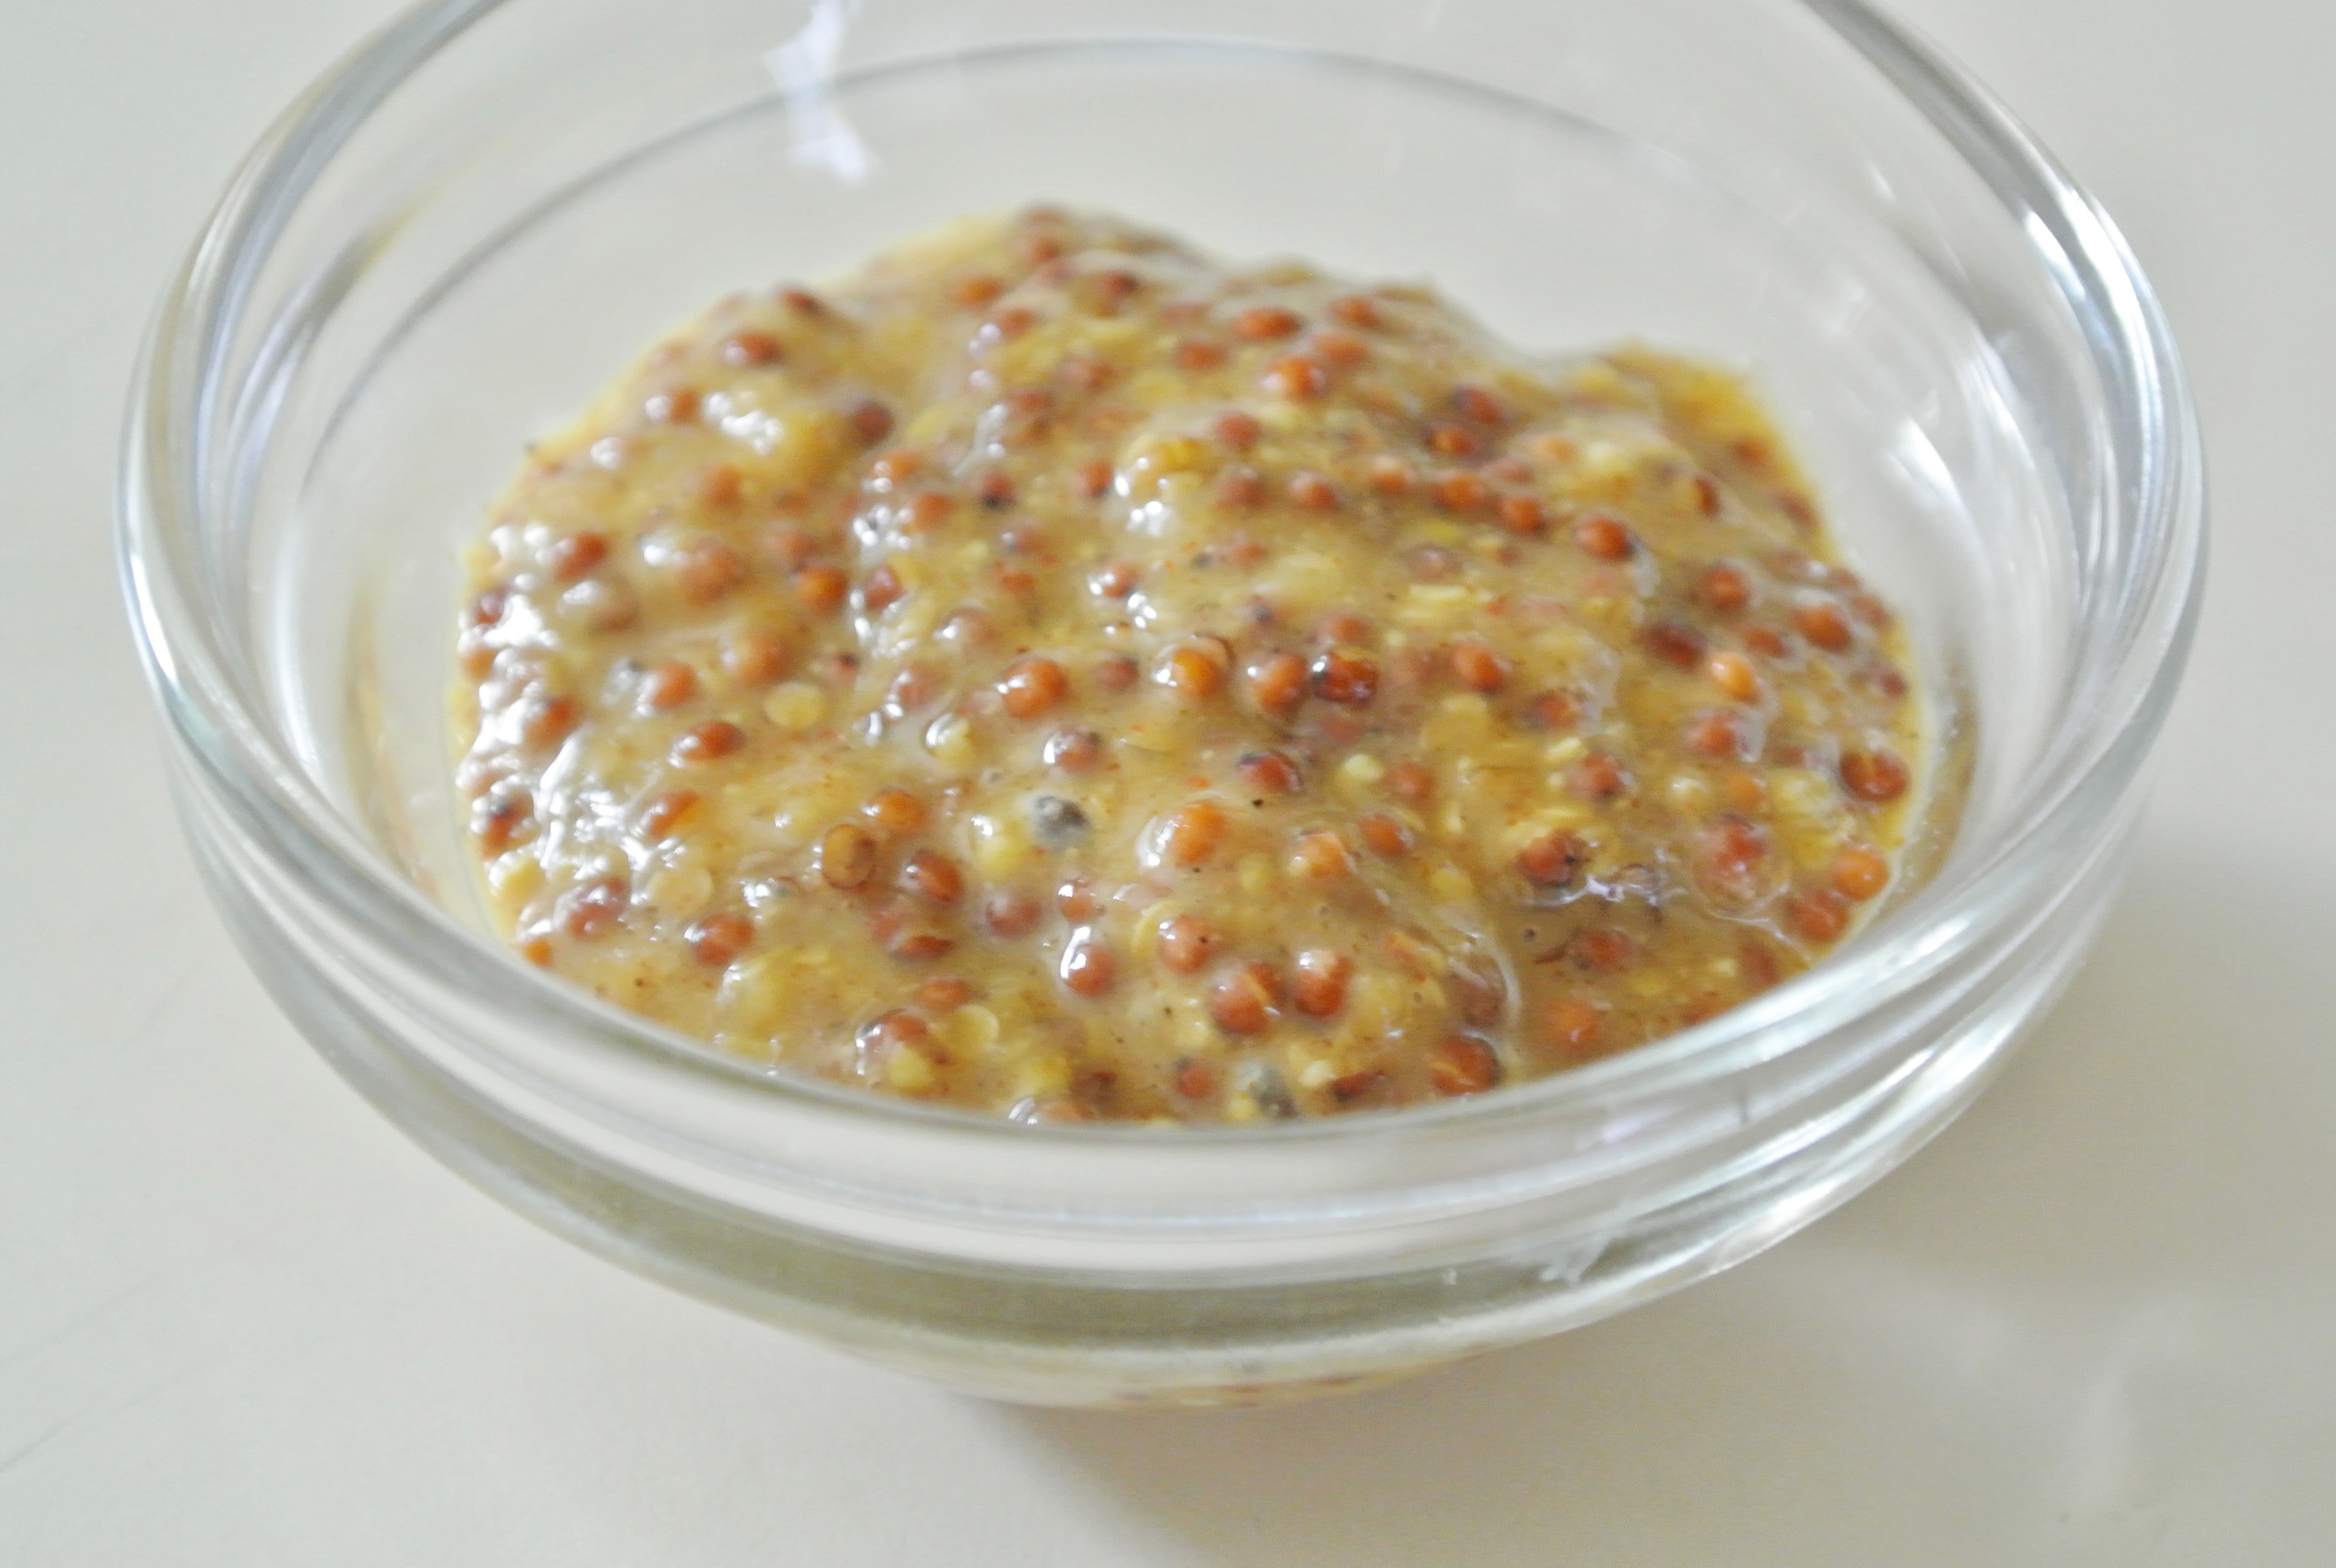
  • Spices, salt, and pepper to taste –>  I’m using ¾ tsp onion powder, ½ tsp pink Himalayan sea salt, and two turns of fresh cracked black pepper.
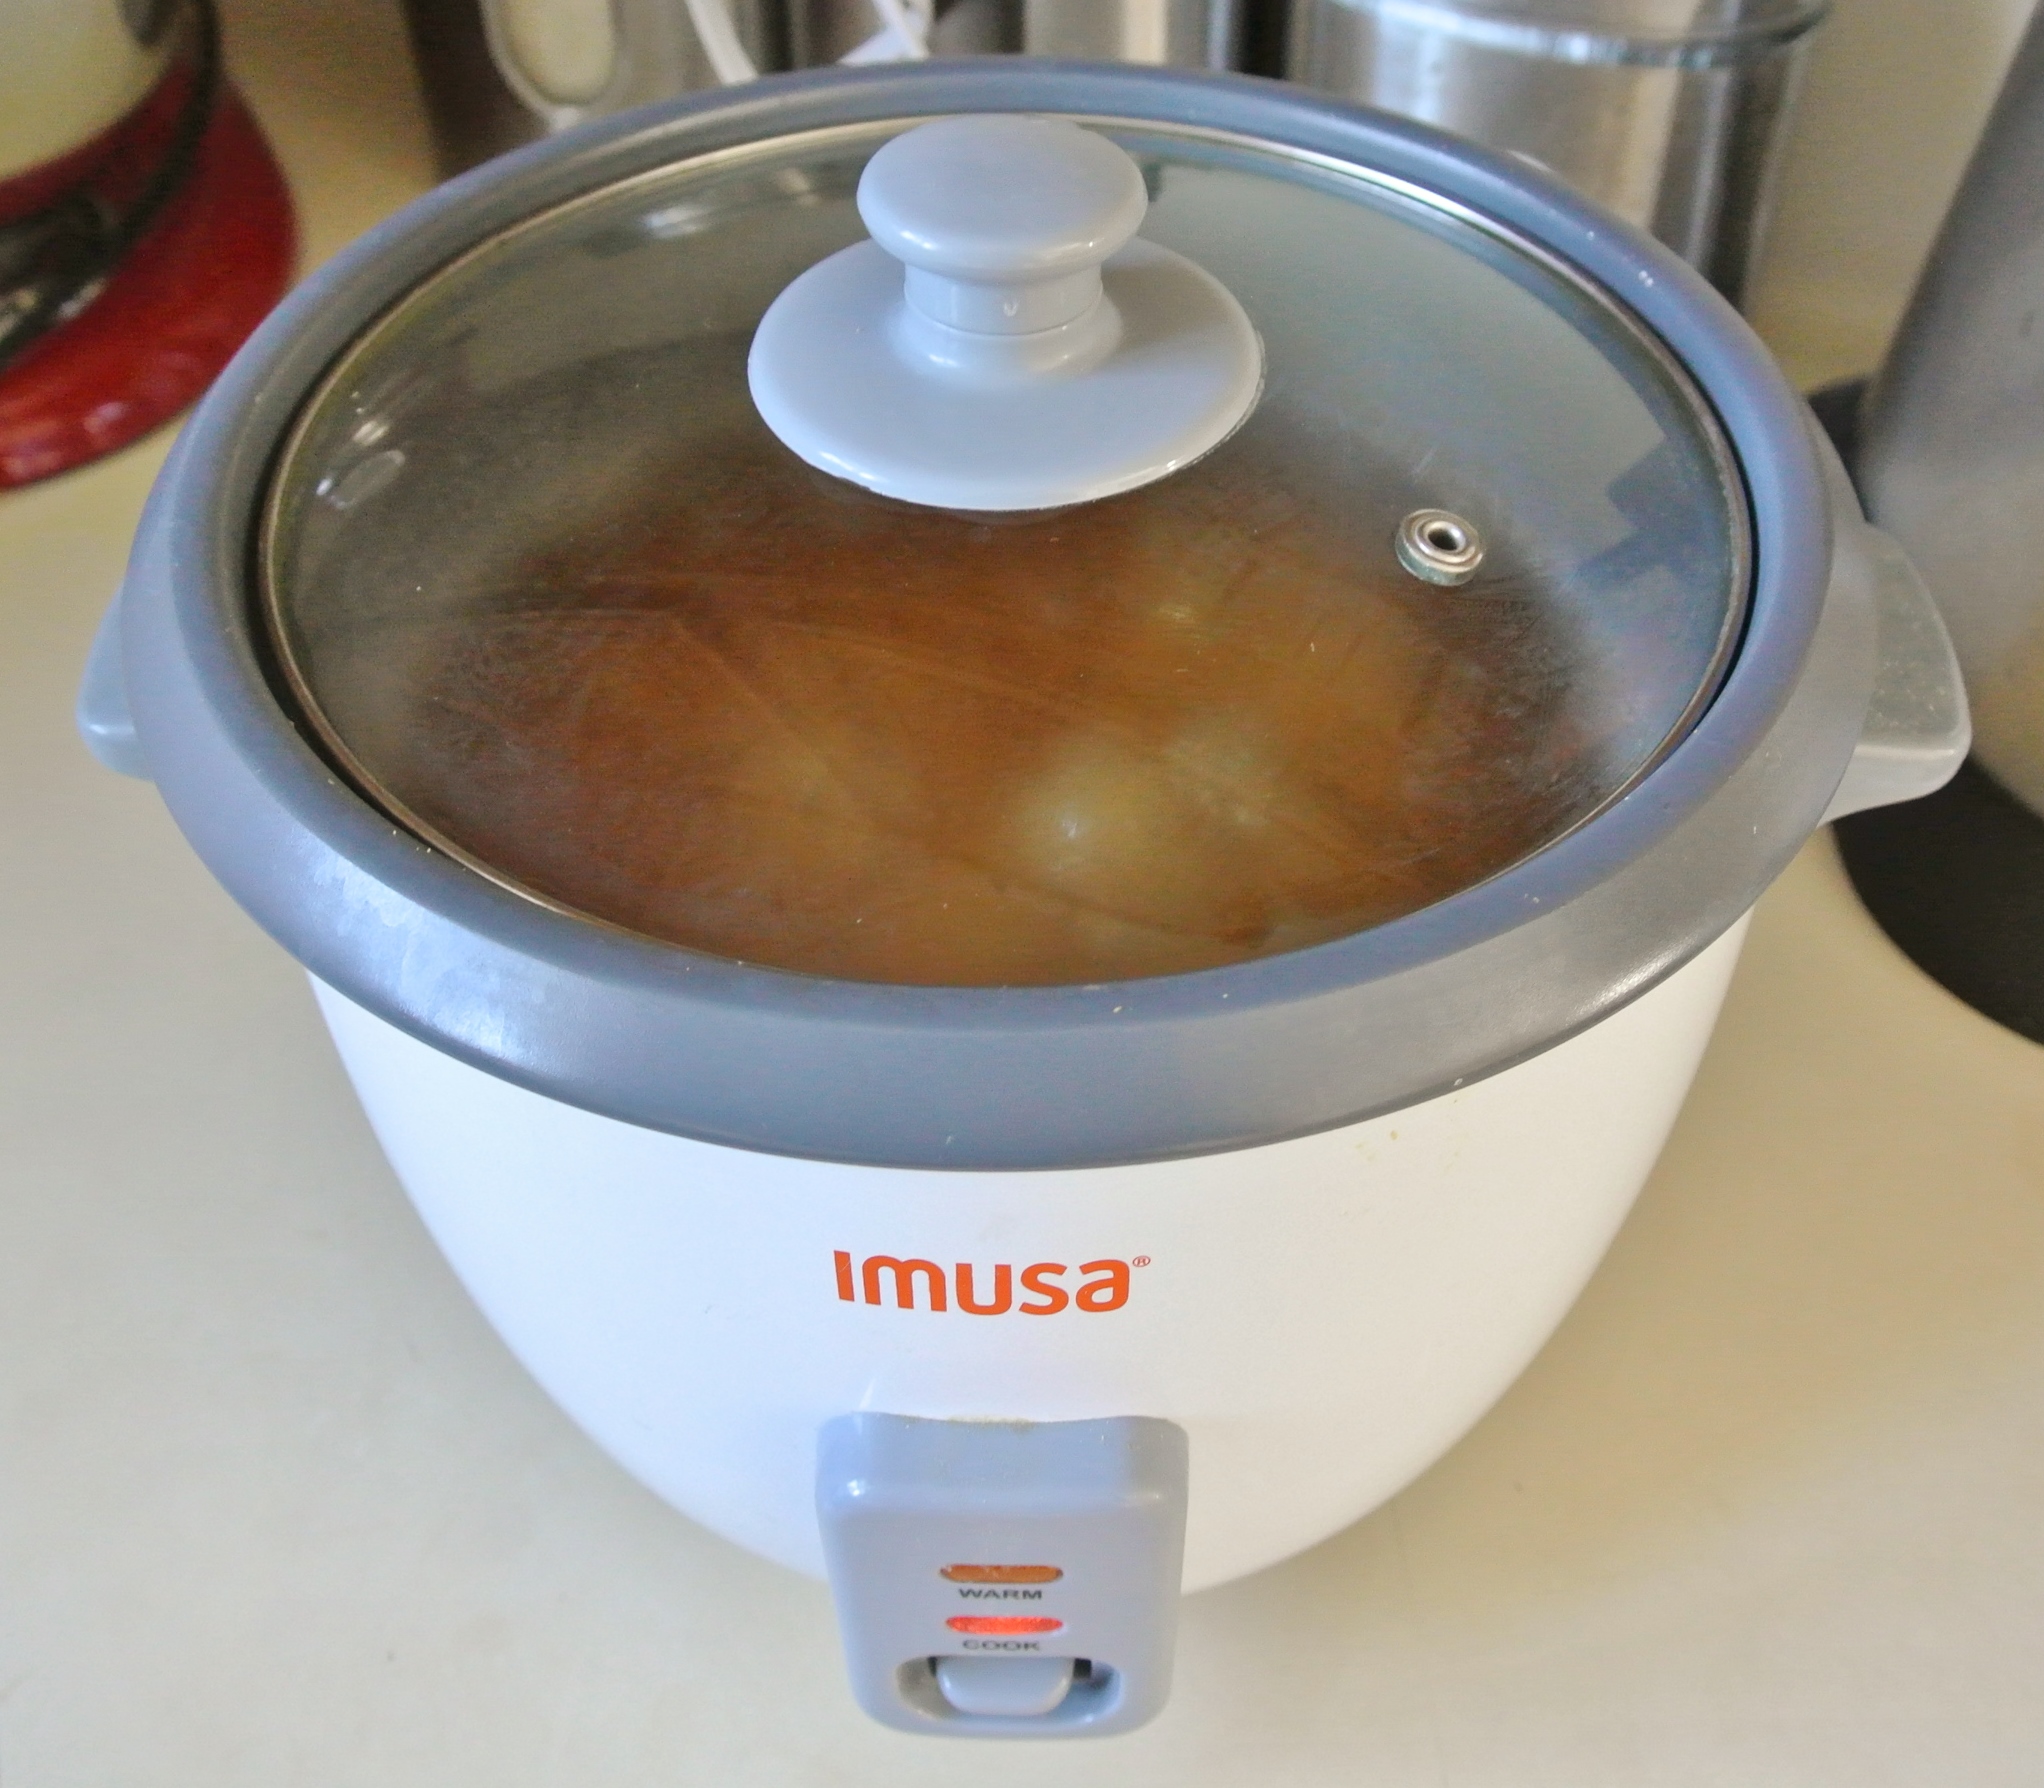
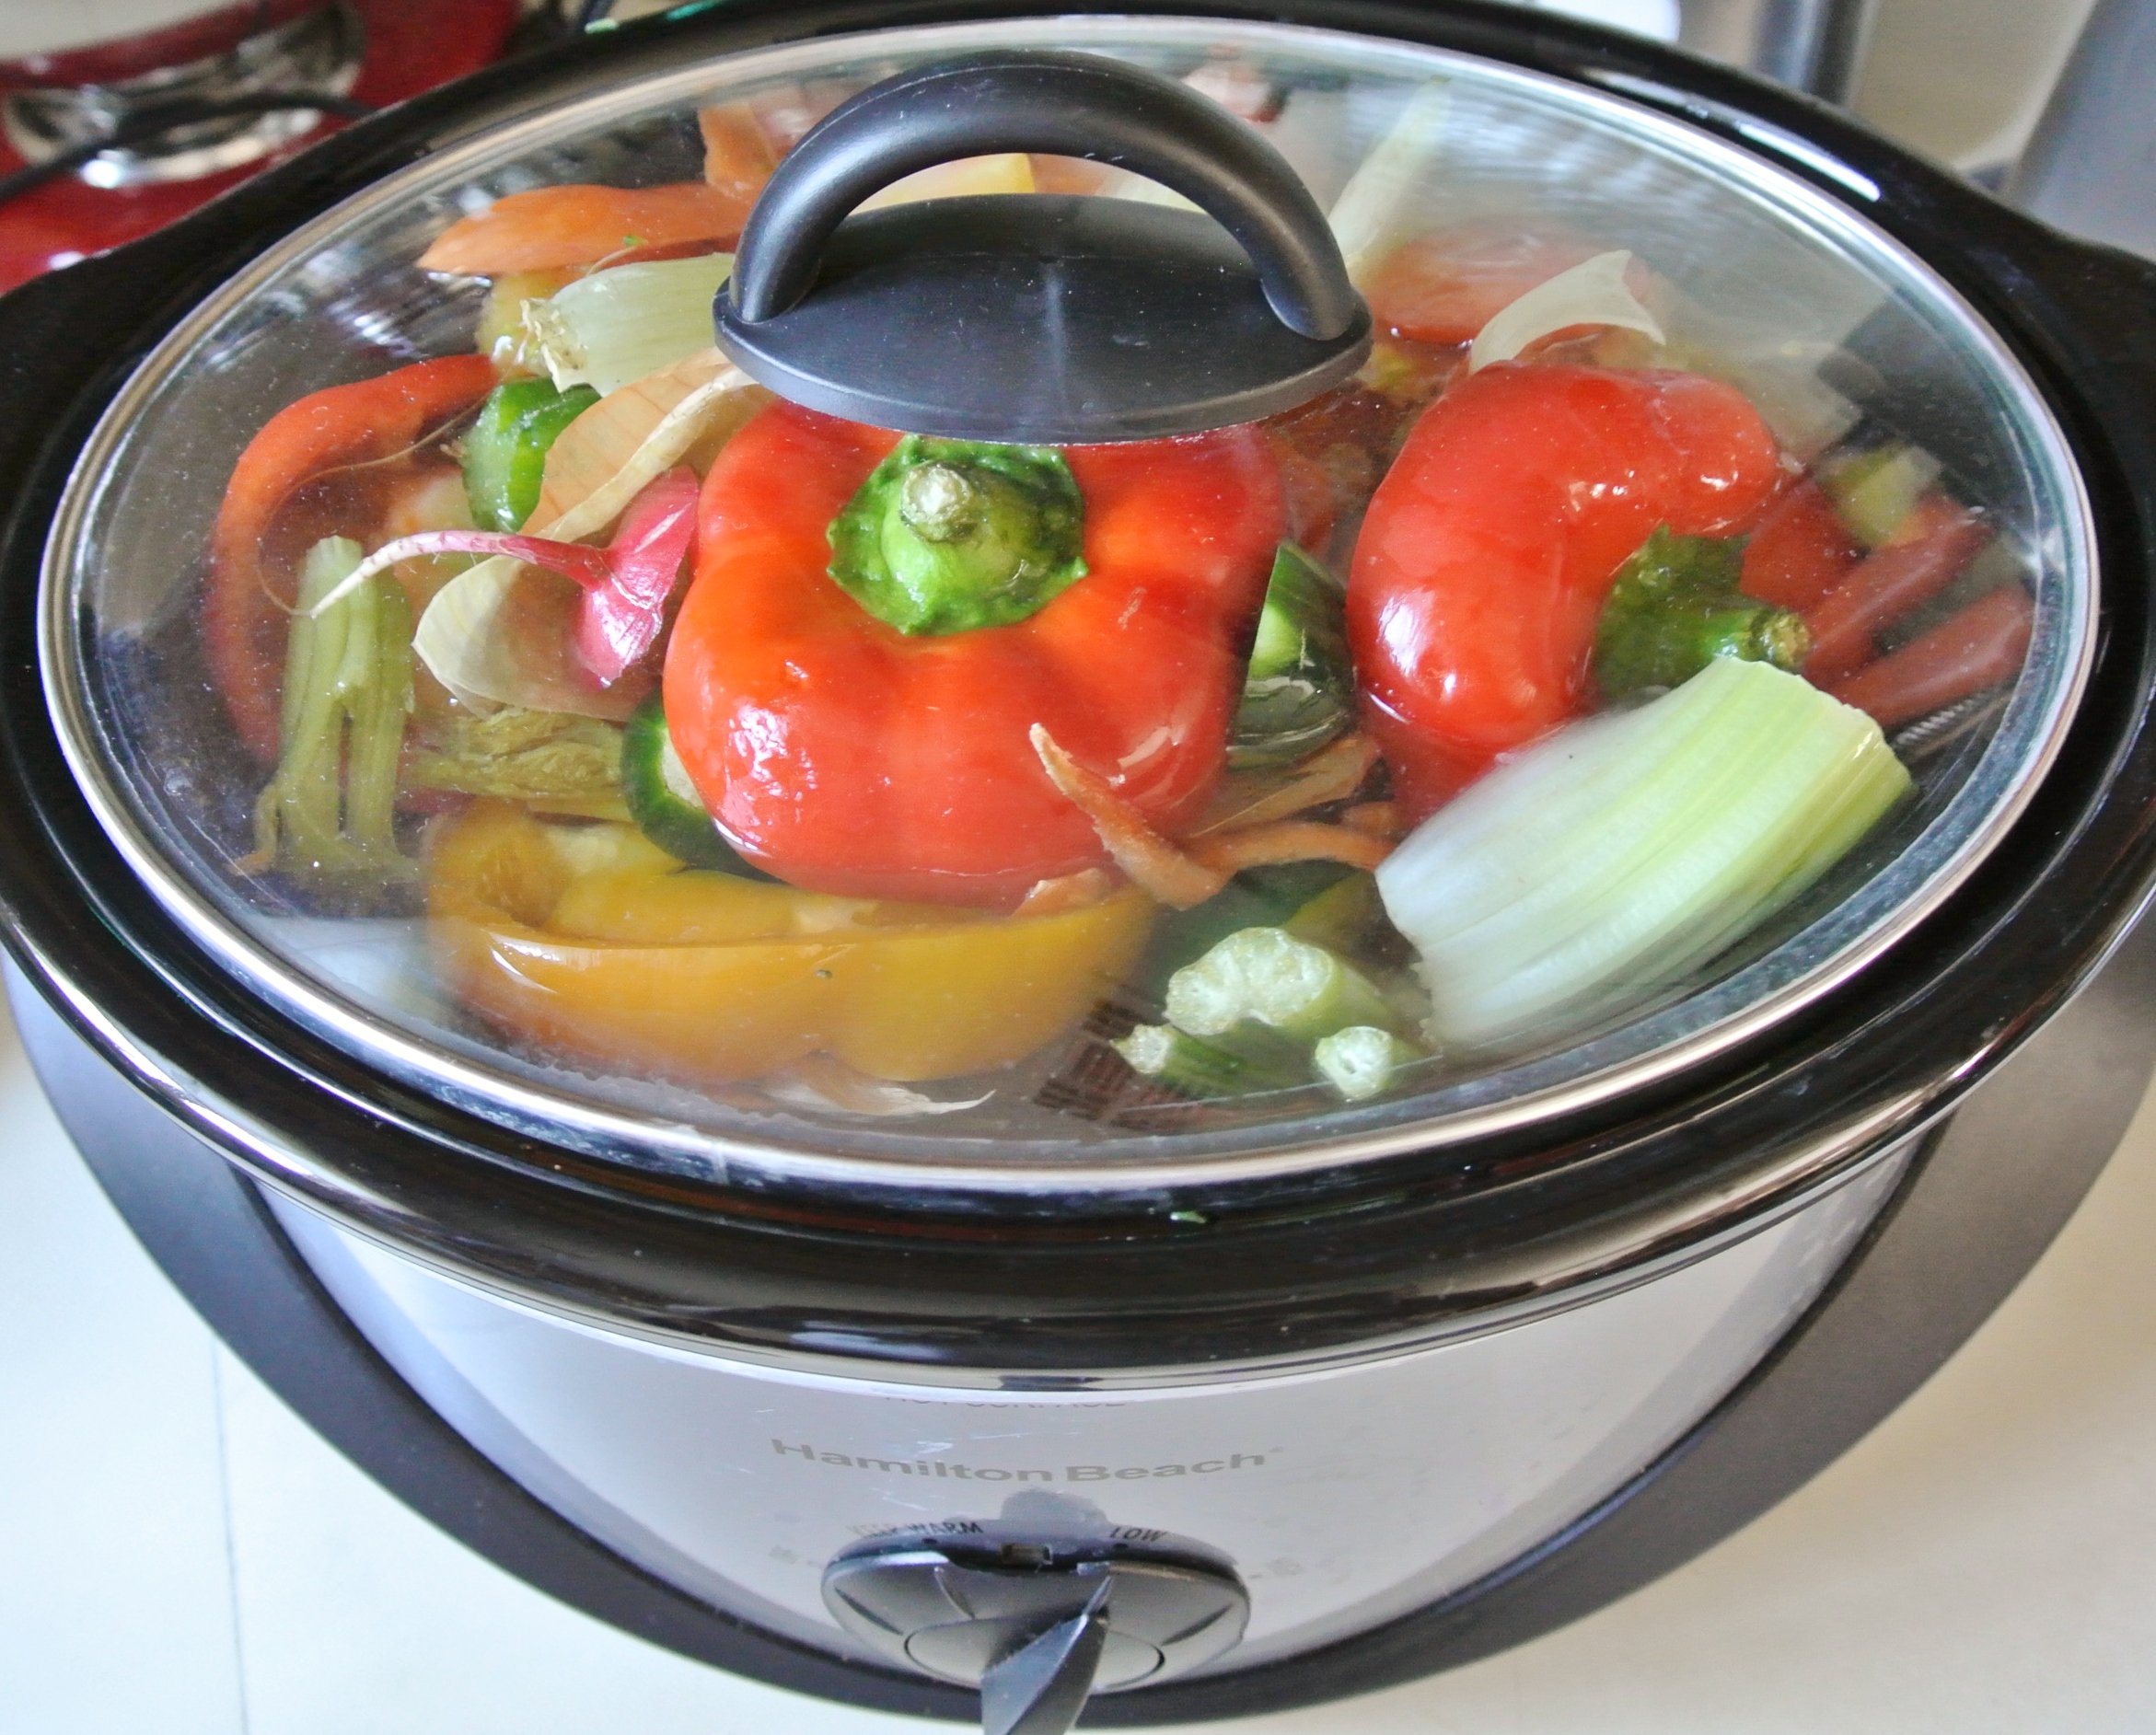
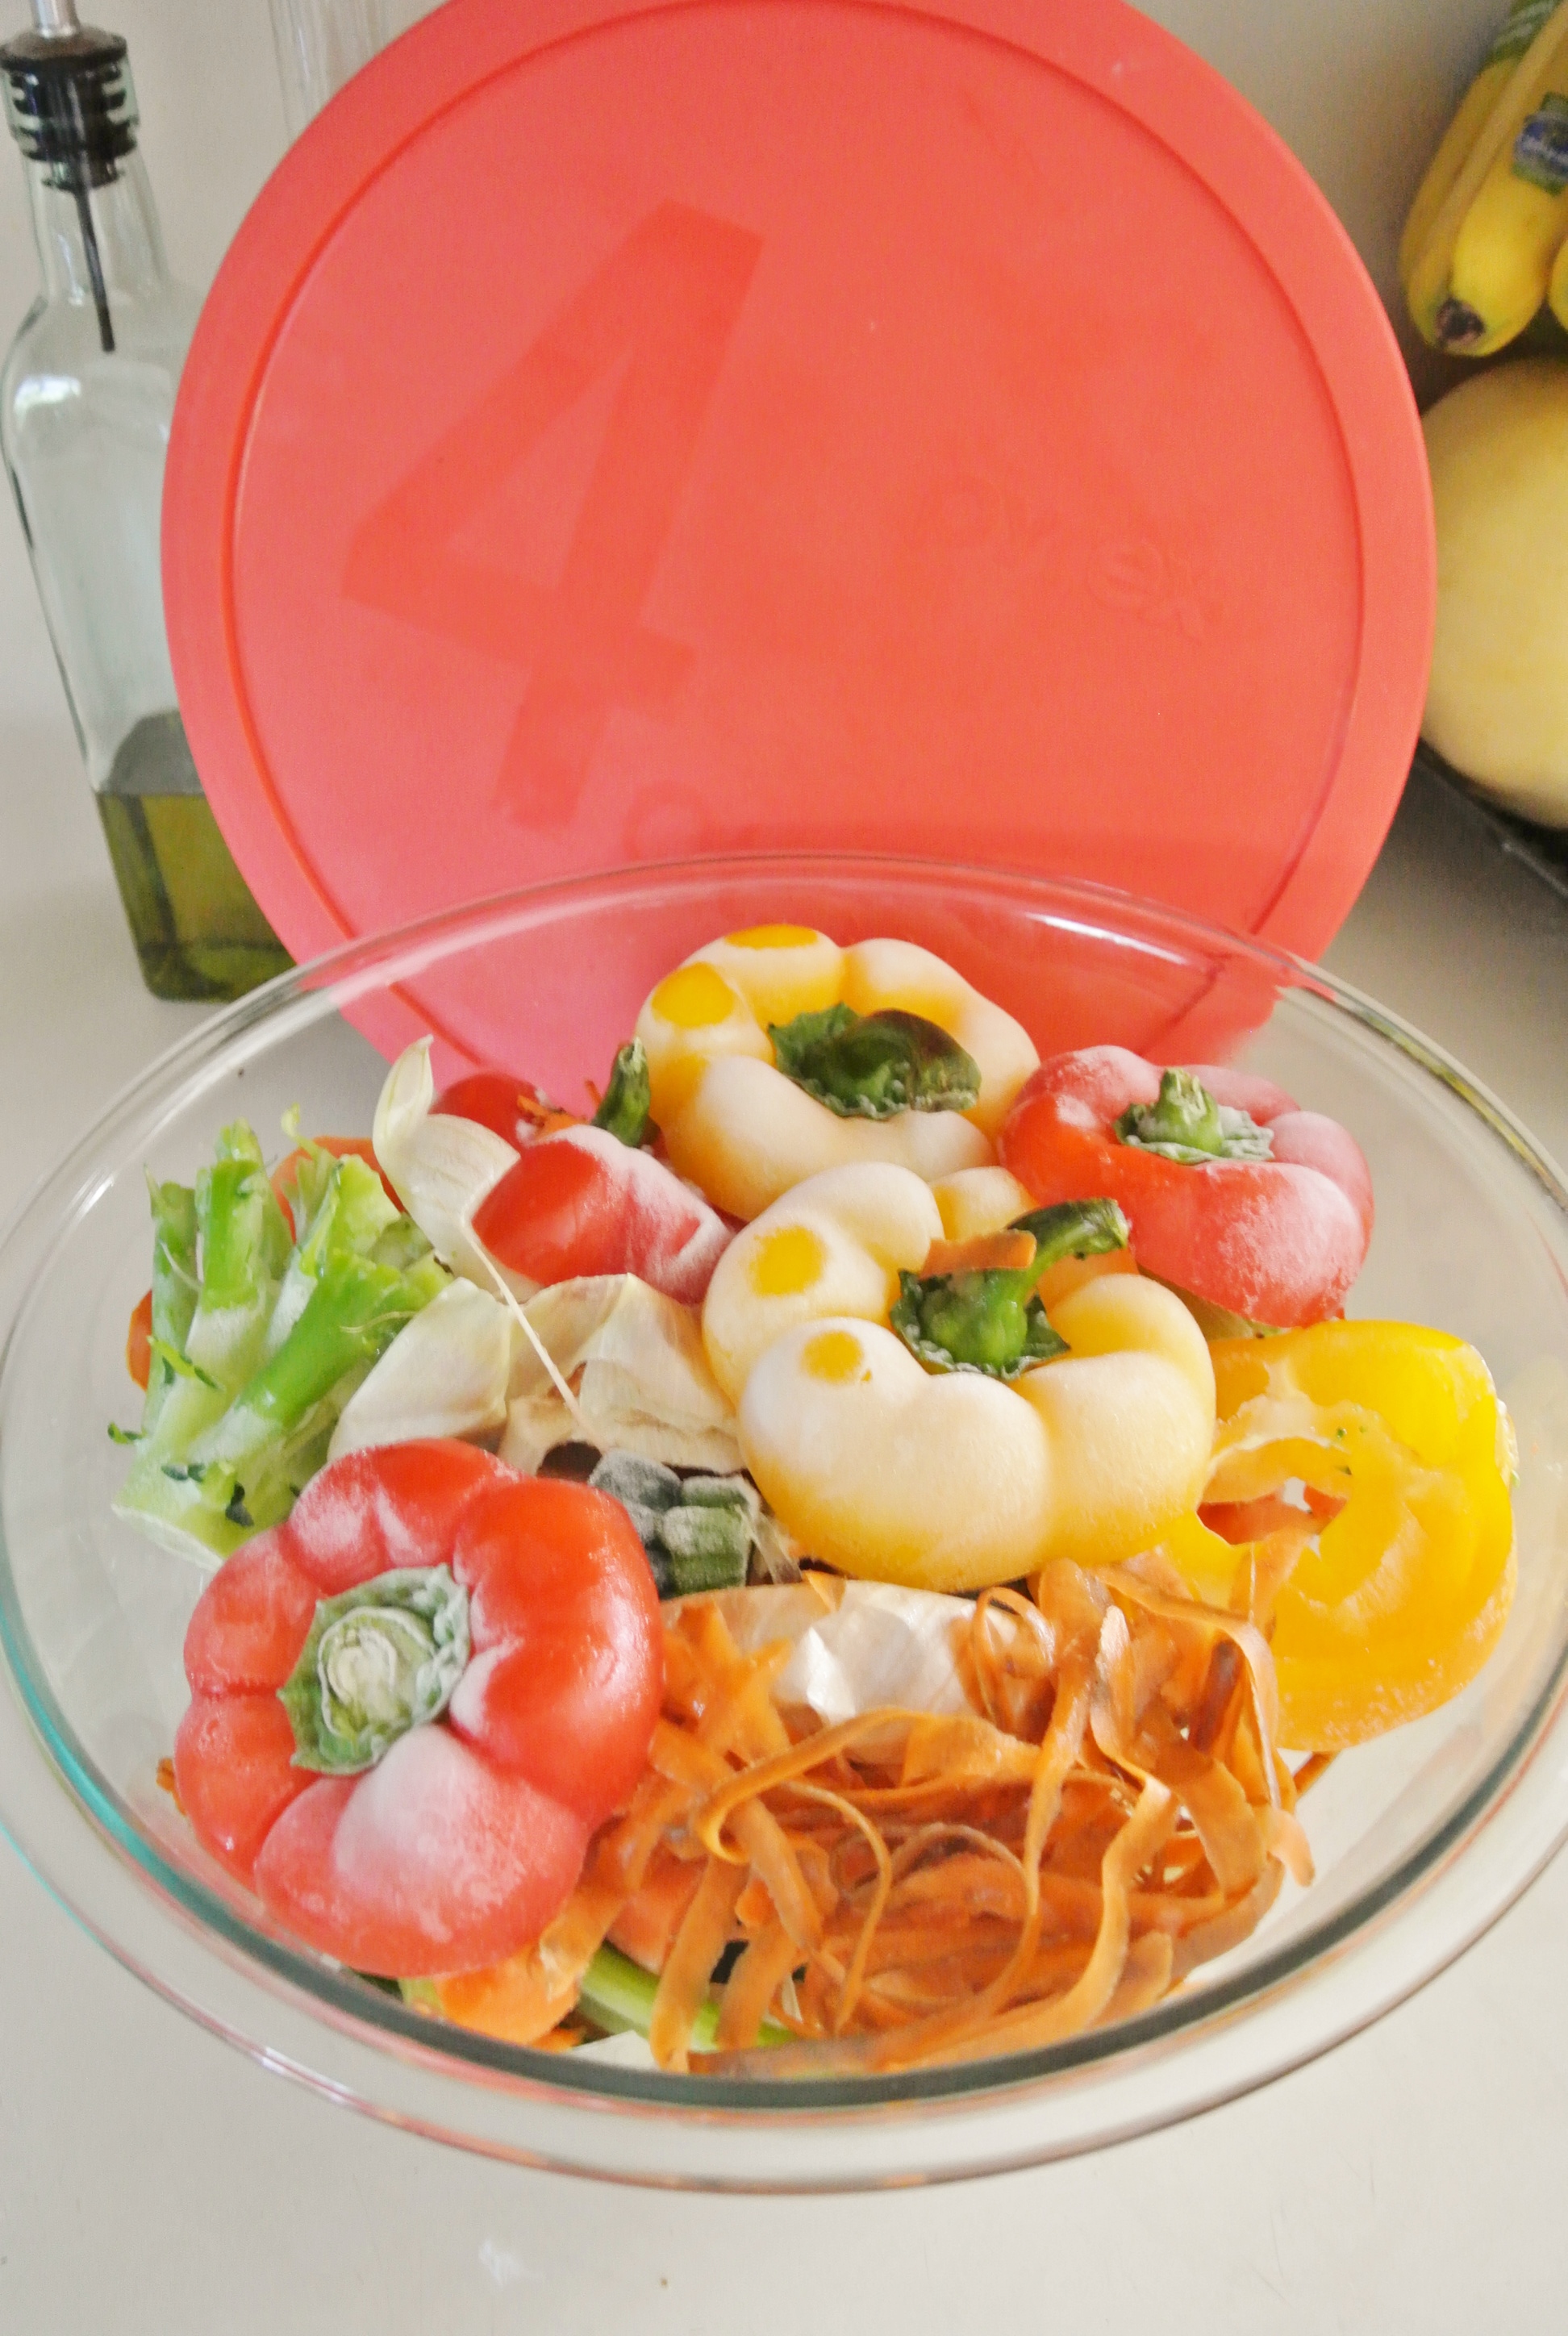
  • Liquid (water, oil, vegetable stock, vinegar, or more citrus juice) as needed until desired consistency is achieved –>  I’m using about ¼ cup homemade vegetable stock.

If using, peel if necessary and coarsely chop your vegetables. Decide on a cooking method that works best for the particular vegetable(s) you’re using and have at it. (Steaming will maintain the most nutrients of any cooking method.) I’m steaming my beets in the Baby Bullet steamer that I purchased when Nolan was first born. I knew it would come in handy for more than just baby food! 🙂

DSC_1828
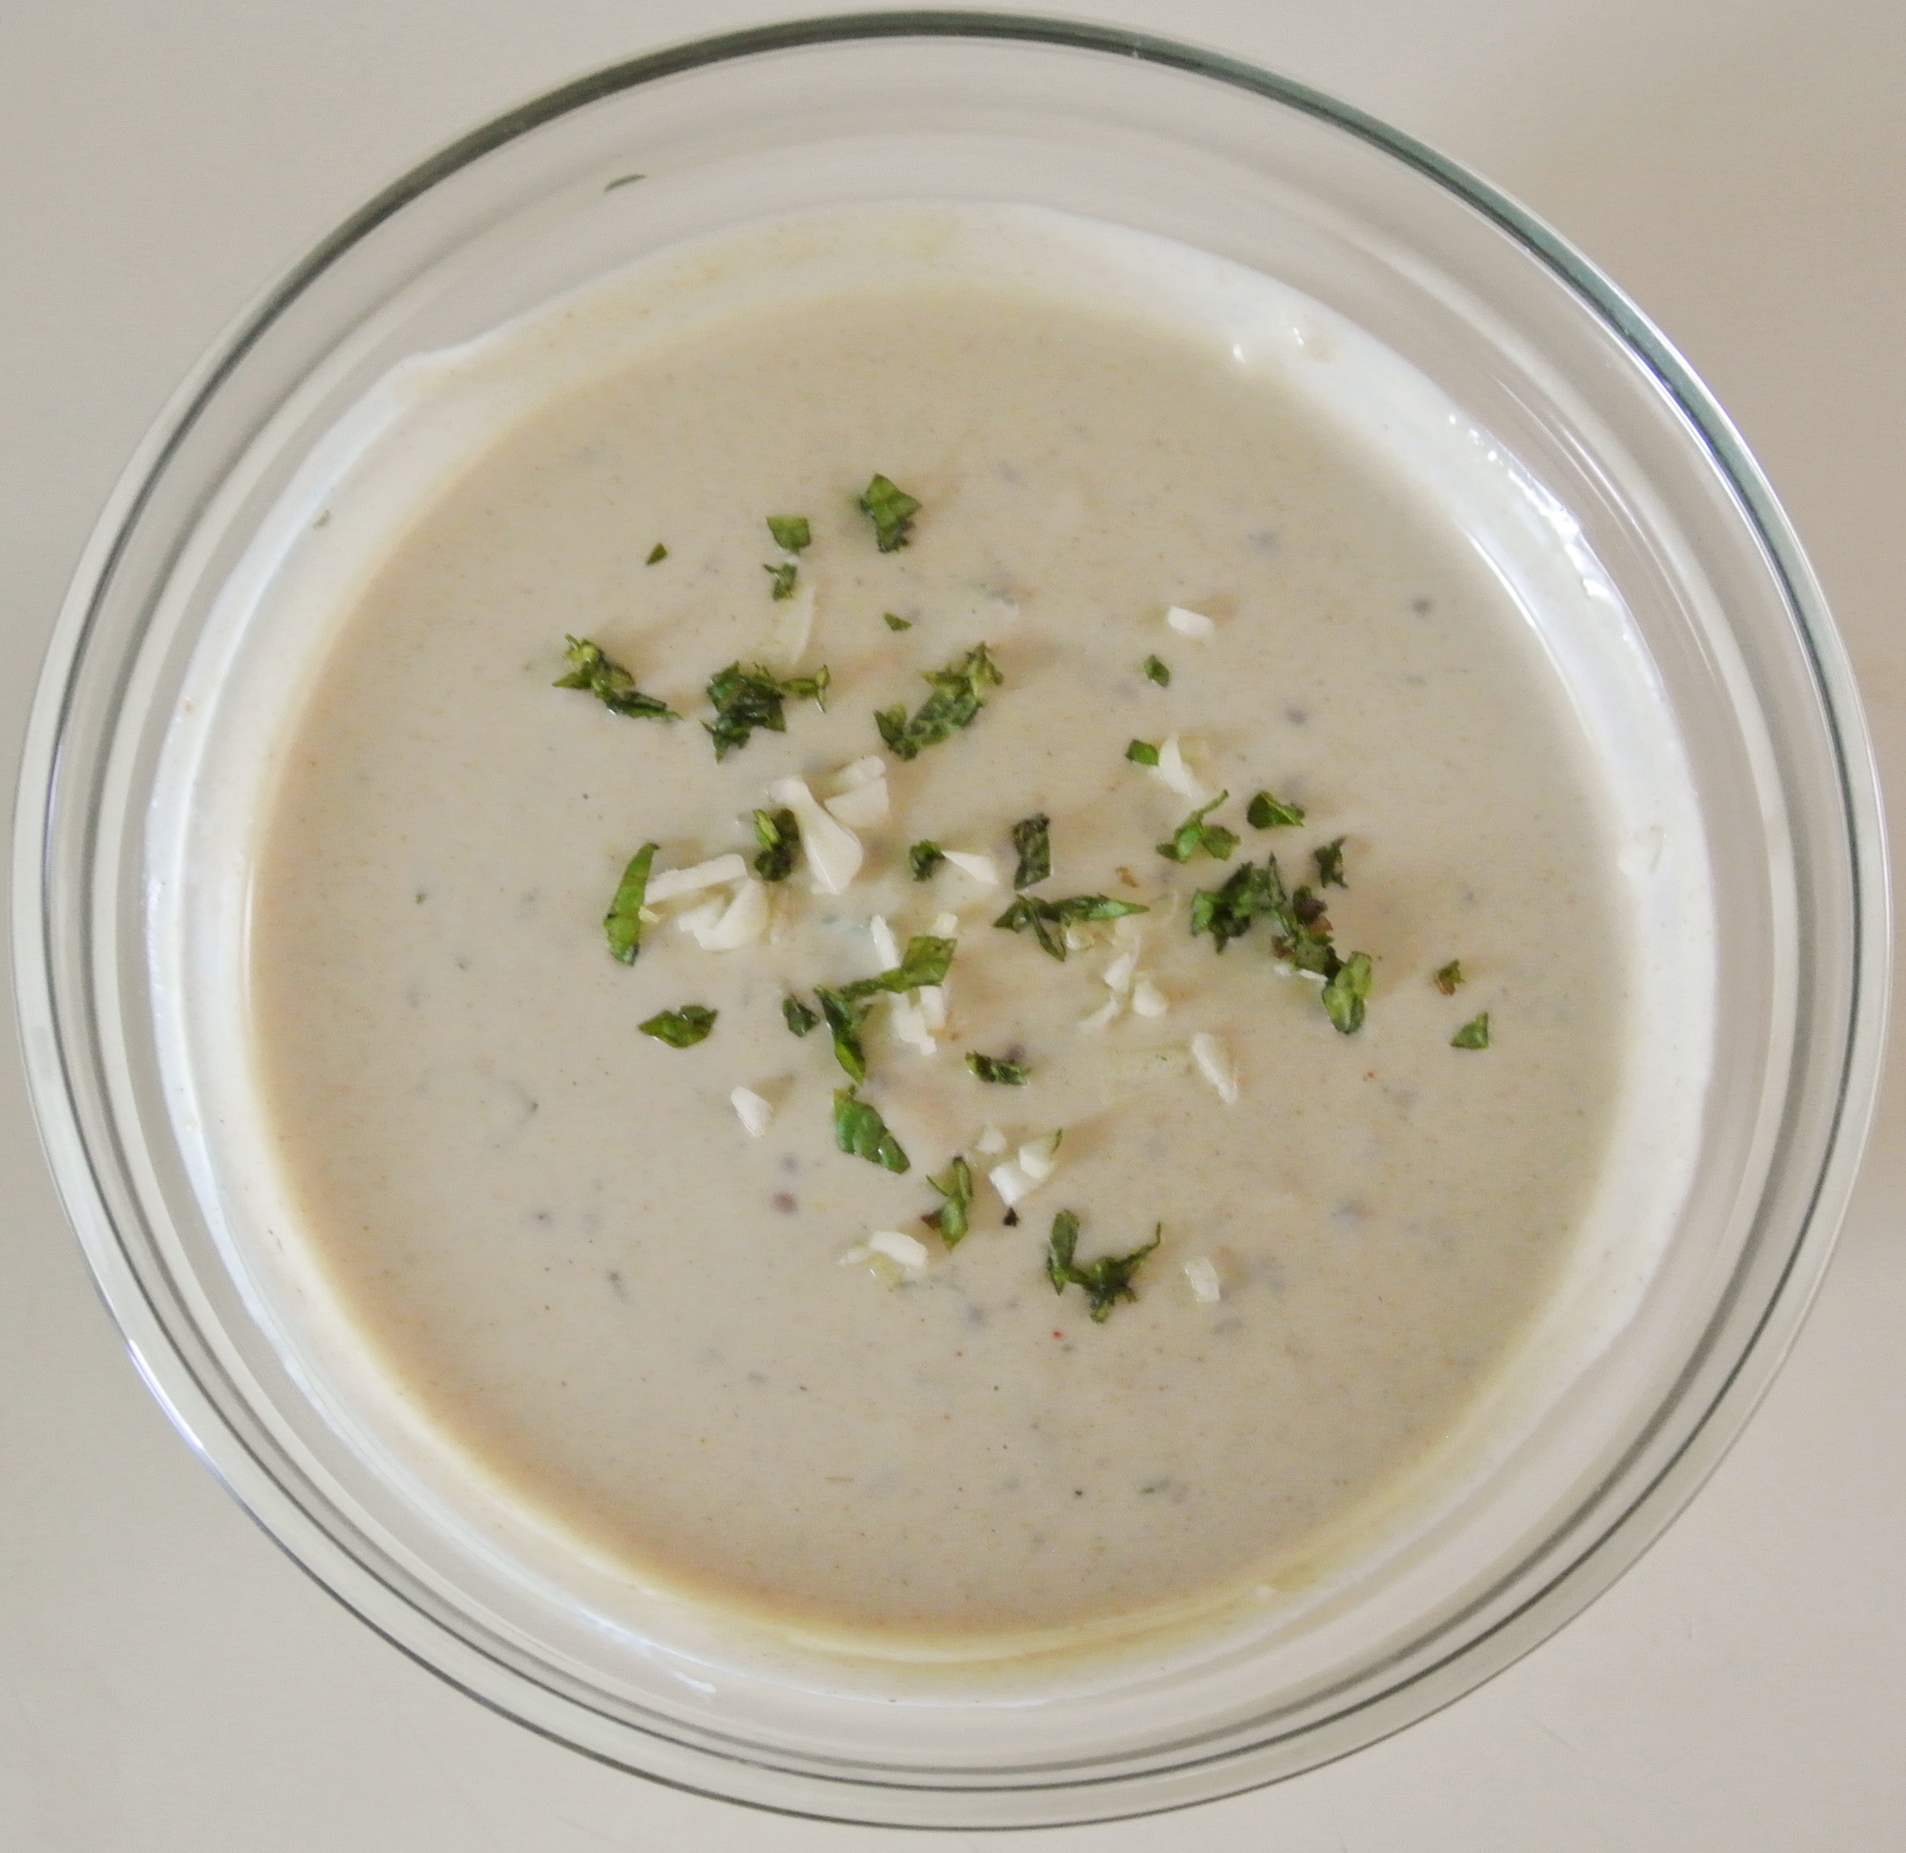
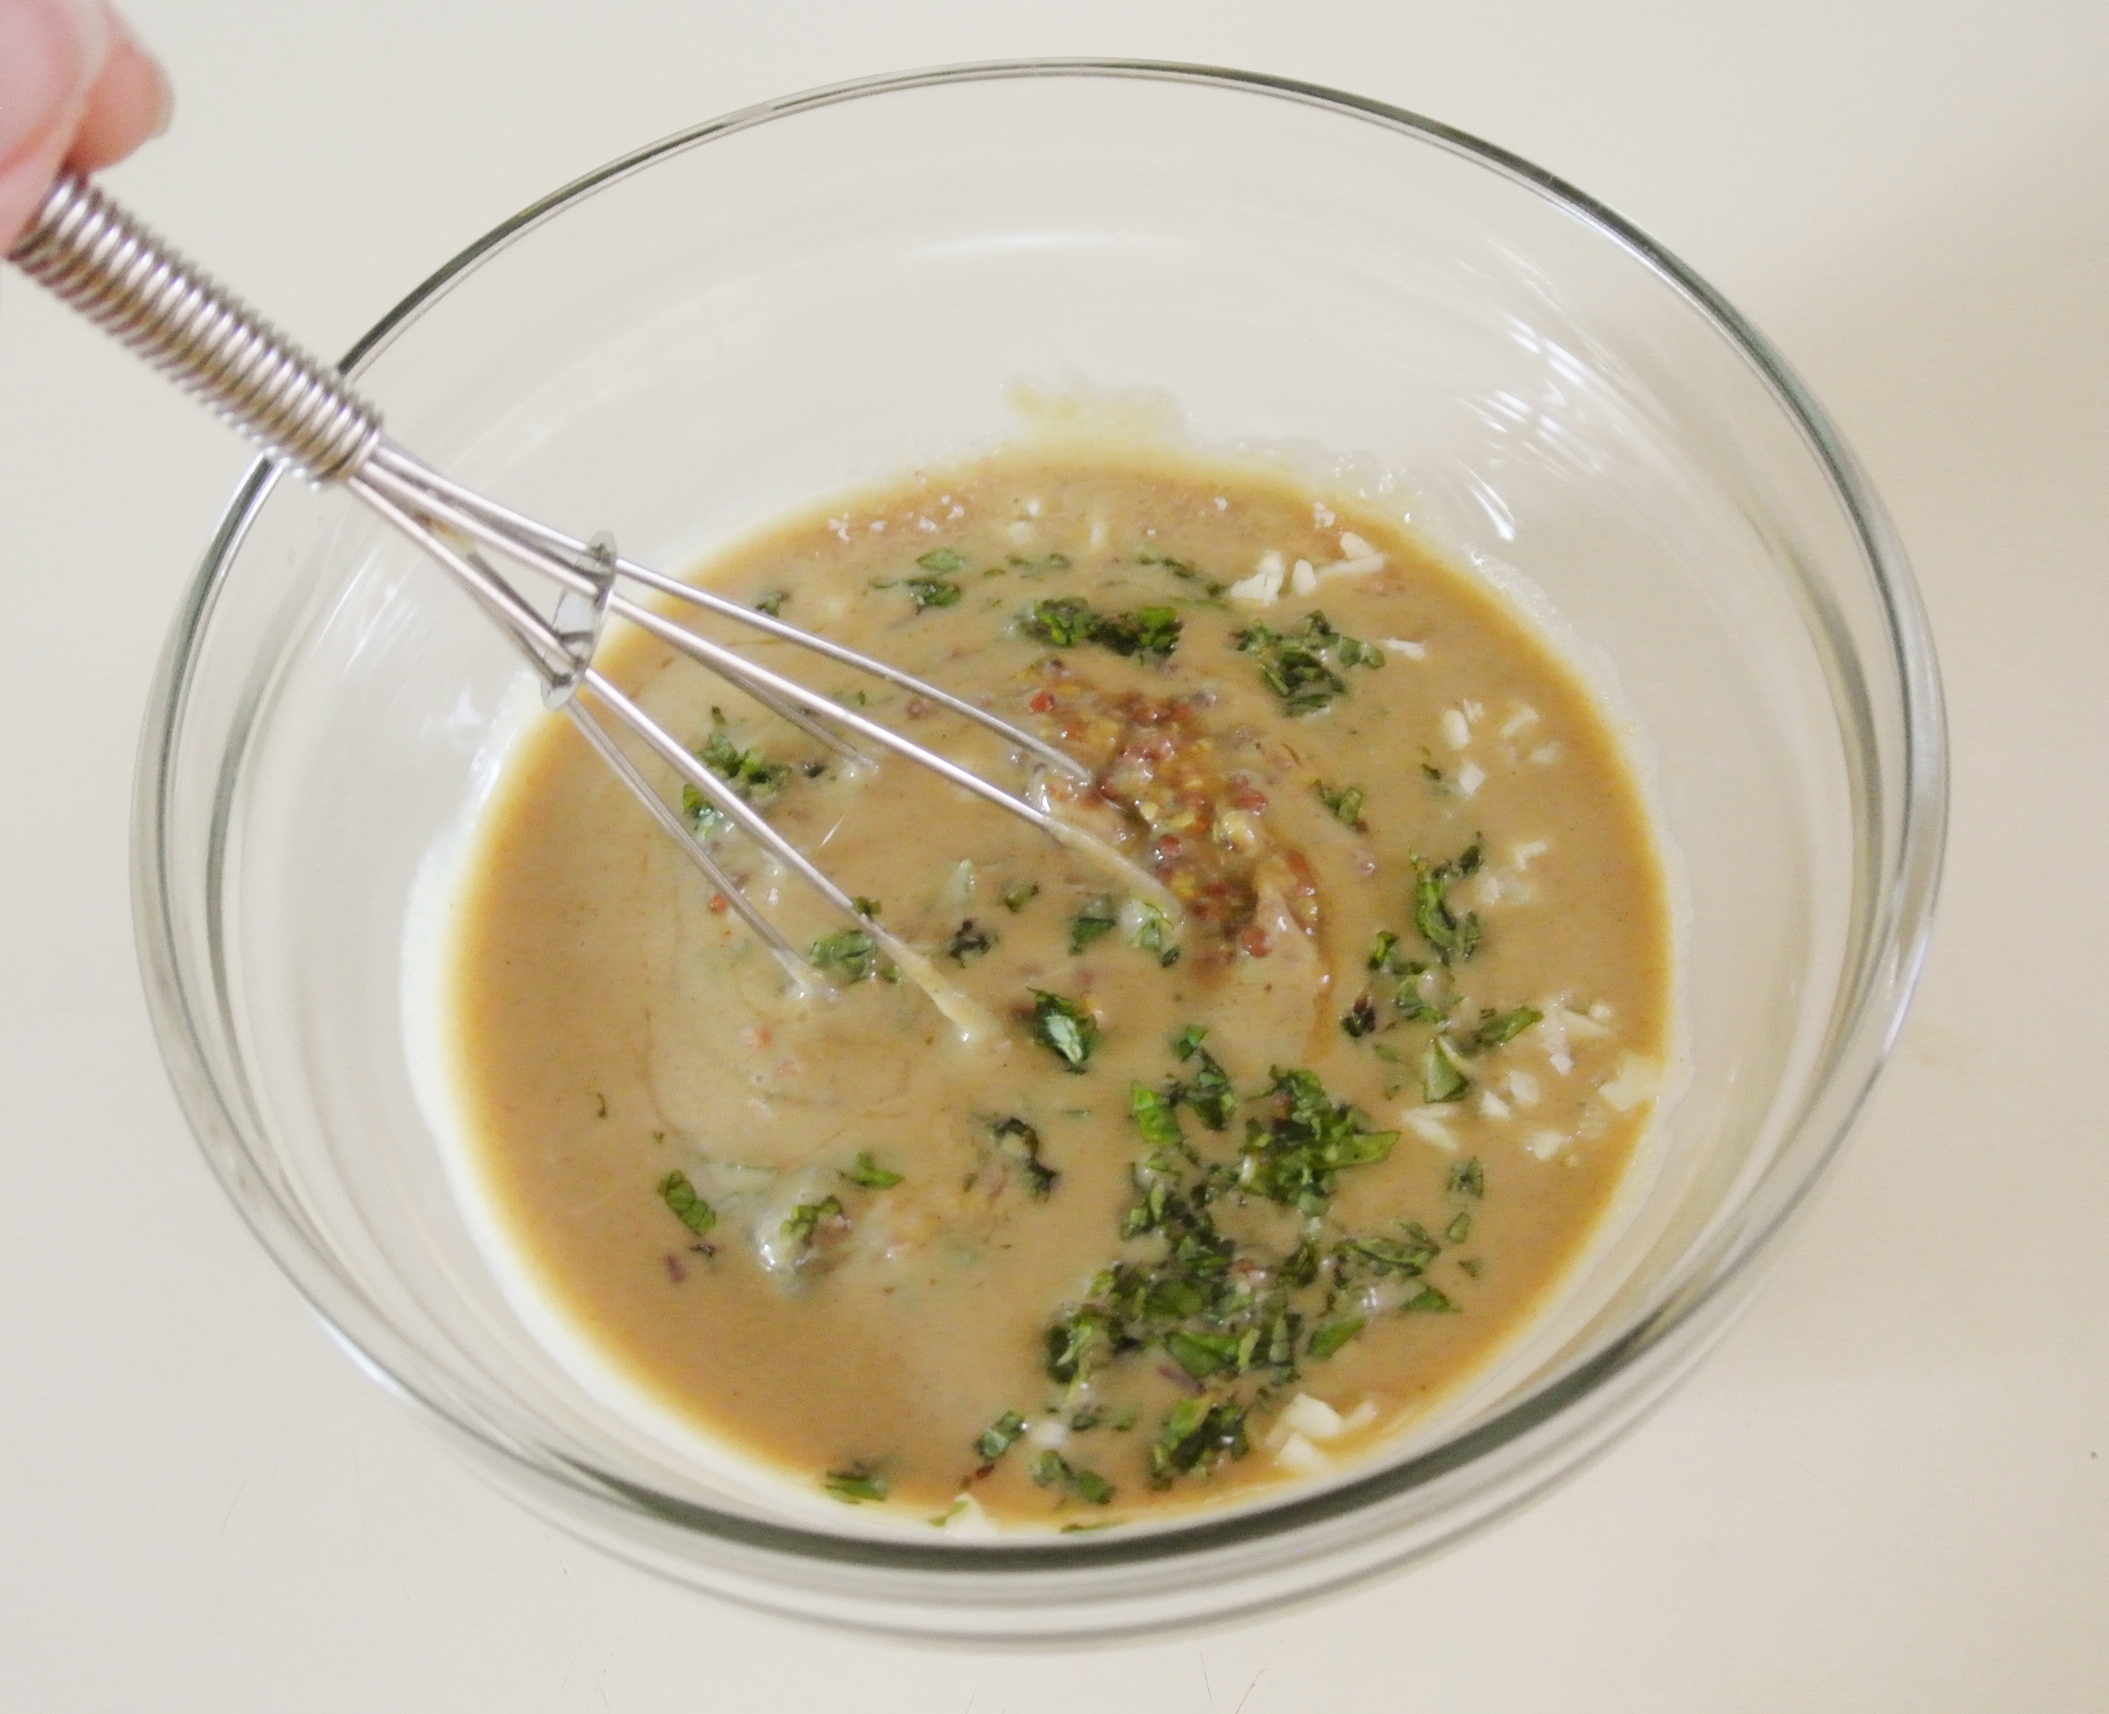
When the veggies are finished, put all ingredients in a food processor and puree until smooth. Chill for an hour and serve as a dip or use as a spread (just like my pesto formula).

DSC_1830

Here, I have mine accompanied by some of my favorite bean-based chips (which I can’t wait to try making myself someday).

DSC_1834 Store in the fridge for 3-4 days. Hummus has a tendency to dry out and/or thicken the longer it sits. Enjoy!

New Formula: Pesto

DSC_1811

Pesto is easy to make and super flavorful. While it is quite commonly a sauce for pasta dishes, it can also be used as a spread for sandwiches and wraps or a dip or marinade for vegetables. Depending on the application, pesto may be best used immediately as it will change in consistency once it goes into the fridge. This is a result of the oil within solidifying. If you’re looking for the pesto to be “pourable,” use it right away. Otherwise, it can easily keep in the fridge for up to a week.

There are endless combinations that make pesto delicious and versatile. The flavor depends largely on the herbs selected. Thus, I believe that pesto follows a basic formula and although often made with cheese, I’ve found a way to make it “cheesy” and vegan at the same time.

DSC_1806 The “cheesiness” comes from a couple of places. First of all, some nuts have flavors that mimic the nutty quality of cheeses like parmesan. My favorite parm substitute is cashews, which I grind finely and sprinkle on top of pasta often. The other cheesy element to this pesto is nutritional yeast, also known as “nooch.”

DSC_1808 Ummm…what is nooch (pictured above)?! Originally named “nutritional yeast,” it is a member of the fungi family and not the same as say, brewer’s yeast or baking yeast. This strain of yeast has a cheesy, nutty taste and adds a lot of flavor to dishes in small amounts. Most importantly, it is called nutritional yeast for a reason. Nooch is loaded with B-vitamins, protein, zinc, folic acid, and selenium. To sweeten the deal, some brands specifically contain the highly sought out vitamin B12.

Be creative in experimenting with my pesto formula. You could make a cilantro version to spread inside burritos or tacos, a basil version for Italian cooking, or even a mint version to use with falafel. The possibilities are endless. Enjoy!

FORMULA BASE: PESTO

Makes about 1 ¾ cups 

  • 1 ½ cups fresh herbs –> I’m using 1 cup parsley and ½ cup basil.
  • 1 cup raw nuts –> I’m using cashews
  • 1/3 cup nutritional yeast
  • 5 cloves raw garlic
  • ½ cup citrus juice –> I’m using the juice of two lemons.
  • Additional spices (optional) –> I’m using 1 tsp onion powder.
  • Water/oil as needed for smoothness –> I’m going for a thicker dip/spread, so I won’t need any extra liquid today.

Combine all ingredients in a food processor and blend until smooth, adding water and/or oil as needed. The less oil used, the lower in fat the end product will be. 🙂 So flavorful, this pesto doesn’t even need salt!

DSC_1810

Nothin’ Like the Smell of Freshly Baked Bread!

DSC_1804

I love bread (who doesn’t?!) and I insist on the absolute best if I’m going to buy it premade. I’m talking whole grain, organic, all natural, no preservatives, and loaded with extras like seeds and nuts. When it comes to bread, high quality will cost you; my favorite pre-made bread is $7.00 a loaf. Between me, Travis, and Nolan, that bread could easily disappear in less than five days.

I’m a big proponent of DIY and prefer, when I have the time, to go the extra mile and make food items from scratch that I could easily buy in the store. Travis and I have made our own plant milk, pasta dough, extracts, beer, wine…and the list goes on! I had been making quick breads for years, but knew when the price of my favorite pre-made yeast bread went up again that I had to learn how to make it myself.

Making yeast bread, I found, it actually quite simple, but time-consuming. Thankfully, most of the time is spent waiting for the dough to rise, so I take the opportunity to do a short workout, clean the house, or do some more cooking during this time period. The best part? I can make my own bread, meeting all of the above criteria and loaded with extras, for about ONE THIRD of the price of my favorite $7.00 loaf!

Is yeast bread vegan? Yes, it is. It’s true that the yeast is “alive” when you go to make the bread, but it is a simple organism, incapable of pain, emotions, or thought, just like plants. At one point, the bananas on your counter and kale in your fridge were living, growing organisms as well. It is impossible to avoid eating something that was once living and any moral dilemma you may face with yeast certainly barely compares to that that you might experience with cows, pigs, birds, and fish. 🙂

Let’s talk a little bit about some of the ingredients I’m using today, pictured below.

DSC_1781

SPELT FLOUR: Although I am a fan of whole wheat flour, spelt flour is even richer in vitamins and minerals, and more flavorful.

PINK HIMALAYAN SEA SALT: HSS is naturally high in iodine, among over eighty other vitamins and minerals, including iron. It contains less sodium per serving than iodized white table salt. I don’t use a lot of salt in my cooking in general, but I’ve made this bread with and without and it just doesn’t taste the same without.

YEAST: I use rapid rise yeast. It does the same job as active dry, but faster.

GROUND FLAXSEED: Flaxseed is a super food high in Omega-3 fatty acids, lignans, and fiber, and may even reduce the risk of major diseases like cancer and diabetes. NOTE: You must eat flaxseed ground in order to reap its nutritional benefits.

AVOCADO OIL: Avocado oil is high in vitamin E and potassium and contains more protein than any other fruit. It can lower blood pressure and increase absorption of carotenoids from other fruits and vegetables.

Like my other fresh formulas, I’m using what I have available on hand. You can substitute any flour or oil you have in your pantry. Enjoy!

FORMULA BASE: YEAST BREAD

Makes 1 standard size loaf

  • 3-4 cups of flour, plus more for dusting your workspace –> I’m using 2 ½ cups spelt and filling in as necessary with whole wheat.
  • ¼ cup ground flaxseed
  • ½ tsp salt –> I’m using pink Himalayan sea salt.
  • 1 packet rapid rise yeast
  • 1 tbsp oil –> I’m using avocado.
  • 1 ¾ cups very warm water (hot, but touchable)
  • Up to ½ cup specialty ingredients (optional) –> I’m using equal parts chia seeds, hemp seeds, and raw sunflower seeds.

Attach a dough hook to your stand mixer (you can make the bread entirely by hand, but it will be a little workout!).

DSC_1780 Thoroughly clean and dry your countertop and sprinkle with flour.

DSC_1784 Have any specialty ingredients of choice nearby to eventually knead into your bread dough. Lightly oil a large bowl and a loaf pan.

Combine 3 cups of flour, salt, and yeast in the mixer on low. Add any additional spices or sweeteners, if using. Add the water and oil to the dry ingredients and scrape down the sides of the mixing bowl before starting the mixer. Start on low speed and increase the speed as the dry ingredients become incorporated into the wet.

Add all of the flaxseed and then, additional flour gradually until your dough forms a minimally sticky ball on high speed. I can tell that the dough is ready for kneading if it is still somewhat sticky to the touch, but does not stick to the mixing bowl itself when whipping around on a high speed.

DSC_1792 Flour your hands, remove the dough, and place the dough onto your floured countertop.

Knead the dough, adding small amounts of flour as necessary, until it makes a smooth ball. If you are adding ingredients like dried fruit or seeds, stretch the dough open 3 times throughout the kneading process to sprinkle in ingredients before folding over the dough and kneading again.

DSC_1793 Knead for 5-7 minutes total and then place the ball into your oiled bowl. Cover with a clean towel and let it rise in a warm place for 45 minutes.

DSC_1794 DSC_1795 After 45 minutes, punch down the dough, reform into a loaf shape, and transfer it into your oiled loaf pan.

DSC_1798 Cover the dough and preheat your oven to 400 degrees. In the time that it takes the oven to preheat, your dough will rise again and then be ready for baking. Bake for 35 minutes. The bread should come out of the loaf pan fairly easily and onto a wire rack to cool.

DSC_1800

“Yogurt” with a Twist

DSC_1748Tofu: a protein-packed animal product alternative made from soybean curds. In my years of living a plant-based lifestyle, I’ve come across vegan/vegetarian chefs that put the stuff in everything and others that won’t touch it with a ten-foot pole. The reality is that tofu is just soybeans. You can buy it already processed or even make it yourself.

DSC_1745 Some cooks don’t like it because it is processed (although you can find many varieties that contain only soybeans and water) and others don’t like it because it is composed of soy, which has questionable health risks. The jury is still on out on whether or not soy products can really cause serious health problems, particularly for women, but from what I’ve researched, it is fine in moderation for just about anyone. Another concern about soy is that it is often grouped with other foods likely to result in allergies (i.e. nuts, fish, dairy milk, etc.), but I suppose, as with any food, if you ate it and were allergic, you’d know pretty quickly.

At the end of the day, I am willing to consume a little soy and so are Travis and Nolan. I absolutely can’t go to sushi without ordering edamame as an appetizer and I love to crumble and sauté tofu to make ground “chicken” tacos or barbeque “chicken” pizza. Like the meats that tofu is often substituted for, soybeans are loaded with protein and can be prepared in a number of ways that make them truly delicious.

One of my favorite ways to prepare silken/soft tofu, in particular, is to make it into togurt. Yup, just like yogurt, but without dairy, which I avoid because of its lactose and cholesterol and quite frankly, because I’ve read and seen some disturbing things about how the cows that produce our dairy are treated. I’ll let you read up on it on your own. 🙂

Anyway, my version of “yogurt” has a similar texture and flavor to the traditional variety, sans high fructose corn syrup, preservatives, and artificial coloring. If you have a block of silken/soft tofu, fruit, and plant milk, you’re ready to make togurt. Nolan loves it, too, and it pairs nicely with fruit or granola. Be advised that when you puree it initially, it will be a bit thinner than what it will become when sitting in the fridge. Enjoy!

FORMULA BASE: TOGURT

Serves 6-8

  • 1 block (14 oz) silken tofu
  • 1 ½-2 cups fresh or steamed fruit (depending on the fruit) –> I’m using almost 2 cups of raw strawberries, raspberries, and blackberries.
  • ½-¾ cup plant milk –> I’m using ½ cup almond.
  • Pitted medjool dates as needed for sweetness –> I’m using 3.
  • Spices/extracts as needed or preferred –> I’m using 1 tsp vanilla extract.

If necessary, peel and/or steam your fruit. I would leave citrus fruits, berries, and tropical fruits, for example, raw, but would steam hard fruits like pears or apples. Combine all ingredients in a blender.

DSC_1746Blend, taste, and adjust ingredients as necessary for your taste preferences. The air bubbles are normal and will never completely dissipate.

DSC_1747Store in the fridge for up to a week. Stir before eating if the water and solids separate a bit. 🙂

DSC_1751

Baked Veggie Fries

DSC_1730One of the dishes served at Nolan’s second birthday party was baked veggie fries, which were easily the crowd favorite of the evening. Today, I’m going to share with you how I make these delicious, un-fried fries.

The key to a baked fry that can stand up to shuffling on the pan, toddler squeezing, and condiment dipping is using hearty root vegetables. When we think of fries, our minds usually turn to good ‘ole russet potatoes. Nothing wrong with those guys, but fries can really be made out of nearly any root vegetable, be it parsnips, turnips, potatoes, carrots, radishes, etc.

Today’s snack (or side dish) formula features three of my favorite root vegetables, pictured left to right below: garnet yam, sweet potato, and carrot. Yes, that yellow/white-ish fry in the middle is in fact a sweet potato, which you may not have known is often actually this color, rather than orange. (For a more detailed explanation on the difference between sweet potatoes and yams, check out my post on veggie curry.)

DSC_1724These un-fried fries are sure to please adults, but are the ideal healthy snack for toddlers. Extremely low in oil and salt free (unless you can resist a little sprinkle of pink Himalayan sea salt), they are a snack that I never refuse little Nolan. They are so yummy, I doubt you’ll need a dip, but if you do, try to stay away from processed ketchup, as it is often composed of highly fructose corn syrup and other unnatural additives. 🙂  Enjoy!

FORMULA BASE: BAKED VEGGIE FRIES

Serves 4-6 (as a side dish)

  • 2-2 ¼ lbs root vegetables –> I’m using just over two pounds of garnet yams, sweet potatoes, and carrots.
  • 1 tbsp oil (+ 1 tsp for greasing your baking sheet) –> I’m using extra virgin olive oil (I’m a big fan of coconut oil, but love the flavor of olive in this case).
  • Spices and/or fresh herbs to taste –> I’m using 1 tsp each of paprika and garlic powder (no salt).

Preheat your oven to 400 degrees. Thoroughly wash and peel your root vegetables. (You can leave the peels on, but I like to save them for homemade veggie stock.) Cut into ¼ inch thick fries. In a large bowl, use tongs to toss the fries with your spices and oil.

DSC_1725 Grease a baking sheet and spread the fries out in a single layer. Bake for 20 minutes, turning halfway through. Turn the oven off and broil on high for an additional 2-3 minutes for a bit of crispiness. Store in the fridge for up to five days, reheating in the toaster oven if necessary.

DSC_1727

New Formula: Veggie Curry

DSC_1657I’ve always known that I love curry, but I didn’t realize just how much until Travis, Nolan, and I visited my sister and her husband in Japan this past June. In addition to traditional Japanese fare, the streets are sprinkled with tiny, authentic Indian restaurants, serving many varieties of curry with chewy naan. Travis, Petra, Craig, and I decided that we really needed to check out these curry joints; the chefs there must be doing something right if there is just as much curry available in Tokyo as sushi and ramen.

Thus, we embarked on what we lovingly named The 2013 Curry Crawl. We sampled curry from six different Indian establishments over the course of two days, with one day of rest in the middle (curry can be intense, ya’ll). We even found a bakery that sold savory curry-stuffed donuts! Yes, it’s true, and boy were they delicious!  Here you can see me and Petra, members of the Curry Crawl Clean Plate Club, and the donuts.

DSC_1026 DSC_0883

Vegetarian curry was easy to find, but vegan curry? Not so much. While coconut milk is a typical base for the creamy curry sauce, many places use heavy cream or milk. Being lactose intolerant, I knew pretty quickly when I had just wolfed down a cream-based curry rather than the preferred coconut milk variety. Uh oh… 🙂

Full and inspired, I knew I had to come back to Arizona and perfect my own totally vegan curry dish. I experimented with different vegetable and bean combinations, plant milks, and spice levels, and think I just may have figured this out. I discovered that there really is no ideal recipe since I like so many different flavors and because different people prefer their curry differently: sweet, spicy, mild, thick, soupy, etc. Thus, vegetable curry (now under Square Meal Formulas) lends itself perfectly to my Fresh Formula model.

When I’m making this dish—which Travis claims is the best vegetable curry he’s ever had, just sayin’—I throw together whatever vegetables and beans I have on hand and have a unique experience every time. I keep the spice blend and sauce thickness consistent, since to me, that’s what makes my curry, my curry.

Before we get started, I have pictured here an actual sweet potato, since that is what I am using in today’s recipe. If you didn’t already know, while some varieties of sweet potatoes may be orange inside, the orange guys you find in the grocery store may actually be yams, with the true sweet potatoes being pale yellow inside. Does it matter? Yes! Sweet potatoes are higher in protein and fiber than yams and a mega source of vitamin A. While both are extremely nutritious, sweet potatoes have an edge. Just something to consider the next time you are in charge of these starches next Thanksgiving.

DSC_1648Finally, don’t forget to thoroughly wash your vegetables before peeling and chopping. Remember, you can collect the clean scraps in a large bowl in the freezer to make into homemade veggie stock later on. 🙂 On to the curry!

FORMULA BASE: VEGGIE CURRY

Serves 6

  • 2 cups grains + 4 cups cooking liquid –> I’m using short grain brown rice, which I’m cooking in my homemade veggie stock.
  • 2 cups cooked beans –> I’m using garbanzo beans (AKA chickpeas).
  • 1 cup raw nuts –> I’m using cashews.
  • 5-6 cups chopped vegetables –> I’m using 1 medium sweet potato, 2 small carrots, 1 medium zucchini, ½ cup each corn and peas, and ½ of a small yellow onion.
  • 2 cups plant milk –> I’m using 1 cup each of coconut and almond milk. (Although I’ve never sampled a curry where I could actually taste the coconut flavor, which I don’t like, I always still err on the side of caution and mix plant milks. :))
  • 2 cloves minced garlic
  • 3 tbsp curry powder –> The premixed stuff is too spicy for me, so I combine 1 tbsp garam masala, ½ tbsp each of cumin and turmeric, ¼ tsp of ground nutmeg, and ½ tsp of pink Himalayan sea salt and adjust while cooking as my taste buds see fit. If you like it spicy, use a premixed curry powder (beware of added salt) which will likely already carry some heat and add cayenne pepper to taste.
  • ½ tbsp agave syrup (optional) –> I’m using it. I may consider using more if I weren’t included a sweet potato in the mix.
  • 1 tbsp oil (to prevent cooking vegetables from sticking to the pan) –> I’m using coconut oil.

Rinse your grains and place in a rice cooker or stove top pot with their cooking liquid. Set to medium low heat and cover, stirring occasionally. The grains are done when all of the liquid has been absorbed. Cooking times will vary. Brown rice takes 25-35 minutes, depending on the variety and whether or not it is cooking in a rice cooker or on the stove.

Dry toast the nuts in a large sauté pan over medium high heat for 3-5 minutes, or until lightly golden, tossing frequently.

DSC_1649The nuts will darken in color throughout the entire cooking process. While you’re waiting for the nuts to brown, chop up your longest-cooking veggie(s). For me, these are the sweet potato and the carrots, which I am peeling before chopping.

When the nuts have browned slightly, add your oil to the pan, along with your longest-cooking veggie(s). Sauté for about 5 minutes before adding your milk, garlic, agave syrup, and spices. Turn the heat down to medium to reduce the milk for 15 minutes, stirring occasionally. In the meantime, continue to chop all of your veggies. After the 15 minutes, add them to the mix from longest cook time to shortest; my last addition will be the garbanzo beans (rinse and drain if necessary) and frozen peas and corn since they simply need to heat through. Stir your vegetables often to ensure they aren’t sticking to the bottom of your sauté pan, but are still being exposed to the heat.

Cook times will vary depending on the vegetables selected. This version of my curry formula takes just under an hour. When your veggies are all cooked through or to your liking (I prefer them al dente), serve the curry over rice. Enjoy!

DSC_1651

New Formula: Super Creamy Dressing, Hold the Cream!

DSC_1647A few nights ago, my sister sent me a recipe for spiced chickpeas that she said I just had to try, and she was right. If you’ve never heard of Thug Kitchen, you NEED to check out these uber-talented and funny vegan chefs! What the thugs figured out that I couldn’t put my finger on until I completed their recipe (sorry guys, it’s not on their website, but it is in their cookbook, which I am now ordering ASAP) is that seed and nut butters make for the ultimate rich and creamy dressing for salads, wraps, sandwiches, and fruit and veggie dipping.

Really, this has made sense for longer than I realized. I love to eat tahini (made from sesame seeds) on sandwiches and peanut butter on apple slices. So, I’ve been using seed and nut butters in a dressing and dip capacity for quite a while, and you probably have, too. When it comes to more delicate applications like salads, however, a thick peanut butter alone just won’t cut it in the dressing department.

Prior to becoming an honorary thug, I attempted to make creamy salad dressing in a number of ways, from thickening plant milk with chia seeds to puréeing silken tofu. While these methods have afforded me some success, the resulting dressings were no match for the tahini-based dressing in the thugs’ spiced chickpea recipe. As I do with just about any recipe I come across, I played around and made the dressing my own and thus, a new Basic Formula was born.

Yikes, seed and nut butters are fattening! Yes, but remember, fat is ok in moderation…and if it doesn’t come from animals. If you are going to opt for ranch dressing, for instance, think of it this way: You are also opting for cholesterol and potentially, hormones from the animal products. Seeds and nuts are cholesterol-free fats that do not contain hormones and do contain tons of protein and other nutrients. Also, when I shared my chocolate peanut butter banana smoothie recipe with you, I explained that seeds are nuts are one of the only sources of fat in my diet, so a little here and there is not going to hurt me (or you).

Don’t forget to purchase, whenever possible, seed and nut butters than contain ONLY seeds and nuts. Many jarred butters contain unnecessary added salts, oils, and sugars. If I deem them necessary, I would rather add these ingredients to a homemade dressing so that I can control the quality and quantity.

Finally, I consider mustard an acid, even though it is technically derived from seeds and processed with acid (vinegar). The acidic, sometimes bitter taste reminds me of the sensation of consuming a purer acid like citrus juice or straight vinegar. If you include mustard in your dressing, seek out a stone ground or whole grain variety. Mustard seeds are an excellent source of selenium (just like brown rice…see my whole grain salad recipe) and Omega-3 fatty acids.

DSC_1637

Below is my new formula and an application inspired by the tahini dressing that gave way to my latest culinary brainchild. Satisfy your craving for a rich, creamy dressing or dip by turning to seeds and nuts rather than cows and goats. Enjoy!

FORMULA BASE: Creamy Dressing

Dresses 3-4 salads

  • ¼ cup seed or nut butter –> I’m using tahini.
  • 2 ½ tbsp acid (citrus juice, vinegar, mustard, or a combination) –> I’m using 1 tbsp stone ground mustard and 1 ½ tbsp lemon juice.
  • Thinning liquid as needed, depending on whether you’re going for a dressing or thick dip (ideas: veggie stock, water, or more acid) –> I’m using 3 tbsp water.
  • Up to 2 tbsp raw garlic and/or fresh/dried herbs and/or spices (optional) –> I’m using one small clove minced raw garlic and I tsp finely chopped fresh sweet mint.
  • ½-1 tsp sweetener (optional) –> I’m using ½ tsp 100% pure maple syrup.
  • Salt and pepper to taste –> I’m using a pinch of pink Himalayan sea salt.

Combine all ingredients with a small whisk. Add thinning liquid as needed to achieve desired consistency. Still not creamy enough for you? Run the whole mixture through a food processor or blender (I enjoy the texture of the mustard seeds, so I am leaving my dressing as is after whisking). Drizzle over salad, spread on bread, pita, or wrap, or use for dipping. You are seriously going to LOVE this dressing! Ranch…what’s that?!

DSC_1646

New Formula: Multi-Grain Salad

DSC_1635Remember that DIY veggie stock I made a few days back? Today, I’m putting it to good use making a salad that I love. My multi-grain salad, now housed under Square Meal Formulas, is filling, nutritious, and an easy way to combine a variety of great-for-you grains.

Pictured below are the grains that I’m using for my salad this go-around, with descriptions to follow.

DSC_1621

Clockwise, starting in the upper left corner:

SHORT GRAIN BROWN RICE: As I’m sure you know, brown rice boasts far more nutrients than the white variety. Brown rice is rich in fiber and selenium and can even lower bad cholesterol.

QUINOA: Often referred to as a super food, quinoa is mega rich in fiber, protein, and iron, among other minerals. ‘Nough said.

FARRO: Farro is also rich in fiber and minerals and in my opinion, maintains an appealing semi-crunchy texture after cooking. It pairs nicely with softer grains like rice and quinoa.

WHEAT BERRIES: Finally, wheat berries, like farro, are crunchy, and high in fiber and micronutrients. Sprouting wheat berries will result in wheat grass, which I use in all of my super smoothies. So, there’s that, too.

A little off-topic, but a quick word about balsamic vinegar, since I’m using it in today’s recipe. When I’m not in the mood to use fresh citrus juice or don’t have any on hand, I turn to balsamic vinegar as a dressing base. Besides being loaded with potassium and calcium, balsamic vinegar can normalize blood pressure, stabilize cholesterol, steady glucose levels, and even aid in weight loss. To say the least, I adore it. J Thus, it is important to me to have a high-quality variety in my pantry. Pictured below is a brand that I like, with a middle-of-the-road price tag. The more you pay, the better vinegar you’ll get.

DSC_1631Ok, back to the grains! I pair my multi-grain salad with fresh produce. Having made this salad many times, I prefer it sweet and savory. I use strawberries for the sweet and cook the grains in veggie stock for the savory. Find a balance that works for your taste buds and, as always, enjoy!

FORMULA BASE: MULTI-GRAIN SALAD

  • 4 cups water or vegetable stock –> I’m using my homemade veggie stock.
  • 2 cups dry grains –> I’m using ½ cup each short grain brown rice, quinoa, farro, and wheat berries.
  • 2 cups chopped fruits and/or veggies –> I’m using nearly 1 lb of sliced strawberries.
  • Dressing of choice or a combination of herbs/spices and salt and pepper to taste –> I’m using 1/8 cup balsamic vinegar, which pairs classically with strawberries. I’m also adding a splash of olive oil to prevent sticking, a tablespoon of dried basil, and a pinch each of pink Himalayan sea salt and black pepper.

Rinse your grains before cooking in order to remove any possible dirt or dust.

DSC_1623Because different grains have different cooking times, you may approach this in two ways: cook them all in the same pot, in stages, or cook them separately and combine them later. Having worked with my particular selection of grains before, I am opting for the former method. If you’re not sure about the grains you are using, research their cook times and even better, experiment in your kitchen. Or, make this salad with just one grain to start. Baby steps are a-ok.

I use a rice cooker because I find that it reduces sticking to the bottom of the pan with just a few occasional stirs, but you can certainly cook your grains in a pot on the stove top, stirring more regularly. First, add your veggie stock and wheat berries to kick off the cooking process. Wheat berries take longer to cook than any of the other grains I am using.

After 30 minutes, add your farro. 10 minutes later, add your rice. 10 minutes after that, add your final grain, quinoa, and cook for an additional 15-17 minutes, or until the last of your cooking liquid is absorbed. I usually leave the lid to my rice cooker off for the last few minutes to speed this process.

DSC_1627While your grains are cooking, chop your fruits/veggies and prepare your dressing and/or seasonings.

DSC_1626Cook your grains to completion and chill in your fridge, uncovered and stirring occasionally to allow heat to escape more easily, until at least room temperature (about 30 minutes). If the grains are hot, they will par-cook your produce, which we want to keep raw. When cool, combine the grains with your other ingredients. Consume cold and store in the fridge for 3-5 days, depending on the shelf life of the produce used.

DSC_1633

Save Money, Add Flavor

DSC_1617When we’re craving something warm and have a lot of veggies on hand, Travis and I go for soup. Homemade soups make for quick and filling lunches/dinners and welcome almost any random assortment of vegetables, beans, lentils, or grains. The most satisfying soups have a strong stock base. I learned a lot of what I know about cooking basics from THE Rachael Ray, who always says that using a quality stock gives soups, stews, chilis, and sauces a slow-cooked flavor in a lot less time.

Today’s post isn’t focused on soup, but rather that essential stock base, located in my Basic Formuals. Purchasing stock in those cardboard cartons is expensive, and often unnecessarily ridden with added sodium. I’ve found a way to make veggie stock that is affordable, healthy, flavorful, and makes the most of vegetable waste.

If you tuned in for my post on fruit scrap candles, you know that I like to use every square inch of my fruits and veggies. My veggie stock utilizes the parts of your vegetables that you likely normally throw away. If you don’t plan on using your veggie scraps for composting, consider making them into a stock that you can later use in a variety of cooking applications.

What veggie scraps make for a yummy stock? While this list certainly isn’t exhaustive, I have used all of the following:

  • Carrot tops, ends, and peels
  • Potato (all varieties, especially sweet) and yam ends and peels
  • Bell pepper tops
  • Tomato tops
  • Celery ends and leaves
  • Broccoli stems*
  • Kale ribs*
  • Leek tops (the green part)
  • Root veggie (beets, turnips, radishes, etc.) tops and tails
  • Onion ends and peels
  • Zucchini and cucumber ends
  • Large mushroom stems
  • Garlic ends and peels

*Incorporating too many green veggies may leave your stock tasting a little bitter; use sparingly!

Many of these seemingly inedible vegetable parts, like the veggies themselves, are often dirty when first purchased or harvested. It’s imperative that you get in the habit of thoroughly washing your vegetables in entirety before you peel, chop, or otherwise break them down. Then, when it comes time for your scraps to become stock, you aren’t simmering dirt in the pot. 🙂

I accumulate veggie scraps for stock in a 4-quart Pyrex bowl in the freezer, pictured below. I’ve never had an issue with freezer burn, partly, I’m sure, because I go through veggie scraps so quickly. You can see that this batch has started thawing and has only a light layer of frost on parts that are still frozen.

DSC_1616It isn’t necessary that you thaw the veggies before making your stock. I usually let mine defrost on the counter top for just a little bit (maybe 20 minutes) so that they loosen up for dumping into the crock pot. If any of your veggies have frozen to their freezer receptacle, fill it with hot water and they should come right up. I place the veggies in my crock pot, fill it with water, put the lid on, and set it to low overnight or while I’m at work. I don’t add any salt, pepper, spices, or herbs so that the stock is a blank slate, ready for any number of dishes.

Don’t have a crock pot? Simmer low and slow for several hours on your stove top, or on medium high heat for just an hour or two, stirring occasionally to prevent sticking to the bottom of the pot.

After the veggie scraps have cooked through and the water has taken on a rich caramel color, drain your stock through a fine colander. If necessary, you can run it through paper towel to catch any small bits that remain. Discard your veggie scraps, once and for all. Store in the fridge for up to a week before using in cooking. Enjoy!

DSC_1618

DIY Trail Mix

Trail Mix II

Trail mix is one of my favorite snacks.  I prefer to make my own for both nutritional and monetary reasons.  Many premixed trail mixes are high in added sugars and oils, or include products like milk chocolate that I no longer eat, or raisins that I will never eat (I loved dried fruit, except raisins…I have no idea why!).  I also find that all too often premade mixes do not contain a ratio of sweet to savory that works for me, usually being either too sweet, too salty, or sometimes, too spicy.  Finally, while the premixed trail mixes boast clever names and yummy flavor combinations, they have a price tag to match.

The key to DIY trail mix is finding what you like, buying sale items in bulk, and combining them on your own, which takes very little time.  I am logging the trail mix that I made for this post under More Recipes because for the life of me, I couldn’t decide on a formula.  This is mainly because what I put in my trail mix in a given week depends on what is on sale in bulk at my local grocer.

Nuts, seeds, chocolate, and dried fruits are expensive, so I never go into making a trail mix with set ingredients in mind; I build a trail mix based on what is on sale.  I typically seek out mostly nuts and seeds, as they are a primary protein and fat source for me.  Chocolate and dried fruits are less of a priority (I eat tons of raw fruit), but I grab them when the price is right.

Whenever possible, all of the nuts and seeds I purchase are raw, as to avoid excess fat and salt.  Today’s mix includes all raw nuts with the exception of roasted, unsalted cashew pieces that were so incredibly marked down, I couldn’t pass them up!

Additionally, whenever possible, the dried fruits I purchase are free of added sugars, oils, and preservatives.  Sulfur dioxide, which is often added to dried fruit to preserve color, is known to cause allergic reactions, so I never buy dried fruit with it listed in the ingredients.  Today’s fruits include dried cranberries that have a touch of added sunflower oil to prevent sticking together and dried pineapple that has no added oil, but does have a little added sugar to balance the tartness.

Trail mix is quite often the only dessert-like item I consume in a day, week, or sometimes, even month, so I add dark chocolate when it’s on sale.  With the decadent milk variety available everywhere, I was never a fan of dark chocolate growing up.  Now that I’ve gotten used to the flavor, I eat it here and there for its antioxidants, and truthfully, don’t much care for ultra-rich, super sweet milk chocolate anymore.

I eat ¼-½ cup of homemade trail mix every day.  It’s filling, delicious, and nutritious (mostly!  🙂 ), and satisfies my sweet tooth with less fat and sugar than a traditional dessert.  Enjoy!

SWEET AND SAVORY TRAIL MIX

  • ½ cup raw almonds
  • ½ cup raw red walnuts
  • ½ cup roasted, unsalted cashews
  • ¼ cup dried pineapple
  • ¼ cup dried cranberries (these were flavored with 100% blueberry juice)
  • ¼ cup dark chocolate covered peanuts
  • ¼ cup dark chocolate covered edamame

Combine all ingredients and store in your pantry in an airtight container for up to two weeks.  If you anticipate going through your trail mix more slowly, store in the fridge as the oils in nuts can spoil.

Trail Mix