Protein-Packed Cookie Dough Truffles

Alright guys, today’s formula is something you need to taste to believe. I’m making cookie dough truffles that contain no eggs, no oil, and no flour, and that do contain garbanzo beans. What?! I know, I was skeptical, too, but these are seriously delicious and have the same texture as a traditional cookie dough. Just how does this work?!

First of all, let me start by saying that in my opinion, eating cookie dough is sometimes more satisfying than eating the baked cookies themselves. I know you were thinking the same thing, so I’m glad we got that covered. 🙂

I found this idea for a bean-based cookie dough on Instagram (@bestofvegan, @chiacathy), where I follow a number of vegan cooks, chefs, and bloggers. I immediately captured a screen shot so that I could easily come back to the idea when I was ready to incorporate beans into a dessert. Gotta wrap your head around that one…

Having heard of bakers sneaking black beans into brownies pretty well unnoticeably, I thought that this idea definitely held some merit. With thousands of likes on the picture (which looked just like cookie dough) and the recipe, I just knew that these had to be good. On top of looking and tasting delicious, loaded with beans and nuts, these truffles are a protein-packed sweet snack that is waaaaaaay better for you than that dough that comes in a log in the refrigerated section.

Due to their nutritional benefits and simplicity, these truffles remind me a lot of my power balls, which are always a success. I’ve now mastered many a flourless dough that yields a not-too-sweet, perfectly shaped little bite that pleases my whole family, satisfying their sweet teeth and providing them with a valuable source of protein at the same time.

DSC_2459

So, I took the recipe I found on Instagram and made it my own, into a Fresh Formula of course! I had Travis taste the first truffle and he said he would have liked it to be a tad sweeter, so you’ll see that reflected in the ingredients below. Since I opted for semi-sweet chocolate chips, the sweetness level was perfect for me, but certainly the type of chip you select will make a big difference.

Travis’s overall reaction to the garbanzo bean cookie dough bites? “I am kind of in shock.” He couldn’t believe how yummy such an unexpected combination of ingredients could be. Having made traditional chocolate chip now, I am already fantasizing about chocolate mint, lemon almond, and whole host of other cookie dough flavors. Give these little delights a try!

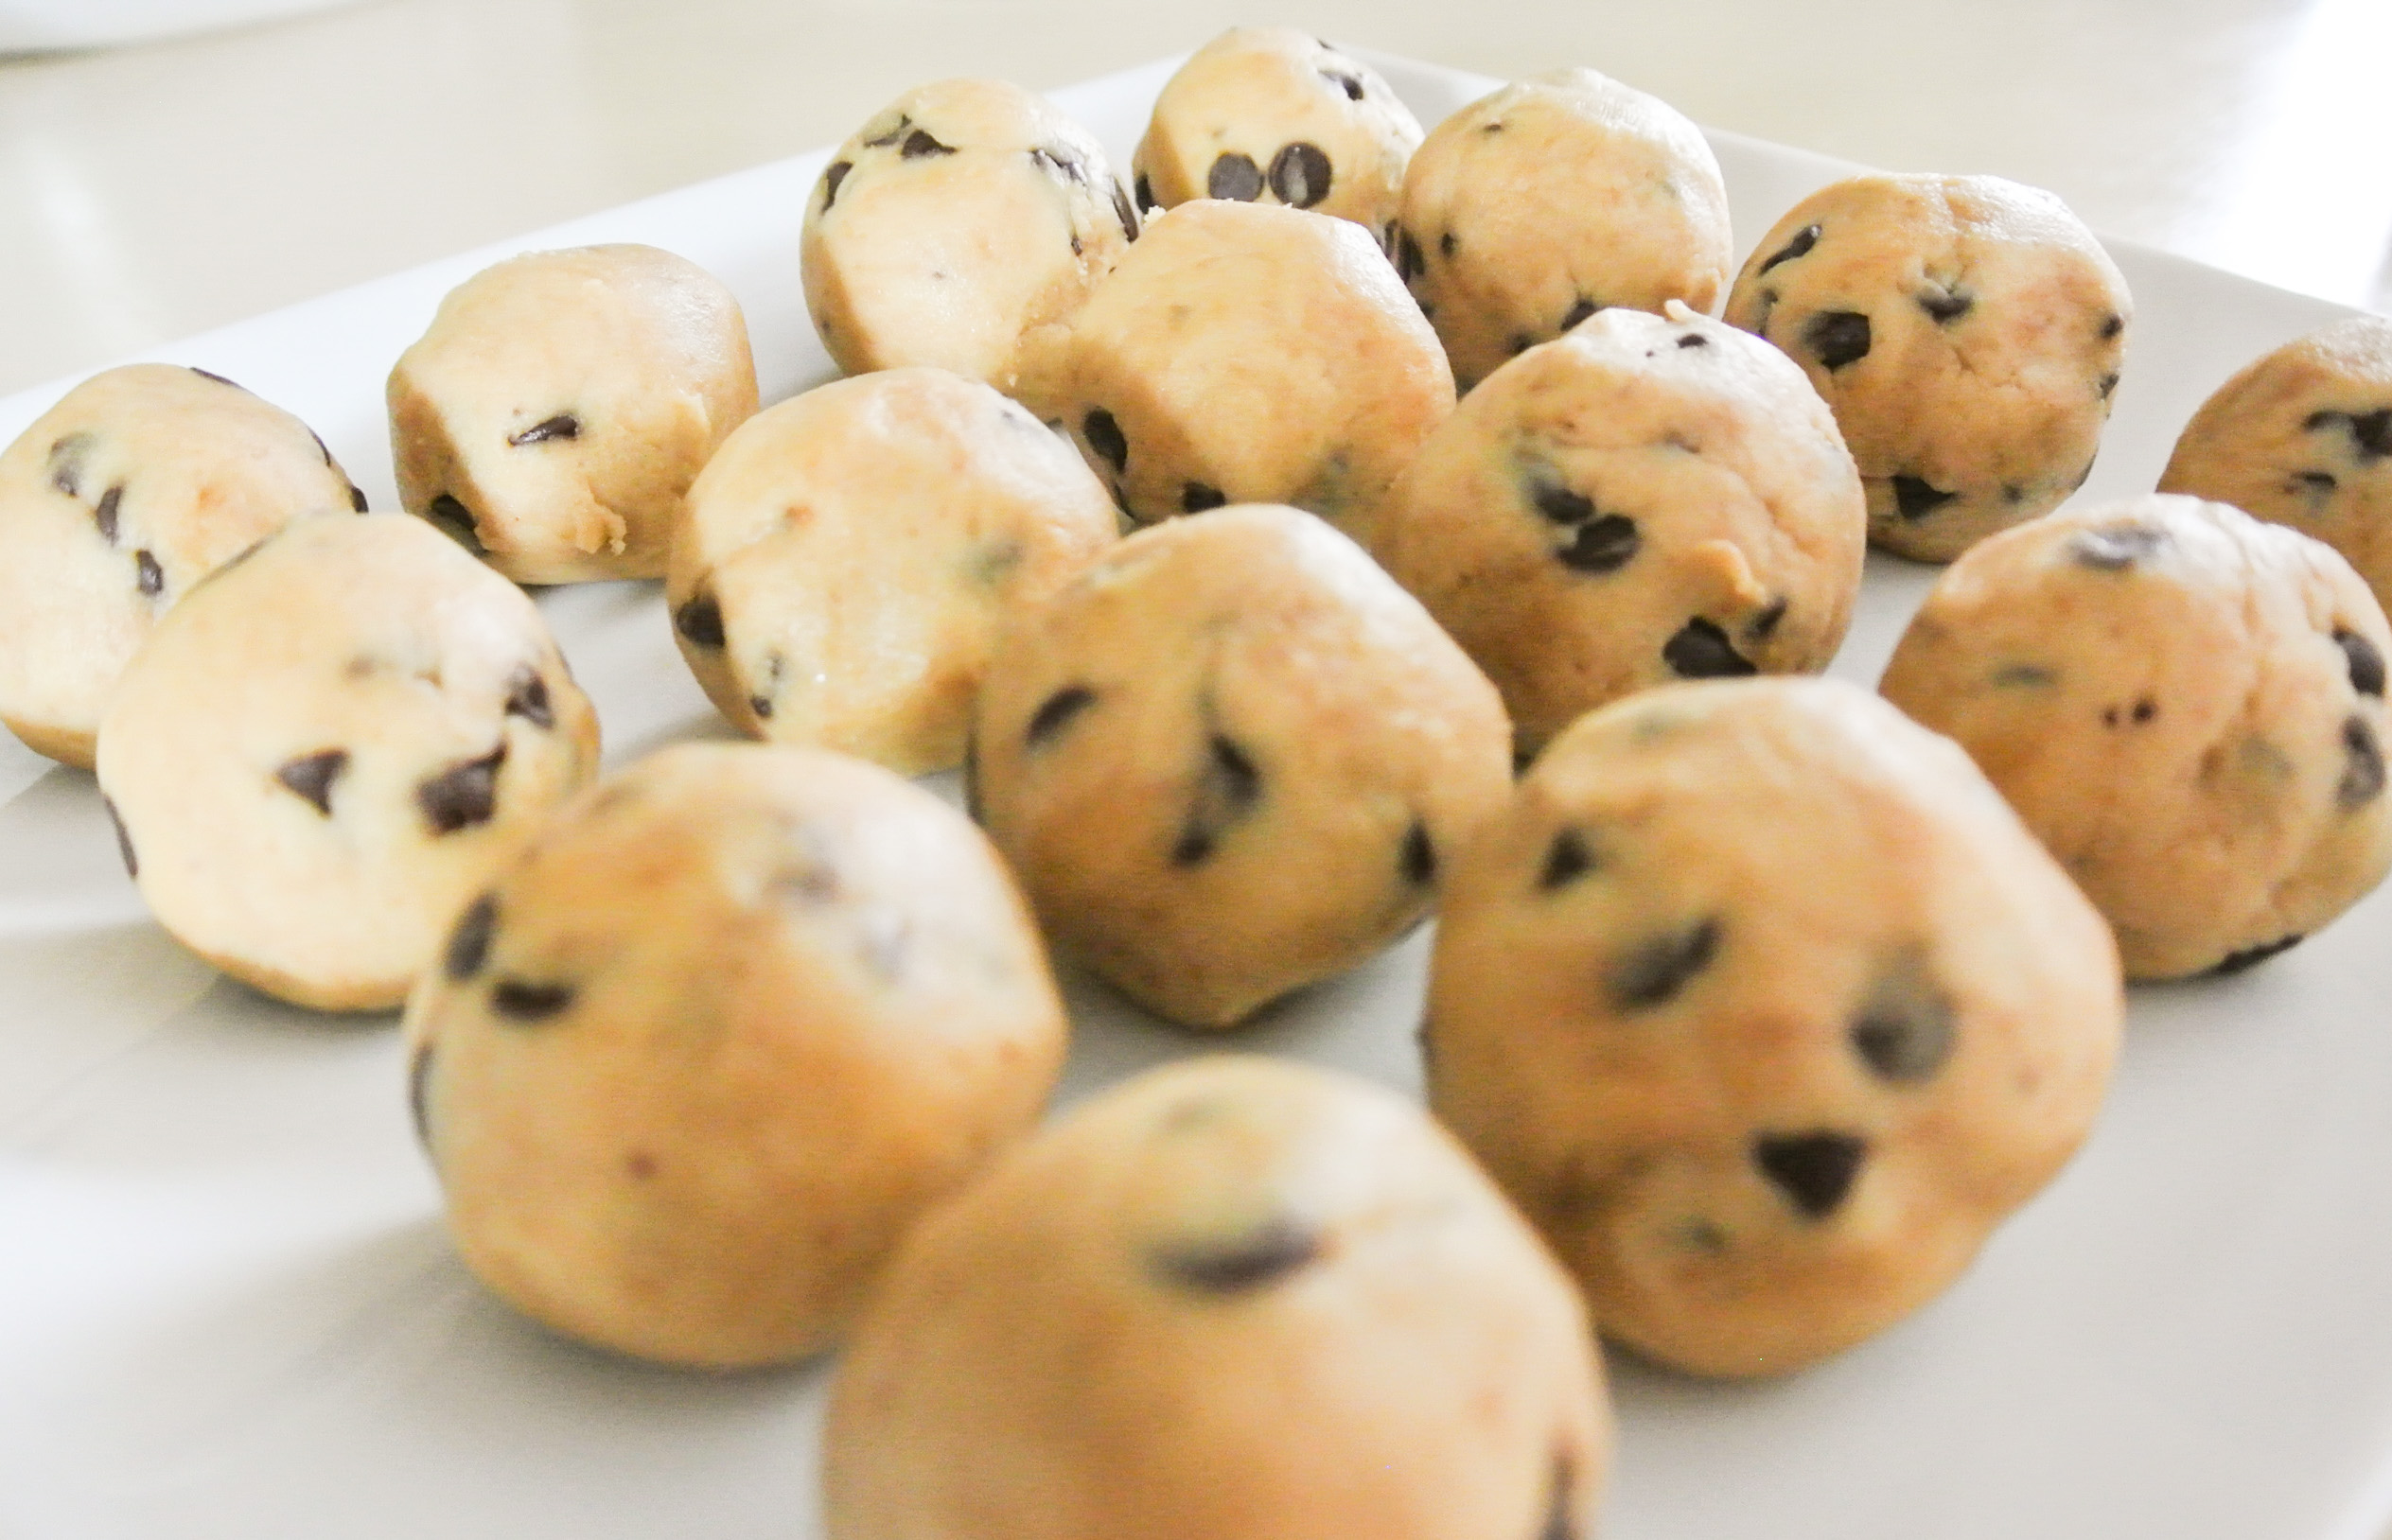
FORMULA BASE: COOKIE DOUGH TRUFFLES

Yields 16-20 balls

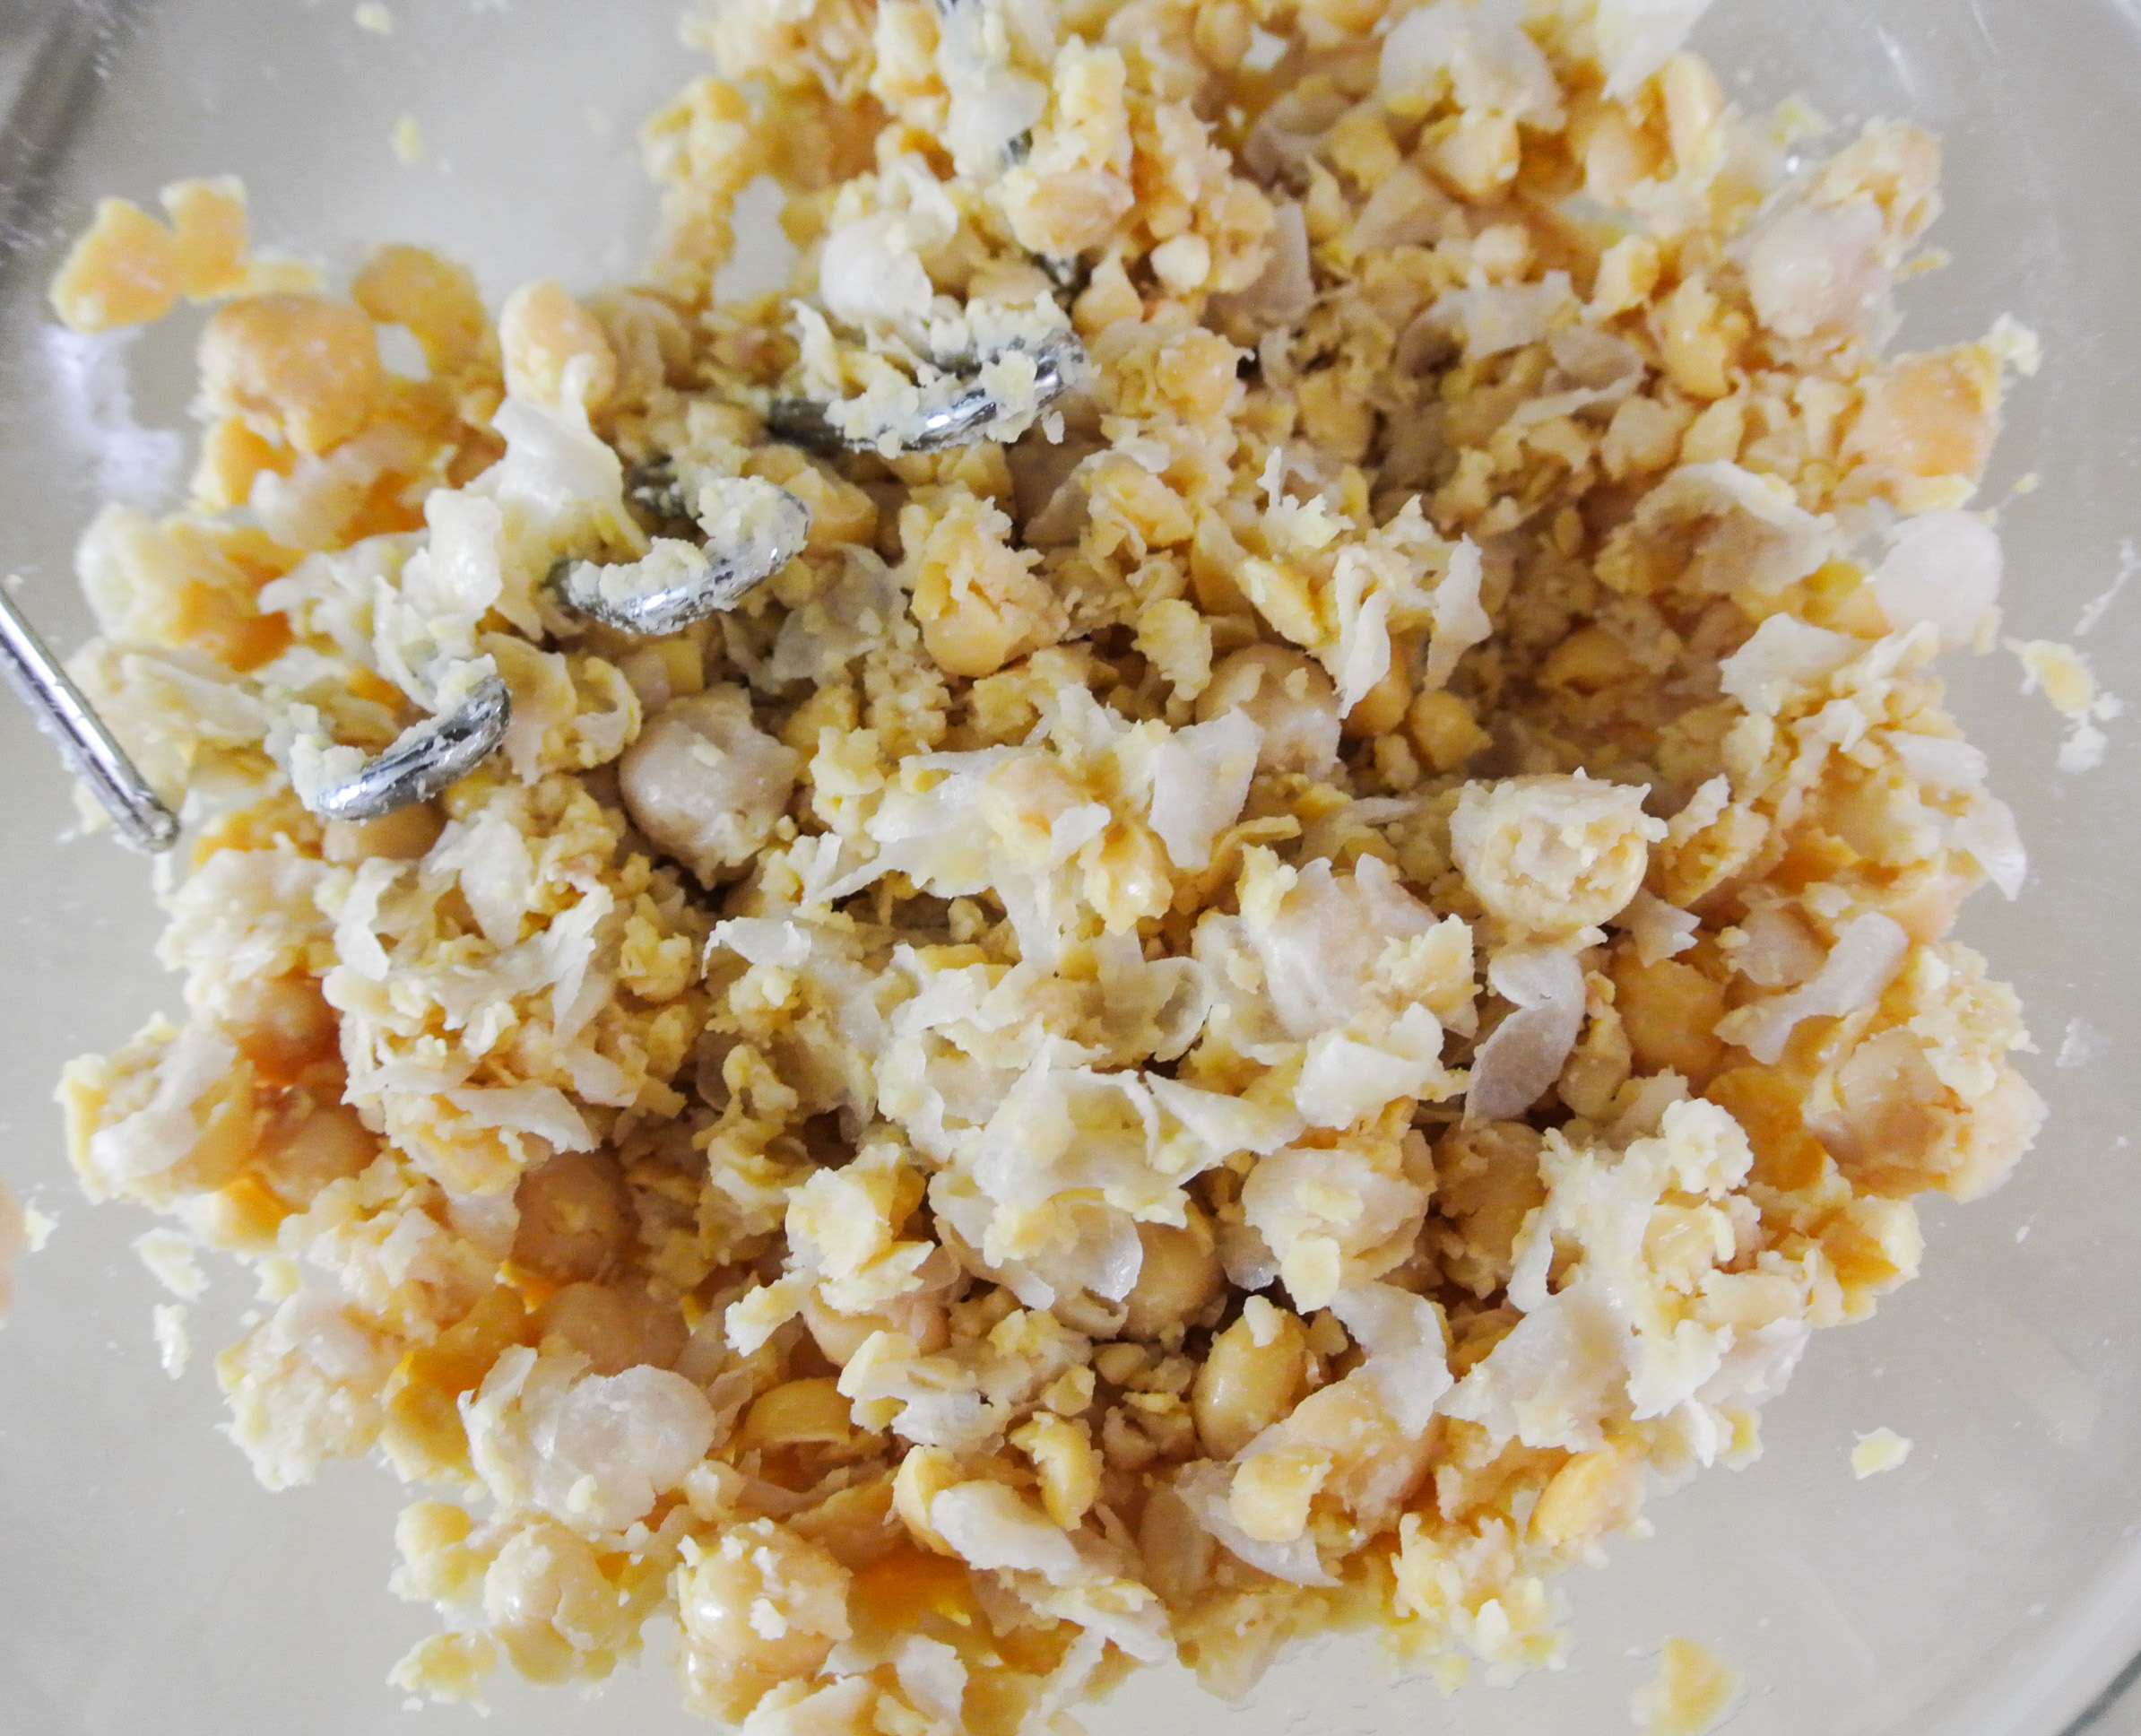
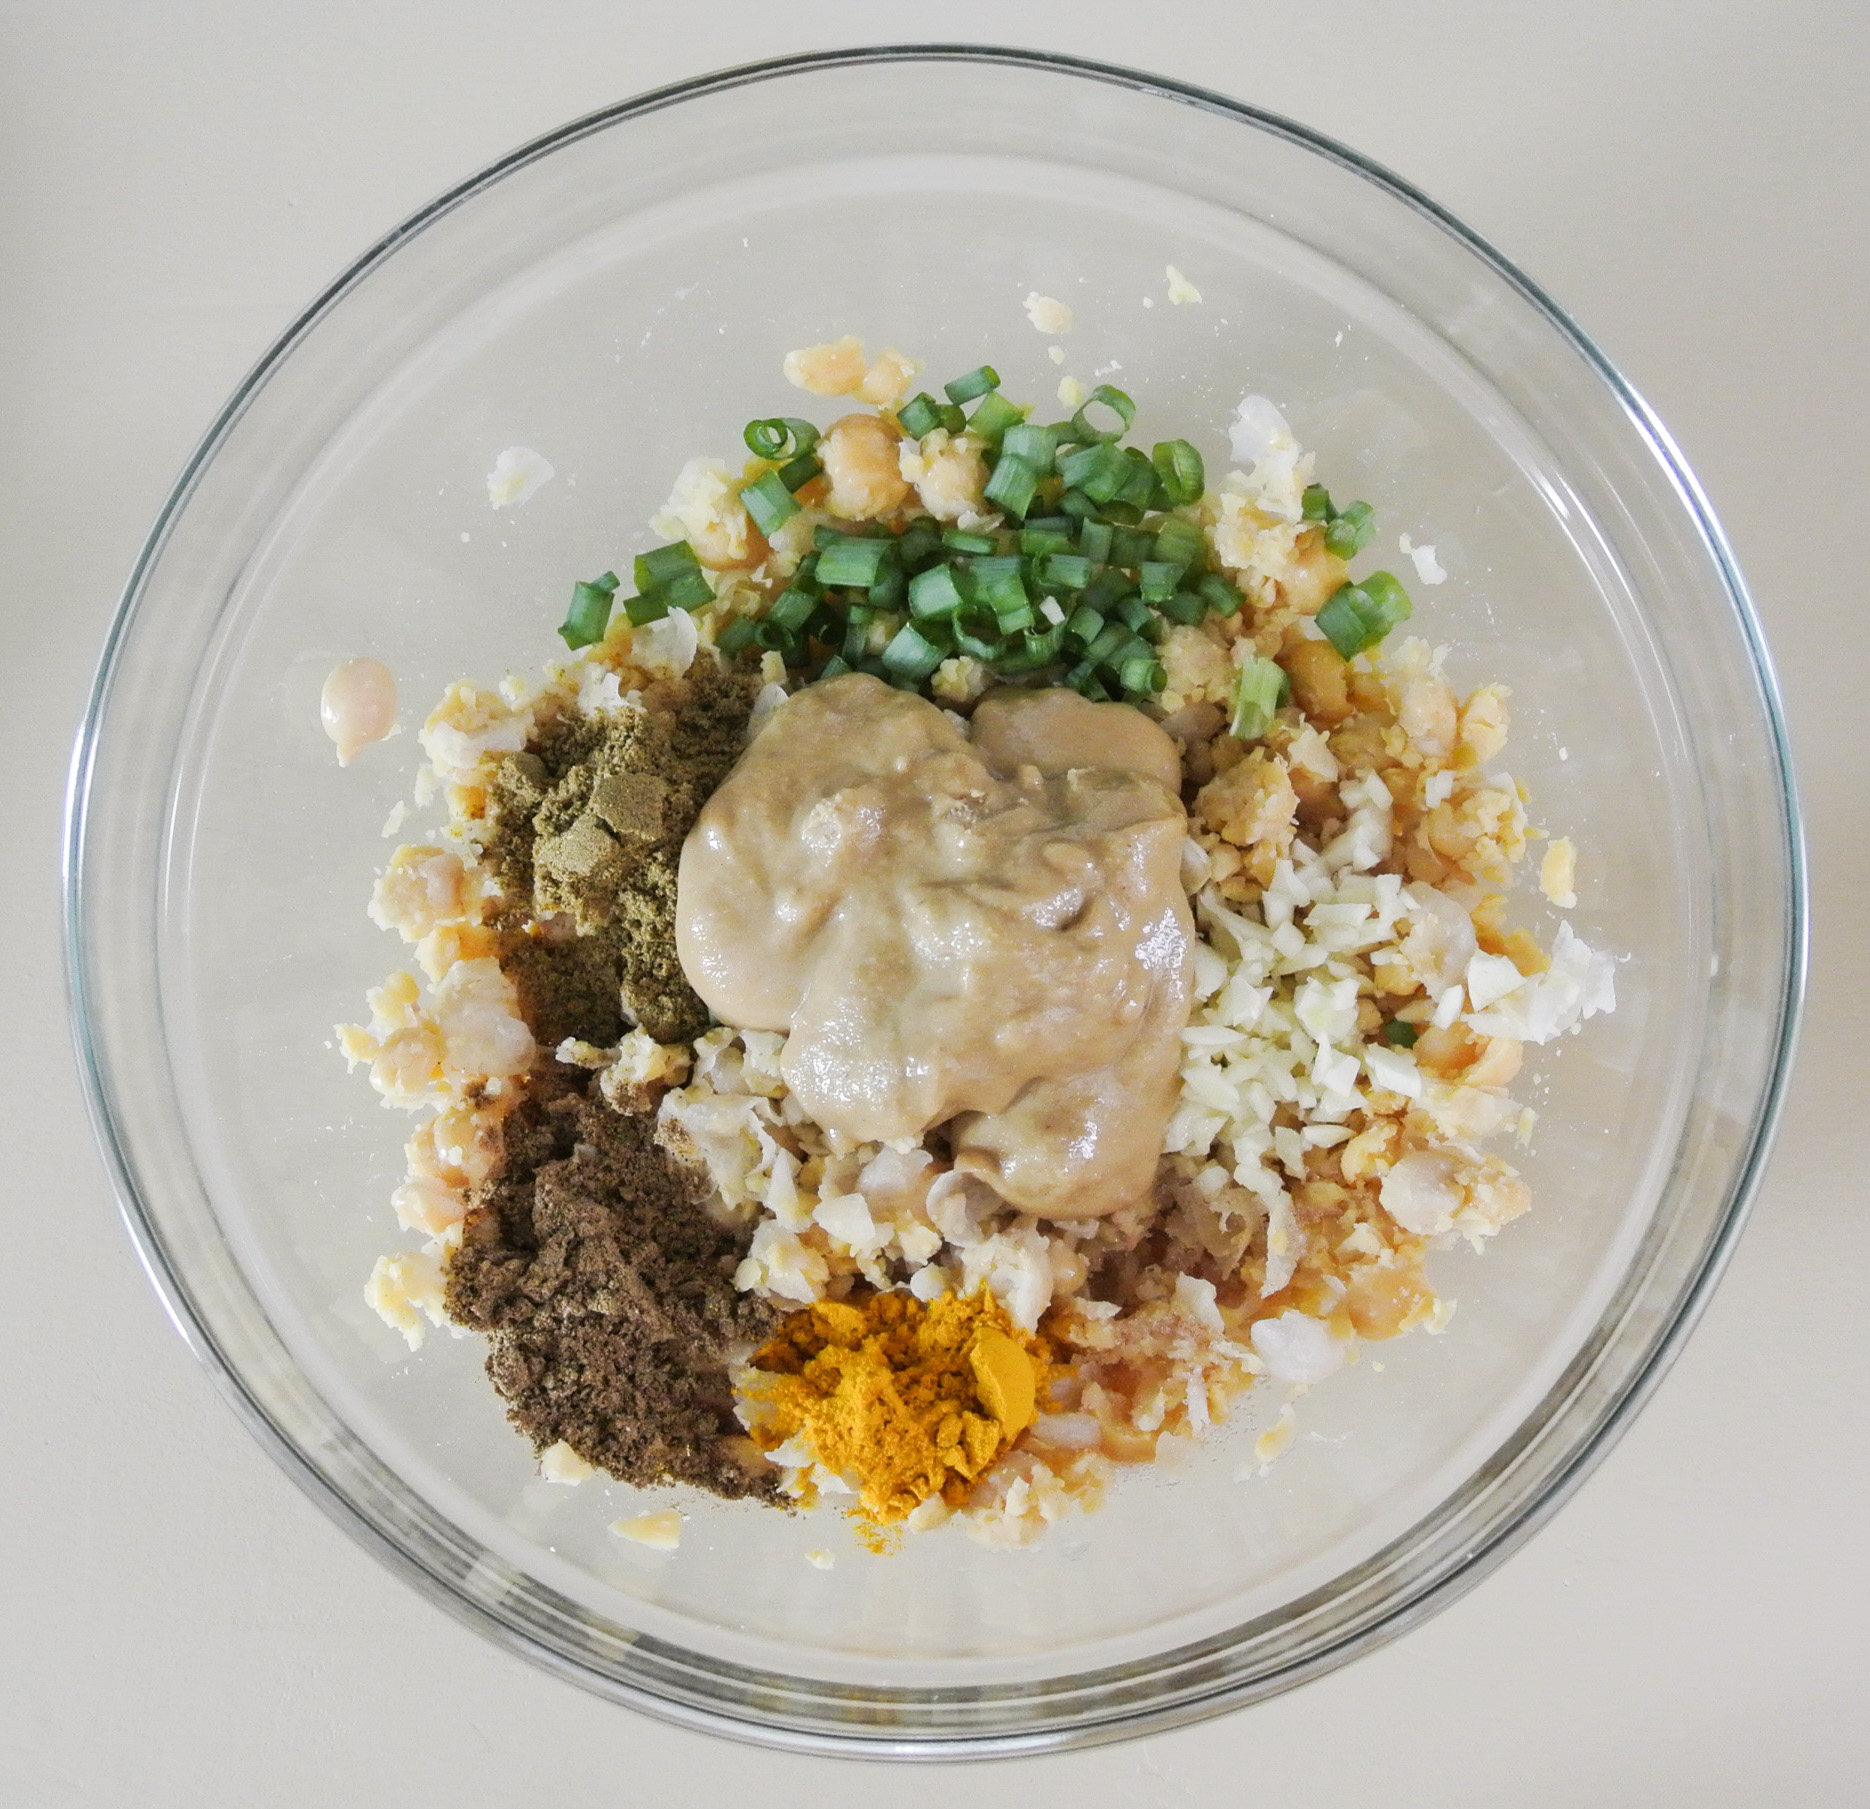
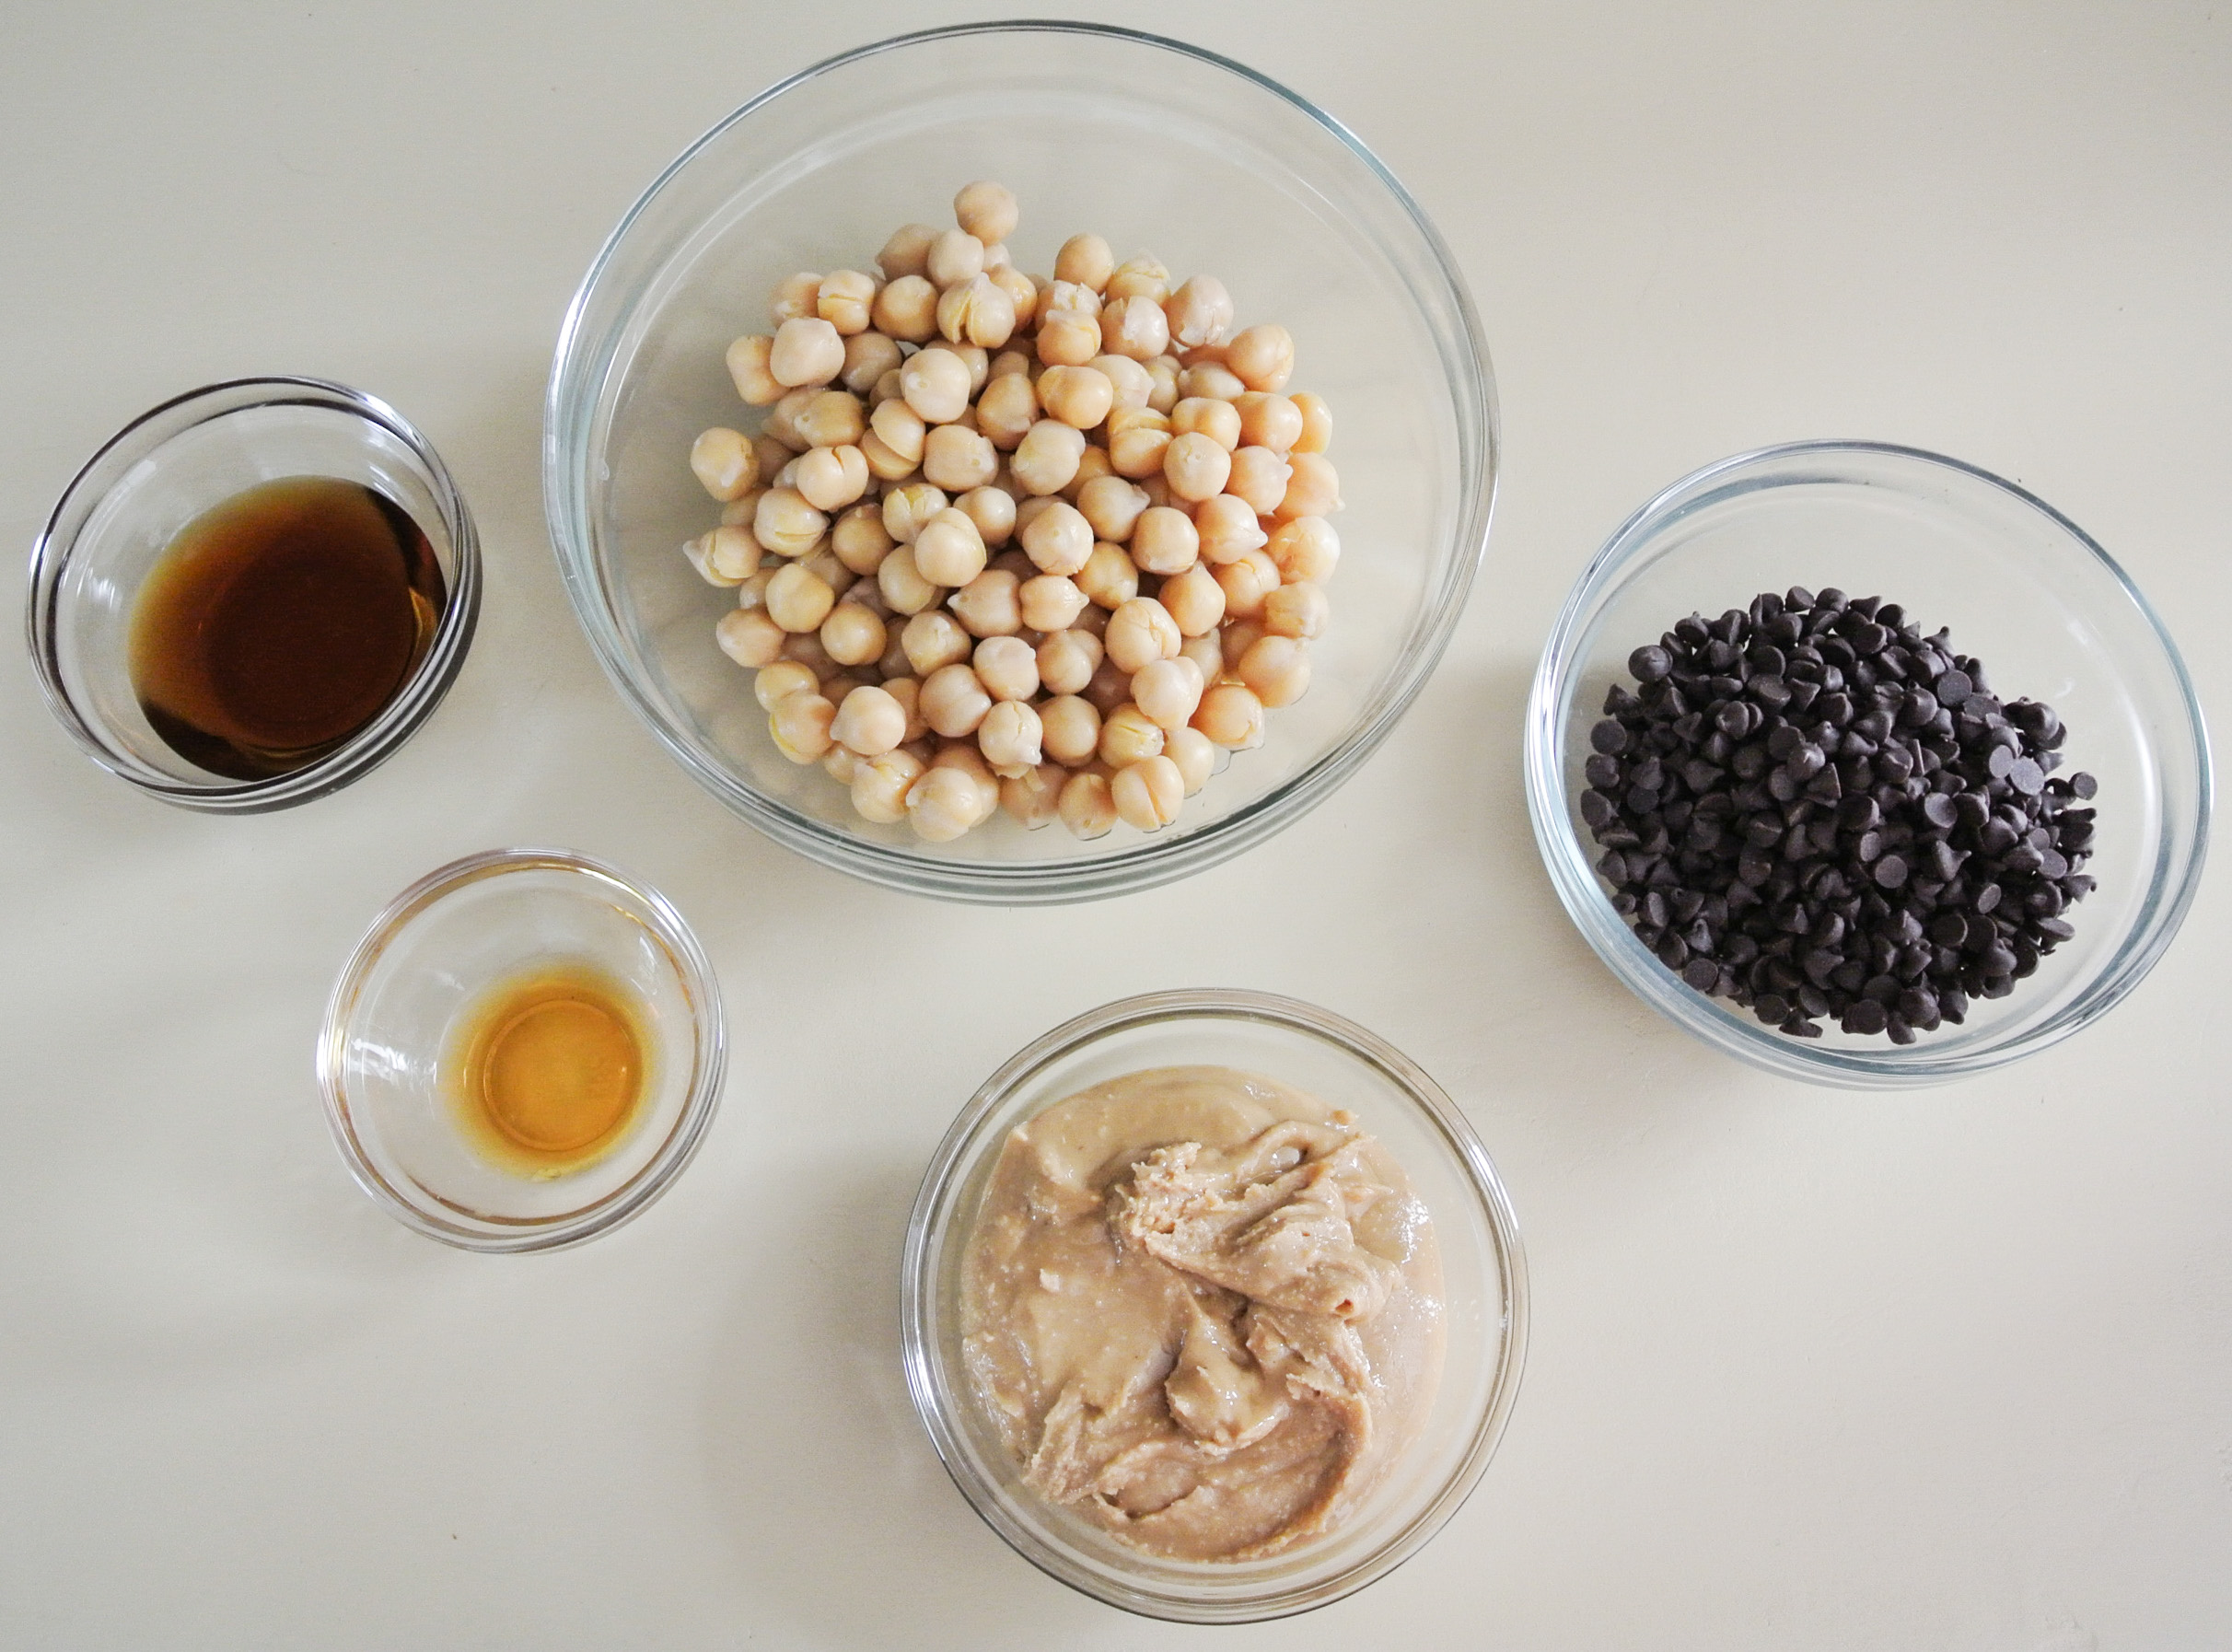
  • 1 ½ cups cooked white beans (e.g. garbanzo, great northern, cannellini, etc.) –> I’m using garbanzo.
  • ½ cup seed or nut butter (nuts/seeds ONLY) –> I’m using peanut.
  • 1/8 cup+ liquid sweetener (e.g. agave syrup, maple syrup, etc.) –> I’m using agave.
  • ½-1 tsp extract (amount depends on flavor intensity) –> I’m using homemade vanilla.
  • Pinch of pink Himalayan sea salt (optional) –> I’m opting out.
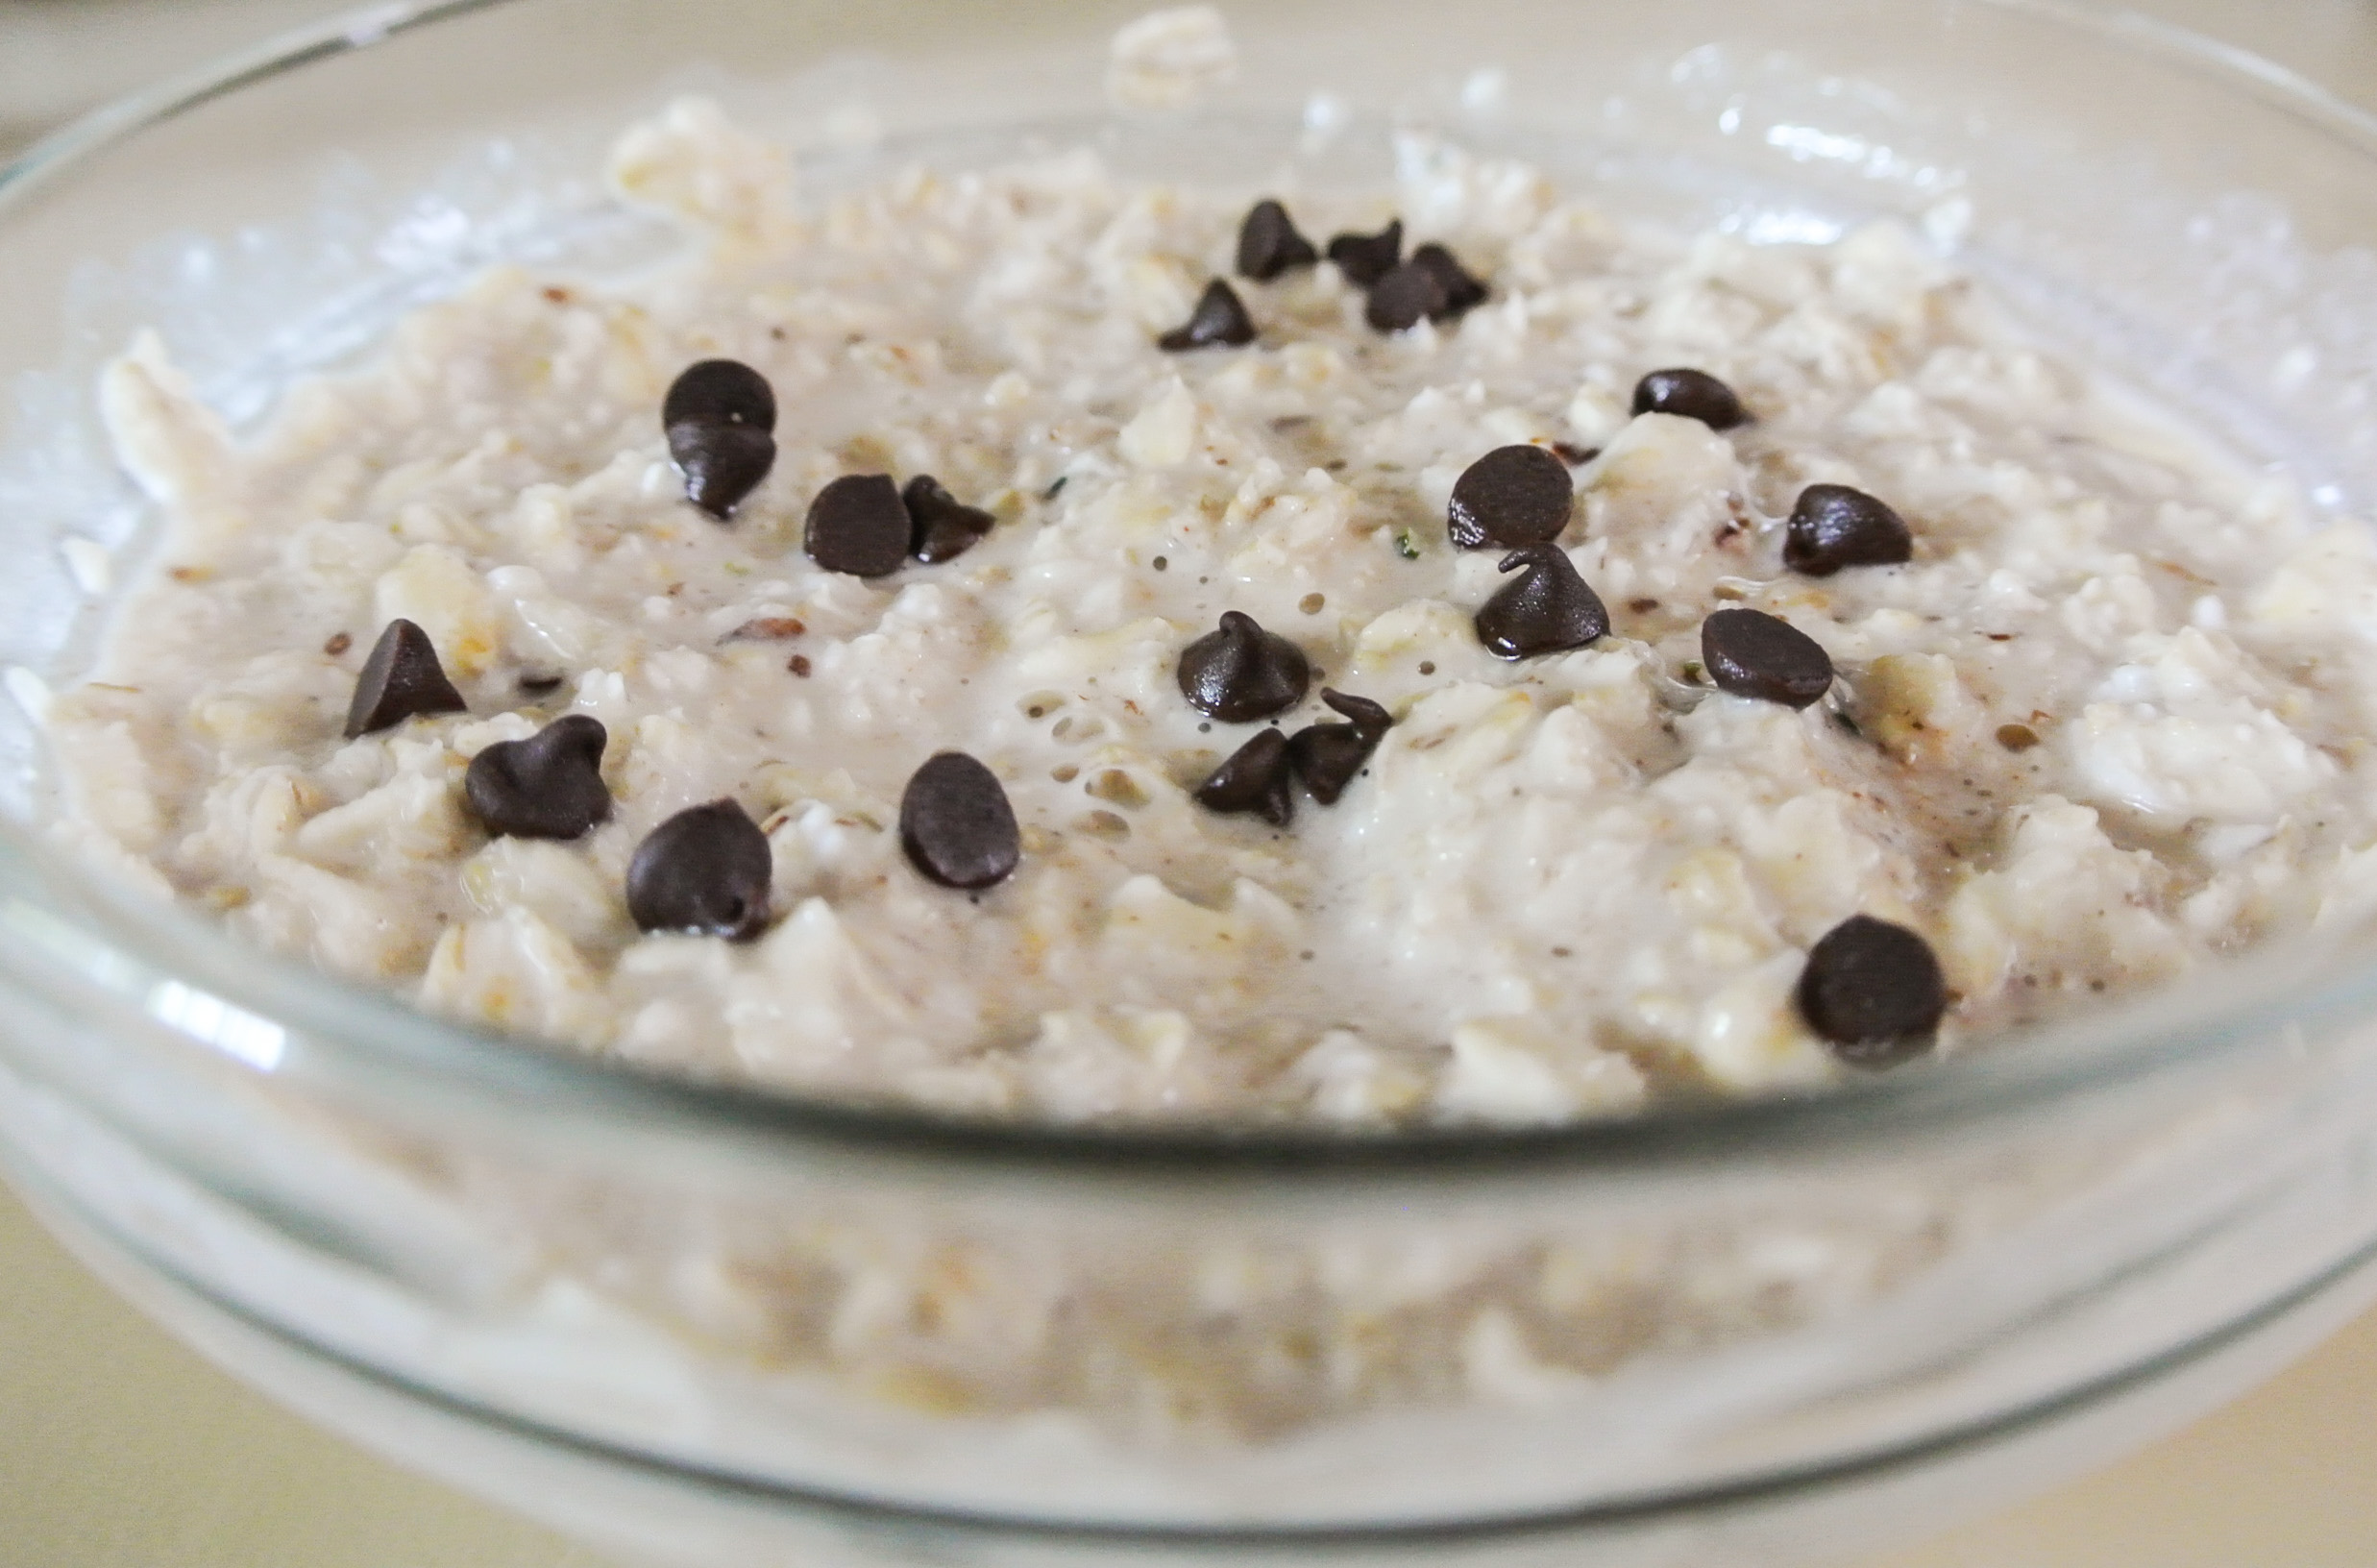
  • ½ cup chips (e.g. chocolate, dried fruit, chopped nuts, etc.) –> I’m using mini-semi-sweet chocolate chips (vegan).

Combine all ingredients—except the chips—in a food processor and run until smooth. Transfer dough into a bowl and stir in chips.

DSC_2461

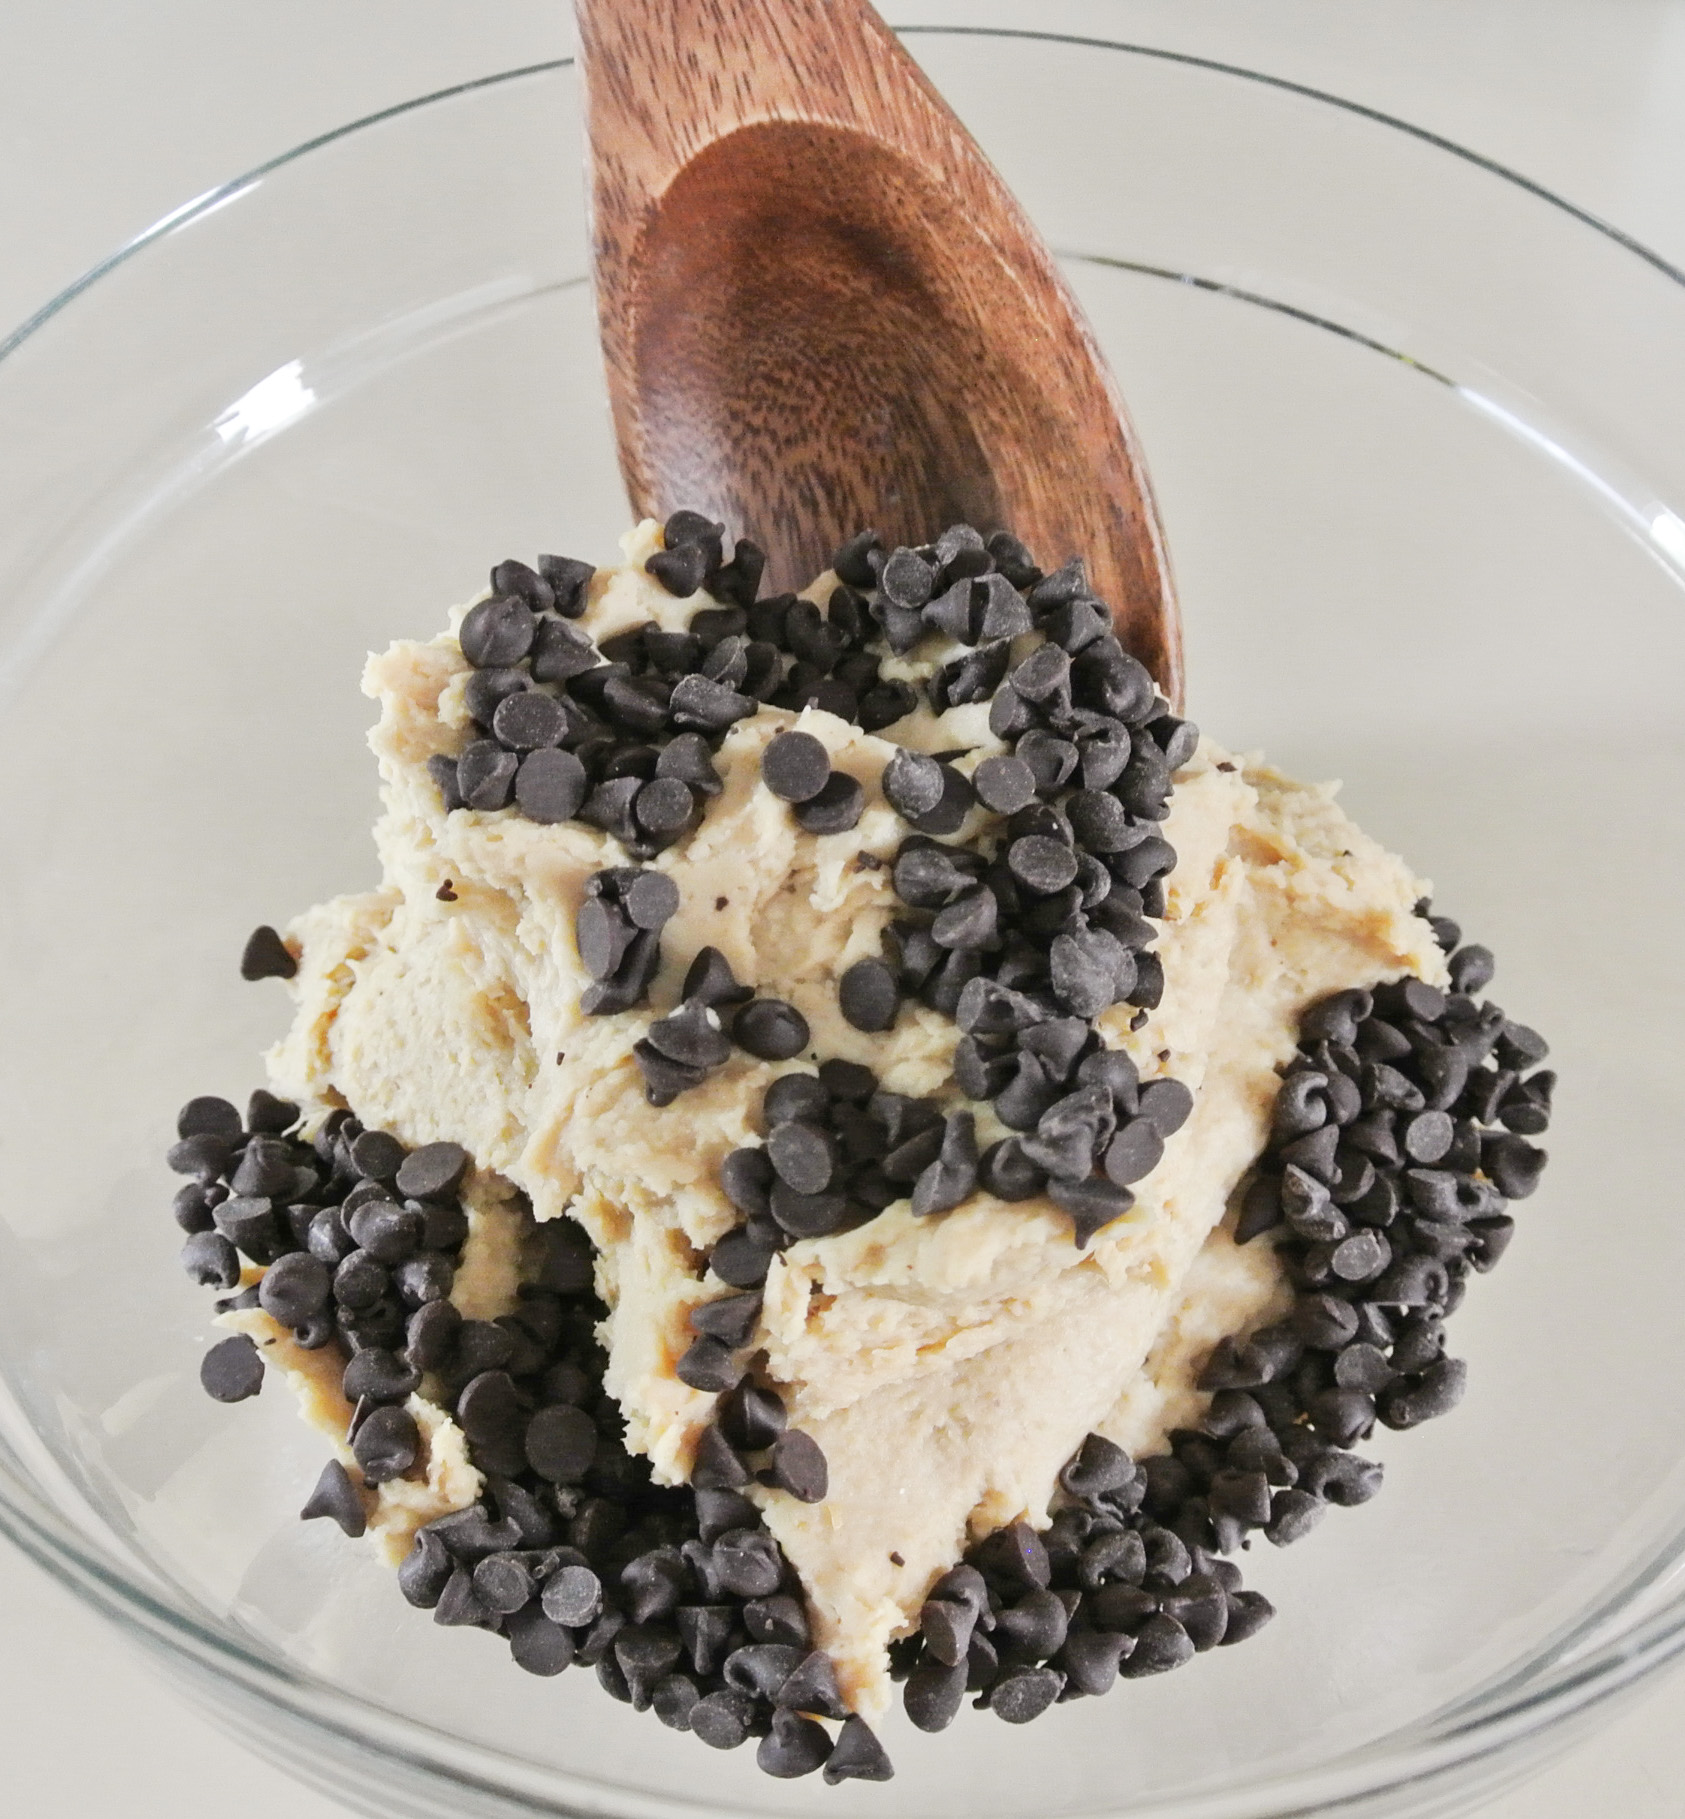
Using a melon baller or teaspoon, form into balls and roll in your hands until smooth.

DSC_2463

Ready to eat immediately! 🙂 Store leftovers in the fridge.

DSC_2465

Simple Spiced Guacamole

Like my salsa formula, my guacamole formula is also no-salt-required.  Since it is likely being consumed with salty chips or layered in one of my burrito bowls, there really isn’t a need for added salt.

What I love about guacamole and salsa alike is that they are made with simple, fresh, raw ingredients.  I add a bit of dimension with the addition of spices, but you certainly don’t have to.

DSC_2452

The foundation of a solid guacamole is, of course, the avocado.  Avocados are rich in vitamins, fiber, and healthy fat (one of the few fats in my plant-based diet, in fact).  Their creamy texture makes them perfect for dips, pasta sauces, and even dessert bases!  I’ve seen people whipping up puddings, frostings, and smoothies with avocados, which are nicely disguised by sweet fruits.  No matter how you use them, you are adding a nutrient powerhouse to your dish.

DSC_2453

In addition, while guacamole traditionally contains cilantro and lime juice, I’ve substituted other herbs and citrus fruits when I’ve been out with great results.  Your guacamole will take on a totally different flavor with parsley and lemon juice, for example.  Experiment with what you like and enjoy!

FORMULA BASE:  GUACAMOLE

Serves 4-6 as an appetizer*

  • 2 lbs ripe avocados
  • ½ lb tomatoes, diced  –>  I’m using romas.
  • ½ of a small onion, finely diced  –>  I’m using red.
  • ½ cup finely chopped fresh herbs  –>  I’m using cilantro.
  • ¼ cup freshly squeezed citrus juice  –>  I’m using lime.
  • Minced garlic to taste  –>  I’m using 2 cloves.
  • Spices to taste (optional)  –>  I’m using ½ tsp each chili powder and paprika and ¼ tsp cumin.

*Halve the recipe to snack alone or with a friend.

Halve your avocados, remove the pits, and mash.  Mine are incredibly ripe, so they have a few brown edges – this is nothing to worry about!

DSC_2456

Stir in all remaining ingredients and dig in.

DSC_2457

It will keep in the fridge for several days, but it will brown in the process.  If you can’t get past the changed in color, I would eat the whole batch right away.  🙂

Apples, Pumpkins, and Spices, Oh My!

That’s right:  It’s fall, one of my favorite times of the year.  I love that apples, cider, pumpkins, and doughnuts are everywhere, even in Phoenix, where “fall” is still 100 degrees.  Ugh!

I’m now thirty-four weeks and two days pregnant and in addition to being done with the intense heat, I’m also not always feeling fresh fruits and vegetables to the extent that I normally do.  I recently read an article about different pregnancy symptoms and the author noted that many moms-to-be develop an aversion to fresh produce.

I wouldn’t say I’m averted—most of my diet consists of fresh produce, after all—I’m just less keen on snacking on carrot sticks when I could have one of my most prevalent pregnancy cravings fulfilled in a sweet, creamy, comforting peanut butter sandwich.  The next second, I might want the world’s biggest salad, but despite my usual eating habits, in general, I’m just not as in to the foods that I normally crave.

The aforementioned article suggested a solution that is already a staple in my house:  smoothies!  If you regularly follow this blog, you know that I’m experimenting with new smoothie combinations all the time.  Especially during this pregnancy, smoothies are one of the primary ways that I’m getting all of my nutritional needs met, even when disguised as “dessert.”

Today’s dessert smoothie is, as always, packed with nutrients, contains no added salt, oil, or sugar, and capitalizes on the flavors of fall.  Introducing the apple pie smoothie, no cooking required.  🙂

As you know, finally splurging for a Vitamix has changed my life because I don’t need to cook any of the produce that go into my smoothies.  With previous blenders, I would have needed to steam a fruit like apples just to ensure a smooth puree; with the Vitamix, the apples go in totally raw with their skins intact and a silky smoothie ensues.

My pumpkin pie smoothie features ground cinnamon and Honeycrisp apples.  In Arizona, at least, I don’t see Honeycrisps all throughout the year and when I do, they are expensive.  Fall has made them plentiful and affordable, even in the desert.  Thank goodness because the Honeycrisp is low in calories (if you’re counting), high in fiber, and exquisitely juicy.  They also have a lengthy refrigerator shelf life—minimum seven months—so stock up while they’re cheap.

DSC_2444

The addition of medjool dates—which I use in nearly all of my dessert smoothies—adds a touch more sweetness and the caramel-like notes that are indicative of a freshly baked apple pie.  Enjoy!

FORMULA BASE:  DESSERT SMOOTHIE

Serves 2

  • 2 frozen bananas (or fresh bananas and ice)
  • ½-1 cup specialty ingredients  –>  I’m using 1 medium, quartered Honeycrisp apple and ½ tsp cinnamon.
  • 1 tbsp chia seeds
  • 1 tbsp ground flax seeds
  • 1 tbsp hulled hemp seeds
  • ¼-½ tsp extract of choice (optional, and amount depends on flavor intensity)  –>  I’m using ½ tsp vanilla.
  • Pitted medjool dates as needed for sweetness  –>  I’m using 3.
  • 100% freshly squeezed juice or plant milk until desired consistency (start with 4 oz)  –>  I’m using almond.

Combine all ingredients in a blender. Taste and adjust specialty ingredients as necessary.

DSC_2446

Quick and Easy Oatmeal

One of my family’s favorite breakfasts is oatmeal.  It’s filling, delicious, and has endless possibilities.  In addition, it is excellent baby and toddler food.  Today, I’m making it extra special for Nolan with mini-chocolate chips.  🙂

DSC_2440

I typically make oatmeal with rolled oats since I always have some on hand for muffins, power balls, and granola, but steel cut oats—which are richer in nutrients—would be a great choice, too.  I include no salt and keep the added sweetener low by flavoring the oats with fruit or other already sweet components.

Should you opt for rolled oats, you can have this oatmeal on the table in about five minutes (steel cut take a bit longer to cook).  It is the ultimate quick and easy breakfast that will keep you full and energized for hours.  Enjoy!

FORMULA BASE:  OATMEAL

Serves 6-8

  • 4 cups uncooked oats (rolled or steel cut)  –>  I’m using rolled.
  • ½ cup specialty ingredients + extra for garnishing (finely chopped raw fruit, dried fruit, raw nuts, raw seeds, etc.) –>  I’m using 1 tbsp each hulled hemp seeds and ground flaxseed, plus ¼ cup slivered almonds.  I’m topping my oatmeal with a sprinkle of mini-semisweet chocolate chips (vegan).
  • 1/8-1/4 cup sweetener  –>  I’m using 1/8 cup raw agave syrup.
  • ½-1 tsp extract (amount will depend on flavor intensity)  –>  I’m using 1 tsp vanilla.
  • 1 tsp spices  –>  I’m using ground cinnamon.
  • Liquid of choice for cooking (water or unsweetened plant milk)  –>  I’m using a combination of water and almond milk (there is no particular reason for this – I just didn’t have enough almond milk to sufficiently fill the pot!).

Place your oats in pot.  Fill the pot with liquid enough to cover the oats by about half an inch.  Place the pot on the stove and set to medium heat.  While your oats are softening, add all other ingredients and stir frequently until cooked, which may take as little as 4-5 minutes from the time that you turned on the burner.

DSC_2431

Upon completion, your oatmeal will be slightly soupy.  As it cools, the oats will continue to absorb more of the liquid.

DSC_2433

Garnish and serve.  Store leftovers in the fridge for up to a week.

DSC_2436

Pomegranate “Cream Cheese” Frosting

I’m happy to report that my take on traditional cream cheese frosting does not include either dairy cream cheese or processed vegan cream cheese.  The star here—as with my fruit mousse—is cashews.  I’ve been using cashews in everything lately, from my “alfredo” sauce to my creamy vegetable sauce to this cake topper.  It’s amazing how smoothly they blend up and I’ve come to prefer them to blending up tofu most of the time.

In other news, a recent Bountiful Basket yielded sixteen pounds of pomegranates, so Travis and I have our work cut out for us in using all of those up.  Pomegranates are normally quite expensive, so we seized the opportunity to stock up on this super food for cheap ($15!).  Thirty-two weeks pregnant tomorrow, my cravings for dessert have not subsided, so it’ll be pomegranate desserts and smoothies for the next several weeks!

The pomegranate is similar to an apple in shape and filled with sweet, juicy seeds, known as arils.  The arils are the only edible part of the fruit and thus, where all of the nutrients lie.  Arils are high in fiber, vitamins C and K, and polyphenols.  Polyphenols are rich in heart health and anti-cancer benefits, making the arils and their juice highly sought after.

DSC_2415

Having such a large batch of pomegranates right now means that I have fruits of varying colors and sweetness levels.  Believe it or not, the paler arils from the pomegranate pictured above were actually sweeter and tastier than the richer red arils retrieved from a second fruit to garnish the cake.  As a result, I used the paler arils in the icing itself and the deep red arils for sprinkling.

DSC_2416

If I were to make this frosting again, I would consider using more cashews to bump up the cream cheese flavor, but I can definitely taste the resemblance in this rendition.  Delicious and inspiring that someday I’ll get vegan cheesecake right.  🙂  Enjoy!

FORMULA BASE:  CAKE

Makes 12 cupcakes or one 8 x 8 square or round cake

For the cake:

  • 1 cup flour –> I’m using whole wheat.
  • 1-1 ½ cups plant milk (depending on the flour) –> I’m using ¾ cup almond since I’m using extra liquid elsewhere.
  • ¾ cup sweetener –> I’m using turbinado sugar.
  • ¼ cup ground flaxseed
  • ¼ cup oil –> I’m using coconut.
  • 1 vegan “egg” substitute (i.e. mashed banana, applesauce, etc.) –> I’m mixing a few tablespoons of hot water with my ground flaxseed.
  • 1 tsp xanthan gum (a binding agent, if using gluten-free flour) –> I’m not using it.
  • 1 tsp baking powder
  • ½ tsp baking soda
  • ½-1 tsp extract (depending on the flavor intensity) –> I’m using 1 tsp homemade vanilla.
  • ¼ tsp pink Himalayan sea salt
  • Up to ½ cup specialty ingredients (chopped nuts, dried fruit, shredded coconut, cocoa powder, citrus juice/zest, etc.) (optional) –> I’m using the zest and juice of 1 lemon.

For the frosting:

  • 1 cup coarsely chopped fresh or steamed fruit (depending on the fruit) –> I’m using ½ cup pomegranate arils and ½ cup raw cashews (soaked overnight).
  • ½ cup powdered sweetener –> I’m using turbinado.
  • ¼ cup room temperature natural vegan butter
  • 1 tsp citrus juice (to preserve the color of the fruit)* –> I’m using clementine.
  • ½-¼ tsp extract (depending on the flavor intensity) –> I’m using a splash of homemade vanilla.

*I would avoid food coloring unless you can find an all-natural variety containing plant pigments. Some varieties come from animals and others are made artificially with chemicals.

Preheat your oven to 350 degrees. Prepare your “egg,” whether that involves scooping, mashing, combining, etc. in a large mixing bowl.   Mix together all of your wet ingredients in the same bowl. Separately mix all dry ingredients. Using a whisk or wooden spoon, slowly incorporate the dry into the wet until a smooth, pourable batter forms. Stir in any specialty ingredients, if using.Pour the cake batter into a greased square 8 x 8 baking dish or round baking dish, or evenly into 12 lined muffin cups.

DSC_2411

Place the cake/cupcakes in the oven for 30-35 minutes, or until a toothpick inserted in the center comes out clean. My mom always told me that it’s better to over bake a cake (and under bake a brownie); nothing worse than goopy batter in the middle!Set your cake on a cooling rack for an hour or two. Speed the process by placing it uncovered in the fridge.

While the cake is baking, make your frosting. First, puree the fruit, cashews, citrus juice, and extract to a smooth, pourable consistency. Beat together the sugar and butter/shortening, slowly incorporating the pureed fruit mixture until an icing-like consistency is achieved. Cover and chill in the fridge while your cake cools to stiffen it up, at which point it will be more spreadable and less pourable.

DSC_2421

When your cake (or cupcakes) is cool, frost, garnish, and dig in!

DSC_2429

Eat Your Vegetables!

If you have a picky child, or are not a huge fan of vegetables yourself, today’s recipe will allow you to hide your veggies among whole grains and a little bit of sweetness so that they go down easily and you don’t miss out on their nutritional benefits.

While I’m proud that my two-and-a-half-year-old consumes nutritious, plant-based eats all day long, I’ve found that he’s definitely not immune to some of the typical behaviors of the picky toddler. As of the last few months, if he sees something he’s never eaten, he’s unlikely to try it. If that something is a vegetable (or at least looks like one), we’re in even worse shape.

Thankfully, my boy has never met a smoothie he doesn’t like, so I’m able to hide a variety of raw vegetables in that component of his daily breakfast. (That’s right – his morning smoothie is just part of his breakfast. He has an insatiable appetite in the morning, eating less and less as the day progresses.) I’ve managed to sneak raw celery, carrots, cucumbers, beets, fresh herbs, and a variety of greens right by him for many a morning now.

Until he’s willing to look at a heap of broccoli and get excited about eating it, I have to get creative. In addition to smoothies, I’ve found that my super food muffin formula lends itself just as nicely to shredded vegetables as it does fruits. Today’s rendition features zucchini, which I find a bit too earthy in flavor to compliment most smoothie combinations. Zucchini, or Italian squash (pictured below, shredded in the food processor), is a solid source of vitamin C and manganese and promotes healthy eyesight, so I definitely want Nolan to have it in his diet.

DSC_2404

My zucchini muffins also include a yummy spice blend that features the following:

CINNAMON: A popular spice that you can purchase as sticks or ground, cinnamon is high in antioxidants.

NUTMEG: Nutmeg, which you can find as a seed or ground, is a great source of fiber, copper, and like zucchini, manganese. The two are often paired together in cooking.

CARDAMOM: Cardamom, available as pods or ground, is also a rich source of fiber and manganese and boasts a notable serving of iron, too.

CLOVES: Use cloves sparingly as their flavor is the strongest of this group of particularly flavorful spices. You can find the cloves whole or ground, and like cinnamon, expect a healthy dose of antioxidants.

When talking recently with a fellow mom, she shared with me that her pediatrician said that if her toddler ate one balanced, nutritious meal per day, that that was success. Obviously, we aim to feed our kids of all ages (and ourselves!) healthful foods all day long, but when it comes to the pickiest of the picky, one well-rounded meal may be the best we can hope for some days.

Thus, one of these muffins in and of themselves contain more super foods than the average toddler may be willing to consume in an entire day, so it’s a small “meal” that parents (and whoever!) can feel good about. (I usually pair Nolan’s with fresh fruit, togurt, and a smoothie.) Small victories, parents, small victories. 🙂

DSC_2408

FORMULA BASE: SUPER FOOD MUFFINS

Makes 12 muffins

  • 1  cup flour –> I’m using whole wheat.
  • 1 cup cooked small grains (e.g. quinoa, kaniwa, millet, etc.)–> I’m using kaniwa (see my veggie burger post).
  • 1/2 cup uncooked rolled oats
  • 2 tsp baking powder
  • 1 tsp baking soda
  • ¼ cup sweetener –> I’m using agave syrup.
  • 1/8 cup oil –> I’m using coconut.
  • 1 cup raw (fresh or frozen) fruit or veggie –> I’m using shredded zucchini*, skin on.
  • 1-1 ¼ cups unsweetened plant milk –> I’m using almond.
  • 3 tbsps seeds (e.g. chia, hemp, poppy, flax, etc.)
  • ½-1 tsp extract (amount will depend on flavor intensity) –> I’m using 1 tsp homemade vanilla.
  • ½-1 tsp spices –> I’m using ½ tsp cinnamon, ¼ tsp nutmeg, and 1/8 tsp each cardamom and cloves. All spices are ground.
  • ½ tsp pink Himalayan sea salt (optional) –> I’m using it.

*Shredded carrots, parsnips, beets, or sweet potatoes would also be delicious!

Preheat your oven to 350 degrees. Shred your zucchini (or other vegetable) in a food processor. Separately combine all of the dry ingredients and all of the wet ingredients. Pour the wet into the dry and mix with a wooden spoon. The batter will be thick and lumpy, but you can always add more plant milk if it seems too dry or dough-like. Spoon the batter into a lined cupcake pan and bake for 25 minutes. Store in the fridge for up to two weeks.

DSC_2410

Shitake Mushroom Risotto

A few months back, I introduced you to my risotto formula, starring Arborio rice and garnet yams.   I explained that I like to do risotto up with a vegetable that either needs to be cooked or is generally more palatable cooked, thus allowing me to consume the majority of my other vegetables raw.

Today’s risotto features shitake mushrooms. These fungi don’t need to be cooked and I actually really happen to enjoy them raw atop salads, but their richness (and meatiness) is certainly more prevalent in a cooked state. Thus, Travis and I typically make our risotto with some sort of potato, mushroom, or both (but of course, you could use any vegetable or none at all).

Shitake mushrooms have been shown to strengthen the immune system and lower blood cholesterol levels. They are also powerhouses of selenium, iron, fiber, protein, and vitamin C. They have been used in China for medicinal purposes for thousands of years, so I’m confident that eating a bunch of ‘em will only serve me well.

DSC_2389

Since I’ve already walked you through how to make risotto, I kept the pictures few and simple for this post. Make sure you check out my previous post if you’d like to see step-by-step visuals for making this decadent dish. Enjoy!

FORMULA BASE:  RISOTTO

Serves 4 (as a meal)

  • 8 cups homemade vegetable stock (or water)* –> I’m using veggie stock. This batch contained beet scraps, so it’s a little on the reddish side. 🙂
  • 2 cups Arborio rice**
  • 1 cup chopped vegetables (optional) –> I’m using shitake mushrooms.
  • ½ cup white wine –> I’m using moscato.
  • 1 small onion –> I’m using white.
  • Several cloves garlic (go with what you like) –> I’m using 3.
  • 2 tbsps oil –> I’m using extra virgin olive.
  • Fresh herbs, spices, salt, and pepper to taste –> I’m using 1 tsp dried thyme, a few turns of fresh ground black pepper, and a ½ tsp pink Himalayan sea salt.

*You may not use it all, but it’ll be close. Have it handy on your stovetop in a pot on low heat, ladle-ready.

**Unlike other grains, do not rinse your Arborio rice before use.

Start by chopping your onion and garlic and sauté in a touch of oil over medium-high heat until they are almost cooked through, but not quite. Then, transfer them to a bowl, return the pan to the stovetop, add a touch more oil, and sauté your vegetables, if using, until almost cooked. Transfer them to a separate bowl and return the pan to the stovetop, this time over medium heat.

Add more oil (about 1 tbsp) to the pan to toast your dry rice. Stir the rice constantly to prevent sticking, toasting it until it has deepened in color slightly, about 5 minutes. Add in half of the cooked onions and garlic, as well as your seasoning of choice, and deglaze your pan with the white wine. After the wine cooks down, add a ladle of your veggie stock and stir fairly regularly over the course of the time it takes for that ladle to absorb completely. You can expect 3-5 minutes between ladles.

You will repeat this process—ladle and stir—many times over the course of 40-45 minutes. When the rice is almost finished, add in the remaining onion and garlic, as well as your veggies (if any), to the pan to finish cooking. From start to finish, this dish will take you 60-75 minutes (depending on how fast you prep and such) and a lot of attention. As soon as the rice is tender, you’re done, so taste as you go.

Garnish with fresh herbs or thinly-sliced green onion. Makes for yummy, comforting leftovers for 3-5 days.

DSC_2391

Strawberry Shortcake Smoothie

Yes, another dessert smoothie, coming right up! Going on thirty-one weeks pregnant, I still can’t get enough of the sweet stuff. As always, healthy sweets are the goal, and this decadent treat is no exception.

Naturally, the star of strawberry shortcake is the strawberry. This super fruit is loaded with vitamin C, fiber, and antioxidants. I recently stocked up on a bunch in my Bountiful Basket and froze them, as you can see below. Ready for smoothies any time!

DSC_2397

How will I achieve the shortcake portion of the equation? A very basic cake batter includes some type of flour, sugar, fat, liquid, and extract. For today’s shortcake-in-a-smoothie, I’m using rolled oats in lieu of flour (learn more about the health benefits of rolled oats by checking out my granola formula!), medjool dates for sugar, a variety of seeds for fat, almond milk for liquid, and homemade vanilla extract.

DSC_2398

Packed with nutrients, sweetness, and traditional strawberry shortcake flavors, this dessert will check all of your boxes…and you can drink it guilt-free, any time of the day. Enjoy!

FORMULA BASE: DESSERT SMOOTHIE

Serves 2

  • 2 frozen bananas (or fresh bananas and ice) –> Since my strawberries are frozen, I’m using fresh bananas today.
  • ½-1 cup specialty ingredients –> My whole, frozen strawberries equate to about a cup, but if they were chopped fresh, I’d use ¾ cup. I’m also using ¼ cup rolled oats.
  • 1 tbsp chia seeds
  • 1 tbsp ground flax seeds
  • 1 tbsp hulled hemp seeds
  • ¼-½ tsp extract of choice (optional, and amount depends on flavor intensity) –> I’m using ½ tsp vanilla.
  • Pitted medjool dates as needed for sweetness –> I’m using 2.
  • Juice or plant milk until desired consistency (start with 4 oz) –> I’m using almond.

Combine all ingredients in a blender. Taste and adjust specialty ingredients as necessary.

DSC_2400 DSC_2401

Savory Mushroom Gravy, Courtesy of Travis!

For today’s post, my amazing hubby Travis is making a guest appearance. Nearly thirty weeks pregnant, these days, he’s doing more work in the kitchen than I am. Thankfully, he loves to cook and doesn’t view it as a chore. In fact, in the two years that he was working on his MBA, he really missed honing his culinary skills.

…not that they need much improvement! Travis is an excellent amateur chef and has even competed in the past. Like me, he will peruse a few ideas online for inspiration in creating something new and then just go for it. Every time someone tastes one of his dishes and asks for the recipe, he is at a loss because he never measures or writes anything down. His genius comes to fruition through randomly throwing items together.

For today’s savory mushroom gravy, I asked Travis to develop a versatile formula and this time, to record it. 🙂 He did not disappoint and highly recommends listening to Norah Jones during preparation.

Before we get to cooking, a quick note about one of the star ingredients: button mushrooms. The most commonly consumed mushroom, available year-round, is the white button. Although not as aesthetically appealing as fancier, more exotic varieties, these fungi get the job done. Like many (if not all) mushrooms, buttons develop a meaty texture when cooked and are rich in copper and essential vitamins. Several studies have even show buttons to prevent heart disease, boost the immune system, and treat and prevent some types of cancer. Win!

DSC_2369

Portobello mushrooms are also featured in today’s adaption of Travis’s gravy formula. You can read more about this in my lettuce wraps post, another delicious way to consume fungus.

One more thing…if you like a chunky gravy, finely chop your ingredients. If you plan to puree the ingredients for a smooth, creamy gravy (which is what we’re doing today), a coarser chop is sufficient so long as the pieces are approximately the same in size for even cooking. Enjoy!

FORMULA BASE: MUSHROOM GRAVY

Yields approximately 2 cups

  • 2 cups chopped mushrooms* –> Trav’s using 1 cup each white button mushrooms and portobellos.
  • 1 cup+ cooking liquid (homemade veggie stock, red wine, water, unsweetened plant milk, etc.) –> Trav’s using stock.**
  • ¾ of an onion, chopped –> Trav’s using white.
  • 2 large cloves of garlic, minced
  • 2 tbsps flour –> Trav’s using whole wheat.
  • 1 tbsp oil –> Trav’s using extra virgin olive.
  • 1 bay leaf
  • ½ tsp minced fresh herbs (or ¼ tsp dried) –> Trav’s using ¼ tsp dried thyme.
  • Salt and pepper to taste –> Trav’s using a pinch of pink Himalayan sea salt and several turns of freshly grated black pepper.

*If you’re using any large caps with lots of gills, remove the gills before chopping and cooking.

DSC_2372

**Remember, we make veggie stock from veggie scraps. This version is reddish because of a beet scrap in the mix. Just FYI. 🙂

Pour your oil in a sauté pan over medium heat. Chop your vegetables. Start by adding the onions only. After approximately 2 minutes, add the garlic. 2 minutes later, add the mushrooms, herbs, and bay leaf and cook for another 6-8. Add the flour and stir until thoroughly moistened.

DSC_2380

Add cooking liquid, a ½ cup at a time and reduce until desired consistency is achieved.

DSC_2381

Add salt and pepper to taste and remove the bay leaf. Pour the entire mixture into a blender and puree until smooth (optional).

DSC_2382

Serve atop classic mashed potatoes, in a vegan shepherd’s pie, or in another favorite preparation. We are serving ours over rosemary mashed sweet potatoes and parsnips: the perfect balance between sweet and savory!

DSC_2387

Travis reported that this gravy tasted best the first day, but can certainly keep for several in the fridge.

Fill-in-the-Blank Salad Sandwich

Chicken, tuna, egg, etc. + mayo = a salad sandwich. These popular combinations make for easy sandwich building, as the protein, produce, and condiments are prepared in one mixture. I have found that you either love or hate a salad sandwich, likely due to your feelings about mayo. Travis detests mayo, so he would only even consider one of these sandwiches if it were practically dry.

I, personally, love the creamy consistency and convenience of a salad sandwich, pending it isn’t soupy or drippy (soggy bread: no no no). Since I no longer eat mayo and don’t like to buy processed, vegan mayo substitutes, I had to get creative. Having already experimented with making my own creamy dressing, pesto, and potato salad, I knew that I really just needed to come up with a suitable protein base.

I have found that beans or lentils + raw fruits and vegetables work best for the ideal texture, but you could also use tofu. Since tofu has so much water in it, you would want to dehydrate it in the oven or on the stovetop first. This will result in a consistency similar to chicken, without the extra moisture to water down the creamy element of your filling.

Today, I’ve featured one of my favorite small kitchen appliances: the panini press. Travis and I received this one as a wedding gift over four years ago and it’s still going strong. I love that the plates are nonstick, so coating bread with butter or oil isn’t necessary. As I’m sure you’ve guessed, I’m making my curry salad sandwich (chickpea base) into a panini on sourdough bread, fresh from San Francisco.

DSC_2364

All in all, this formula is pretty simple and keeps well in the fridge for days. You could easily make a big batch to have on hand for sandwiches or wraps all week long and opt either to mix your produce right in or keep it separate (which is what I like to do). This way, you can change up the combinations from sandwich to sandwich to suit the taste preferences of different household members. Enjoy!

FORMULA BASE: SALAD SANDWICH

Makes 4 sandwiches

  • 1 ½ cups cooked protein (beans or lentils, or chopped, dehydrated extra firm tofu) –> I’m using chickpeas.
  • ¼ cup finely chopped onion –> I’m using green.
  • ¼ cup mayo substitute (seed/nut butter, vegan pesto, pureed avocado, etc.) –> I’m using tahini + a few tablespoons of water.
  • 2 cloves minced garlic
  • ¼ cup “crunch” (chopped raw nuts/seeds, unsweetened dried fruit, etc.) (optional) –> I’m not using any.
  • Spices, fresh/dried herbs, salt, and pepper to taste (optional) –> I’m using 1 tsp each cumin and garam masala, ½ tsp turmeric, and a pinch of pink Himalayan sea salt.
  • Additional raw fruits/vegetables to mix in or for garnishing –> I’m topping with my salad with a few thin slices of roma tomato and green pepper, and slathering my bread with whole grain mustard.

Coarsely smash your beans/lentils, if using.

DSC_2357

Combine all ingredients.

DSC_2358

Assemble with additional produce on bread or in a wrap, if desired.

DSC_2360

I’m running my sandwich through a panini press before consuming. 🙂

DSC_2363 DSC_2366