Vegan Eats at Sage Kitchen

OutisdeWhile my plant-based, mostly vegan lifestyle isn’t perfect, family members and friends that come to visit me in Arizona look forward to eating clean when they stay at my house. I can’t even count the number of times a visitor has exclaimed about living plant-based for their stay in hopes of feeling refreshed and energized and even, losing weight. So, when I have an eager-to-be-temporarily-vegan visitor, I don’t disappoint! I prepare vegan dishes at home and try to maintain my plant-based lifestyle when heading out for local grub (except when we’re out for authentic Mexican food…that’s one time that I will, against my better judgment, eat copious amounts of cheese!).

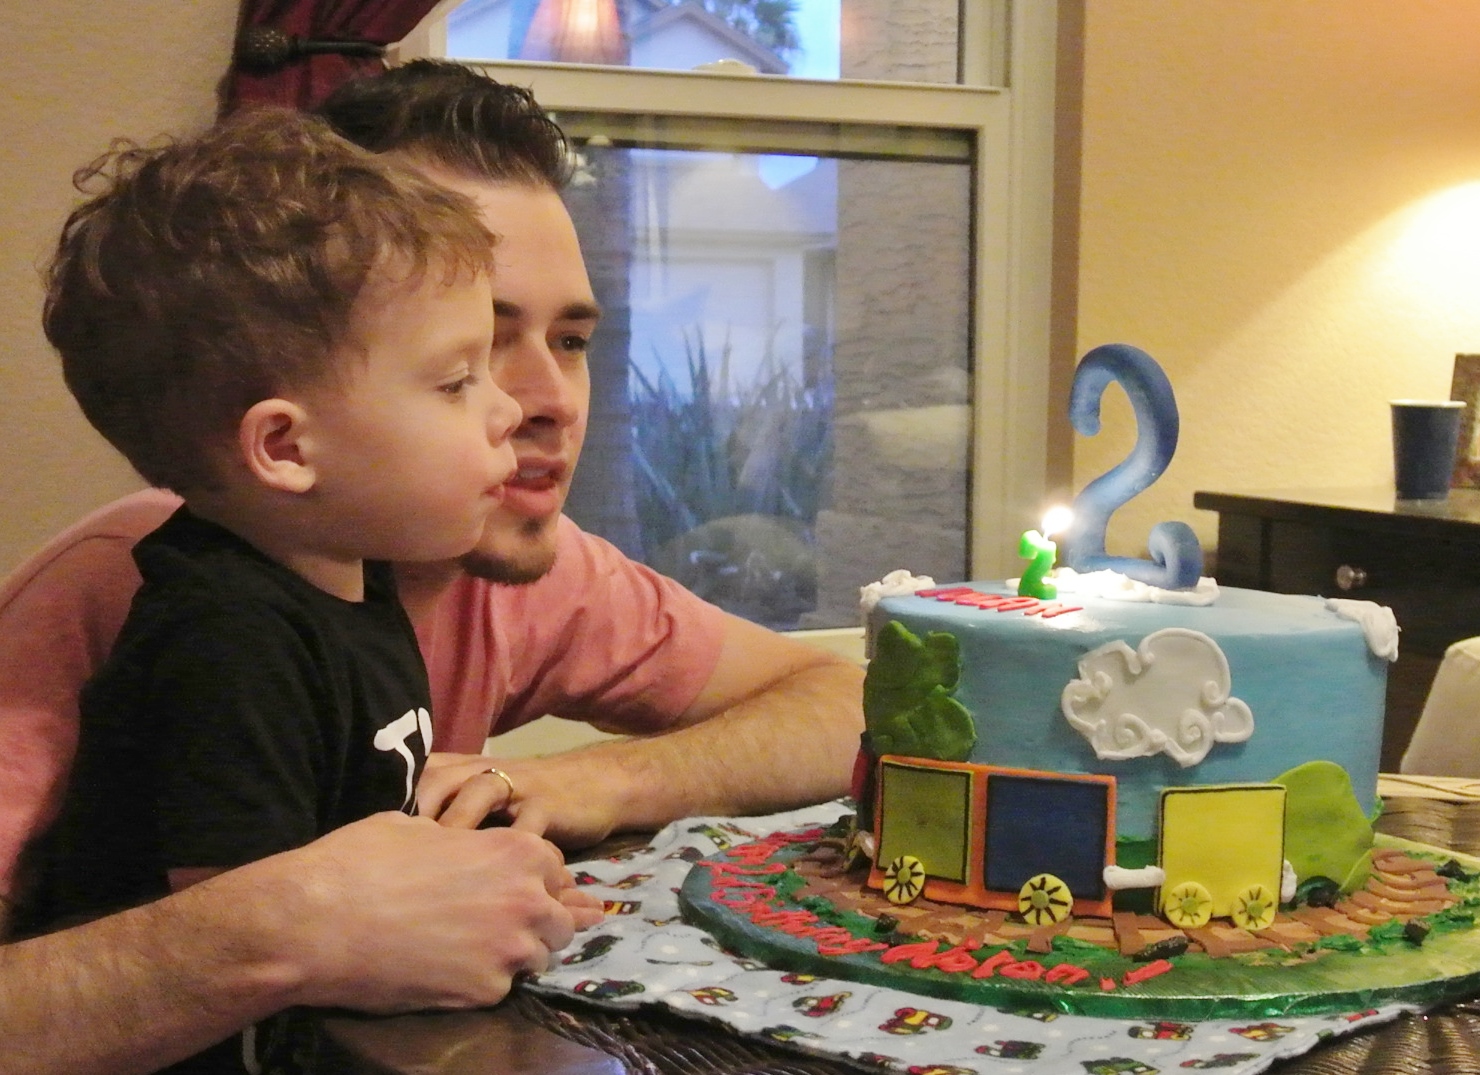
My mom was recently in town for Nolan’s birthday and offered to treat my little family to dinner on her last night in Arizona. I perused the web to find a restaurant in the Phoenix area that I hadn’t yet tried and came across Sage Kitchen, an organic, non-GMO, gluten-free, vegetarian eatery. The food was so yummy I can practically still taste it and I’m excited to share my review of the restaurant with you.

Sage Kitchen is located next to Chakra 4 Herb and Tea House, which shares its owner. As a result, the menu features a variety of teas and herbal remedies that I just had to try. Although I still dislike coffee, after our trip to Japan this past summer, I have recently grown very fond of tea. I sampled a blueberry kukicha green tea over ice that was subtly flavored and not too sweet, which is how I prefer it. Teas at Sage Kitchen are sold hot or cold by the cup, glass, pot, or carafe.

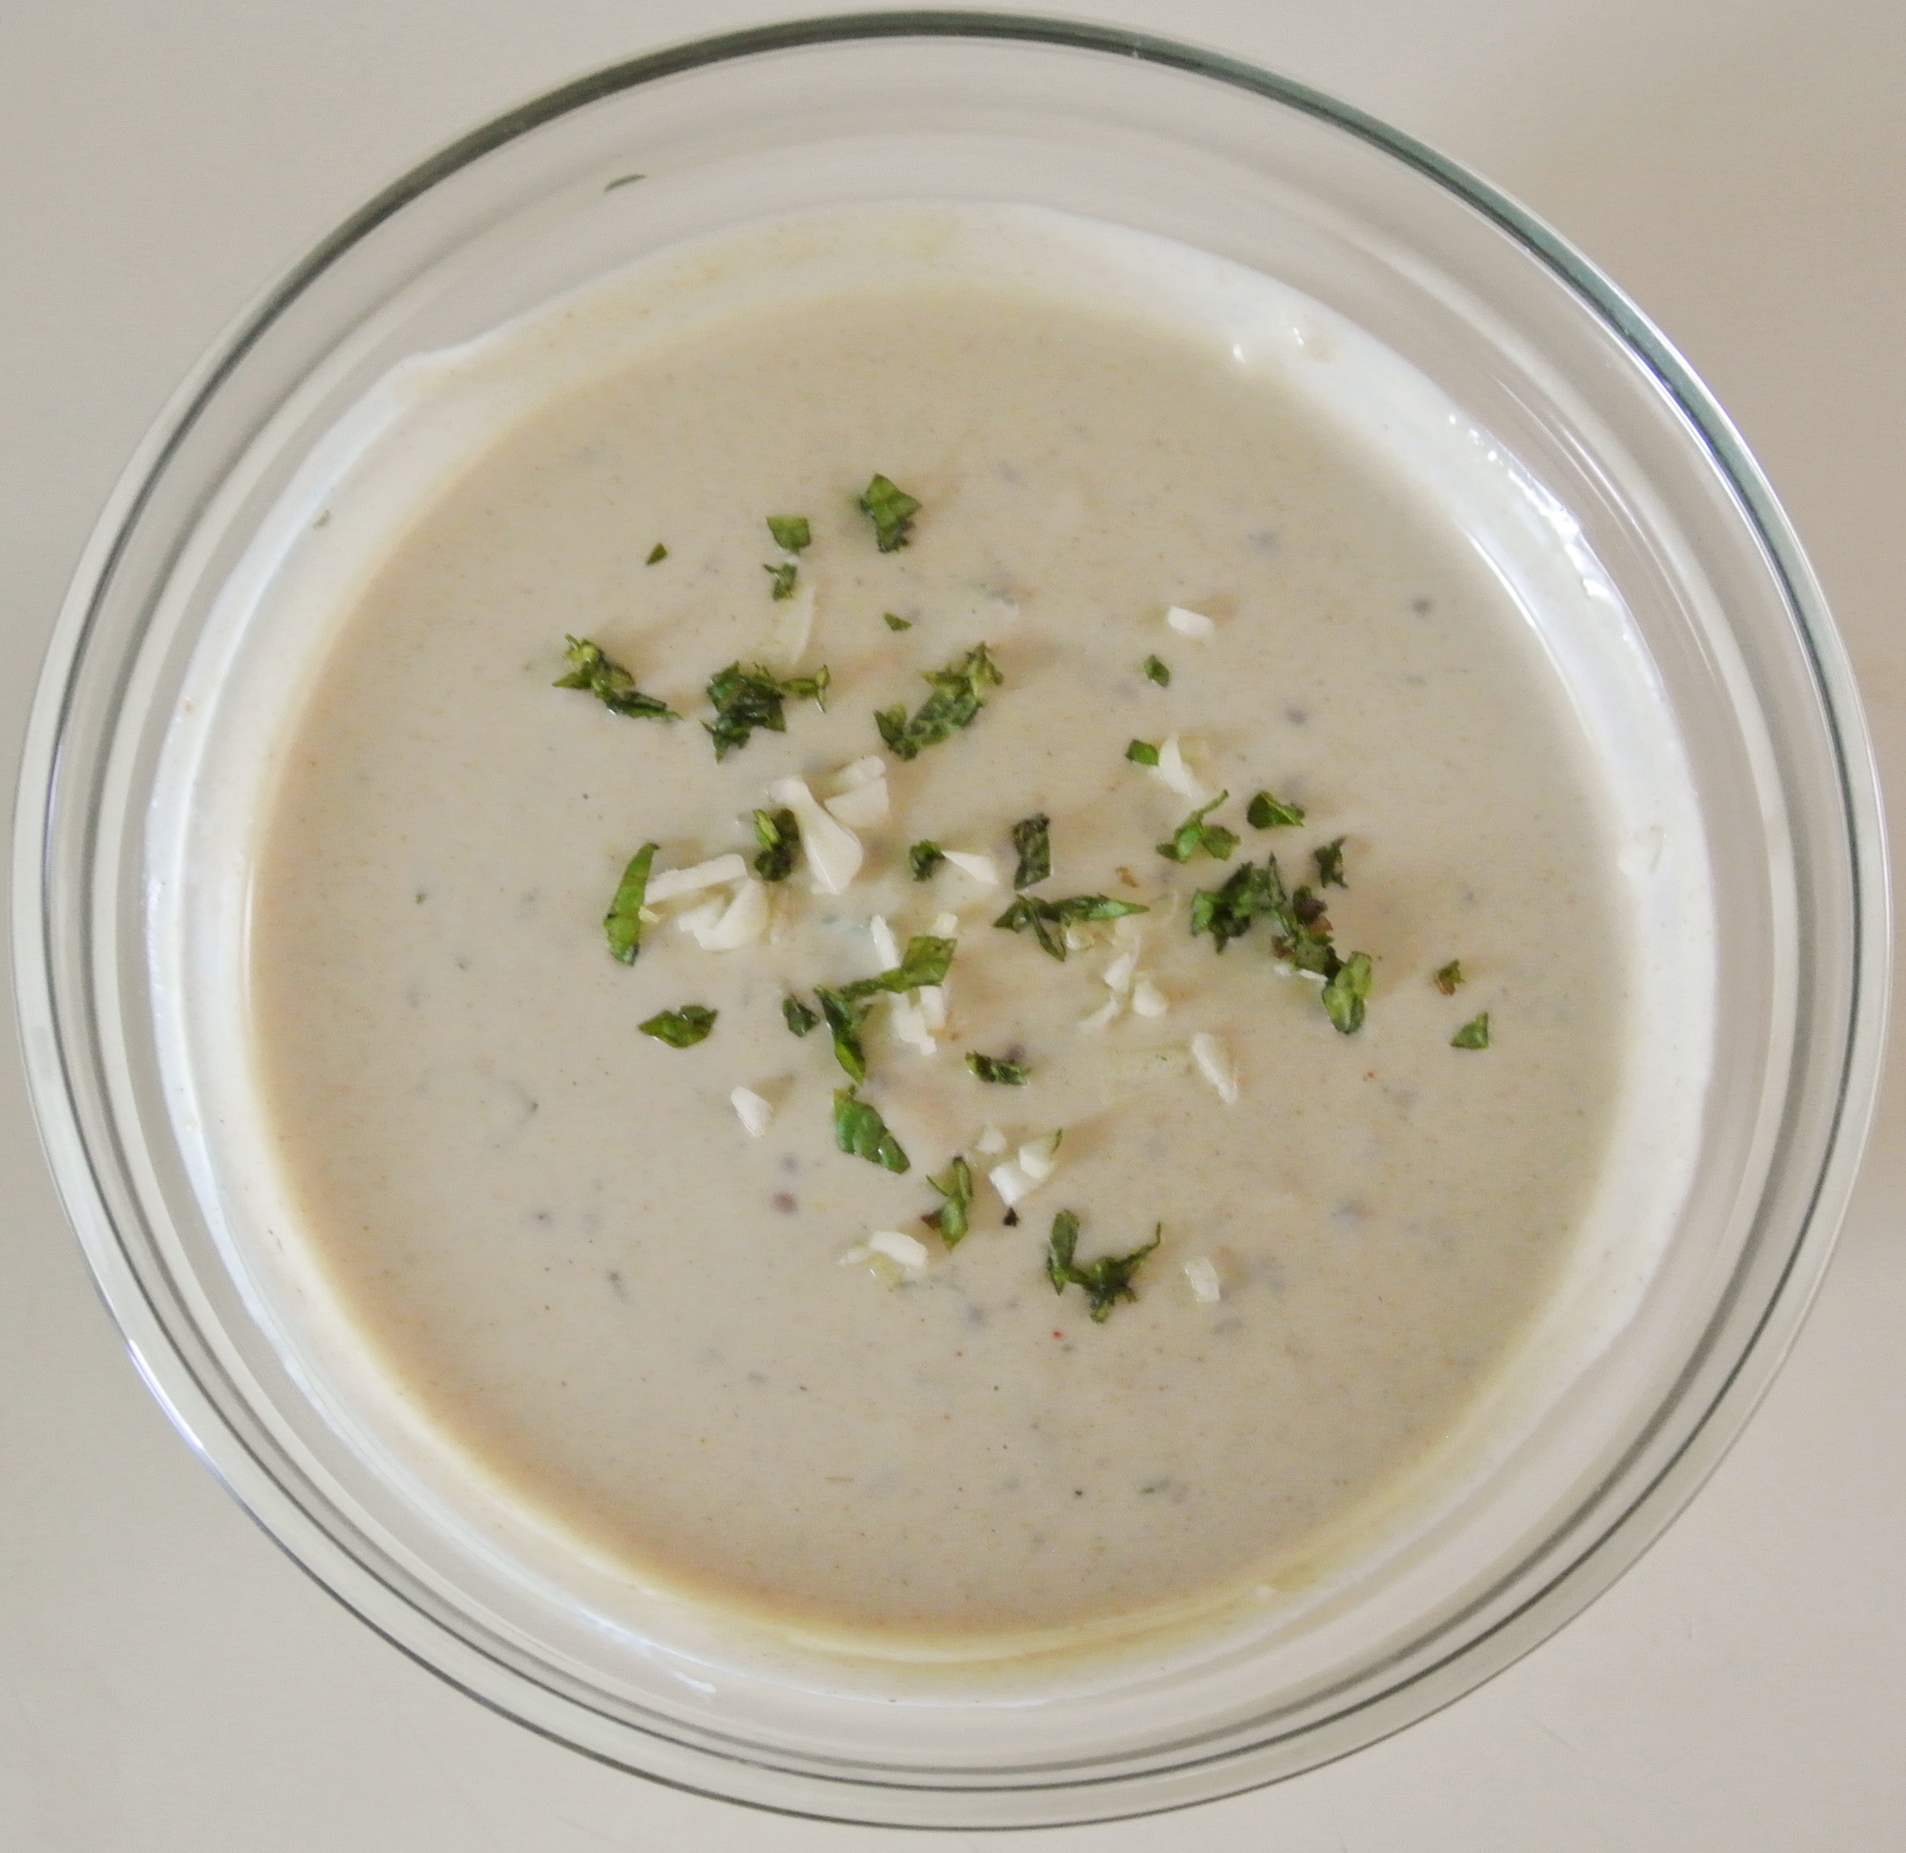
Next, it was time for an appetizer. We ordered a trio of dips with marinated raw veggie sticks and homemade, gluten-free flatbread. Pictured below is an avocado dip with sunflower seeds and pepitas, a black bean hummus, and a lemon herb hummus. We were afraid of becoming too full for dinner, so we ate about half of the dips and took the rest home (they were just as delicious, if not more so, the next day).

FullSizeRender (2) As indicated on the card you see below, Sage Kitchen avoids unnecessarily processed vegan “meats” and “cheeses,” opting for those made in house with nuts, vegetables, and spices. While the menu contains no actual meat products, many menu options offer real or homemade vegan cheese (as well as homemade meat substitutes) that I wanted to taste for myself.

Card 
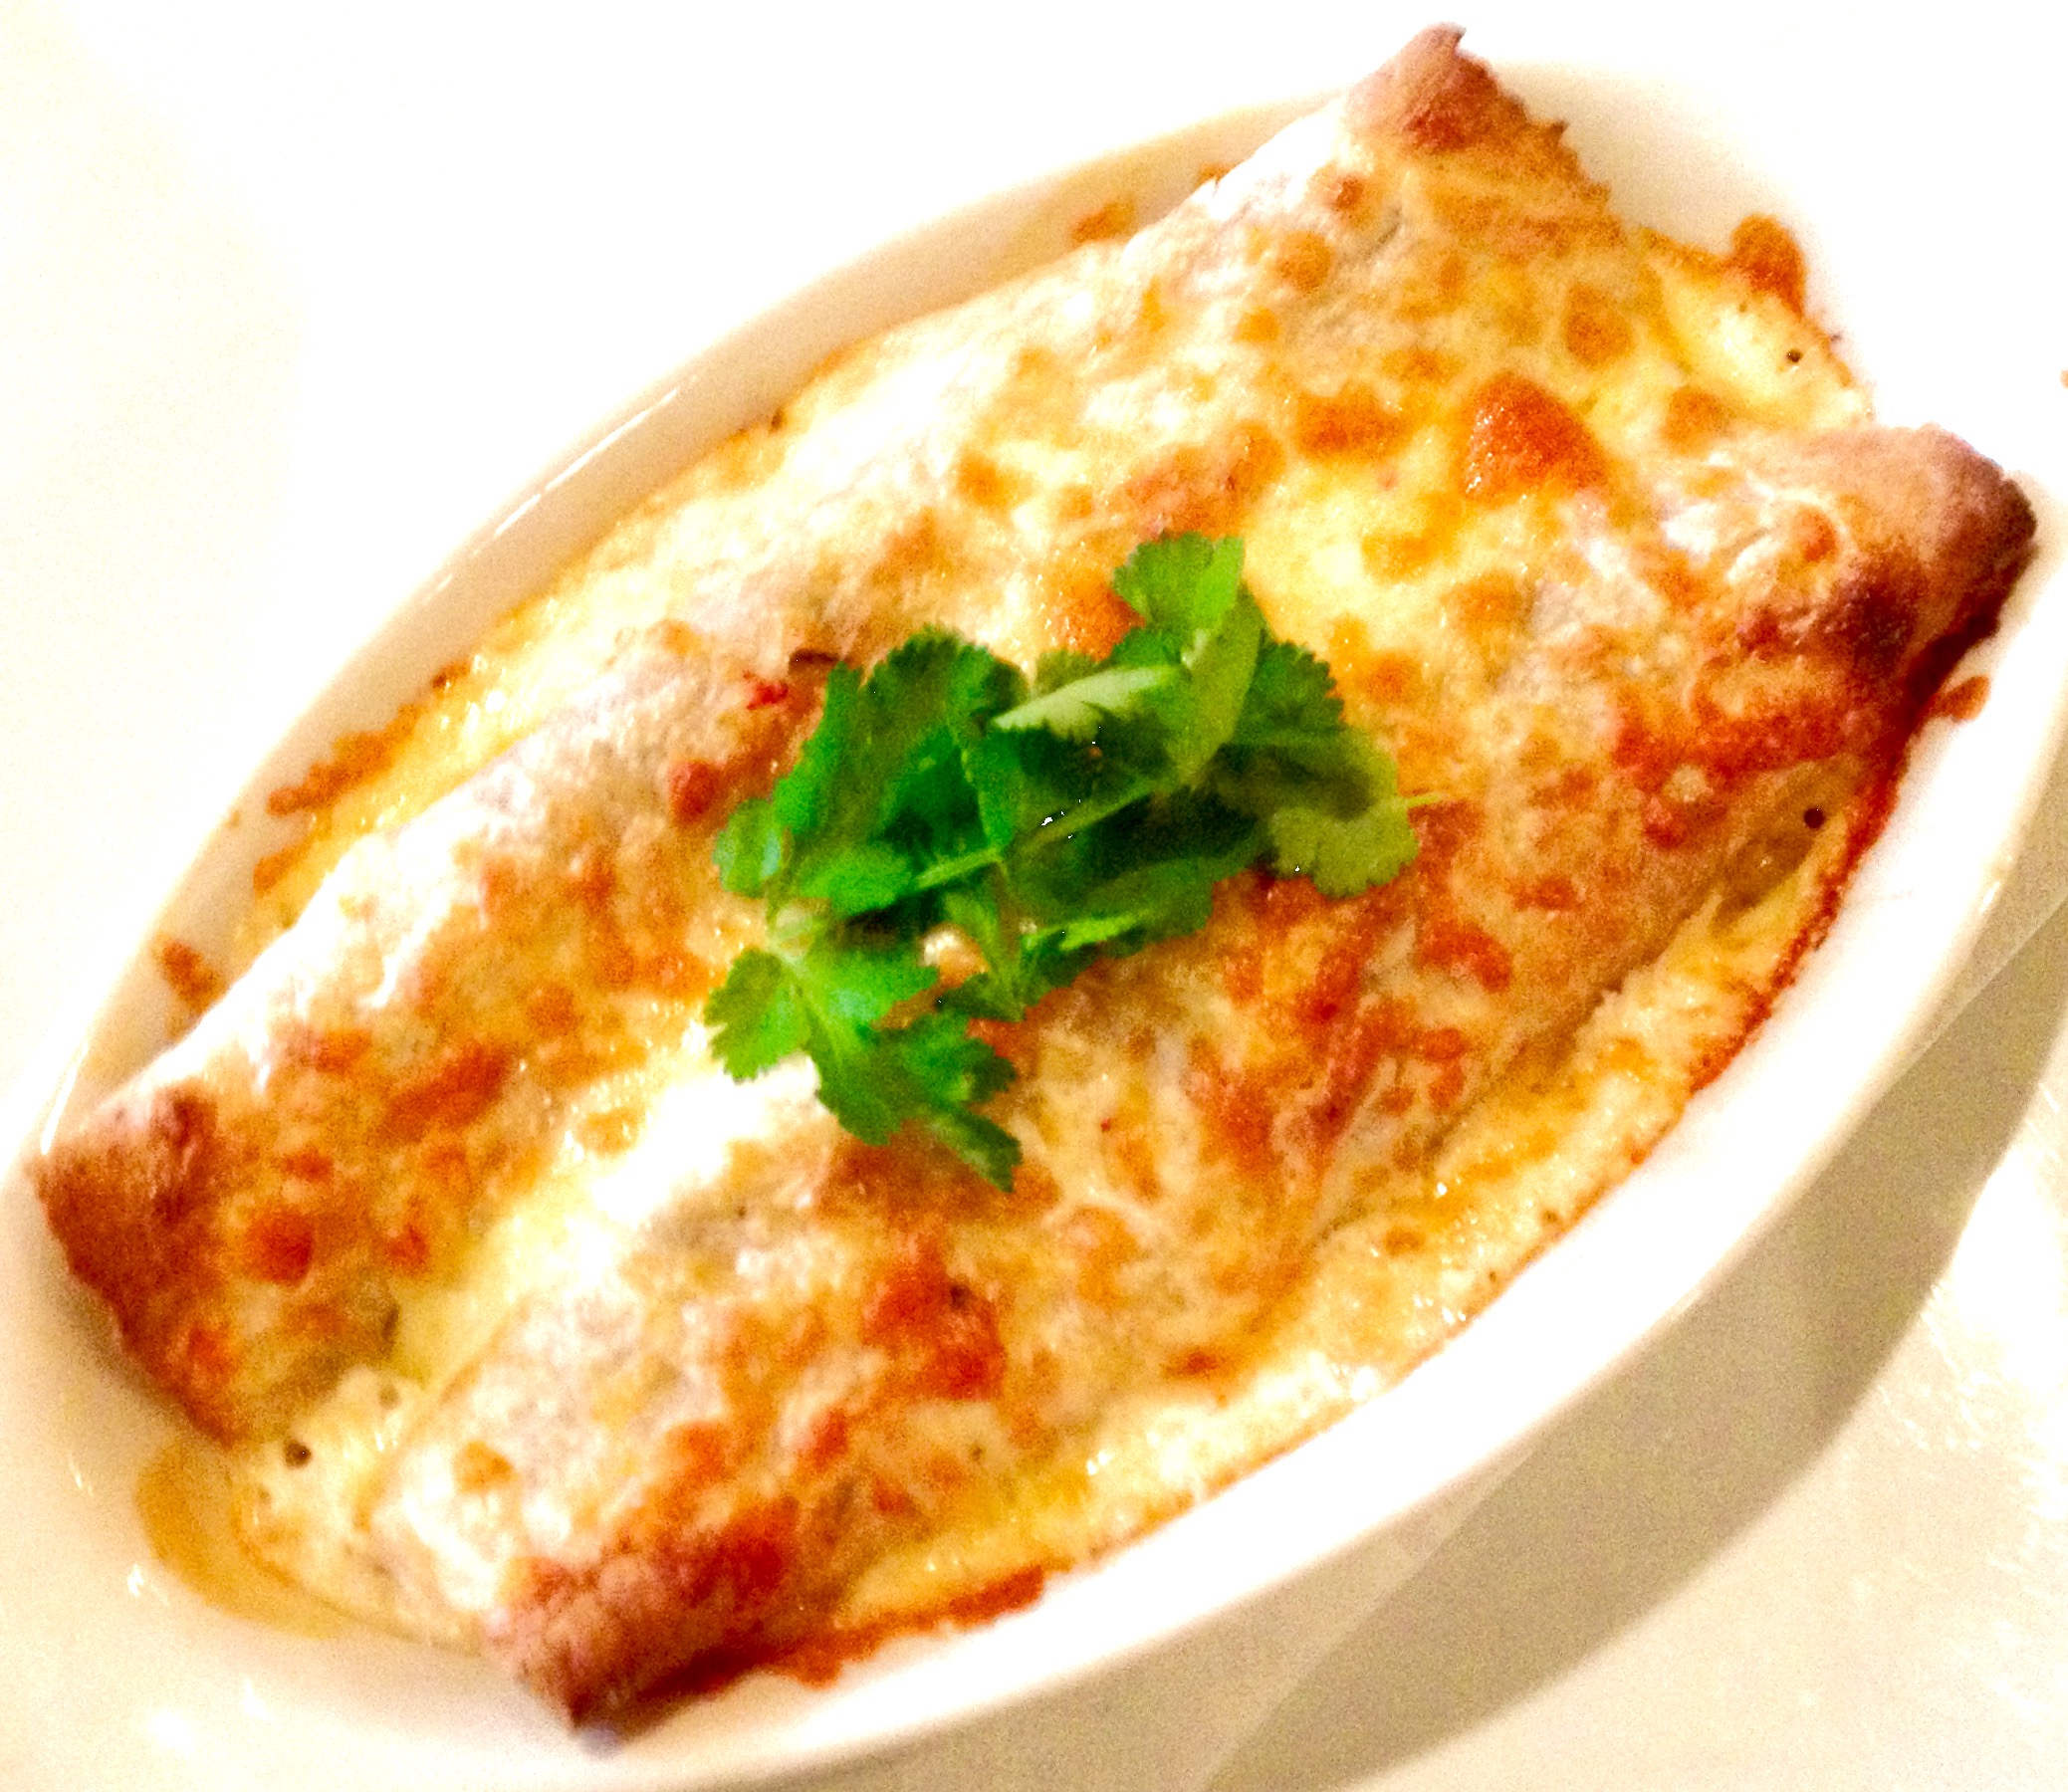
In the description of my creamy sauce formula, I admit that there really is no completely satisfying substitute for dairy cheese, but Sage Kitchen definitely came darn close to making it happen. While Travis opted for real cheese in his veggie enchiladas, my mom ordered a black bean quesadilla and I ordered a “sausage and mozzarella” pizza, both containing different varieties of Sage Kitchen’s signature vegan cheeses. Let me tell you, they were so good, I didn’t miss the real thing for a second and am determined to figure out how they did it so that I can try to make these cheeses (and the sausage) on my own.

Enchilladas FullSizeRender[3] (2) FullSizeRender[2] (2) The kids’ menu is not featured on the Sage Kitchen website, but I was happy to see that it offered simple vegetarian/vegan food that is kid-friendly in ingredients and presentation. We ordered Nolan this adorable sunflower butter and apple flatbread. He couldn’t finish it and had to twist our arms to polish it off for dessert. Poor us. 🙂
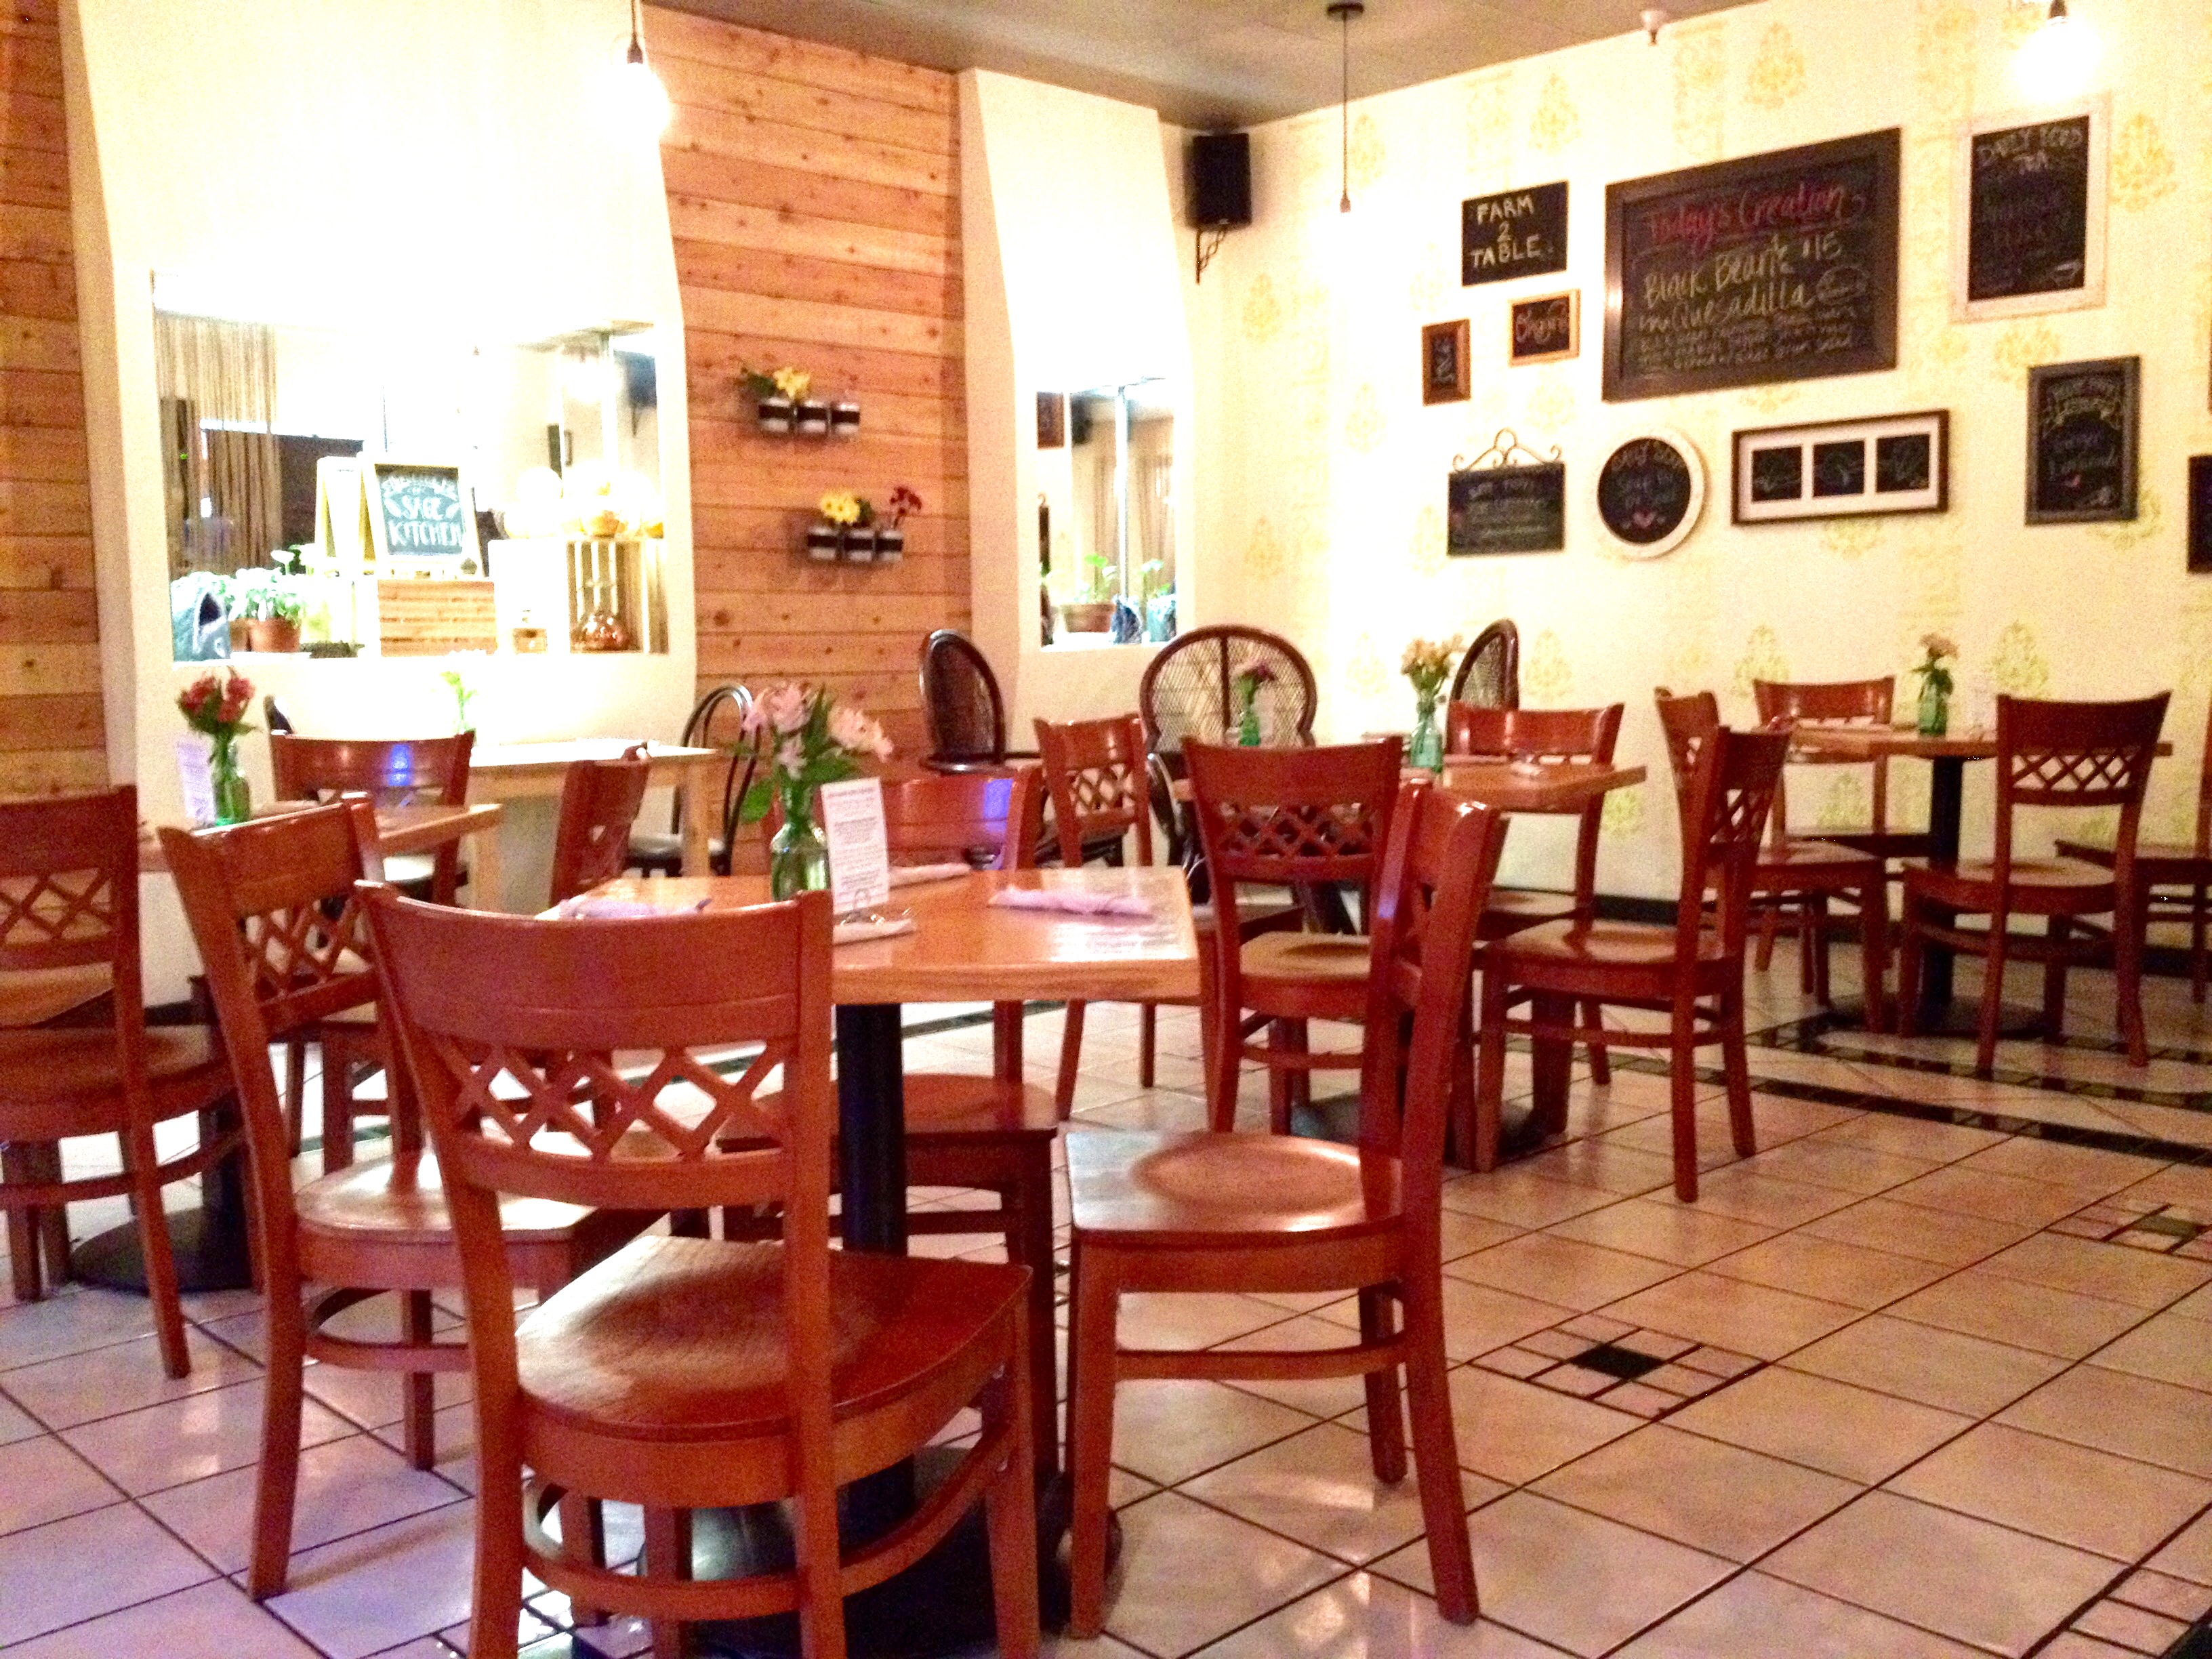
FullSizeRender[1] (2) The only downside to our dining experience at Sage Kitchen was that the restaurant seemed a bit dead for a Saturday night. Travis and I concluded that this was probably a result of the early hours (it closes at 8:00) and lack of alcohol. The restaurant is a BYOB and does not serve booze of its own. I’m sure that during the weekday lunch rush, Sage Kitchen is packed.

Overall, no complaints. Grab a bottle of your favorite wine and go to Sage Kitchen to get your vegan eat on!

Inside

Baked Veggie Fries

DSC_1730One of the dishes served at Nolan’s second birthday party was baked veggie fries, which were easily the crowd favorite of the evening. Today, I’m going to share with you how I make these delicious, un-fried fries.

The key to a baked fry that can stand up to shuffling on the pan, toddler squeezing, and condiment dipping is using hearty root vegetables. When we think of fries, our minds usually turn to good ‘ole russet potatoes. Nothing wrong with those guys, but fries can really be made out of nearly any root vegetable, be it parsnips, turnips, potatoes, carrots, radishes, etc.

Today’s snack (or side dish) formula features three of my favorite root vegetables, pictured left to right below: garnet yam, sweet potato, and carrot. Yes, that yellow/white-ish fry in the middle is in fact a sweet potato, which you may not have known is often actually this color, rather than orange. (For a more detailed explanation on the difference between sweet potatoes and yams, check out my post on veggie curry.)

DSC_1724These un-fried fries are sure to please adults, but are the ideal healthy snack for toddlers. Extremely low in oil and salt free (unless you can resist a little sprinkle of pink Himalayan sea salt), they are a snack that I never refuse little Nolan. They are so yummy, I doubt you’ll need a dip, but if you do, try to stay away from processed ketchup, as it is often composed of highly fructose corn syrup and other unnatural additives. 🙂  Enjoy!

FORMULA BASE: BAKED VEGGIE FRIES

Serves 4-6 (as a side dish)

  • 2-2 ¼ lbs root vegetables –> I’m using just over two pounds of garnet yams, sweet potatoes, and carrots.
  • 1 tbsp oil (+ 1 tsp for greasing your baking sheet) –> I’m using extra virgin olive oil (I’m a big fan of coconut oil, but love the flavor of olive in this case).
  • Spices and/or fresh herbs to taste –> I’m using 1 tsp each of paprika and garlic powder (no salt).

Preheat your oven to 400 degrees. Thoroughly wash and peel your root vegetables. (You can leave the peels on, but I like to save them for homemade veggie stock.) Cut into ¼ inch thick fries. In a large bowl, use tongs to toss the fries with your spices and oil.

DSC_1725 Grease a baking sheet and spread the fries out in a single layer. Bake for 20 minutes, turning halfway through. Turn the oven off and broil on high for an additional 2-3 minutes for a bit of crispiness. Store in the fridge for up to five days, reheating in the toaster oven if necessary.

DSC_1727

Nolan Turns Two: What We Ate

DSC_1715I can’t believe my son is already two years old! Everyone told me that the time would fly and they were right. Before I knew it, it was time to plan Nolan’s second birthday party, including a mostly vegan menu that was sure to please all guests.

And, it did! We kept the affair small and invited family members that are both vegetarians and omnivores. Everyone ate mostly vegan and loved it, exclaiming over the food and asking me for recipes. In the past, I’ve served foods at parties I’ve thrown that are crowd pleasers, but that don’t necessarily reflect our plant-based lifestyle. Animal products like meat and cheese were once on the menu for such an event and I would always be conflicted with the leftovers; I don’t believe in wasting food, but I don’t, any longer, choose to eat many animal products. This time, I knew that I wanted to be left with the food that we eat every single day.

DSC_1665To answer the question that is surely on many minds, particularly those of parents, yes, Nolan follows a plant-based lifestyle, too. While I’m no expert on this way of eating and living, I’ve done quite a bit of research and have been living plant-based for over three years. As a result, I know that animal products are not at all necessary to the proper growth and development of a young child. While Nolan eats the occasional piece of cheese or cup of yogurt when at the homes of friends and family, in our house, he eats just like Travis and I do.

So, when it came time to plan his birthday party menu, I knew I wanted to serve some of his favorites. I apologize for the less-than-stellar quality of these pictures, but with a house full of hungry guests, a toddler being a toddler, and dogs running all over the place, capturing these images ended up becoming sort of an afterthought. 🙂 Here’s what we served:

  • Two types of veggie burgers: a black bean quinoa burger with red peppers and a falafel burger with sunflower seeds; we served an avocado “sour cream” (silken tofu, lime juice, avocado) and sliced veggies for topping
  • Baked veggie fries: a combination of yams and sweet potatoes seasoned with paprika and garlic powder
  • Fruit salad: bananas, blueberries, grapes, strawberries, blackberries
  • Kale salad: baby kale mixture dressed in a lemon vinaigrette and topped with raw chopped pecans and sunflower seeds
  • Homemade graham crackers and dip (a thicker version of my chocolate peanut butter banana smoothie)
  • California rolls: Other than the cake, which we custom ordered from a local bakery that we love, these were the only non-vegan items on the menu. Nolan isn’t yet at the point where he’ll munch on very many raw veggies when we go out for sushi, so we always get him a California roll. 🙂

DSC_1668

To answer another question that may be on your mind, yes, Nolan does eat (and love) all of these foods, often in one day. The kid DOMINATES plant-based yumminess like it’s going out of style and I’d be willing to bet that if we did a blood draw, the results would show that he’s in better nutritional shape than most adults. He has no food allergies, has energy for days, is happy and well-tempered, and has been sleeping through the night for at least twelve hours since two months old. I’d say that he’s doing just fine without animal products.  🙂

As you read in my bio, I am a mostly vegan, as sometimes it just isn’t feasible to be 100% plant-based. Case in point, Nolan’s cake. I have made vegan and gluten-free cakes and icings before, to much success. This time around, however, I needed someone to do the job for me. With Travis working full-time and completing an MBA, a steady stream of visitors since January (everyone wants to be in Arizona when it’s winter!), my job, and running our entire house, I honestly just didn’t have the time, this time. The cake was delicious and it was worth the very occasional splurge.

DSC_1660 I’m hoping that getting a glimpse into our plant-based lifestyle—even when throwing a party—helps you to embrace it yourself, even if it’s occasional or gradual. I can’t stress enough the health and happiness that living this way has brought to our lives and we have an adorable two-year-old to show for it. Happy Birthday, Nolan!

New Formula: Veggie Curry

DSC_1657I’ve always known that I love curry, but I didn’t realize just how much until Travis, Nolan, and I visited my sister and her husband in Japan this past June. In addition to traditional Japanese fare, the streets are sprinkled with tiny, authentic Indian restaurants, serving many varieties of curry with chewy naan. Travis, Petra, Craig, and I decided that we really needed to check out these curry joints; the chefs there must be doing something right if there is just as much curry available in Tokyo as sushi and ramen.

Thus, we embarked on what we lovingly named The 2013 Curry Crawl. We sampled curry from six different Indian establishments over the course of two days, with one day of rest in the middle (curry can be intense, ya’ll). We even found a bakery that sold savory curry-stuffed donuts! Yes, it’s true, and boy were they delicious!  Here you can see me and Petra, members of the Curry Crawl Clean Plate Club, and the donuts.

DSC_1026 DSC_0883

Vegetarian curry was easy to find, but vegan curry? Not so much. While coconut milk is a typical base for the creamy curry sauce, many places use heavy cream or milk. Being lactose intolerant, I knew pretty quickly when I had just wolfed down a cream-based curry rather than the preferred coconut milk variety. Uh oh… 🙂

Full and inspired, I knew I had to come back to Arizona and perfect my own totally vegan curry dish. I experimented with different vegetable and bean combinations, plant milks, and spice levels, and think I just may have figured this out. I discovered that there really is no ideal recipe since I like so many different flavors and because different people prefer their curry differently: sweet, spicy, mild, thick, soupy, etc. Thus, vegetable curry (now under Square Meal Formulas) lends itself perfectly to my Fresh Formula model.

When I’m making this dish—which Travis claims is the best vegetable curry he’s ever had, just sayin’—I throw together whatever vegetables and beans I have on hand and have a unique experience every time. I keep the spice blend and sauce thickness consistent, since to me, that’s what makes my curry, my curry.

Before we get started, I have pictured here an actual sweet potato, since that is what I am using in today’s recipe. If you didn’t already know, while some varieties of sweet potatoes may be orange inside, the orange guys you find in the grocery store may actually be yams, with the true sweet potatoes being pale yellow inside. Does it matter? Yes! Sweet potatoes are higher in protein and fiber than yams and a mega source of vitamin A. While both are extremely nutritious, sweet potatoes have an edge. Just something to consider the next time you are in charge of these starches next Thanksgiving.

DSC_1648Finally, don’t forget to thoroughly wash your vegetables before peeling and chopping. Remember, you can collect the clean scraps in a large bowl in the freezer to make into homemade veggie stock later on. 🙂 On to the curry!

FORMULA BASE: VEGGIE CURRY

Serves 6

  • 2 cups grains + 4 cups cooking liquid –> I’m using short grain brown rice, which I’m cooking in my homemade veggie stock.
  • 2 cups cooked beans –> I’m using garbanzo beans (AKA chickpeas).
  • 1 cup raw nuts –> I’m using cashews.
  • 5-6 cups chopped vegetables –> I’m using 1 medium sweet potato, 2 small carrots, 1 medium zucchini, ½ cup each corn and peas, and ½ of a small yellow onion.
  • 2 cups plant milk –> I’m using 1 cup each of coconut and almond milk. (Although I’ve never sampled a curry where I could actually taste the coconut flavor, which I don’t like, I always still err on the side of caution and mix plant milks. :))
  • 2 cloves minced garlic
  • 3 tbsp curry powder –> The premixed stuff is too spicy for me, so I combine 1 tbsp garam masala, ½ tbsp each of cumin and turmeric, ¼ tsp of ground nutmeg, and ½ tsp of pink Himalayan sea salt and adjust while cooking as my taste buds see fit. If you like it spicy, use a premixed curry powder (beware of added salt) which will likely already carry some heat and add cayenne pepper to taste.
  • ½ tbsp agave syrup (optional) –> I’m using it. I may consider using more if I weren’t included a sweet potato in the mix.
  • 1 tbsp oil (to prevent cooking vegetables from sticking to the pan) –> I’m using coconut oil.

Rinse your grains and place in a rice cooker or stove top pot with their cooking liquid. Set to medium low heat and cover, stirring occasionally. The grains are done when all of the liquid has been absorbed. Cooking times will vary. Brown rice takes 25-35 minutes, depending on the variety and whether or not it is cooking in a rice cooker or on the stove.

Dry toast the nuts in a large sauté pan over medium high heat for 3-5 minutes, or until lightly golden, tossing frequently.

DSC_1649The nuts will darken in color throughout the entire cooking process. While you’re waiting for the nuts to brown, chop up your longest-cooking veggie(s). For me, these are the sweet potato and the carrots, which I am peeling before chopping.

When the nuts have browned slightly, add your oil to the pan, along with your longest-cooking veggie(s). Sauté for about 5 minutes before adding your milk, garlic, agave syrup, and spices. Turn the heat down to medium to reduce the milk for 15 minutes, stirring occasionally. In the meantime, continue to chop all of your veggies. After the 15 minutes, add them to the mix from longest cook time to shortest; my last addition will be the garbanzo beans (rinse and drain if necessary) and frozen peas and corn since they simply need to heat through. Stir your vegetables often to ensure they aren’t sticking to the bottom of your sauté pan, but are still being exposed to the heat.

Cook times will vary depending on the vegetables selected. This version of my curry formula takes just under an hour. When your veggies are all cooked through or to your liking (I prefer them al dente), serve the curry over rice. Enjoy!

DSC_1651

New Formula: Super Creamy Dressing, Hold the Cream!

DSC_1647A few nights ago, my sister sent me a recipe for spiced chickpeas that she said I just had to try, and she was right. If you’ve never heard of Thug Kitchen, you NEED to check out these uber-talented and funny vegan chefs! What the thugs figured out that I couldn’t put my finger on until I completed their recipe (sorry guys, it’s not on their website, but it is in their cookbook, which I am now ordering ASAP) is that seed and nut butters make for the ultimate rich and creamy dressing for salads, wraps, sandwiches, and fruit and veggie dipping.

Really, this has made sense for longer than I realized. I love to eat tahini (made from sesame seeds) on sandwiches and peanut butter on apple slices. So, I’ve been using seed and nut butters in a dressing and dip capacity for quite a while, and you probably have, too. When it comes to more delicate applications like salads, however, a thick peanut butter alone just won’t cut it in the dressing department.

Prior to becoming an honorary thug, I attempted to make creamy salad dressing in a number of ways, from thickening plant milk with chia seeds to puréeing silken tofu. While these methods have afforded me some success, the resulting dressings were no match for the tahini-based dressing in the thugs’ spiced chickpea recipe. As I do with just about any recipe I come across, I played around and made the dressing my own and thus, a new Basic Formula was born.

Yikes, seed and nut butters are fattening! Yes, but remember, fat is ok in moderation…and if it doesn’t come from animals. If you are going to opt for ranch dressing, for instance, think of it this way: You are also opting for cholesterol and potentially, hormones from the animal products. Seeds and nuts are cholesterol-free fats that do not contain hormones and do contain tons of protein and other nutrients. Also, when I shared my chocolate peanut butter banana smoothie recipe with you, I explained that seeds are nuts are one of the only sources of fat in my diet, so a little here and there is not going to hurt me (or you).

Don’t forget to purchase, whenever possible, seed and nut butters than contain ONLY seeds and nuts. Many jarred butters contain unnecessary added salts, oils, and sugars. If I deem them necessary, I would rather add these ingredients to a homemade dressing so that I can control the quality and quantity.

Finally, I consider mustard an acid, even though it is technically derived from seeds and processed with acid (vinegar). The acidic, sometimes bitter taste reminds me of the sensation of consuming a purer acid like citrus juice or straight vinegar. If you include mustard in your dressing, seek out a stone ground or whole grain variety. Mustard seeds are an excellent source of selenium (just like brown rice…see my whole grain salad recipe) and Omega-3 fatty acids.

DSC_1637

Below is my new formula and an application inspired by the tahini dressing that gave way to my latest culinary brainchild. Satisfy your craving for a rich, creamy dressing or dip by turning to seeds and nuts rather than cows and goats. Enjoy!

FORMULA BASE: Creamy Dressing

Dresses 3-4 salads

  • ¼ cup seed or nut butter –> I’m using tahini.
  • 2 ½ tbsp acid (citrus juice, vinegar, mustard, or a combination) –> I’m using 1 tbsp stone ground mustard and 1 ½ tbsp lemon juice.
  • Thinning liquid as needed, depending on whether you’re going for a dressing or thick dip (ideas: veggie stock, water, or more acid) –> I’m using 3 tbsp water.
  • Up to 2 tbsp raw garlic and/or fresh/dried herbs and/or spices (optional) –> I’m using one small clove minced raw garlic and I tsp finely chopped fresh sweet mint.
  • ½-1 tsp sweetener (optional) –> I’m using ½ tsp 100% pure maple syrup.
  • Salt and pepper to taste –> I’m using a pinch of pink Himalayan sea salt.

Combine all ingredients with a small whisk. Add thinning liquid as needed to achieve desired consistency. Still not creamy enough for you? Run the whole mixture through a food processor or blender (I enjoy the texture of the mustard seeds, so I am leaving my dressing as is after whisking). Drizzle over salad, spread on bread, pita, or wrap, or use for dipping. You are seriously going to LOVE this dressing! Ranch…what’s that?!

DSC_1646

New Formula: Multi-Grain Salad

DSC_1635Remember that DIY veggie stock I made a few days back? Today, I’m putting it to good use making a salad that I love. My multi-grain salad, now housed under Square Meal Formulas, is filling, nutritious, and an easy way to combine a variety of great-for-you grains.

Pictured below are the grains that I’m using for my salad this go-around, with descriptions to follow.

DSC_1621

Clockwise, starting in the upper left corner:

SHORT GRAIN BROWN RICE: As I’m sure you know, brown rice boasts far more nutrients than the white variety. Brown rice is rich in fiber and selenium and can even lower bad cholesterol.

QUINOA: Often referred to as a super food, quinoa is mega rich in fiber, protein, and iron, among other minerals. ‘Nough said.

FARRO: Farro is also rich in fiber and minerals and in my opinion, maintains an appealing semi-crunchy texture after cooking. It pairs nicely with softer grains like rice and quinoa.

WHEAT BERRIES: Finally, wheat berries, like farro, are crunchy, and high in fiber and micronutrients. Sprouting wheat berries will result in wheat grass, which I use in all of my super smoothies. So, there’s that, too.

A little off-topic, but a quick word about balsamic vinegar, since I’m using it in today’s recipe. When I’m not in the mood to use fresh citrus juice or don’t have any on hand, I turn to balsamic vinegar as a dressing base. Besides being loaded with potassium and calcium, balsamic vinegar can normalize blood pressure, stabilize cholesterol, steady glucose levels, and even aid in weight loss. To say the least, I adore it. J Thus, it is important to me to have a high-quality variety in my pantry. Pictured below is a brand that I like, with a middle-of-the-road price tag. The more you pay, the better vinegar you’ll get.

DSC_1631Ok, back to the grains! I pair my multi-grain salad with fresh produce. Having made this salad many times, I prefer it sweet and savory. I use strawberries for the sweet and cook the grains in veggie stock for the savory. Find a balance that works for your taste buds and, as always, enjoy!

FORMULA BASE: MULTI-GRAIN SALAD

  • 4 cups water or vegetable stock –> I’m using my homemade veggie stock.
  • 2 cups dry grains –> I’m using ½ cup each short grain brown rice, quinoa, farro, and wheat berries.
  • 2 cups chopped fruits and/or veggies –> I’m using nearly 1 lb of sliced strawberries.
  • Dressing of choice or a combination of herbs/spices and salt and pepper to taste –> I’m using 1/8 cup balsamic vinegar, which pairs classically with strawberries. I’m also adding a splash of olive oil to prevent sticking, a tablespoon of dried basil, and a pinch each of pink Himalayan sea salt and black pepper.

Rinse your grains before cooking in order to remove any possible dirt or dust.

DSC_1623Because different grains have different cooking times, you may approach this in two ways: cook them all in the same pot, in stages, or cook them separately and combine them later. Having worked with my particular selection of grains before, I am opting for the former method. If you’re not sure about the grains you are using, research their cook times and even better, experiment in your kitchen. Or, make this salad with just one grain to start. Baby steps are a-ok.

I use a rice cooker because I find that it reduces sticking to the bottom of the pan with just a few occasional stirs, but you can certainly cook your grains in a pot on the stove top, stirring more regularly. First, add your veggie stock and wheat berries to kick off the cooking process. Wheat berries take longer to cook than any of the other grains I am using.

After 30 minutes, add your farro. 10 minutes later, add your rice. 10 minutes after that, add your final grain, quinoa, and cook for an additional 15-17 minutes, or until the last of your cooking liquid is absorbed. I usually leave the lid to my rice cooker off for the last few minutes to speed this process.

DSC_1627While your grains are cooking, chop your fruits/veggies and prepare your dressing and/or seasonings.

DSC_1626Cook your grains to completion and chill in your fridge, uncovered and stirring occasionally to allow heat to escape more easily, until at least room temperature (about 30 minutes). If the grains are hot, they will par-cook your produce, which we want to keep raw. When cool, combine the grains with your other ingredients. Consume cold and store in the fridge for 3-5 days, depending on the shelf life of the produce used.

DSC_1633

Save Money, Add Flavor

DSC_1617When we’re craving something warm and have a lot of veggies on hand, Travis and I go for soup. Homemade soups make for quick and filling lunches/dinners and welcome almost any random assortment of vegetables, beans, lentils, or grains. The most satisfying soups have a strong stock base. I learned a lot of what I know about cooking basics from THE Rachael Ray, who always says that using a quality stock gives soups, stews, chilis, and sauces a slow-cooked flavor in a lot less time.

Today’s post isn’t focused on soup, but rather that essential stock base, located in my Basic Formuals. Purchasing stock in those cardboard cartons is expensive, and often unnecessarily ridden with added sodium. I’ve found a way to make veggie stock that is affordable, healthy, flavorful, and makes the most of vegetable waste.

If you tuned in for my post on fruit scrap candles, you know that I like to use every square inch of my fruits and veggies. My veggie stock utilizes the parts of your vegetables that you likely normally throw away. If you don’t plan on using your veggie scraps for composting, consider making them into a stock that you can later use in a variety of cooking applications.

What veggie scraps make for a yummy stock? While this list certainly isn’t exhaustive, I have used all of the following:

  • Carrot tops, ends, and peels
  • Potato (all varieties, especially sweet) and yam ends and peels
  • Bell pepper tops
  • Tomato tops
  • Celery ends and leaves
  • Broccoli stems*
  • Kale ribs*
  • Leek tops (the green part)
  • Root veggie (beets, turnips, radishes, etc.) tops and tails
  • Onion ends and peels
  • Zucchini and cucumber ends
  • Large mushroom stems
  • Garlic ends and peels

*Incorporating too many green veggies may leave your stock tasting a little bitter; use sparingly!

Many of these seemingly inedible vegetable parts, like the veggies themselves, are often dirty when first purchased or harvested. It’s imperative that you get in the habit of thoroughly washing your vegetables in entirety before you peel, chop, or otherwise break them down. Then, when it comes time for your scraps to become stock, you aren’t simmering dirt in the pot. 🙂

I accumulate veggie scraps for stock in a 4-quart Pyrex bowl in the freezer, pictured below. I’ve never had an issue with freezer burn, partly, I’m sure, because I go through veggie scraps so quickly. You can see that this batch has started thawing and has only a light layer of frost on parts that are still frozen.

DSC_1616It isn’t necessary that you thaw the veggies before making your stock. I usually let mine defrost on the counter top for just a little bit (maybe 20 minutes) so that they loosen up for dumping into the crock pot. If any of your veggies have frozen to their freezer receptacle, fill it with hot water and they should come right up. I place the veggies in my crock pot, fill it with water, put the lid on, and set it to low overnight or while I’m at work. I don’t add any salt, pepper, spices, or herbs so that the stock is a blank slate, ready for any number of dishes.

Don’t have a crock pot? Simmer low and slow for several hours on your stove top, or on medium high heat for just an hour or two, stirring occasionally to prevent sticking to the bottom of the pot.

After the veggie scraps have cooked through and the water has taken on a rich caramel color, drain your stock through a fine colander. If necessary, you can run it through paper towel to catch any small bits that remain. Discard your veggie scraps, once and for all. Store in the fridge for up to a week before using in cooking. Enjoy!

DSC_1618

DIY Trail Mix

Trail Mix II

Trail mix is one of my favorite snacks.  I prefer to make my own for both nutritional and monetary reasons.  Many premixed trail mixes are high in added sugars and oils, or include products like milk chocolate that I no longer eat, or raisins that I will never eat (I loved dried fruit, except raisins…I have no idea why!).  I also find that all too often premade mixes do not contain a ratio of sweet to savory that works for me, usually being either too sweet, too salty, or sometimes, too spicy.  Finally, while the premixed trail mixes boast clever names and yummy flavor combinations, they have a price tag to match.

The key to DIY trail mix is finding what you like, buying sale items in bulk, and combining them on your own, which takes very little time.  I am logging the trail mix that I made for this post under More Recipes because for the life of me, I couldn’t decide on a formula.  This is mainly because what I put in my trail mix in a given week depends on what is on sale in bulk at my local grocer.

Nuts, seeds, chocolate, and dried fruits are expensive, so I never go into making a trail mix with set ingredients in mind; I build a trail mix based on what is on sale.  I typically seek out mostly nuts and seeds, as they are a primary protein and fat source for me.  Chocolate and dried fruits are less of a priority (I eat tons of raw fruit), but I grab them when the price is right.

Whenever possible, all of the nuts and seeds I purchase are raw, as to avoid excess fat and salt.  Today’s mix includes all raw nuts with the exception of roasted, unsalted cashew pieces that were so incredibly marked down, I couldn’t pass them up!

Additionally, whenever possible, the dried fruits I purchase are free of added sugars, oils, and preservatives.  Sulfur dioxide, which is often added to dried fruit to preserve color, is known to cause allergic reactions, so I never buy dried fruit with it listed in the ingredients.  Today’s fruits include dried cranberries that have a touch of added sunflower oil to prevent sticking together and dried pineapple that has no added oil, but does have a little added sugar to balance the tartness.

Trail mix is quite often the only dessert-like item I consume in a day, week, or sometimes, even month, so I add dark chocolate when it’s on sale.  With the decadent milk variety available everywhere, I was never a fan of dark chocolate growing up.  Now that I’ve gotten used to the flavor, I eat it here and there for its antioxidants, and truthfully, don’t much care for ultra-rich, super sweet milk chocolate anymore.

I eat ¼-½ cup of homemade trail mix every day.  It’s filling, delicious, and nutritious (mostly!  🙂 ), and satisfies my sweet tooth with less fat and sugar than a traditional dessert.  Enjoy!

SWEET AND SAVORY TRAIL MIX

  • ½ cup raw almonds
  • ½ cup raw red walnuts
  • ½ cup roasted, unsalted cashews
  • ¼ cup dried pineapple
  • ¼ cup dried cranberries (these were flavored with 100% blueberry juice)
  • ¼ cup dark chocolate covered peanuts
  • ¼ cup dark chocolate covered edamame

Combine all ingredients and store in your pantry in an airtight container for up to two weeks.  If you anticipate going through your trail mix more slowly, store in the fridge as the oils in nuts can spoil.

Trail Mix

Start Your Day with Super Foods

DSC_1611

When contemplating what to post about this week, the decision was made for me when my husband, Travis, came home with a new Vitamix. If you read my post on dessert smoothies, you know that I’ve wanted one of these highly coveted, seemingly superhuman kitchen appliances for some time now. While my Ninja is a high performing blender, it fails to completely purée seeds and tougher fruits and veggies like blueberries and kale. Ready to make the switch, I knew that I needed to try making my super food smoothie before anything else to really put my Vitamix to the test.

First, a word about some of the ingredients. Below, I’ve pictured ginger root, hulled hemp seeds, and turmeric powder. I first learned about the wonders of ginger when I was pregnant. This refreshing and crisp root aids with nausea and digestion. Turmeric is another amazing root, but not having any on hand today, you can see that I’m using powdered turmeric instead. Turmeric is an anti-inflammatory and is great for your skin. (I use a handmade facial soap loaded with turmeric.) When it comes to including roots in your smoothies—fresh or ground—start small. Their flavors are assertive and it’s better to err on the side of caution and add more later.

DSC_1606

As mentioned in my bio, I am not a culinary or dietary professional, so I am always learning about food. My sister works for a vitamin company and serves as one of my primary sources, but I do other research, too. Thus, I’ve amended my super food smoothie formula to include hemp seeds. I’ve heard the buzzing about these seeds for some time now, but they aren’t as easy to find as seeds like chia and flax. After visiting Bob’s Red Mill in Portland (you have to go!), I finally got my hands on a bag of them.   Hemp seeds are one of the highest in protein of all seeds and nuts, and are packed with Omega-3 and Omega-6 fatty acids.

This smoothie is another breakfast (or lunch/dinner/snack) you can feel good about, and is easy to share with little ones, too. My son, Nolan, drinks one every day. Enjoy!

FORMULA BASE: SUPER SMOOTHIE

Serves 2

  • 1 cup fresh fruit –> I’m using two small bananas.
  • 1 cup frozen fruit –> I’m using a combination of blueberries, blackberries, and raspberries.
  • 2 cups fresh vegetables –> I’m using a variety of baby kale leaves.
  • ¼ cup fresh herbs –> None today. I only have cilantro and it isn’t my preference in a smoothie. 🙂  I suggest parsley or mint if you have some on hand!
  • 2 tbsp fresh cut wheatgrass
  • 1/4 cup+ seeds (e.g. chia, flax, hemp, pumpkin, etc.)
  • ½ inch turmeric root –> I’m using ½ tsp dried turmeric instead.
  • ¼ inch ginger root
  • Liquid* to achieve desired consistency (optional) –> I’m using approximately 6-7 oz of freshly squeezed orange juice.

*Most of the time, try to avoid using juice as it is lacking the fiber from the pulp, flesh, and skin necessary to assist the body in properly processing the sugars therein.  The occasional freshly squeezed juice, pack with as much pulp as possible, is fine.  Other options include unsweetened plant milk, water, or a moisture-packed fruit such as watermelon.  Depending on the quality of your blender and the types of produce you are including in your smoothie, you may not need to add liquid to the mix at all.

Place all items in a blender and blend until smooth. Consume immediately as some seeds, even when puréed, will continue to thicken the smoothie the longer that they sit in moisture.

DSC_1610

Simple and Delicious Kale Crunch Salad

DSC_1604On a recent trip to Portland, Oregon to visit friends, I was surrounded by restaurants boasting the plant-based cuisine I love to eat. My friend, Danielle, told my husband, Travis, and I that kale was literally everywhere, including sitting on the pavement outside of her car one night! She said that nearly every restaurant offered a kale salad of some kind and that got me thinking about a kale salad recipe that I really enjoyed back in Arizona.

Another friend, Lissa, introduced me to a yummy kale salad recipe that she obtained from a colleague. The salad was simple, with the only vegetable being the kale itself. It was dressed in a mix of lemon juice and olive oil and topped with finely grated parmesan cheese. This recipe inspired my Green Salad Formula, which is a healthier, plant-based version of the greens.

When I make a green salad, I like for the only vegetable to be greens so that I’m consuming a large quantity of them. Kale, in particular, is high in fiber, iron, and calcium and packed with antioxidants. A true super food! This mix boasts a variety of organic baby kale leaves that are more palatable in a salad than their adult counterparts.

DSC_1581I add a little protein and crunch to my kale salad with the addition of raw sunflower seeds, almonds, and cashews. Cashews mimic the flavor of parmesan cheese, so I use them as a cholesterol-free substitute.

DSC_1585Finally, I make a lemon vinaigrette dressing for this salad that is fat free. The aforementioned kale with parmesan salad includes a dressing that is largely oil and in my opinion, too fattening when paired with cheese, or in this case, nuts. I add a hint of agave syrup to balance the tartness of the lemon juice and no oil whatsoever. Enjoy!

FORMULA BASE: GREEN SALAD

Serves 1 as a meal or 2 as a side

  • 4 cups fresh greens –> I’m using a mix of baby kale leaves.
  • ¼ cup raw seeds and chopped nuts –> I’m using 1 tbsp sunflower seeds, 1 tbsp almonds, and ¼ cup cashews
  • 2 tbsp dressing of choice –> I’m using a homemade lemon vinaigrette.
  • DRESSING:
    • Juice of ½ of a lemon
    • 1 tsp agave syrup
    • ¼ tsp onion powder
    • ¼ tsp garlic powder
    • One grind fresh black pepper
    • Pinch of pink Himalayan sea salt

Mix the salad dressing with a small whisk and set aside.

DSC_1591Put the nuts through a nut grinder or chopper, or finely chop by hand.

DSC_1588Toss the kale in the lemon vinaigrette and top with the sunflower seeds and chopped nuts.

DSC_1598