Ok, so I don’t do dessert often, but I definitely have a sweet tooth now and then. Some desserts can be prepared more healthily than others; take my dessert smoothie, for example. Other “desserts” are really just a creative or eye-catching preparation of fruit, which I think is fantastic. When I really do dessert, however, I want to go beyond what I’m eating regularly—smoothies, fruit, dark chocolate—and create something that even those not following a plant-based lifestyle would love to eat.
When I think of a “special” dessert, as many people do, I think of cake. I’ve made cakes for myself and others for all sorts of reasons. Years ago, I once made a cake at 10:00 at night because I needed a break from grading essays. Any excuse is a good excuse. 🙂
The problem with cake, like many traditional desserts, is that it is loaded with sugar and fat. While my newly-developed cake formula does not eliminate these foes, I have found a way to make smart substitutions and reductions. I do not cook or bake with white flour, white granulated sugar, or white table salt…ever.
Additionally, because this a plant-based recipe, it is totally vegan and thus, includes no eggs. Gluten-free diet? No problem! You can make this cake gluten-free, too, as I am today. My mother-in-law has a gluten intolerance and is allergic to almonds as well, so I am substituting my favorite plant milk—almond—with flax.
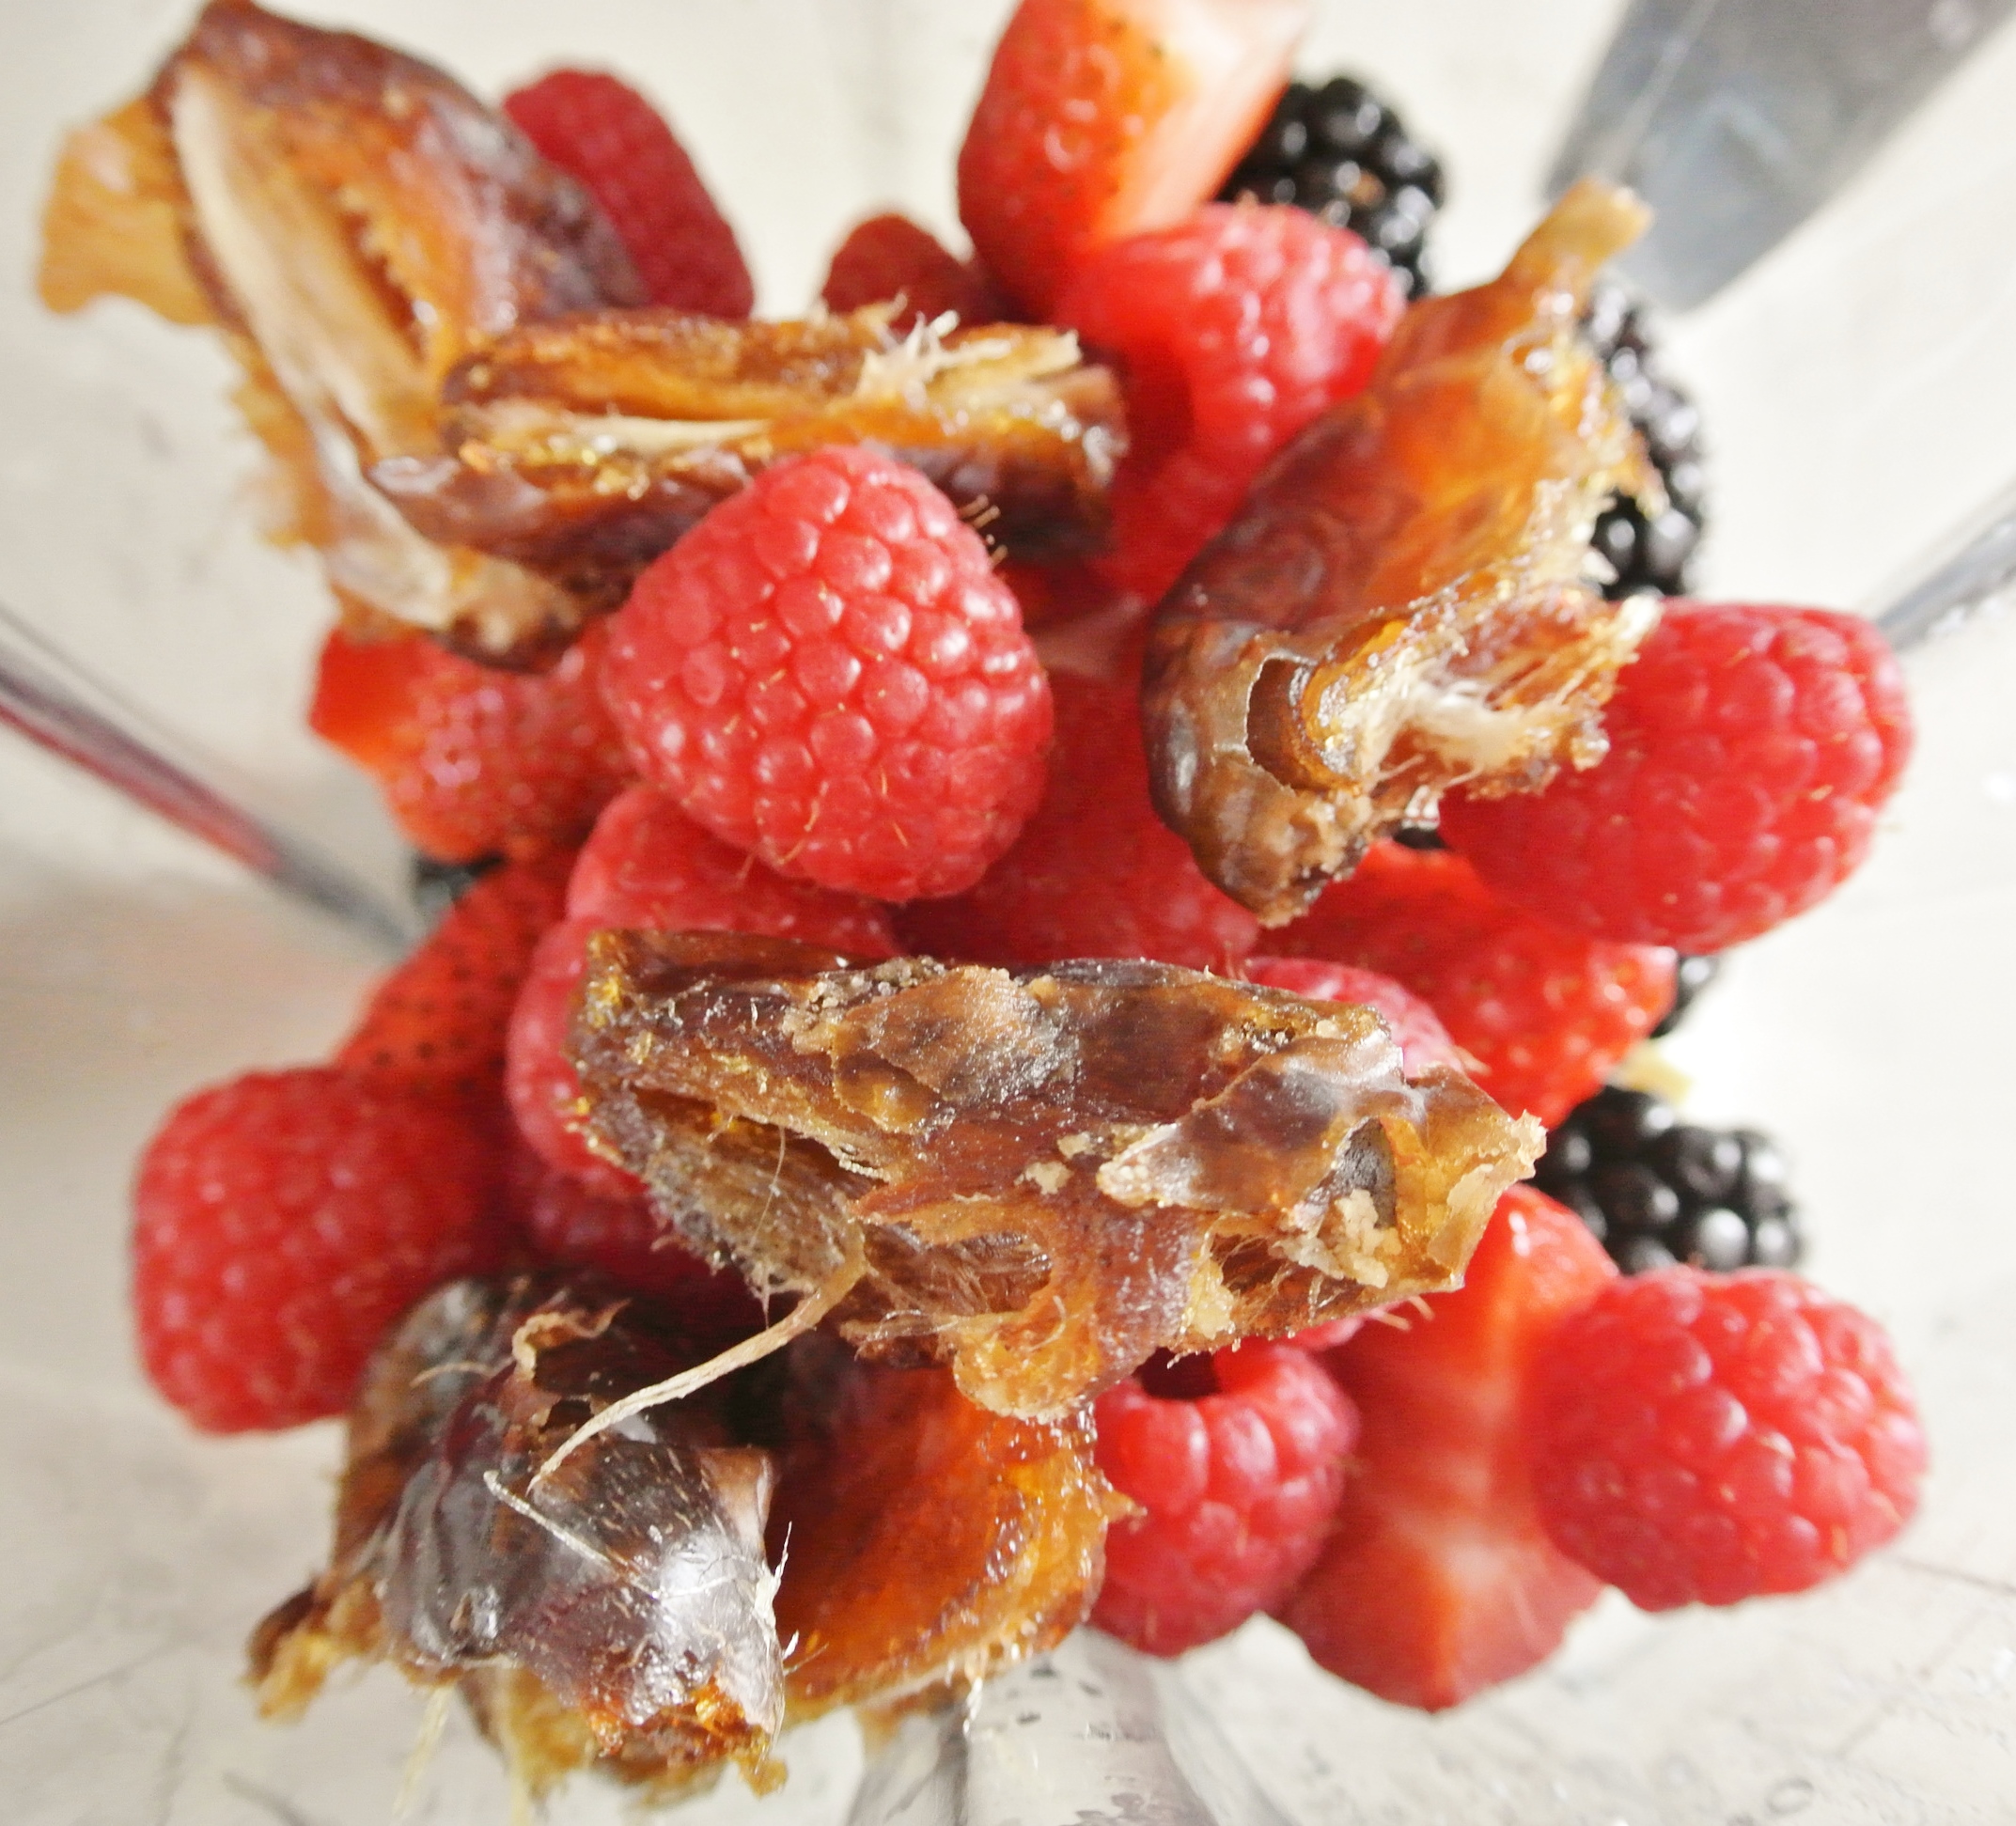
With any dessert, I think it is crucial to incorporate and capitalize on natural sugars whenever possible. Thus, the frosting formula I’ve come up with utilizes fruit as one of its ingredients. In places where I need another type of sweetener, I’m calling upon one of my old standbys: raw turbinado sugar.
What is raw turbinado sugar? In a nutshell, it is cane sugar that has not been refined into what we commonly know as white granulated sugar. When sugar cane is pressed, it releases juice that evaporates into the crystals that are turbinado sugar. It is minimally processed with no chemicals. Turbinado sugar retains a rich molasses flavor that is lost in processing white sugar, as well as vitamins and minerals. It is lower in calories than white sugar and, it’s vegan.
 White sugar isn’t vegan?! Bone char—from cows—is used to produce white sugar’s white color. Ew.
What do I substitute for the eggs? There are actually more egg substitutes out there than you may have imagined. I follow a mostly-raw vegan blogger that shared these popular switches, equivalent to one egg:
- 1 tbsp ground flaxseed + 3 tbsps water
- 1 tbsp chia seeds + 1/3 cup water
- 1 tbsp soy protein powder + 3 tbsps water
- 1 tbsp agar agar + 1 tbsp water
- ½ mashed ripe banana
- ¼ cup unsweetened applesauce
- 3 tbsps peanut butter
Of course, some of these egg alternatives will affect the flavor profile of your dessert, so choose wisely!
Overall, cake isn’t your healthiest option for dessert, but if you must—and sometimes, you absolutely must—consider an alternative to the boxed variety. I promise, you won’t be disappointed! Enjoy!
FORMULA BASE: CAKE
For the cake:
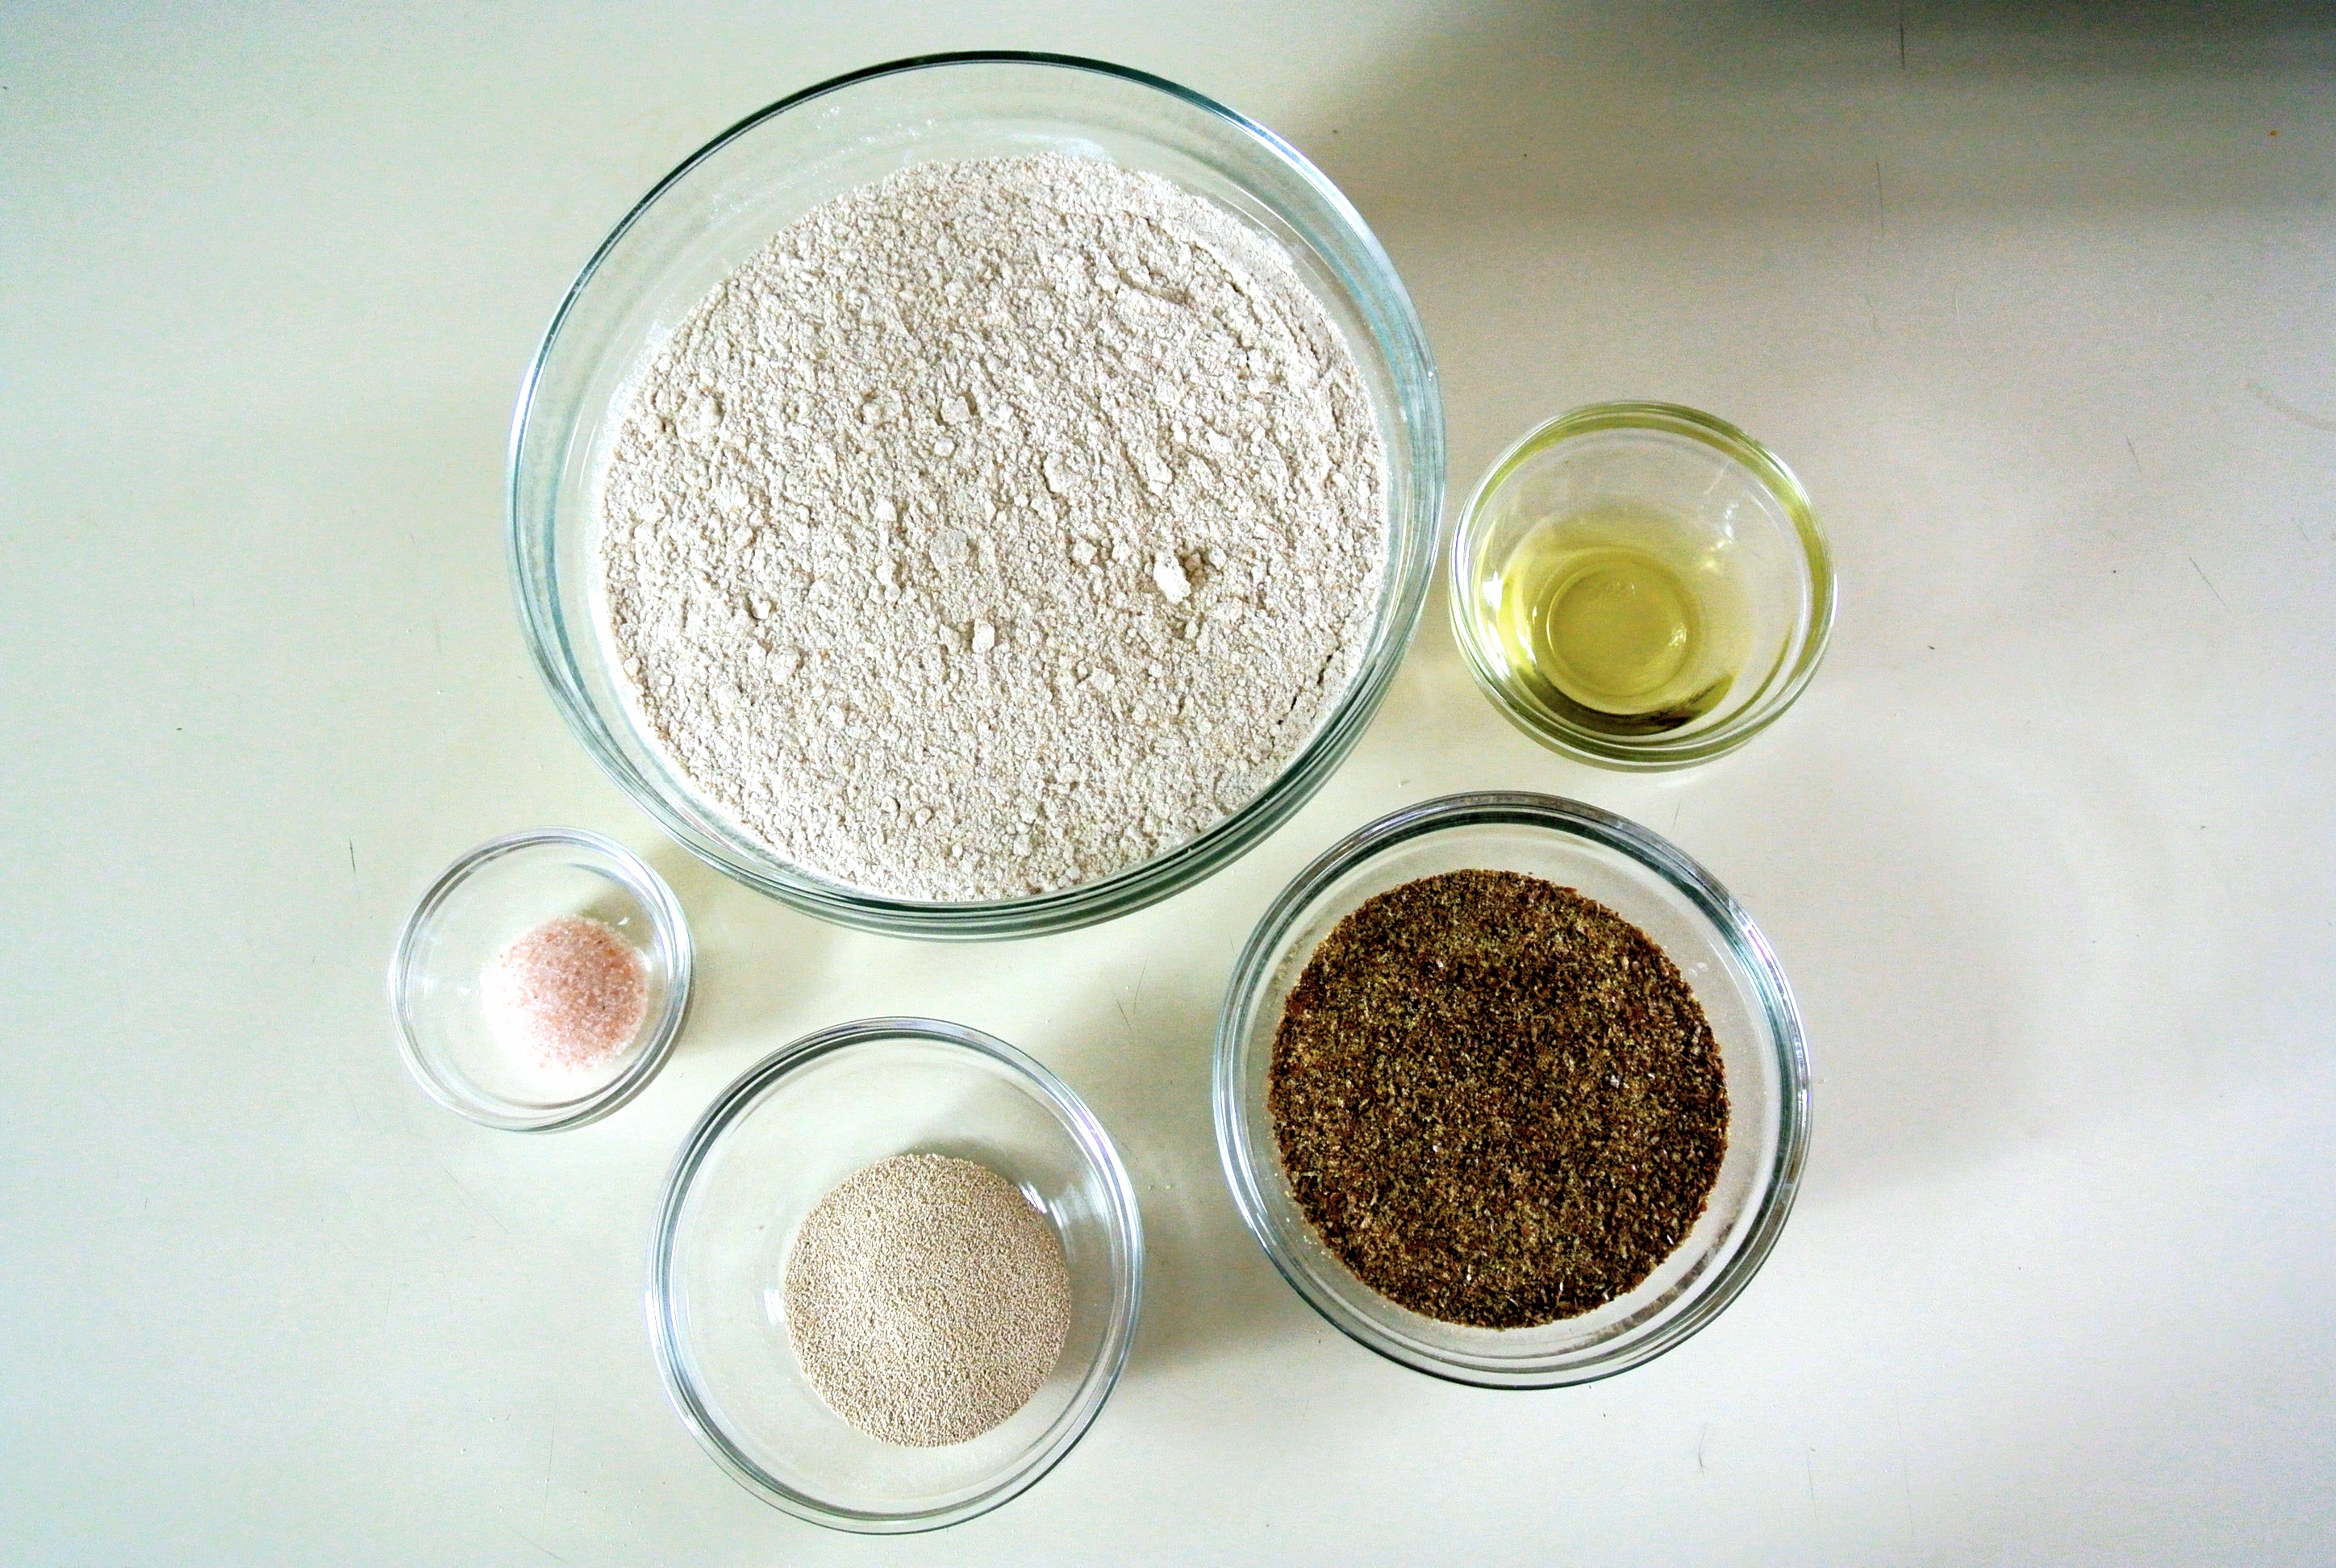
- 1 cup flour –> I’m using brown rice. (See my multi-grain salad post for the nutritional benefits of brown rice.)
- 1-1 ½ cups plant milk (depending on the flour) –> I’m using just over 1 cup of flax.
- ¾ cup sweetener –> I’m using raw turbinado sugar.
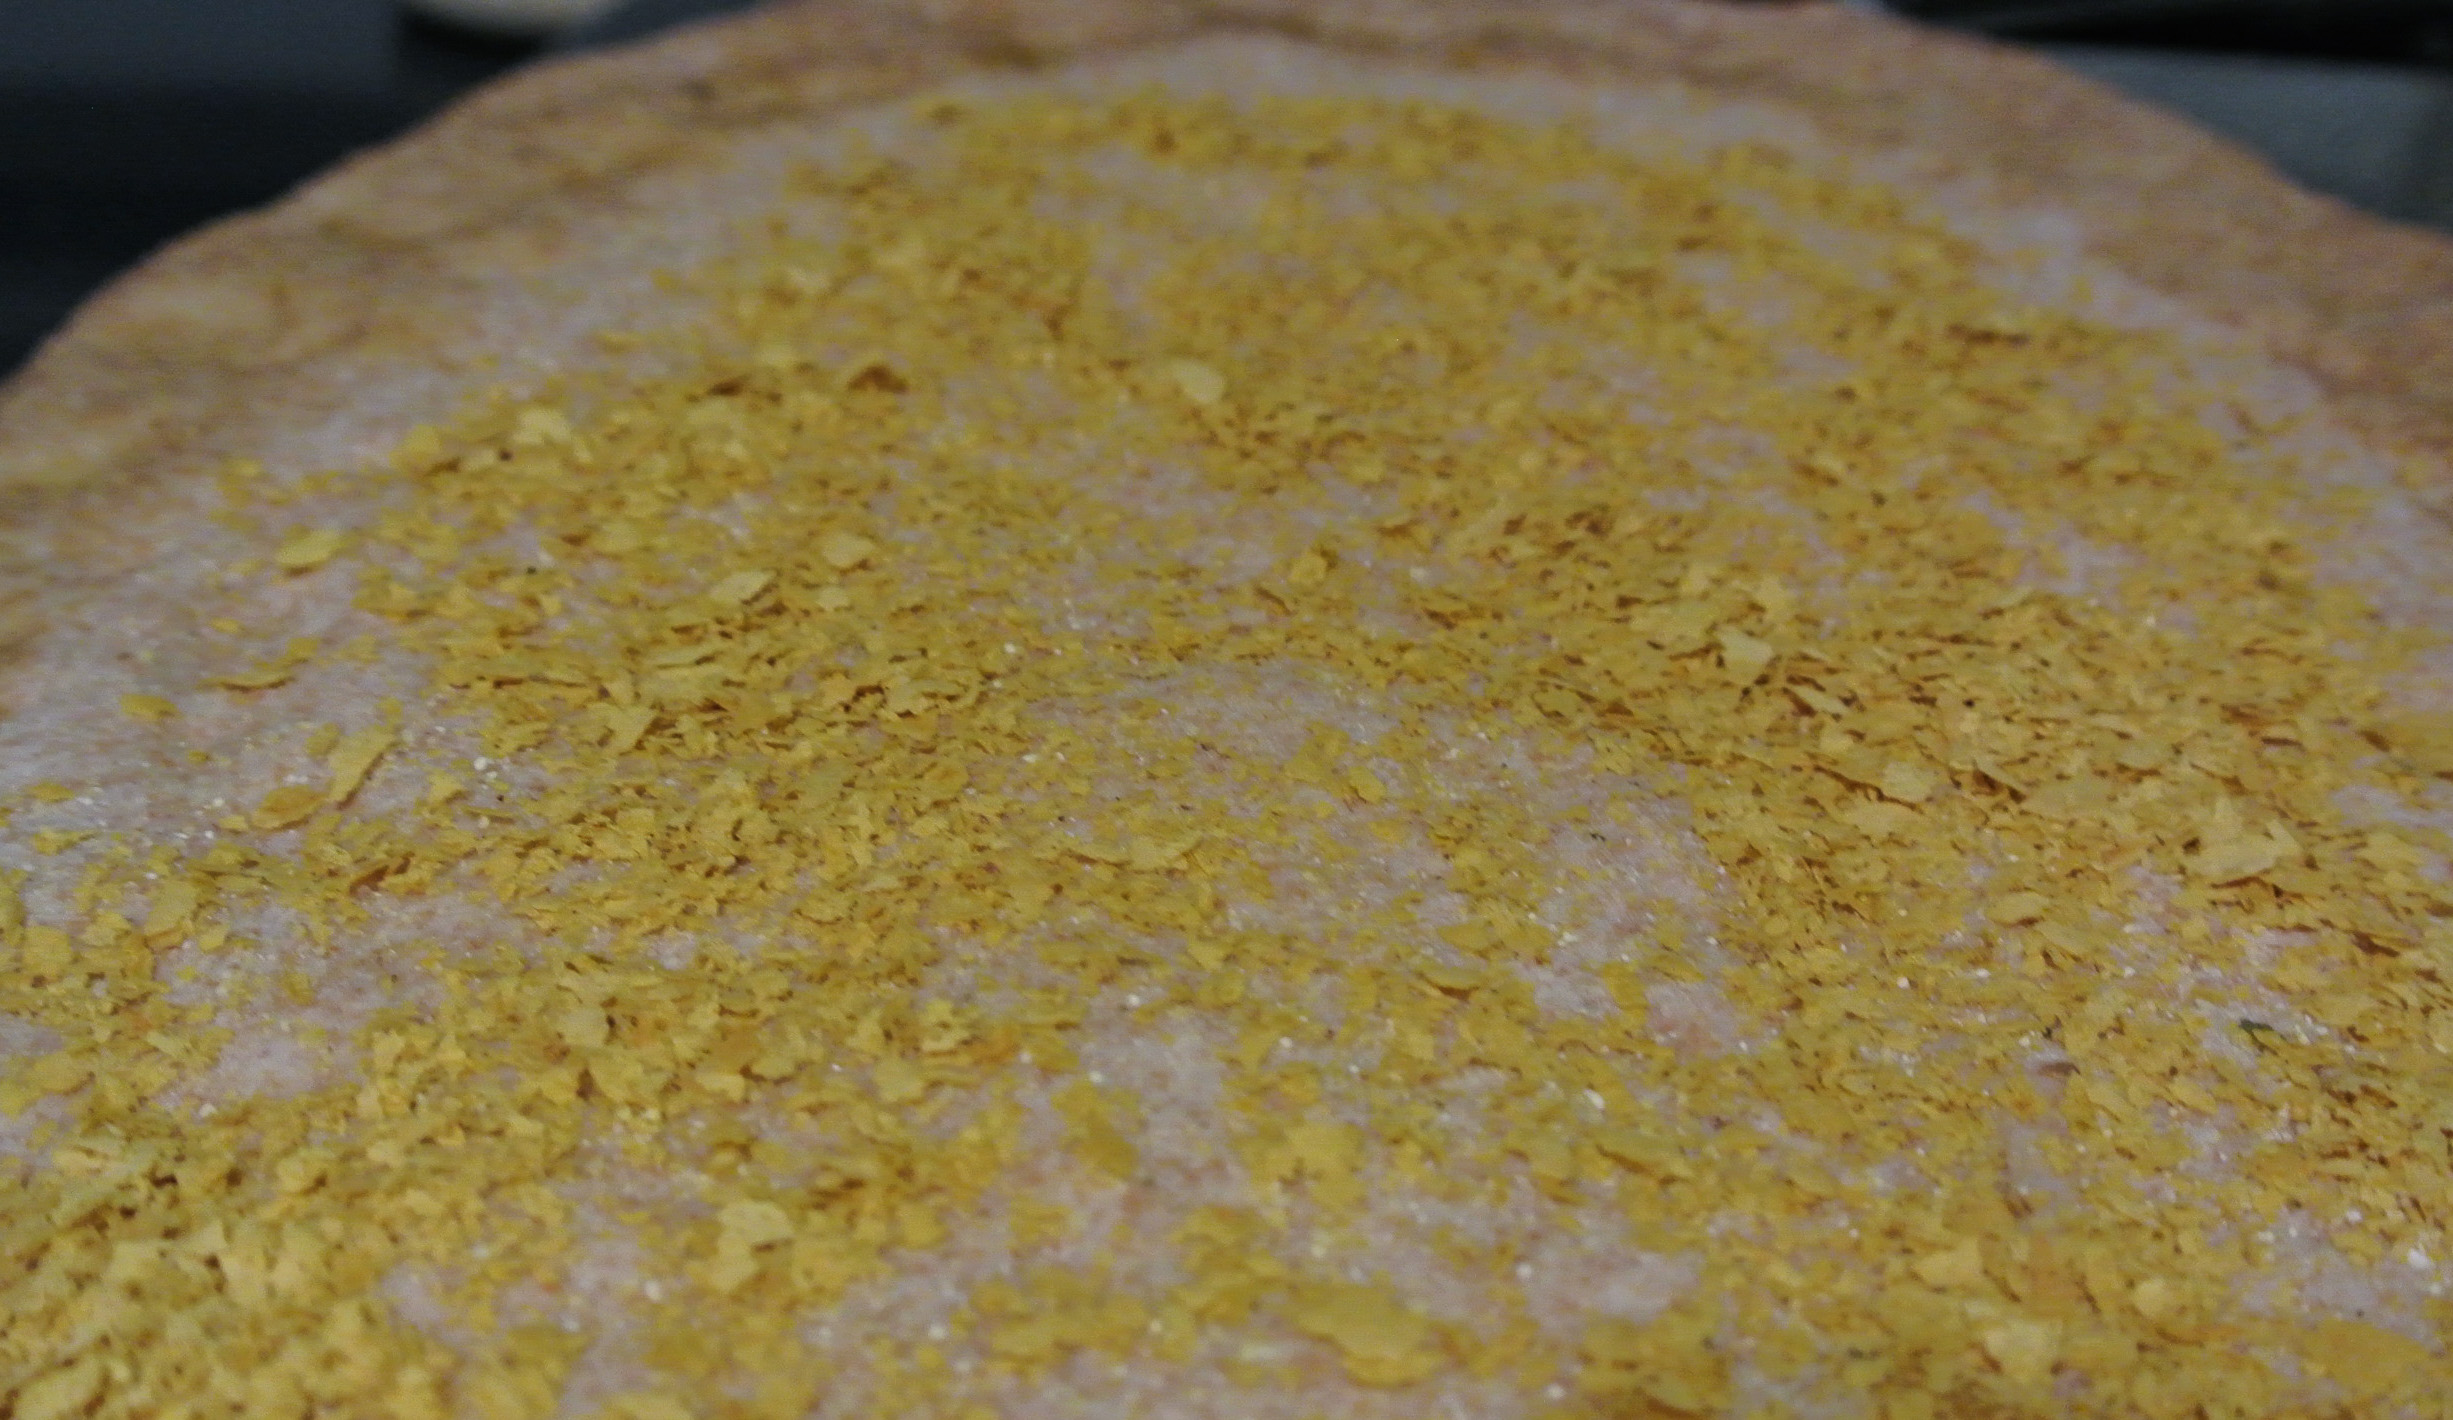
- ¼ cup ground flaxseed
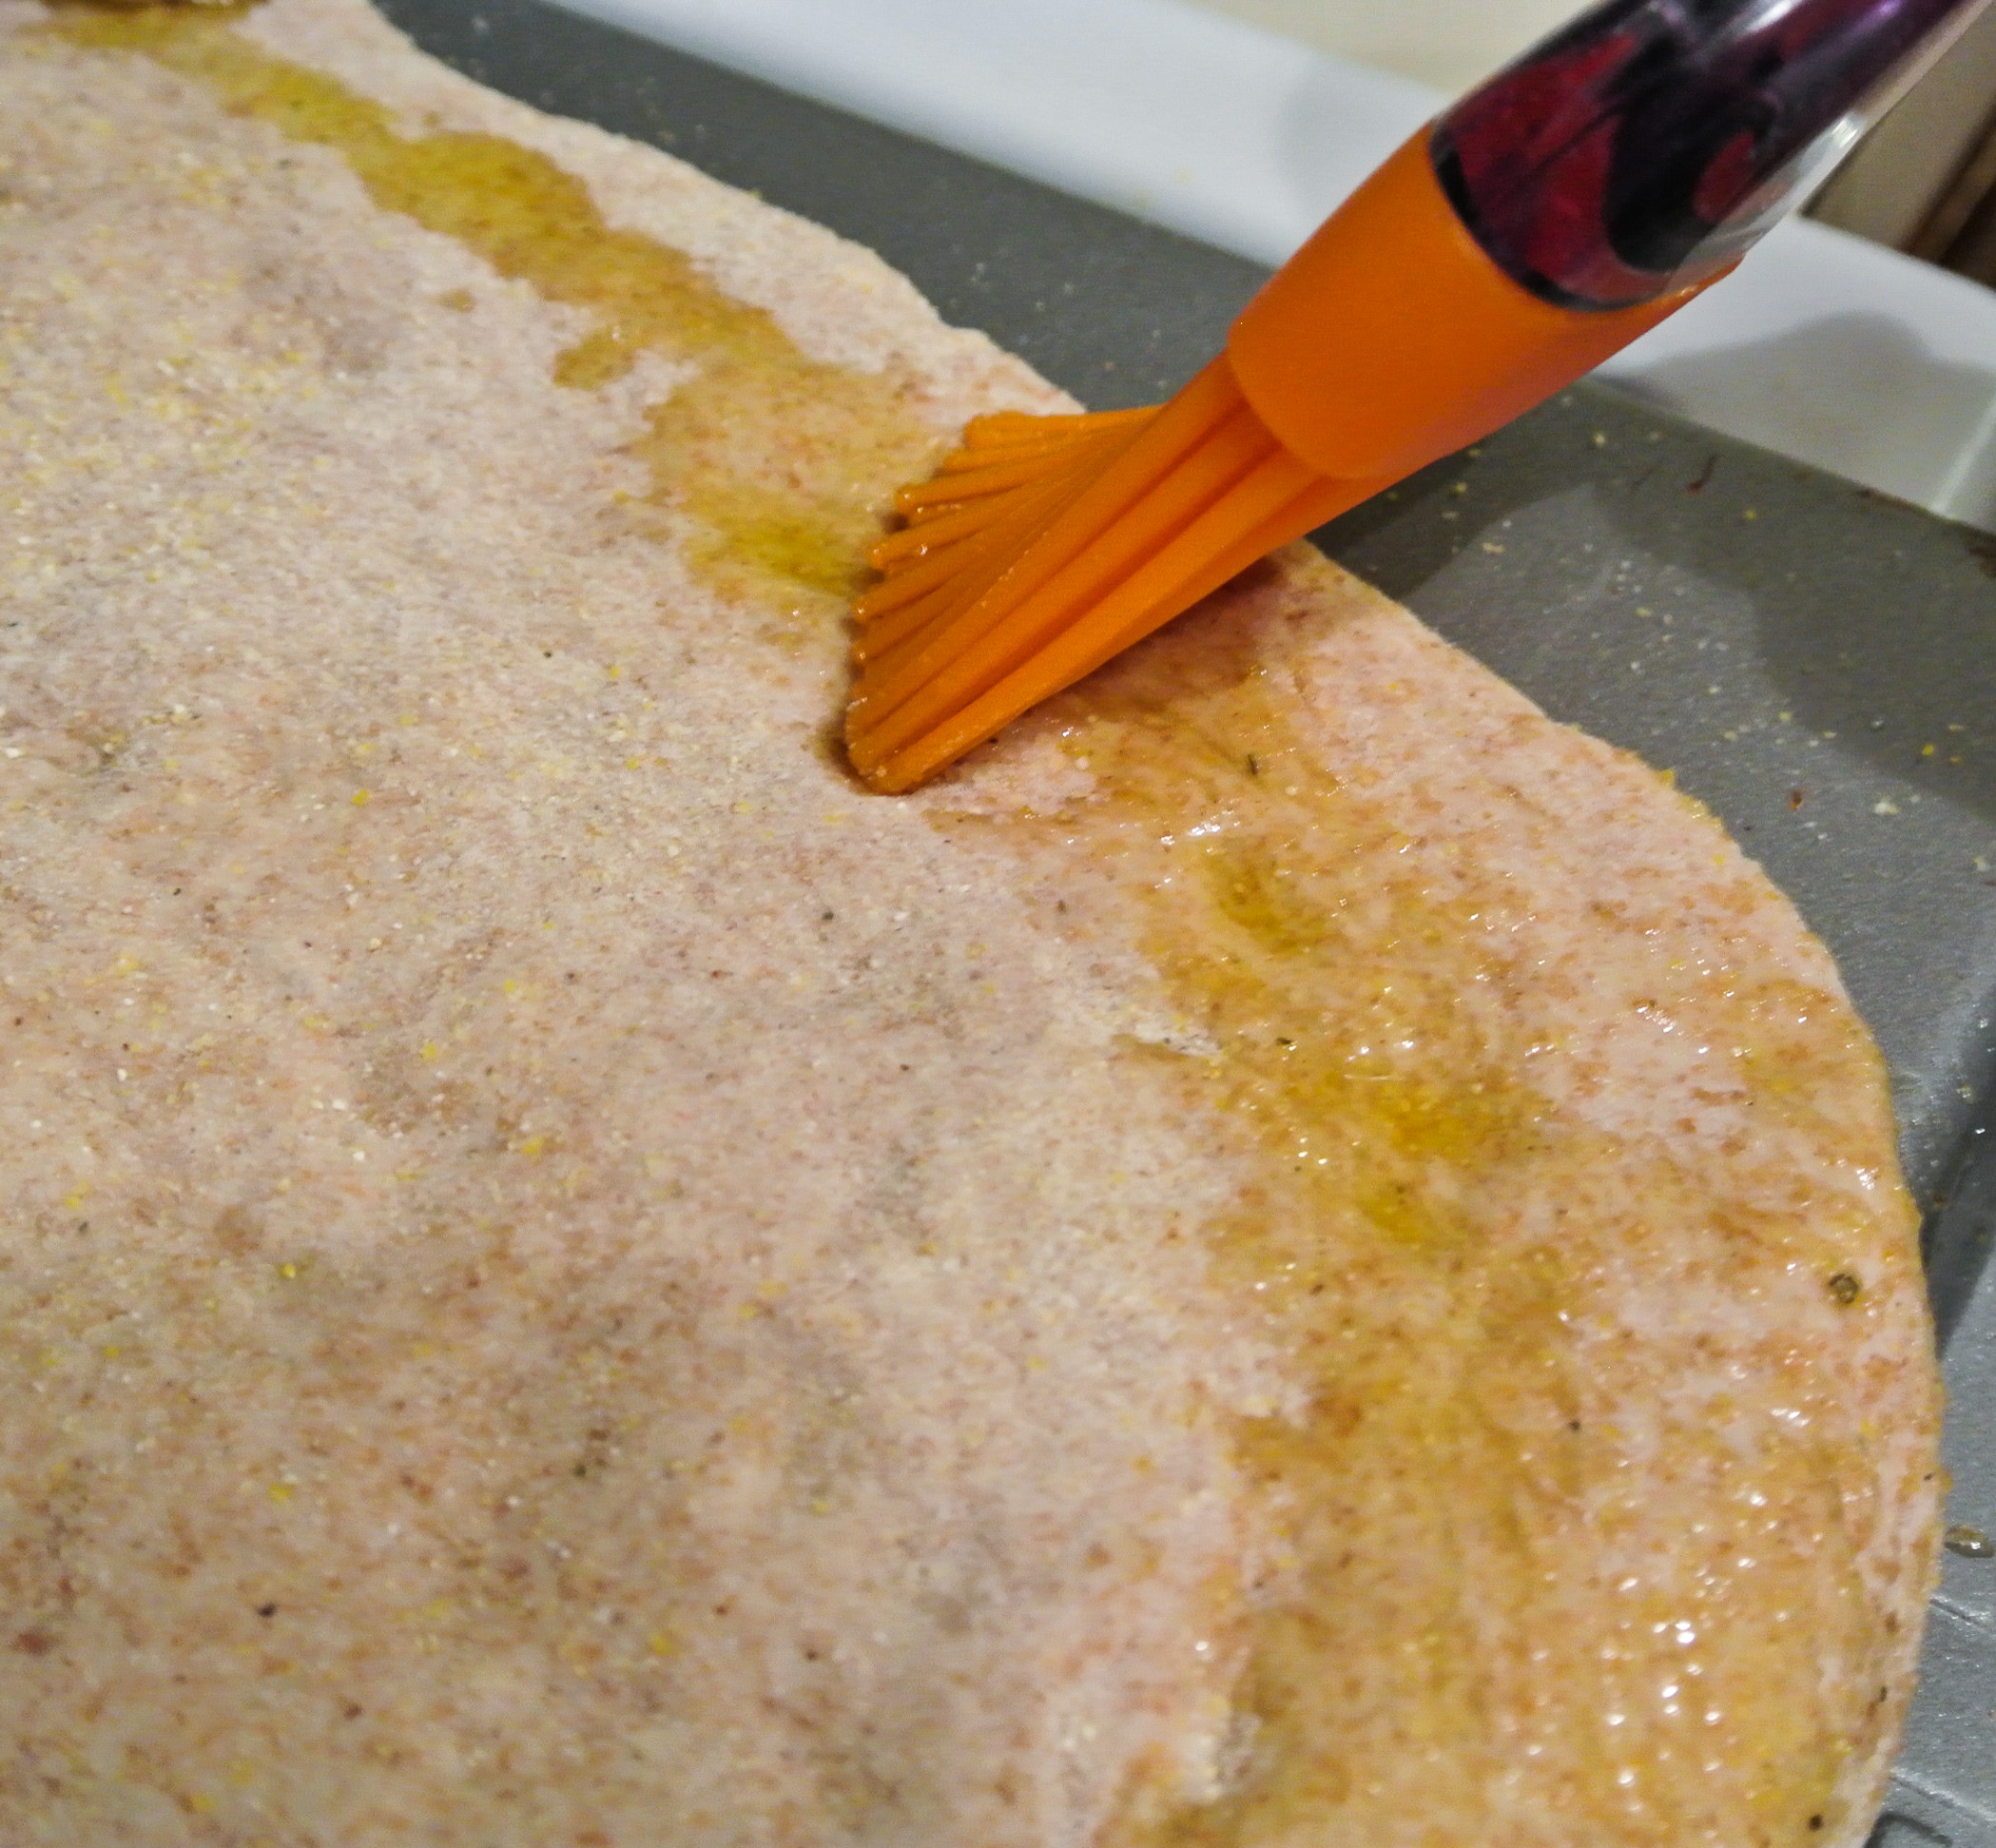
- ¼ cup oil –> I’m using coconut (melted).
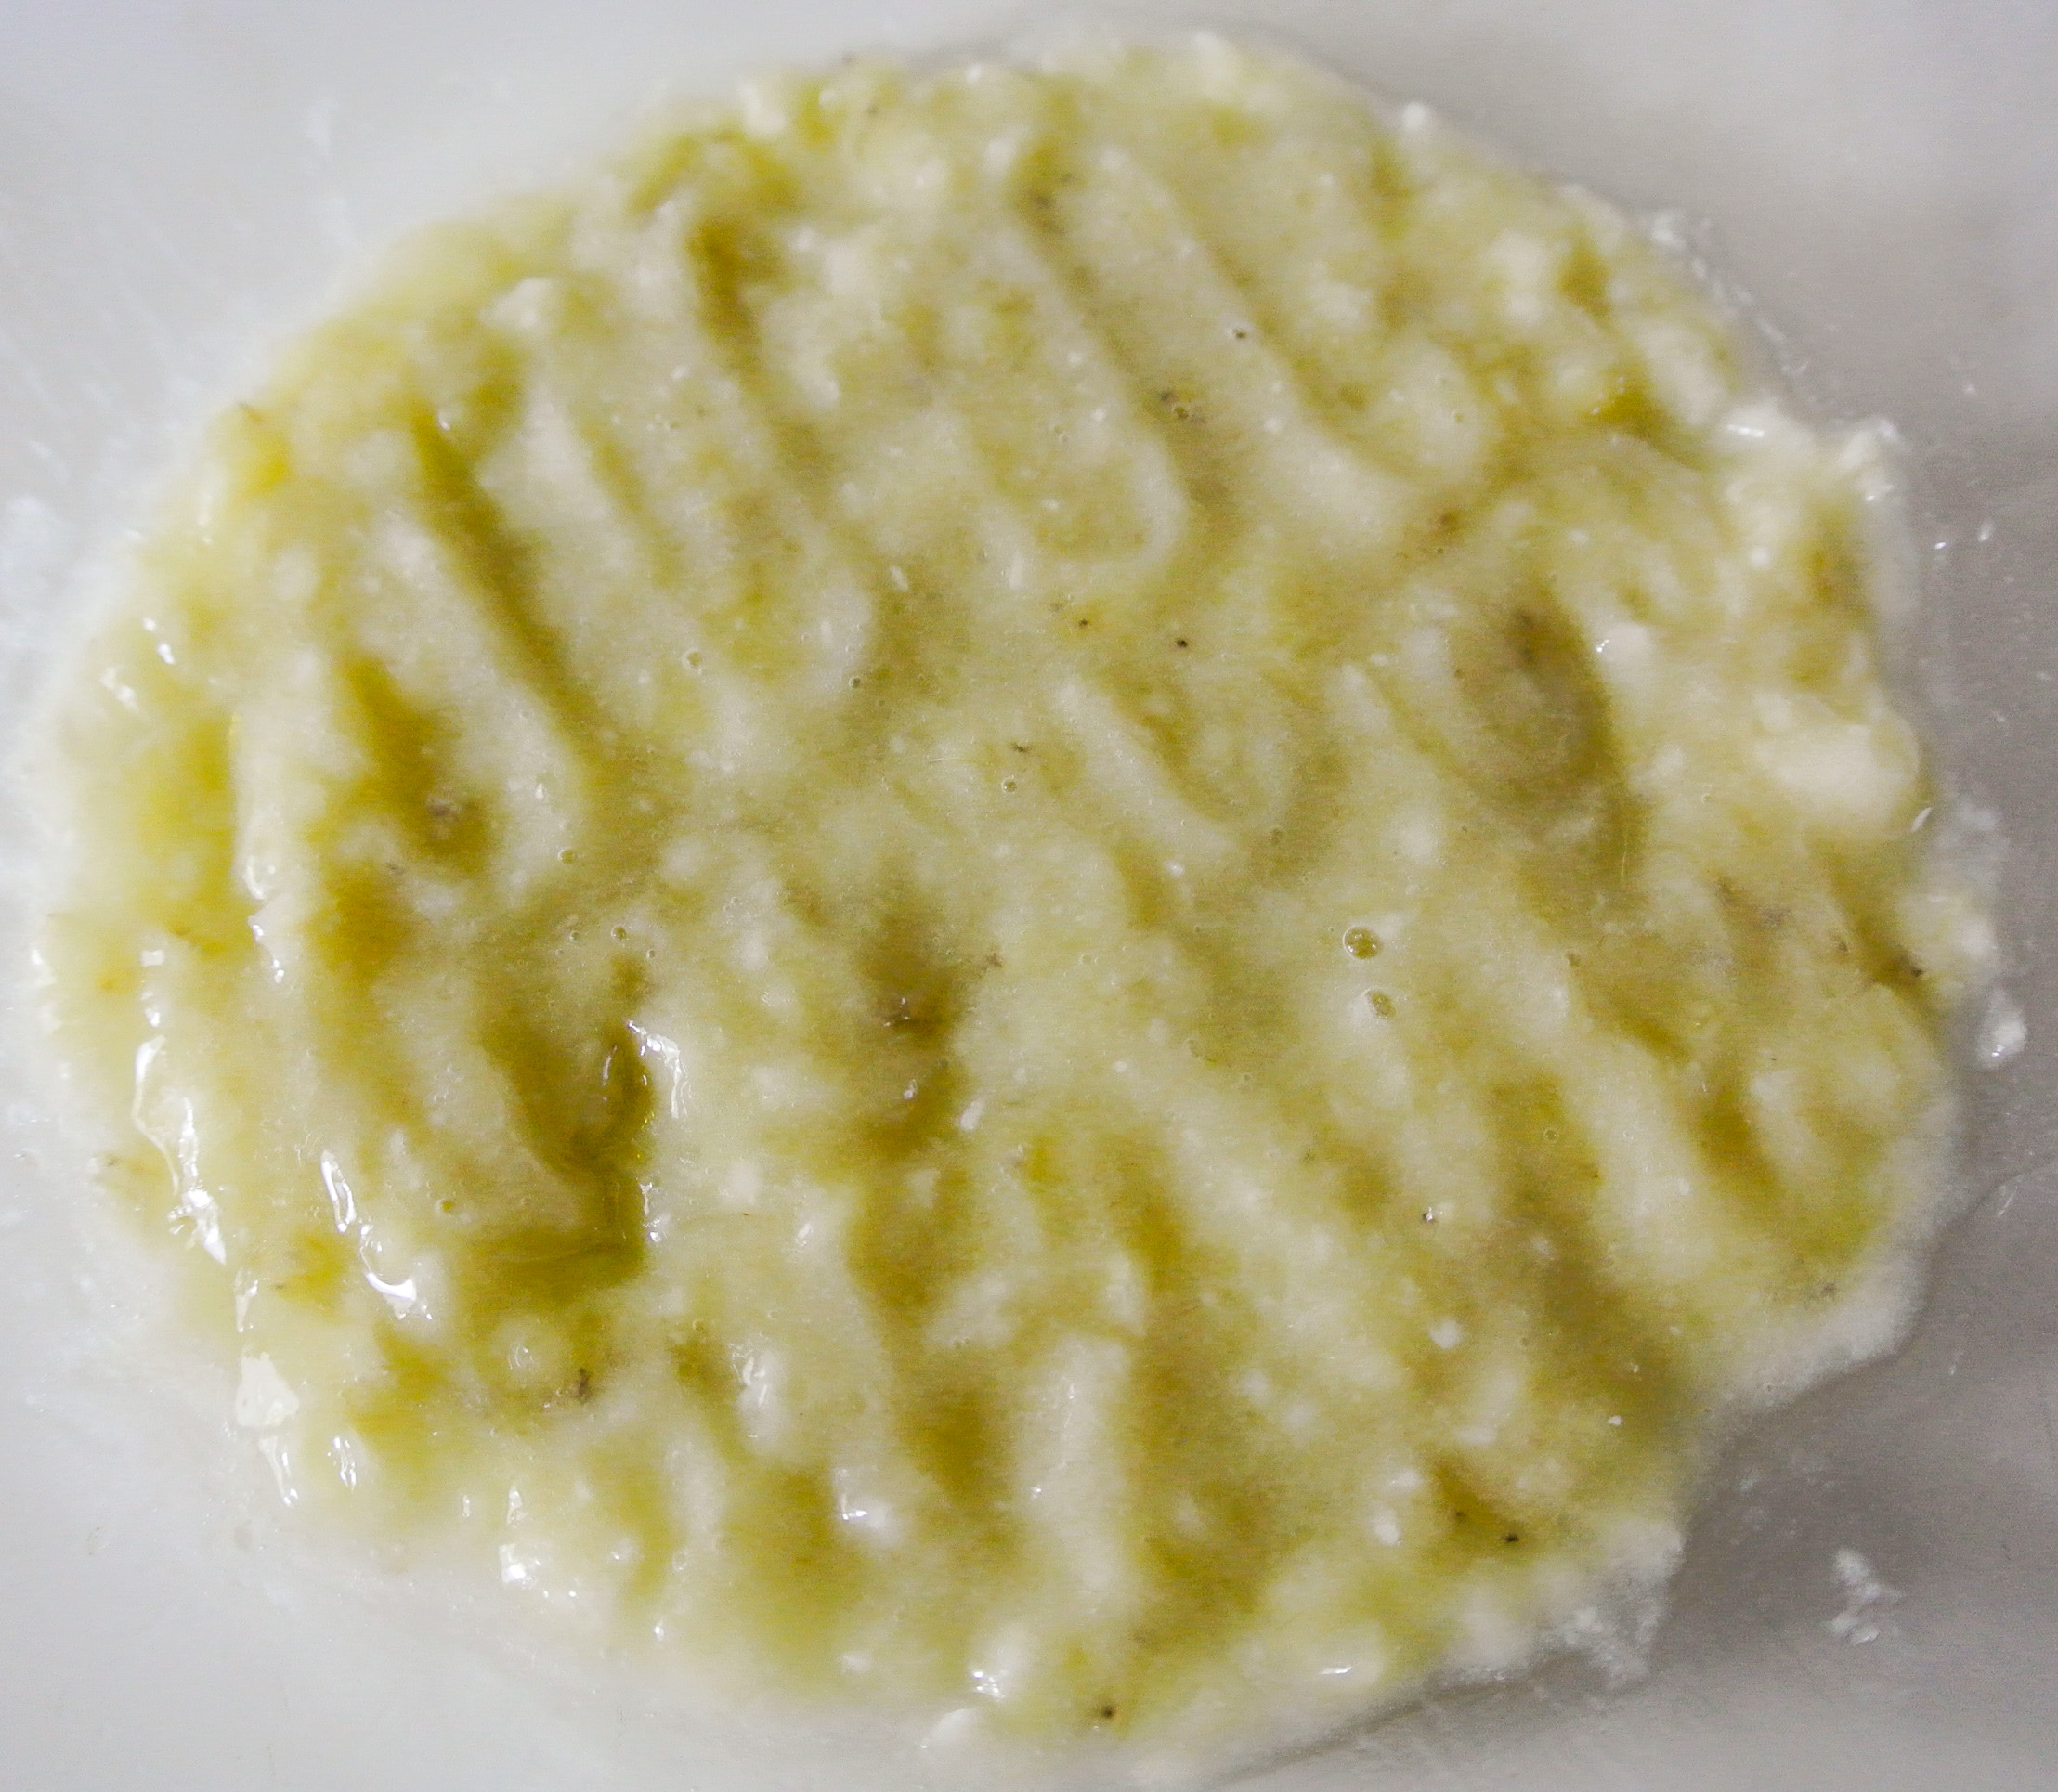
- 1 “egg” –> I’m using ½ of a mashed ripe banana.
- 1 tsp xanthan gum (a binding agent, if using gluten-free flour) –> I’m using it (see below).

- 1 tsp baking powder
- ½ tsp baking soda
- ½-1 tsp extract (depending on the flavor intensity) –> I’m using 1 tsp vanilla.
- ¼ tsp salt –> I’m using pink Himalayan sea salt.
- Up to ½ cup specialty ingredients (chopped nuts, dried fruit, shredded coconut, cocoa powder, citrus juice/zest, etc.) (optional) –> I’m not using any.
For the frosting**:
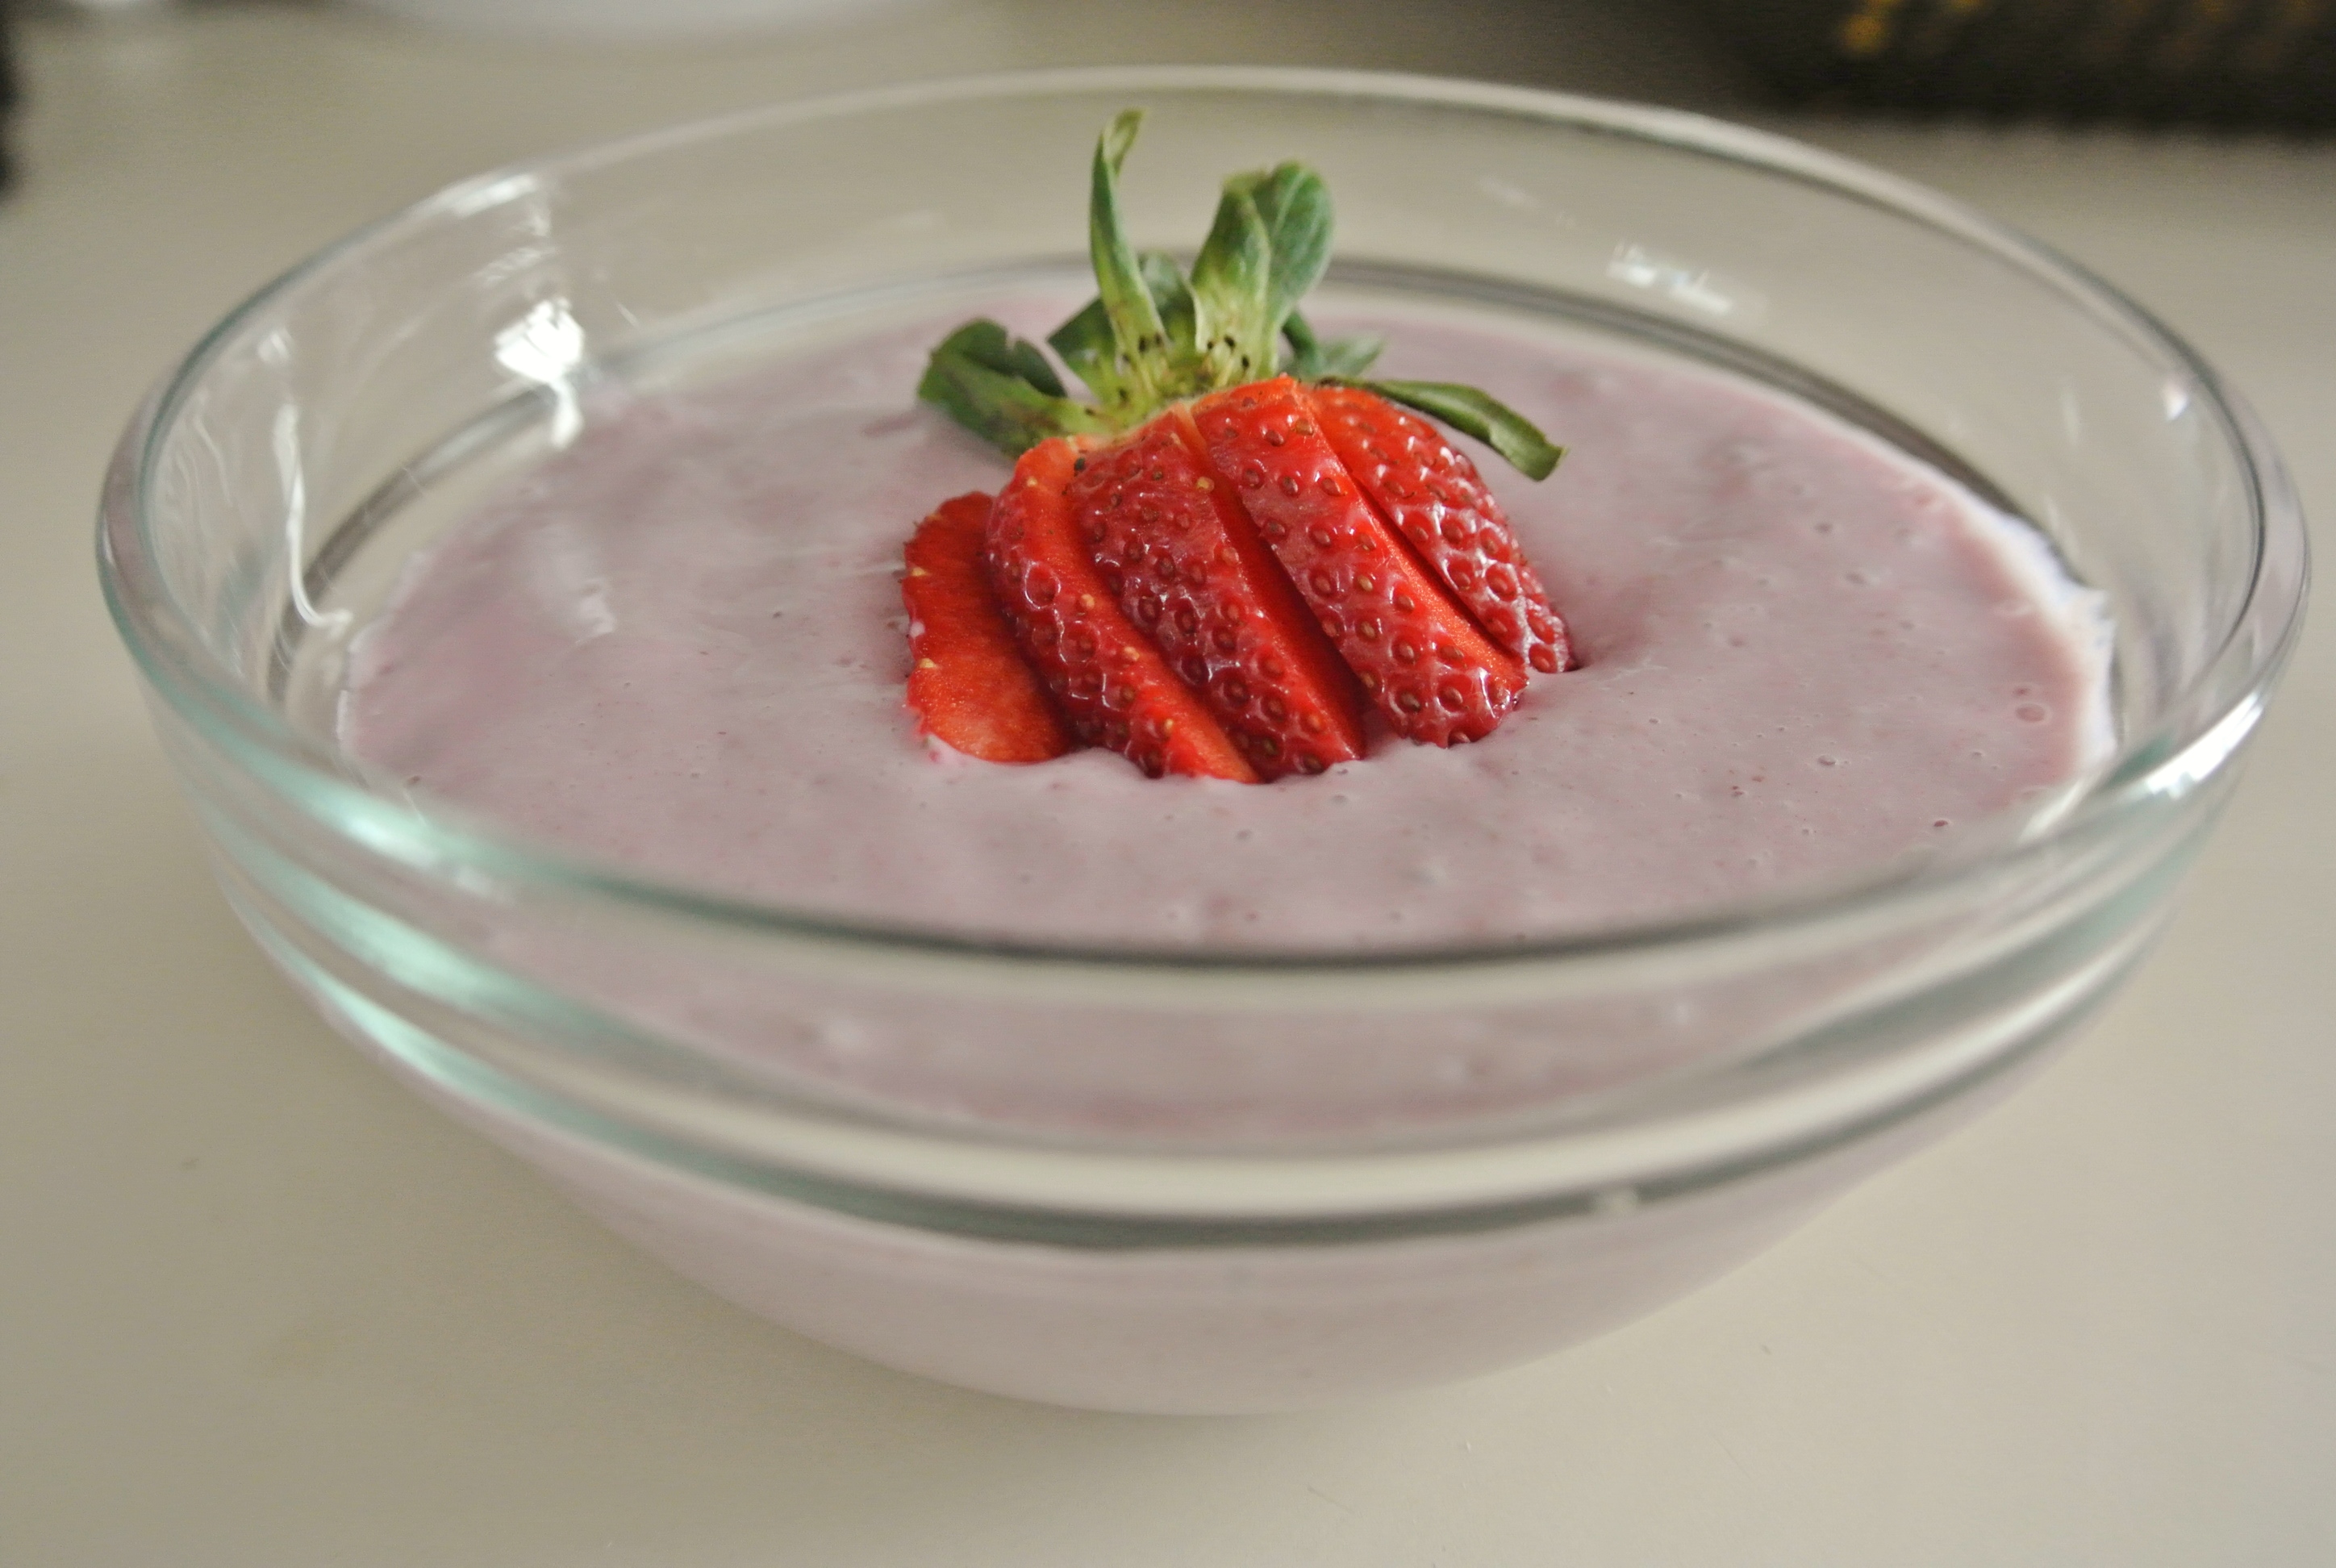
- 1 cup coarsely chopped fresh or steamed fruit (depending on the fruit) –> I’m using raw strawberries.
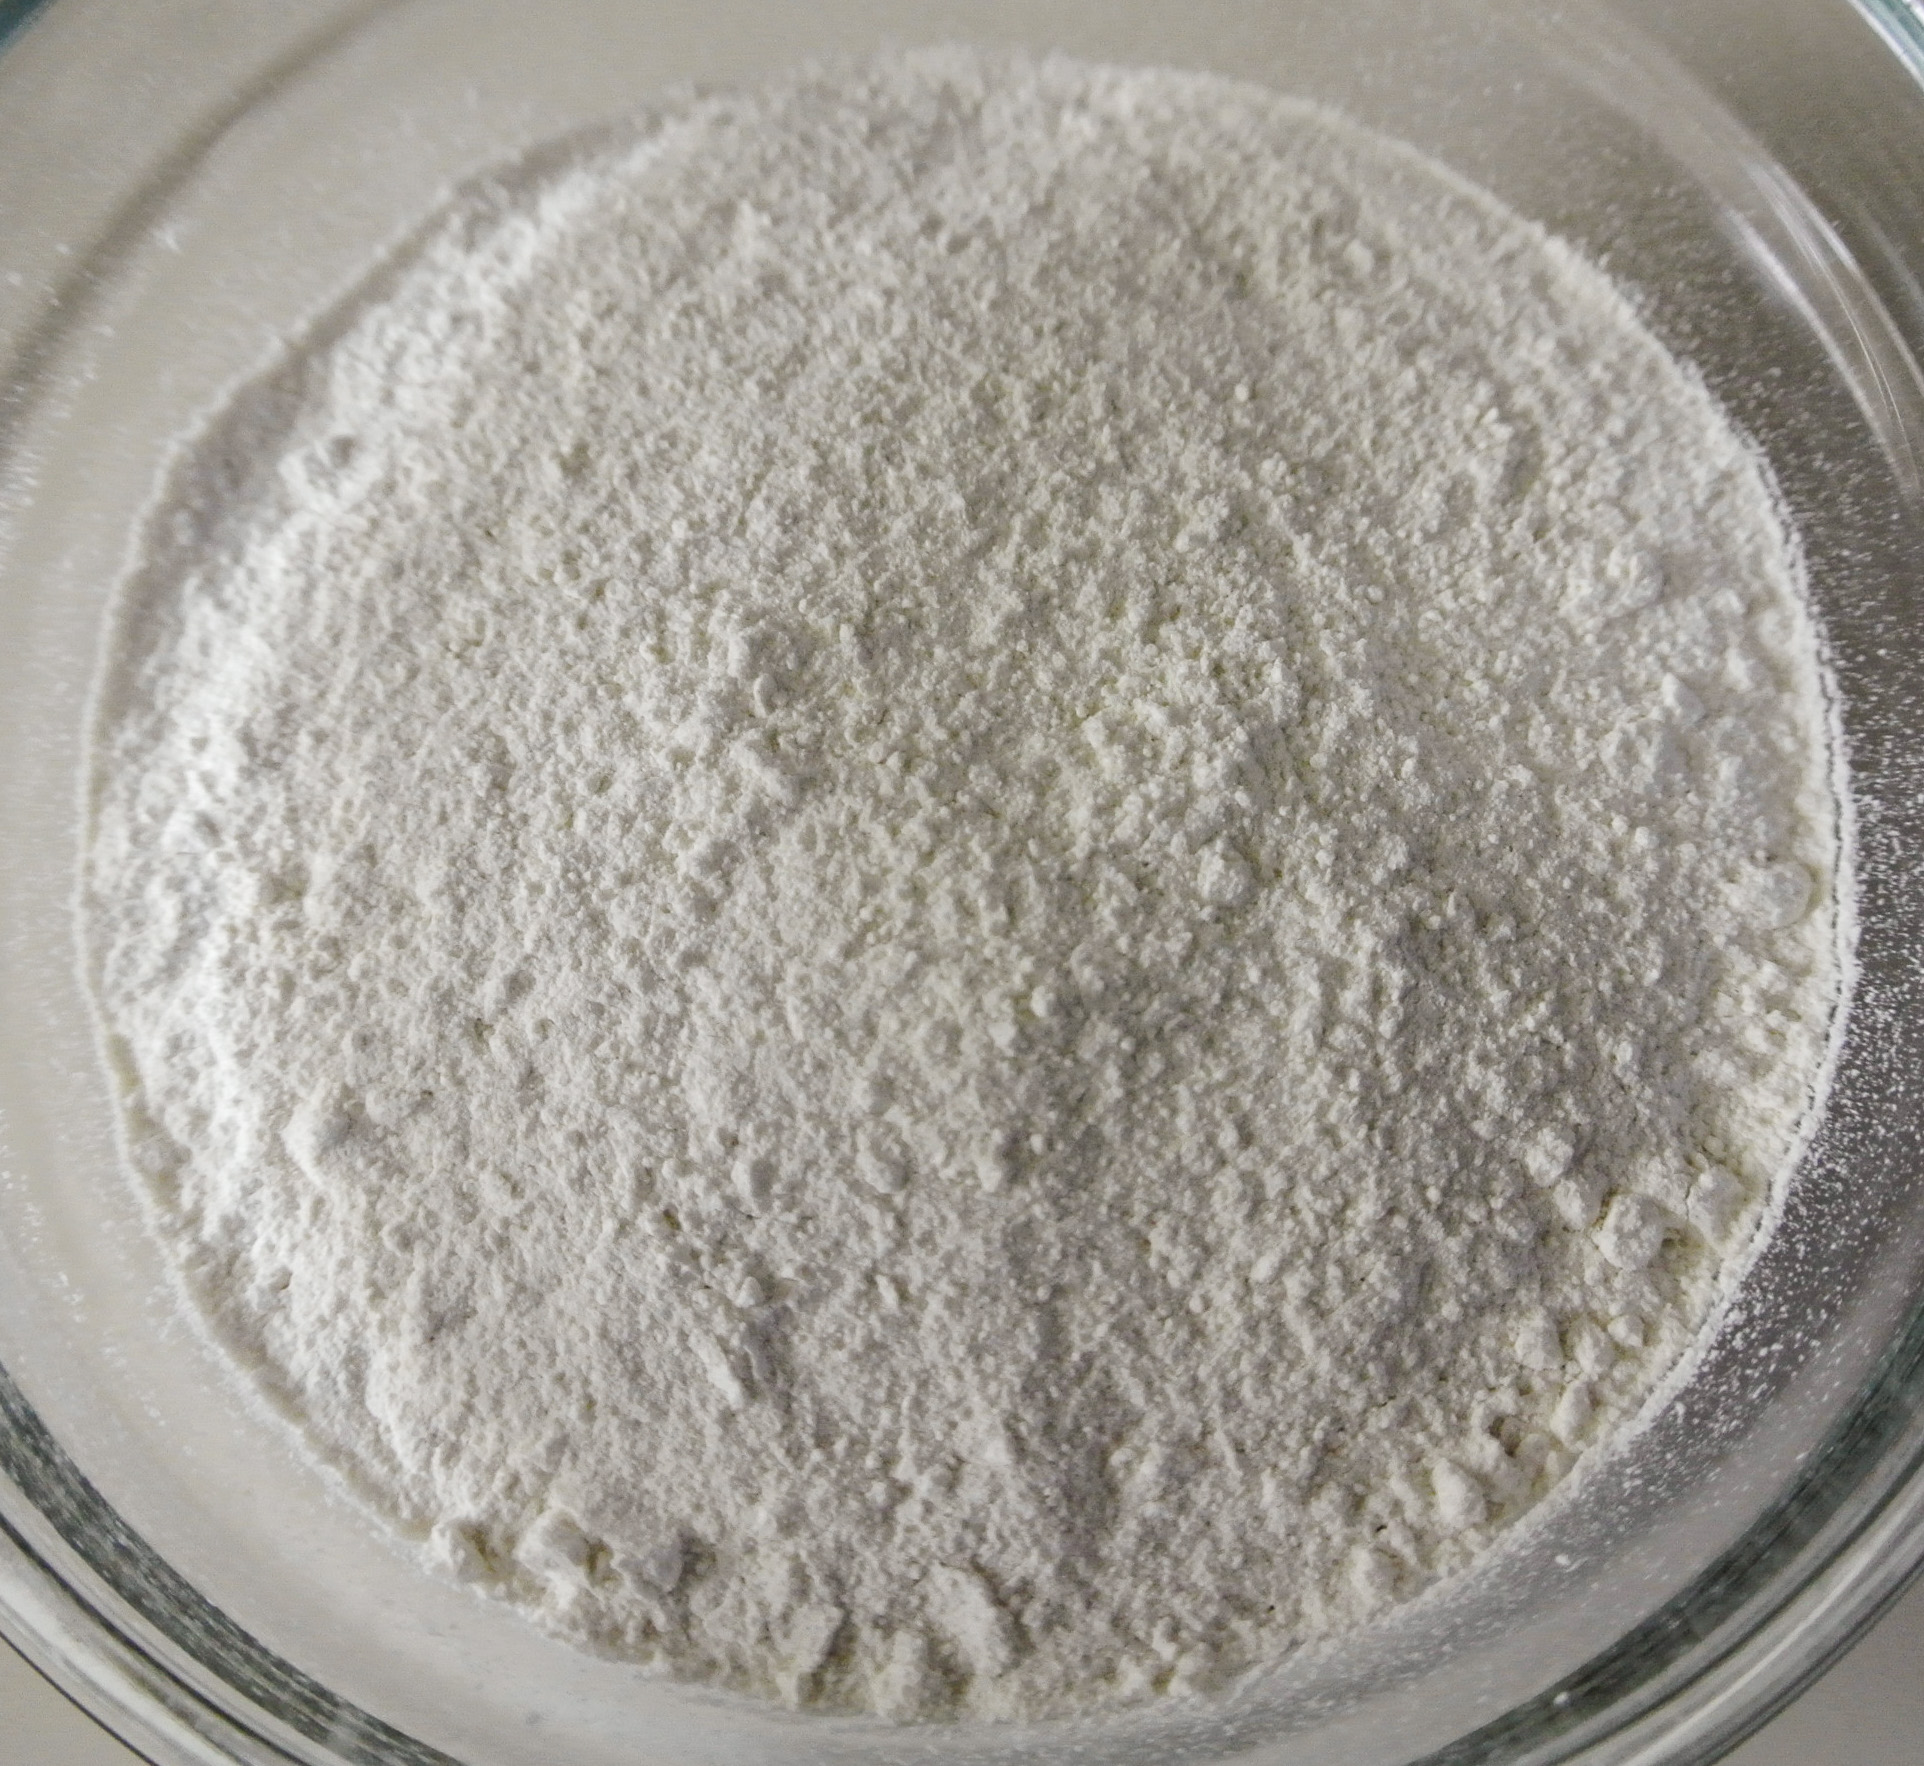
- ½ cup powdered sweetener –> I’m using turbinado sugar, which I’ve turned into powdered sugar with the dry blade on my Vitamix.
- ¼ cup room temperature natural vegan butter –> I don’t love to use a butter alternative very often since I’m not keen on every ingredient used to make it, but I tried making frosting with solid coconut oil and it just didn’t take. It’s ok, it’s just a little…and it’s just this once. 🙂
- 1 tsp citrus juice (to preserve the color of the fruit)*** –> I’m using lemon.
- ½-¼ tsp extract (depending on the flavor intensity) –> I’m using ½ tsp vanilla.
**If you’re like me, I’ll sometimes chow down on a cake without frosting! Add it or don’t. 🙂
***I would avoid food coloring unless you can find an all-natural variety containing plant pigments. Some varieties come from animals and others are made artificially with chemicals.
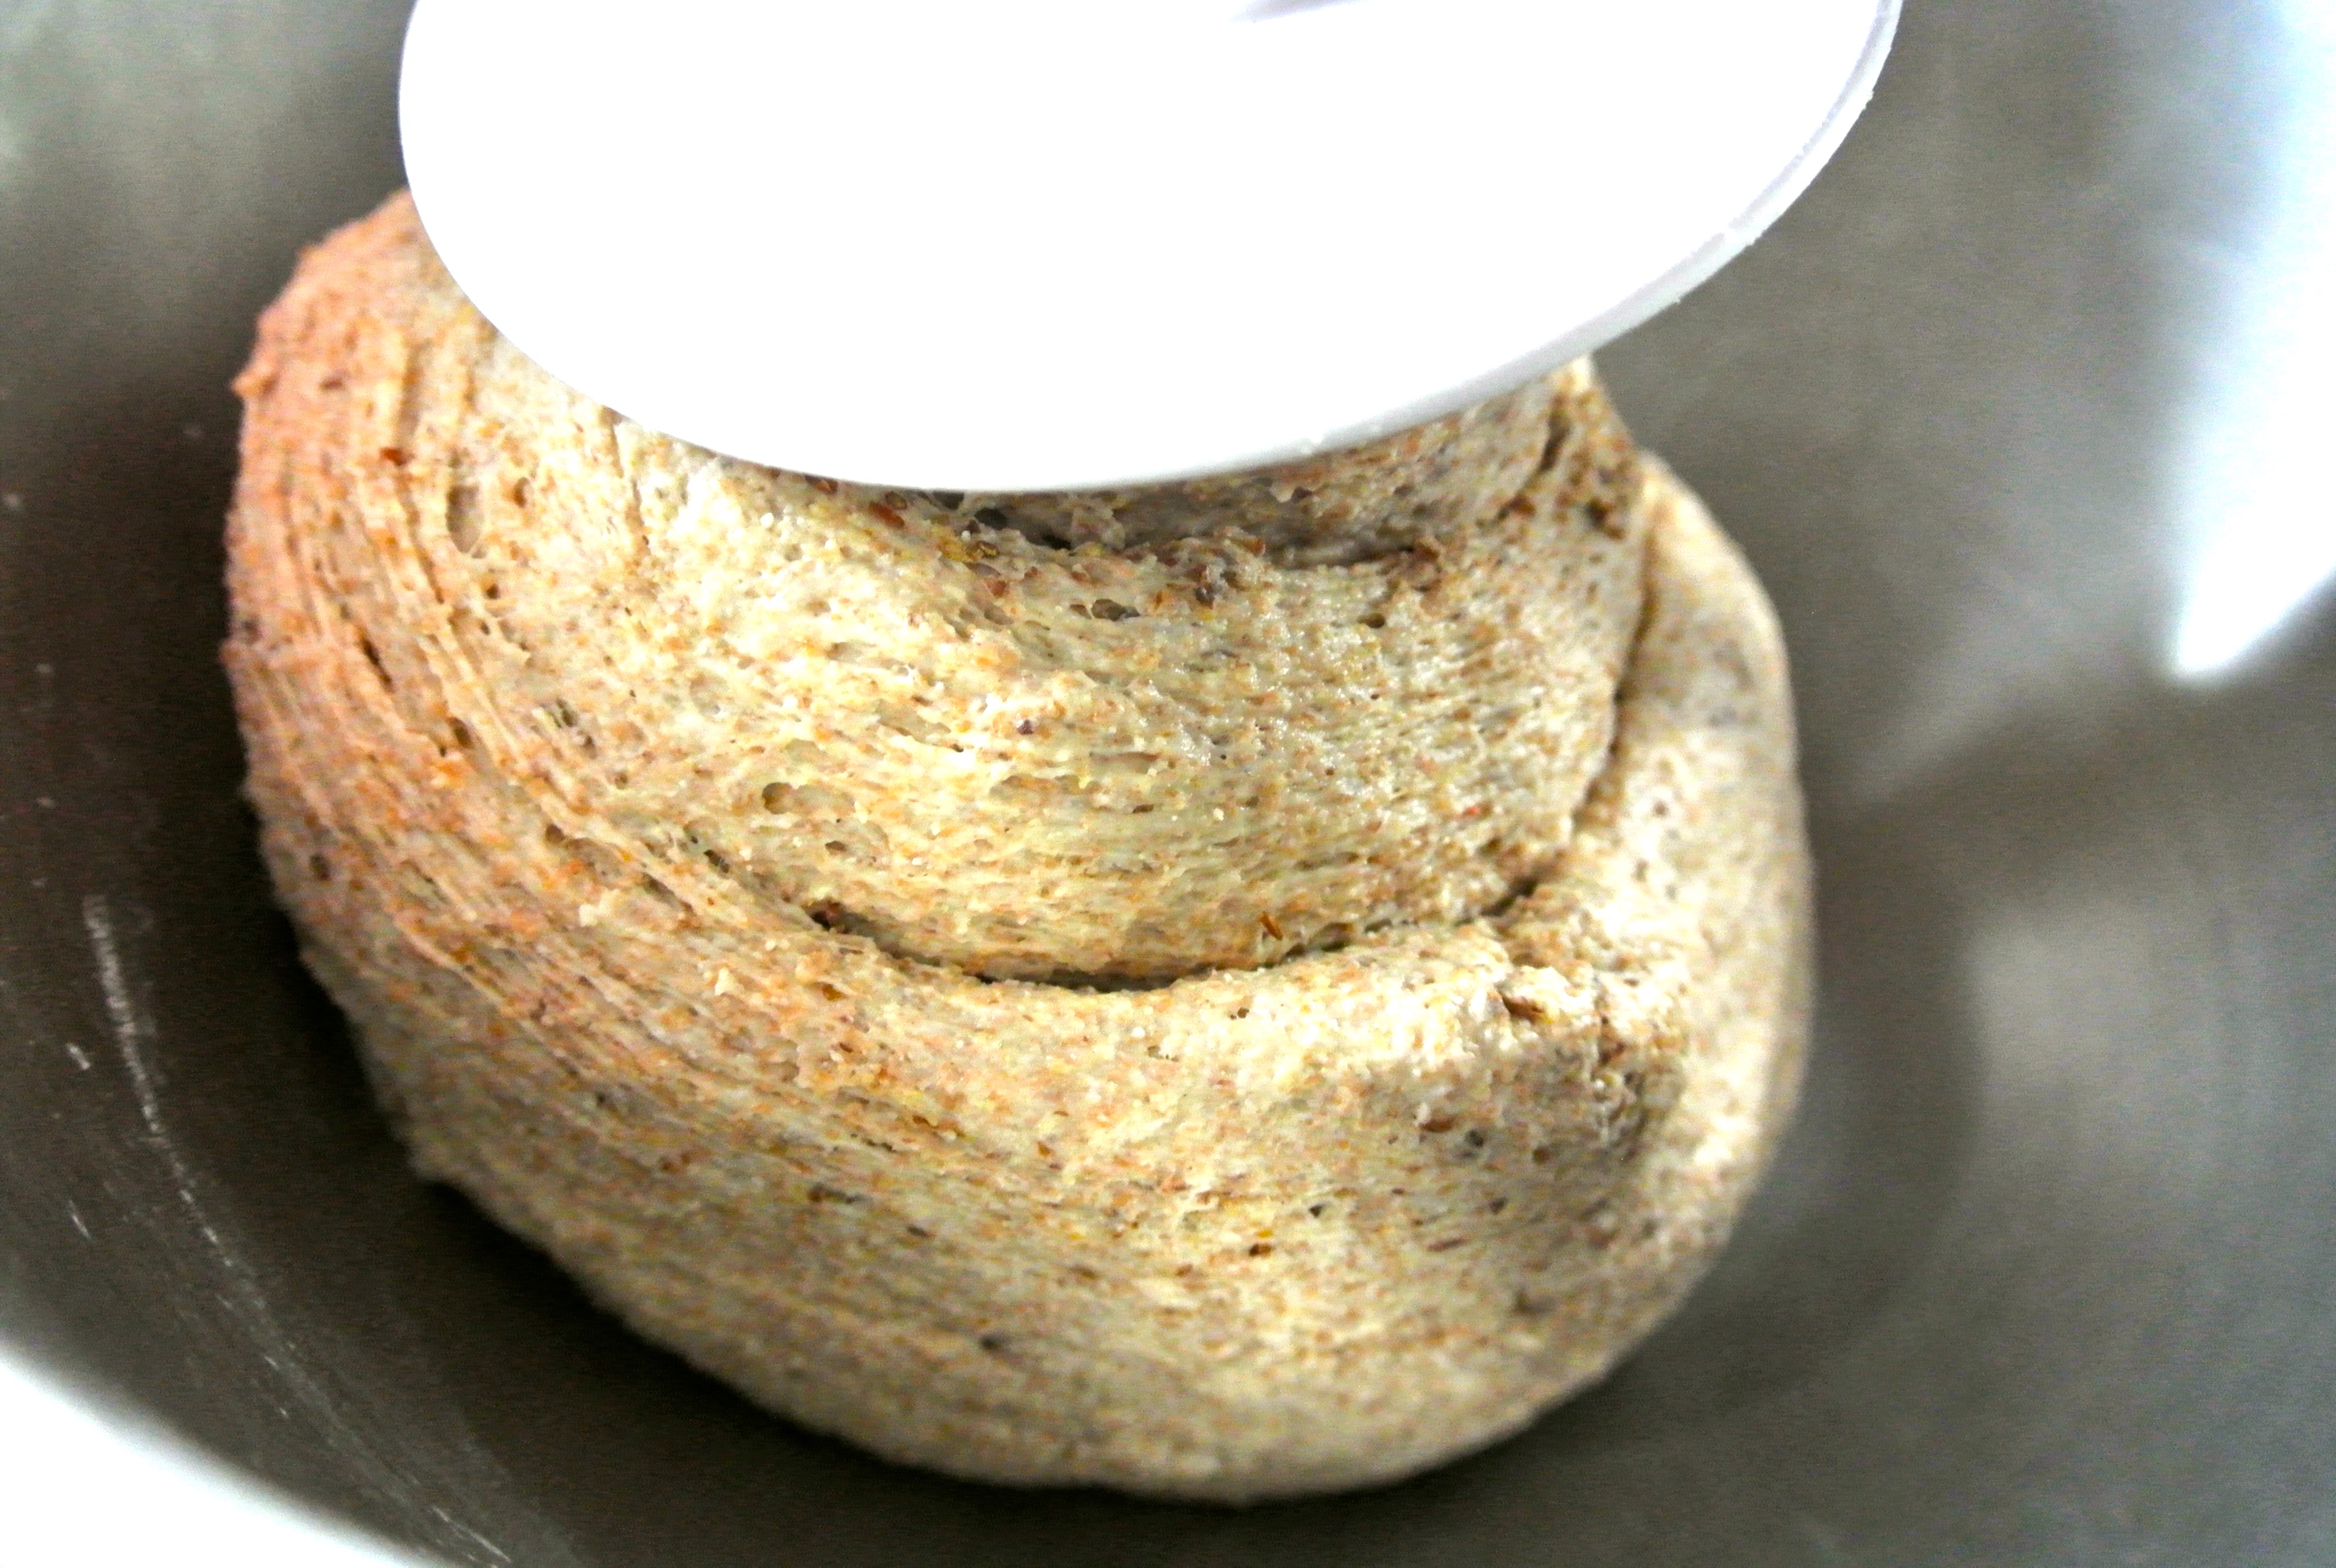
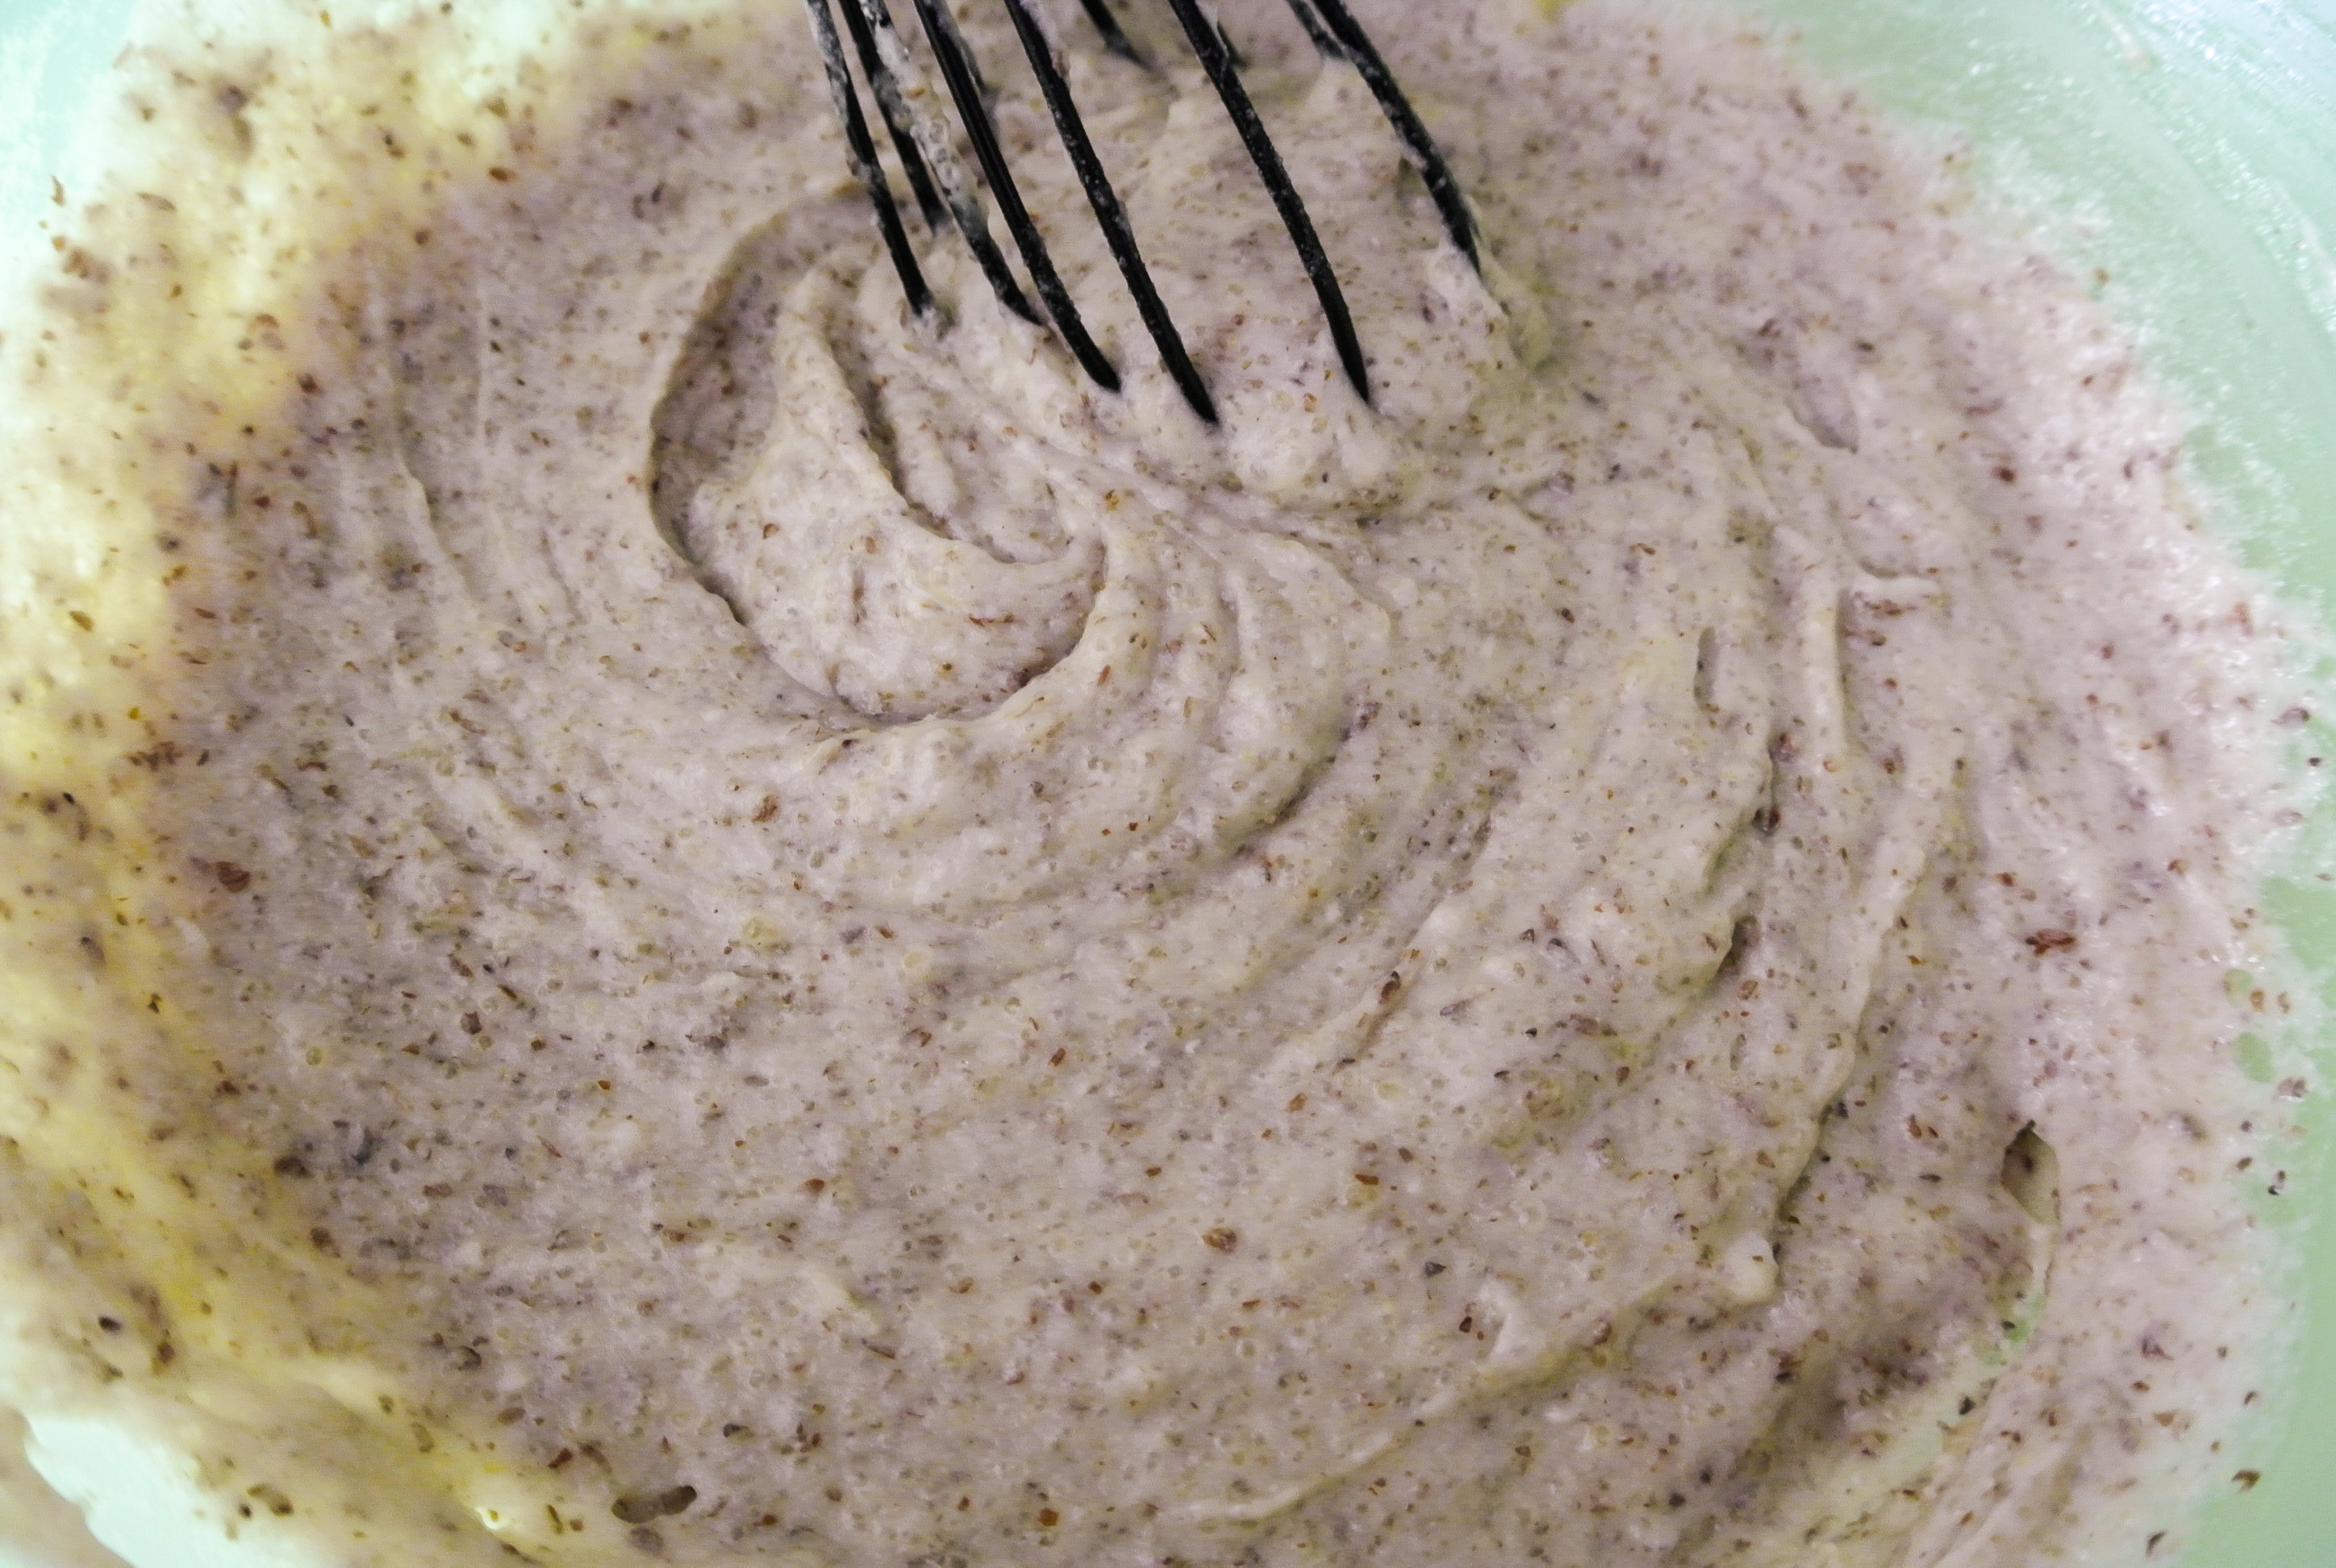
Preheat your oven to 350 degrees. Prepare your “egg,” whether that involves scooping, mashing, combining, etc. in a large mixing bowl.
Mix together all of your wet ingredients in the same bowl. Separately mix all dry ingredients. Using a whisk or wooden spoon, slowly incorporate the dry into the wet until a smooth, semi-pourable batter forms. Stir in any specialty ingredients, if using.
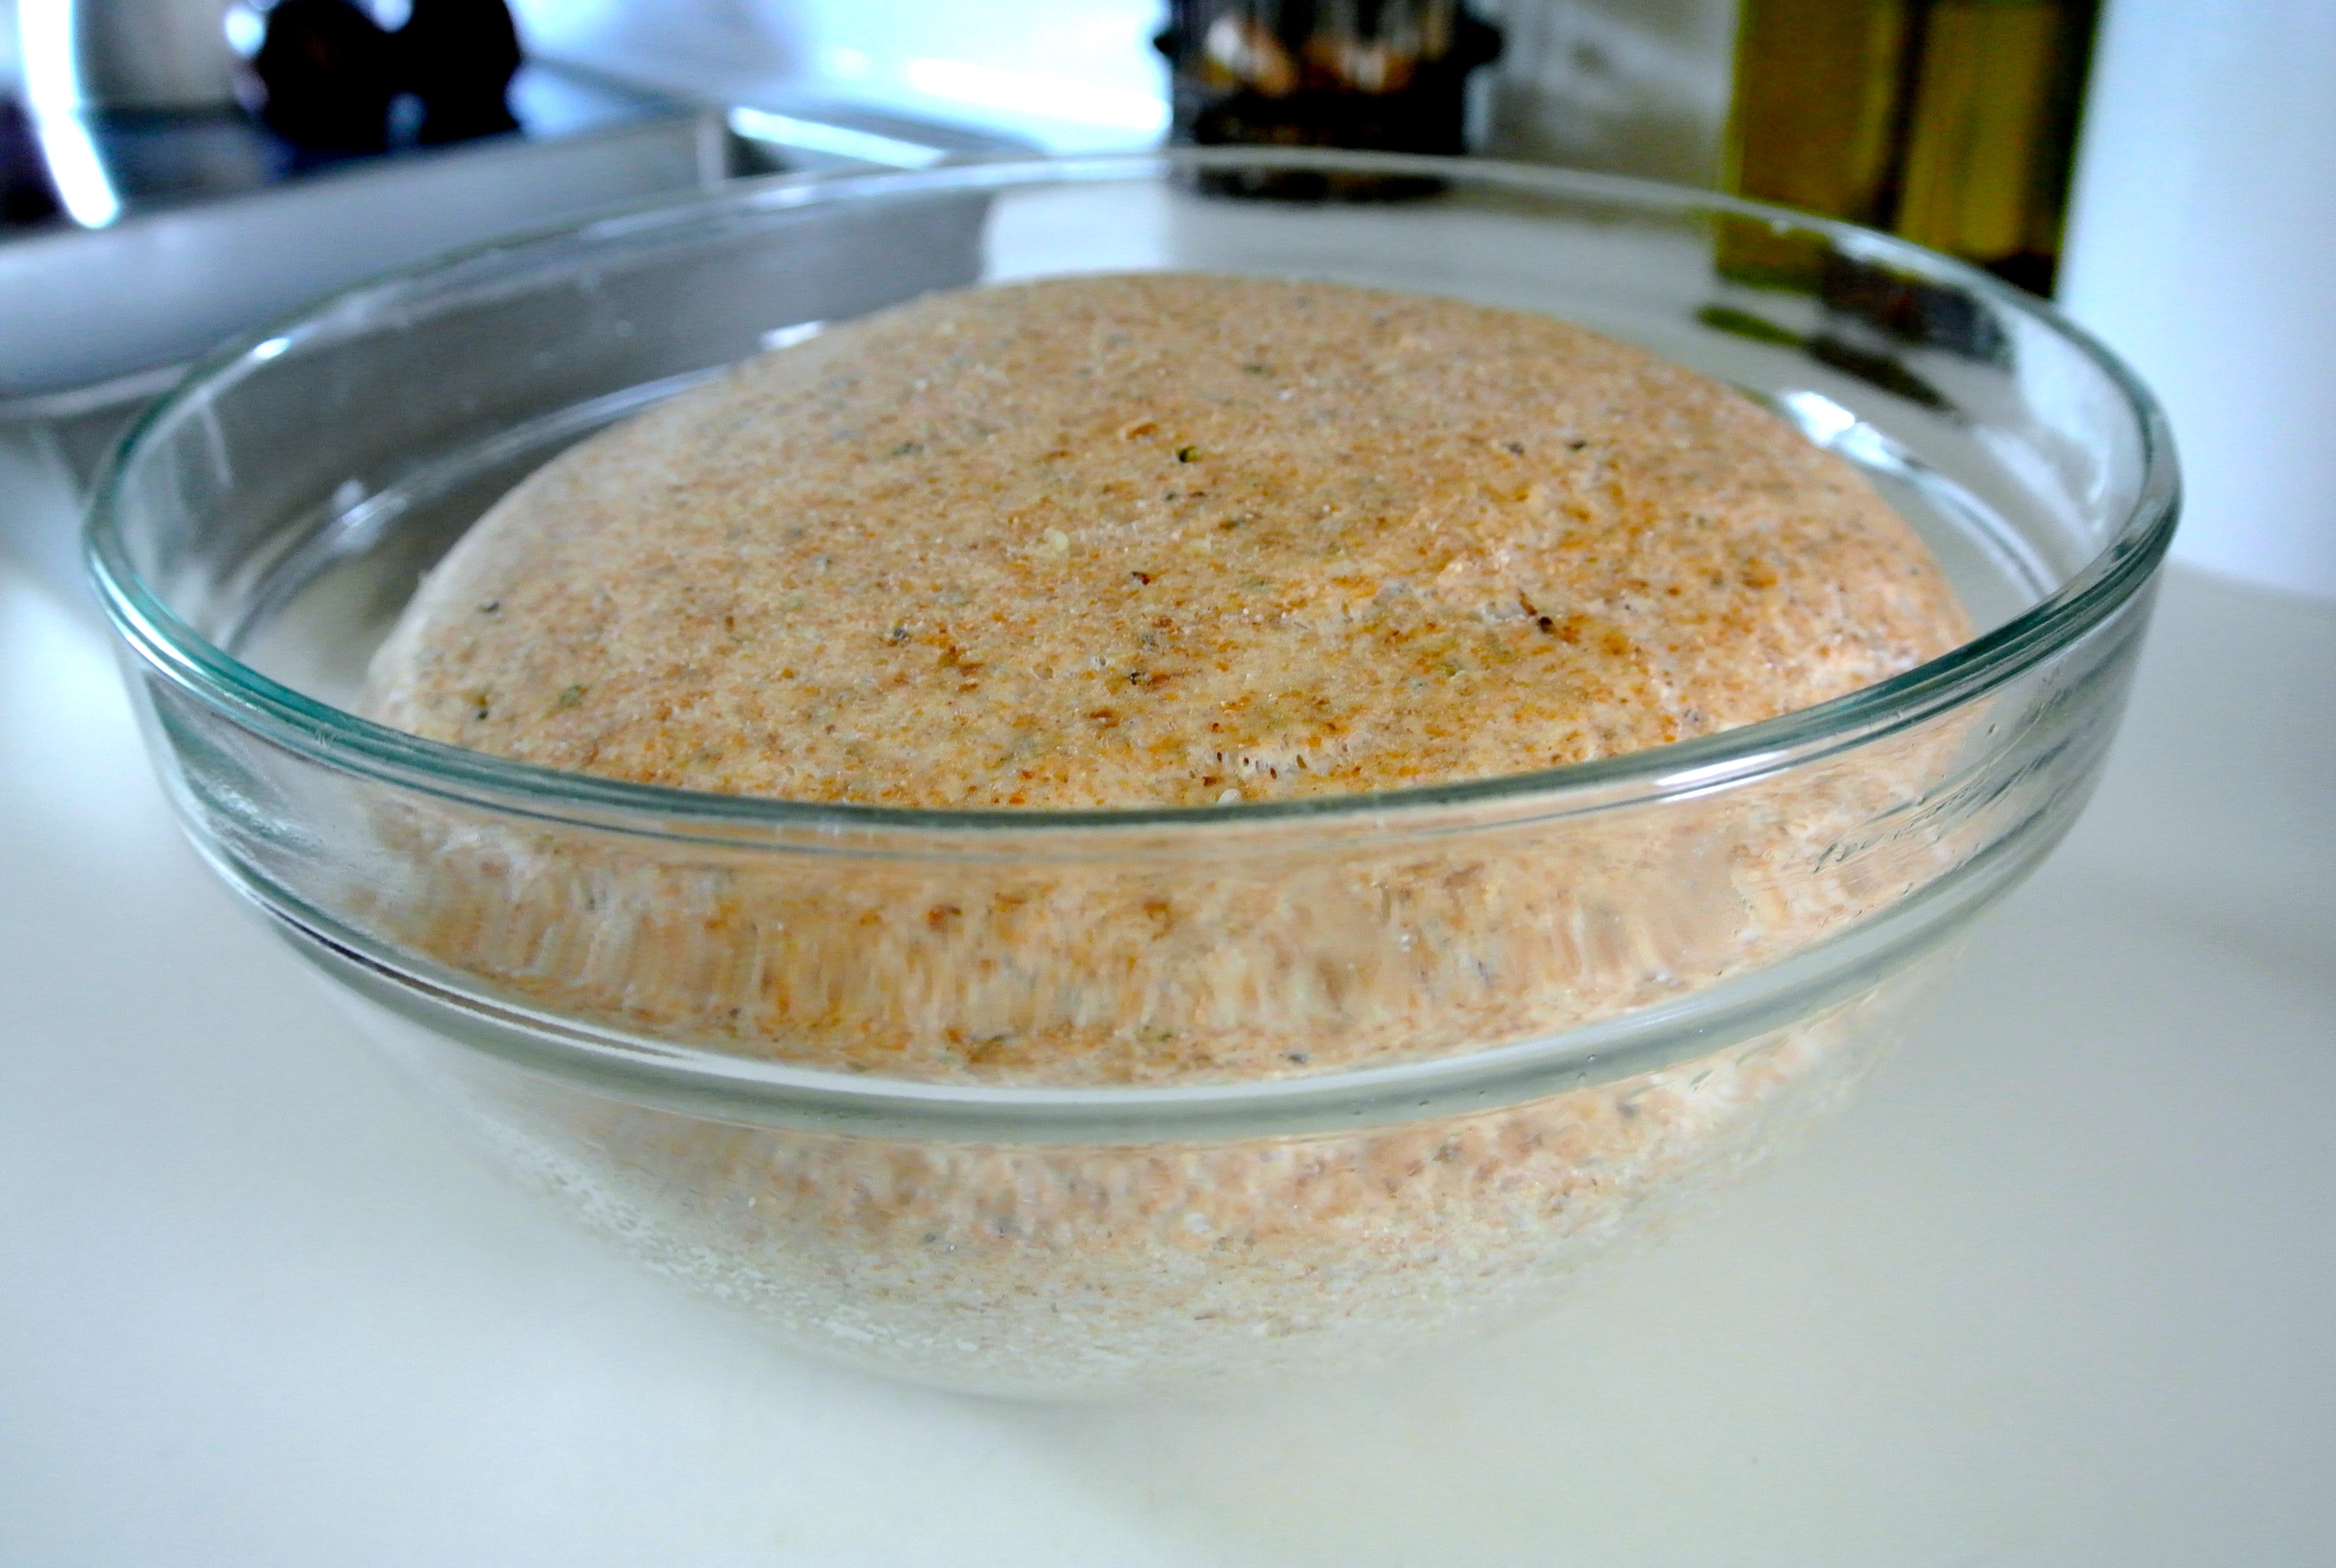
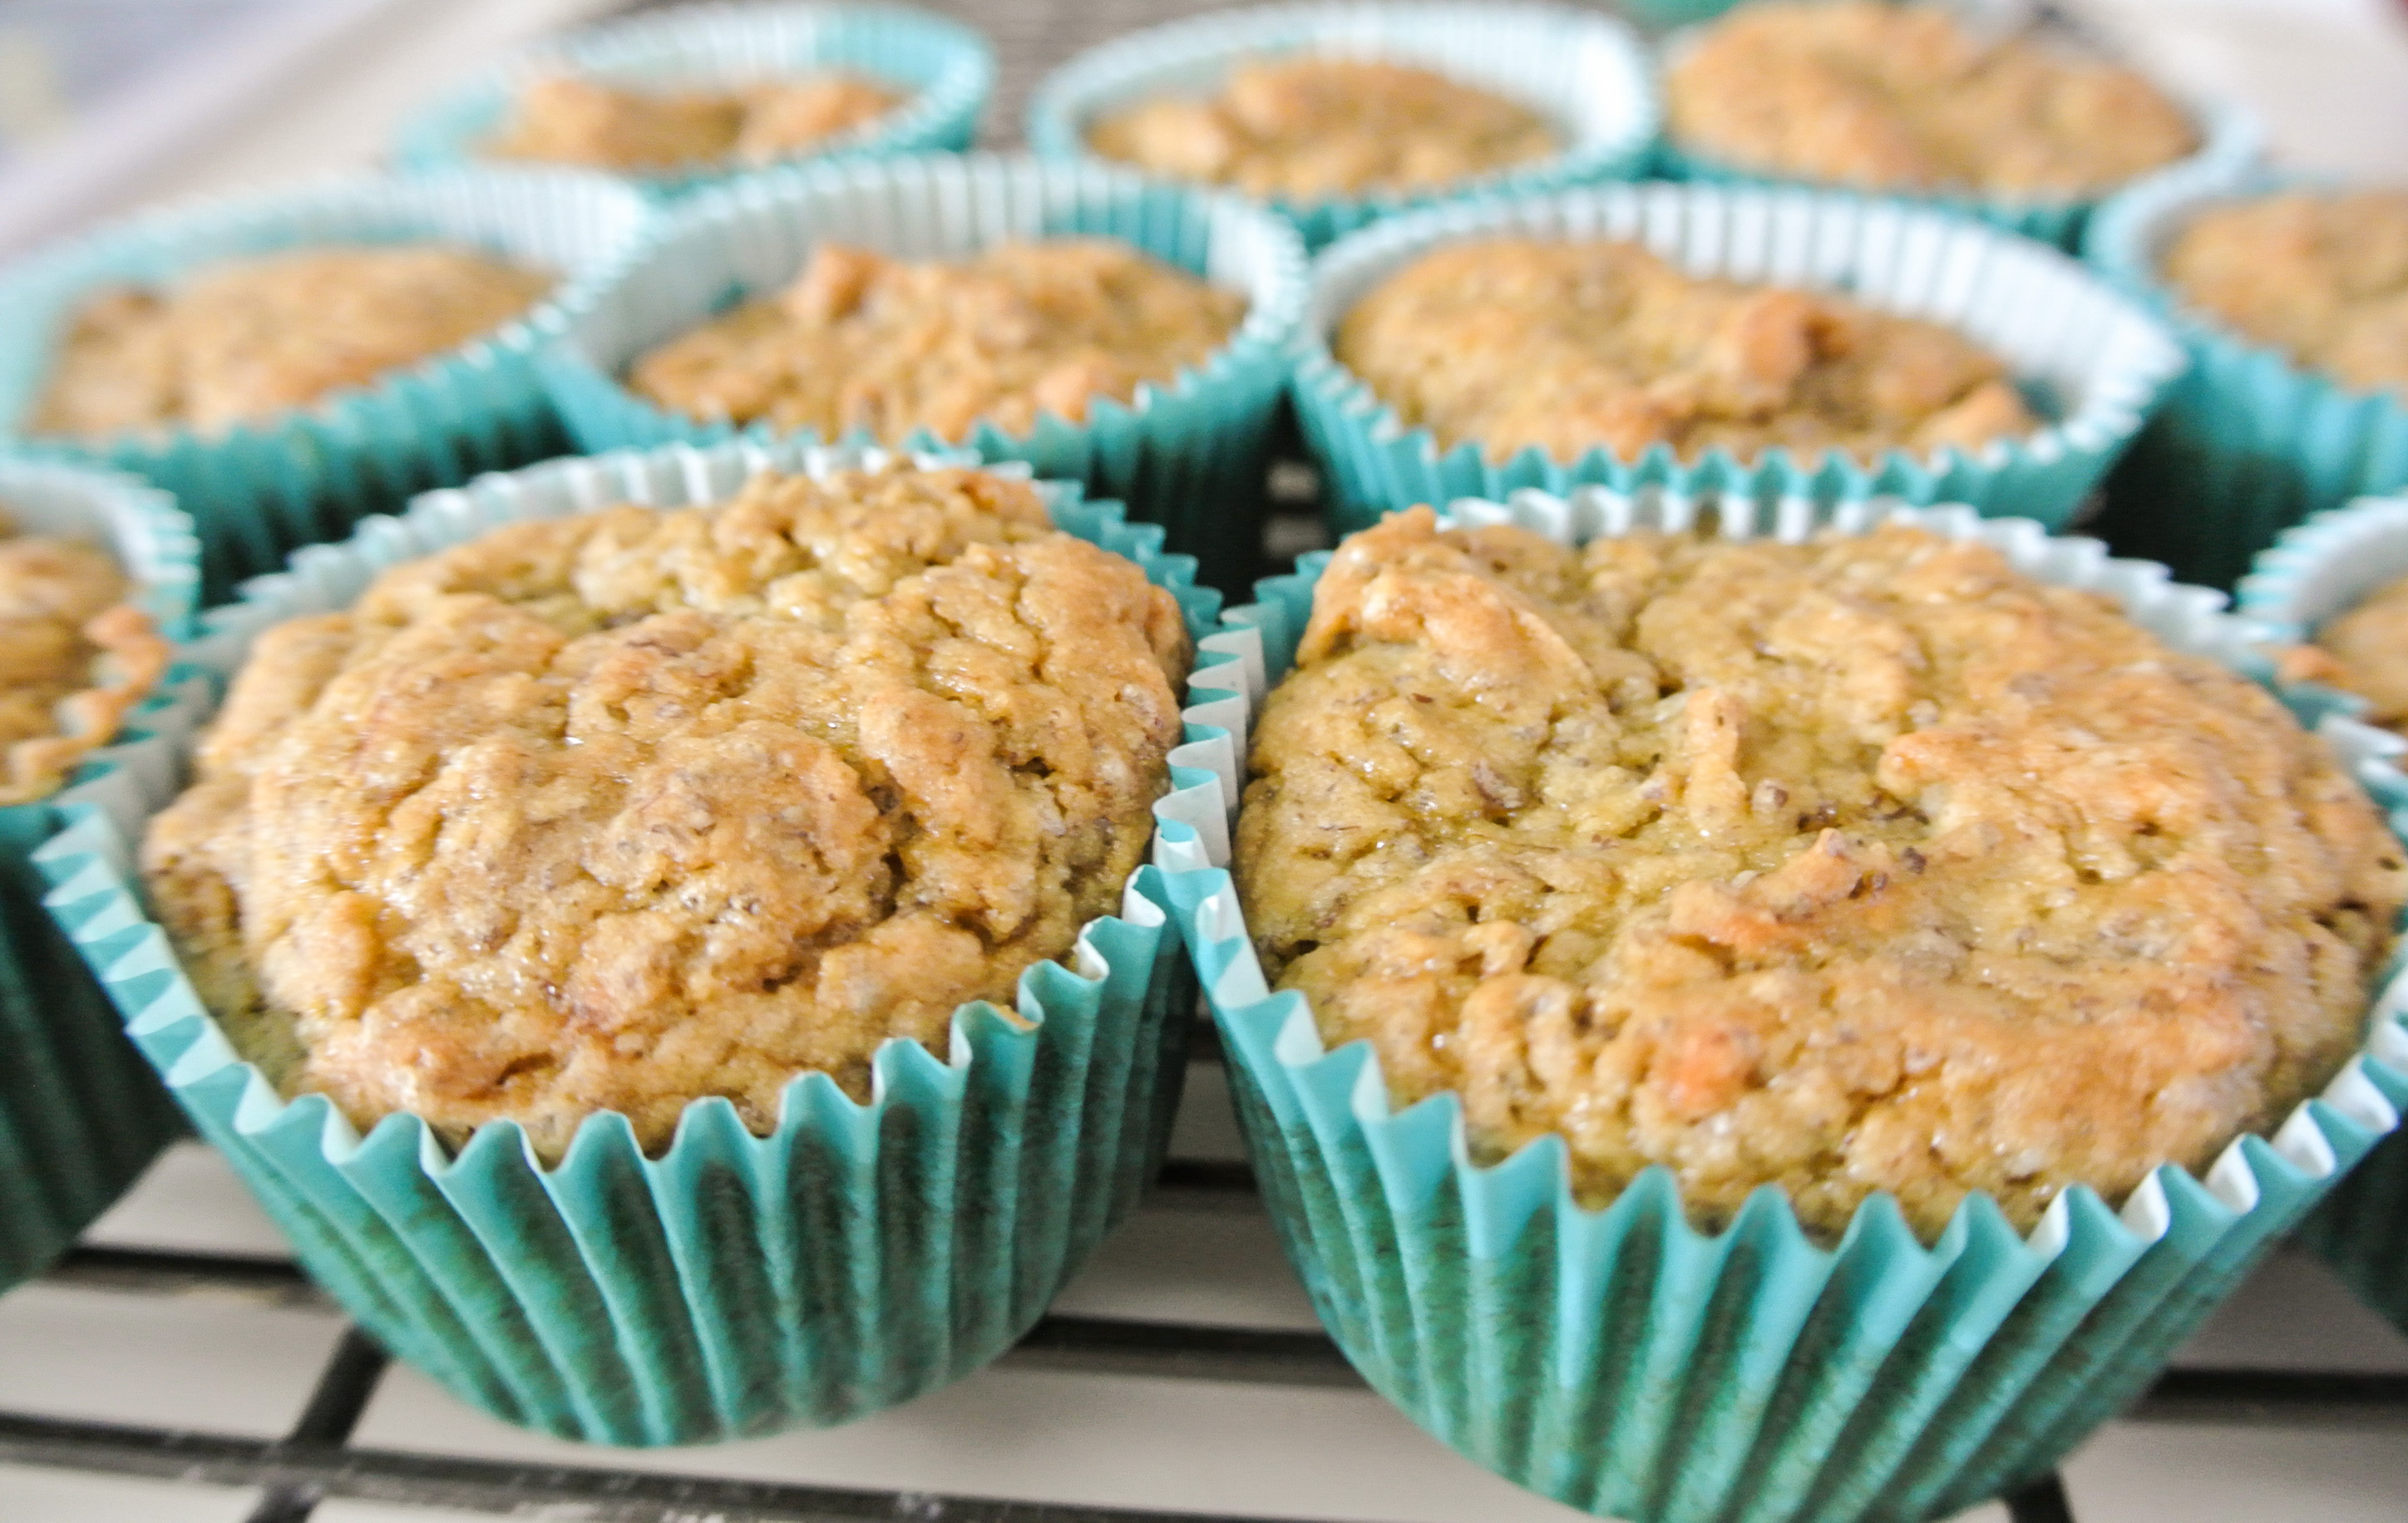
 Pour the cake batter into a greased square 8 x 8 baking dish or round baking dish, or evenly into 12 lined muffin cups. Place the cake/cupcakes in the oven for 30-35 minutes, or until a toothpick inserted in the center comes out clean. My mom always told me that it’s better to over bake a cake (and under bake a brownie); nothing worse than goopy batter in the middle!
Set your cake on a cooling rack for an hour or two. Speed the process by placing it uncovered in the fridge.
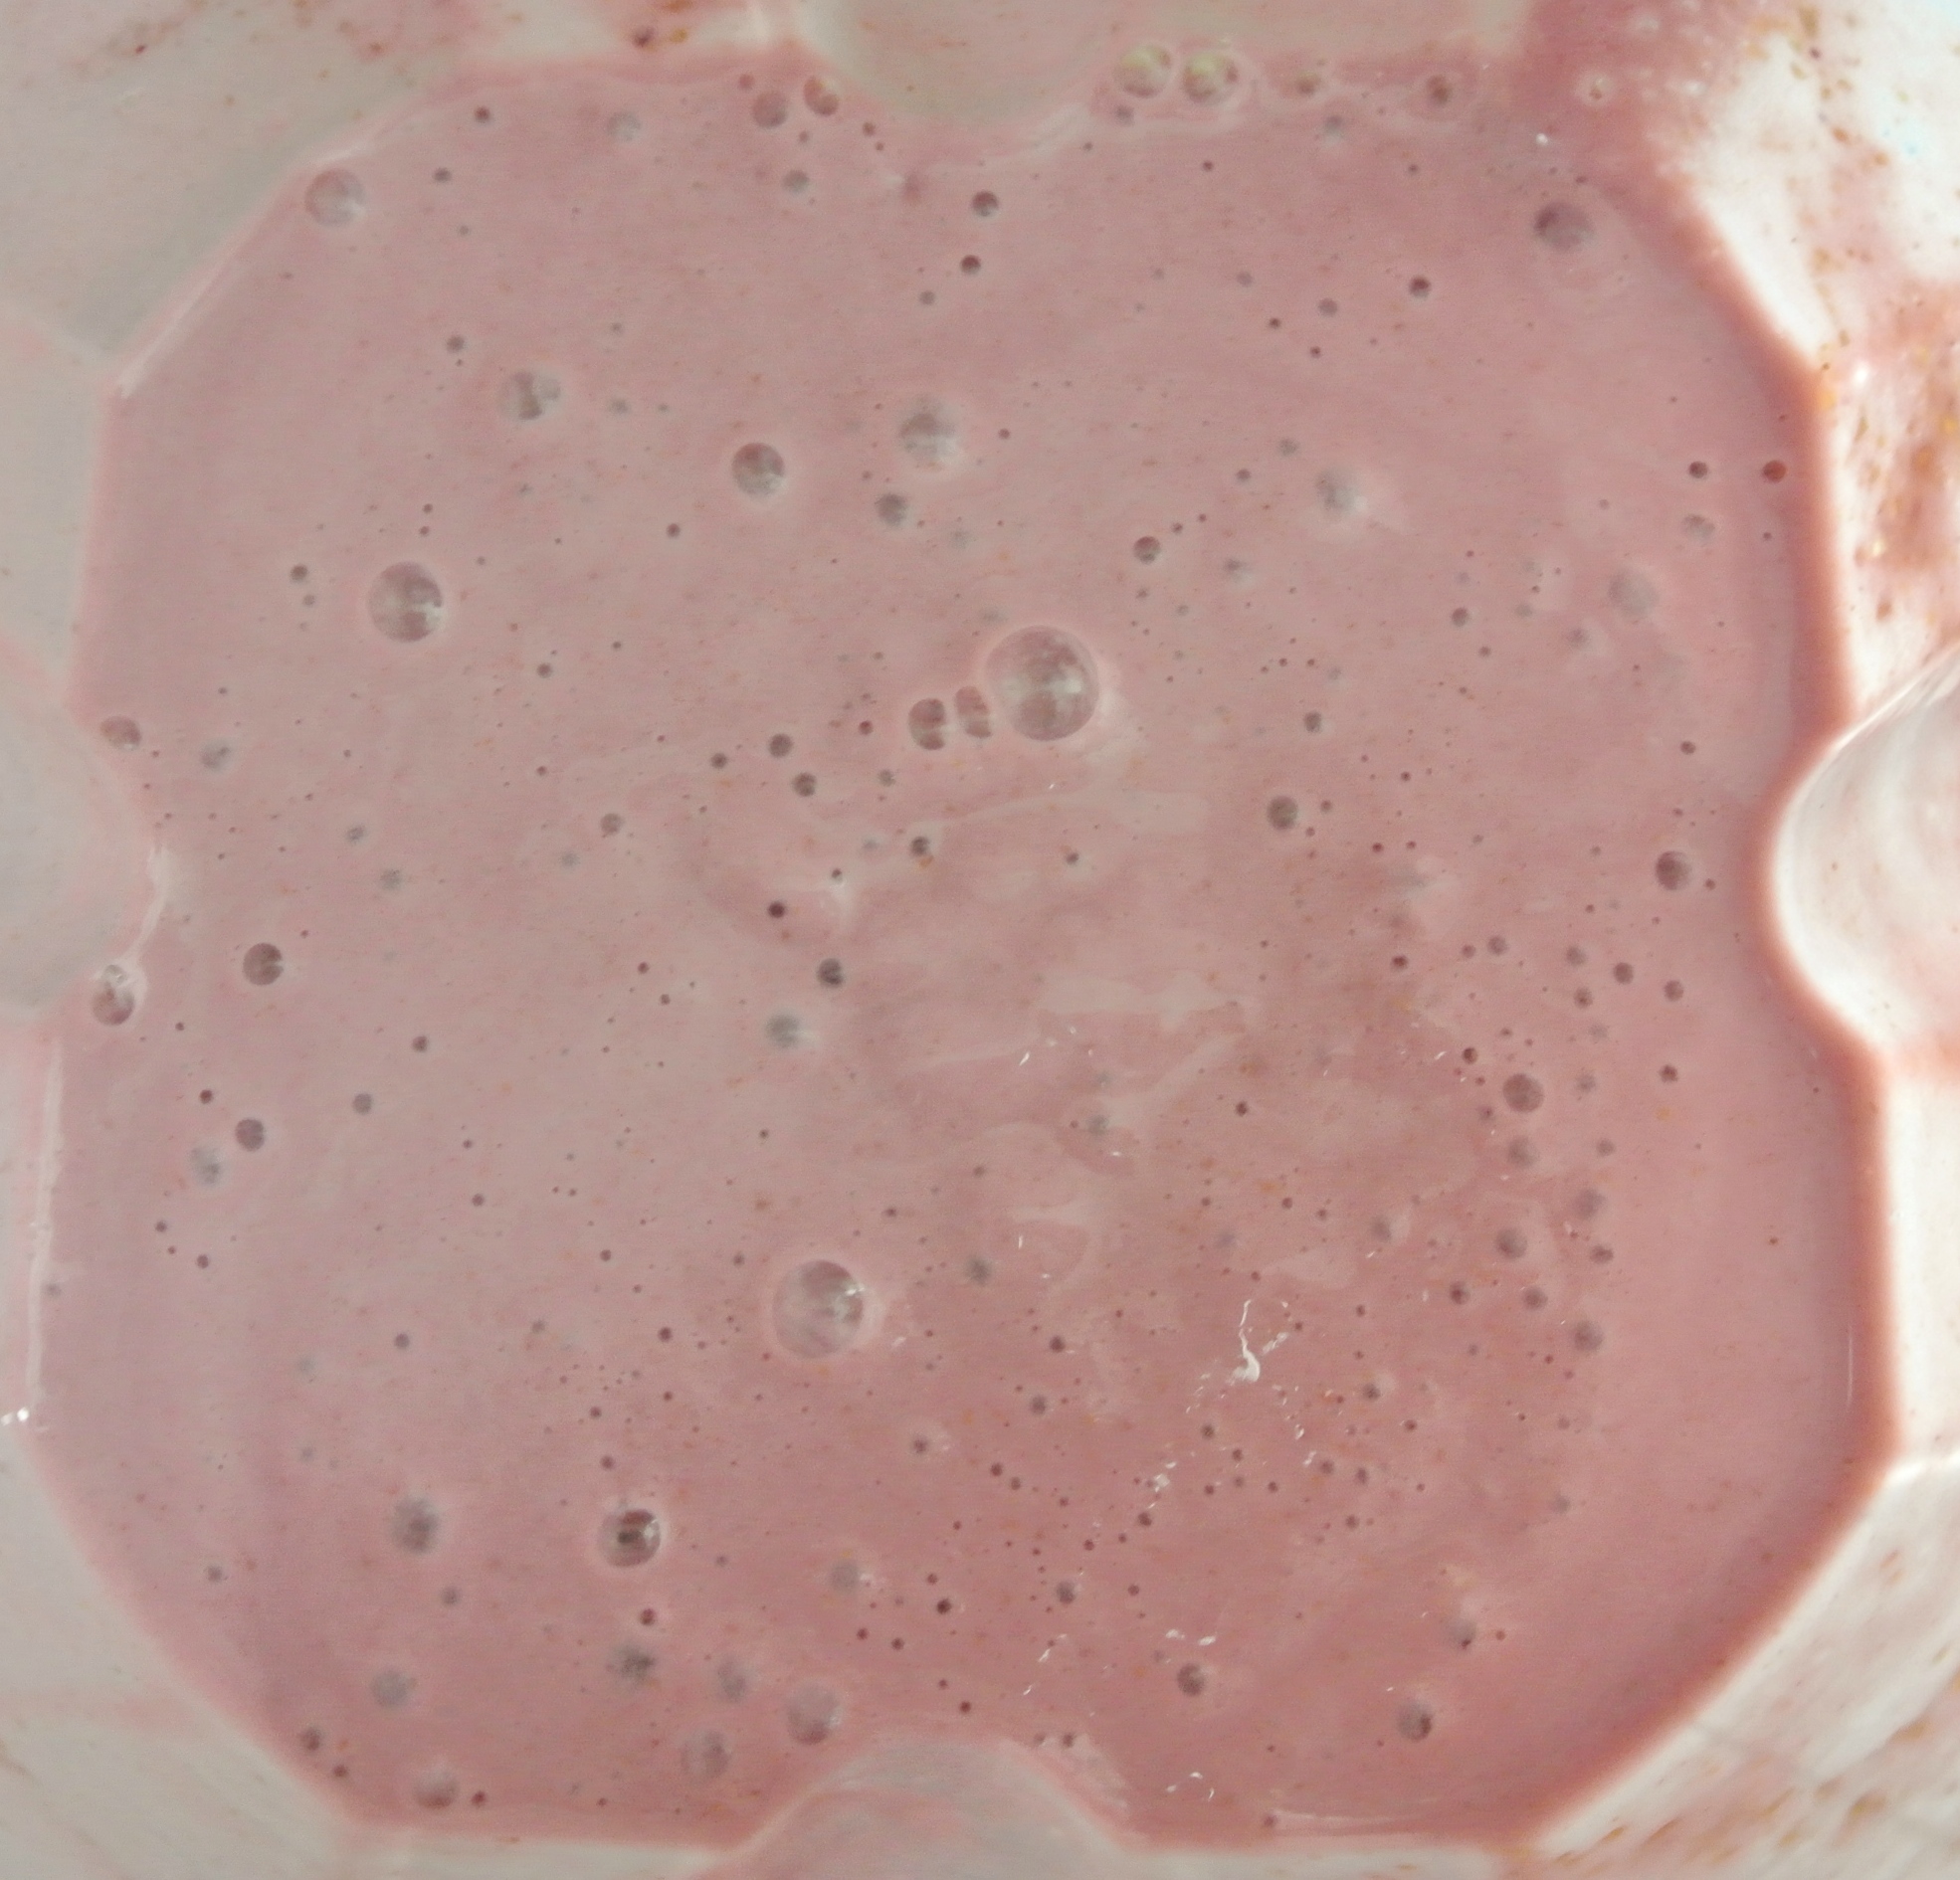
While the cake is baking, make your frosting. First, puree the fruit, citrus juice, and extract to a smooth, pourable consistency. Beat together the sugar and butter/shortening, slowly incorporating the pureed fruit mixture until an icing-like consistency is achieved. You will probably have some fruit puree leftover. Cover and chill in the fridge for an hour to stiffen it up, at which point it will be more spreadable and less pourable.

When your cake (or cupcakes) is cool, frost and decorate (if you want), and dig in!