Cereal Bowl Veggie Wraps

While vegetarian/vegan eating is certainly becoming more popular, the majority of restaurants in America cater to an herbivorous diet. As a result, the few vegetarian/vegan dishes offered at a restaurant that doesn’t specialize in plant-based cuisine often miss the mark, in my opinion. When I’m at an establishment with a mostly-meaty menu and spy a veggie wrap or sandwich, I typically order it (or a salad), only to be disappointed by the texture and interpretation.

You’ve seen this offering and may even have had it: grilled veggie wrap. This typically comes stuffed with overcooked, mushy portobello mushrooms, red peppers, and zucchini. The contents are often drenched in oil, mayo, cheese, or some other greasy substance that really takes away from the nutritional value of the veggies themselves. This wrap experience just doesn’t do it for me.

As I’ve mentioned before, most plant foods are more nutritious in their raw state, so I really try to limit my cooking of produce. Obviously something like a sweet potato needs to be cooked, but raw zucchini, for instance, is actually delicious, if you’ve never tried it. For me, texture is everything, and I prefer the crunch and freshness of raw vegetables over cooked any day.

The method here is simple: For one twelve-inch tortilla, you need almost a full cereal bowl of fresh veggies/fruits to adequately fill the wrap. Of course, if you can adjust the amount to make a traditional sandwich instead. Enjoy!

DSC_2498

FORMULA BASE: VEGGIE WRAP

Makes 1 wrap

  • 1 12-inch tortilla –> I’m using spinach.
  • Enough raw chopped/diced/sliced fruit/veggies to fill ¾ of a cereal bowl –> I’m using a combination of kale, spinach, cucumber, roma tomato, green onion, button mushrooms, and green apple.
  • 1-2 tablespoons homemade dressing of choice –> I’m using a lemon vinaigrette (or, consider my creamy dressing).
  • 1 tablespoon “crunch” (e.g. raw nuts, seeds, etc.) or unsweetened dried fruit (optional, for additional texture) –> I’m not using any this time.

Peel (if necessary) and chop, dice, or slice your fruit/veggies. Combine with dressing in cereal bowl. Assemble wrap and consume immediately.

DSC_2500

Getting Into Shape with a Plant-Based Lifestyle

***Long post alert!***

So, I’ve had this post working in my mind basically since I found out I was pregnant. It has been a mission of mine since I came up with the idea for this blog to show readers how simple it can be to maintain a healthy body—inside and out—via a healthy lifestyle, rather than a fad diet or a quick fix. I figured what better time to share my wellness tips than right after my body has gone through more changes than it ever will during pregnancy and childbirth.

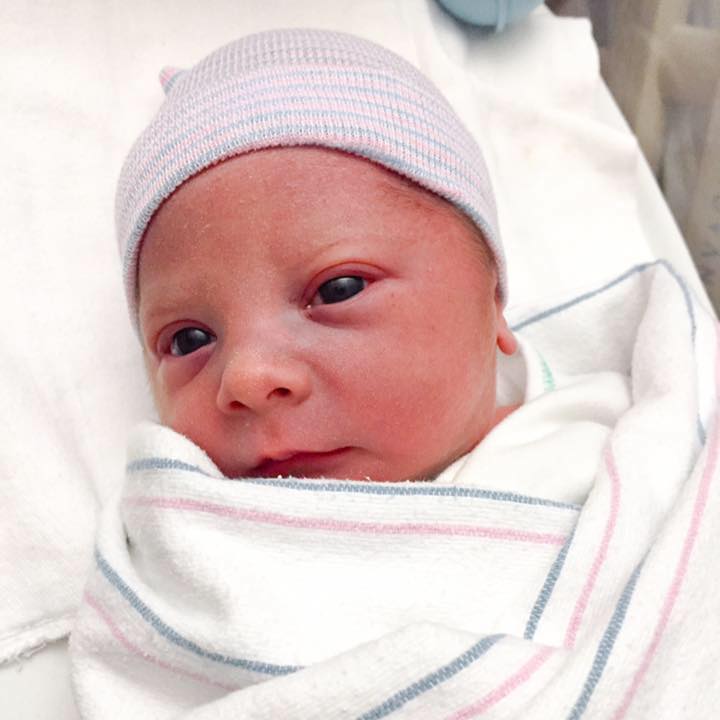
Yesterday marked one week since my second son, Oliver, was born. Like Nolan, Oliver arrived early. I was somewhat prepared for this possibility, but still in disbelief when I headed to the hospital at thirty-five weeks and six days pregnant. I am happy to report that despite being in and out of the hospital three times, delivering my son nearly a month ahead of schedule, and going through some miserable precautions all throughout my pregnancy to help prevent a premature birth, I have delivered another healthy, happy baby.

1506833_10107431512930334_8835527423153565075_n

As you know from reading my bio, I credit much of my healthy pregnancies, childbirths, and babies to diet and lifestyle. I have been living a plant-based lifestyle for nearly four years. This has allowed me to maintain an appropriate weight and solid bloodwork both before, during, and after pregnancy.

While I’ll be discussing my pregnancy and post-partum body at length in this post, my wellness tips can easily apply to anyone trying to get in shape or make a lifestyle change. You’ve heard the famous Hippocrates quote “Let food be thy medicine.” That’s what we’re focused on today, no matter your gender, age, body type, or, gestation. 🙂

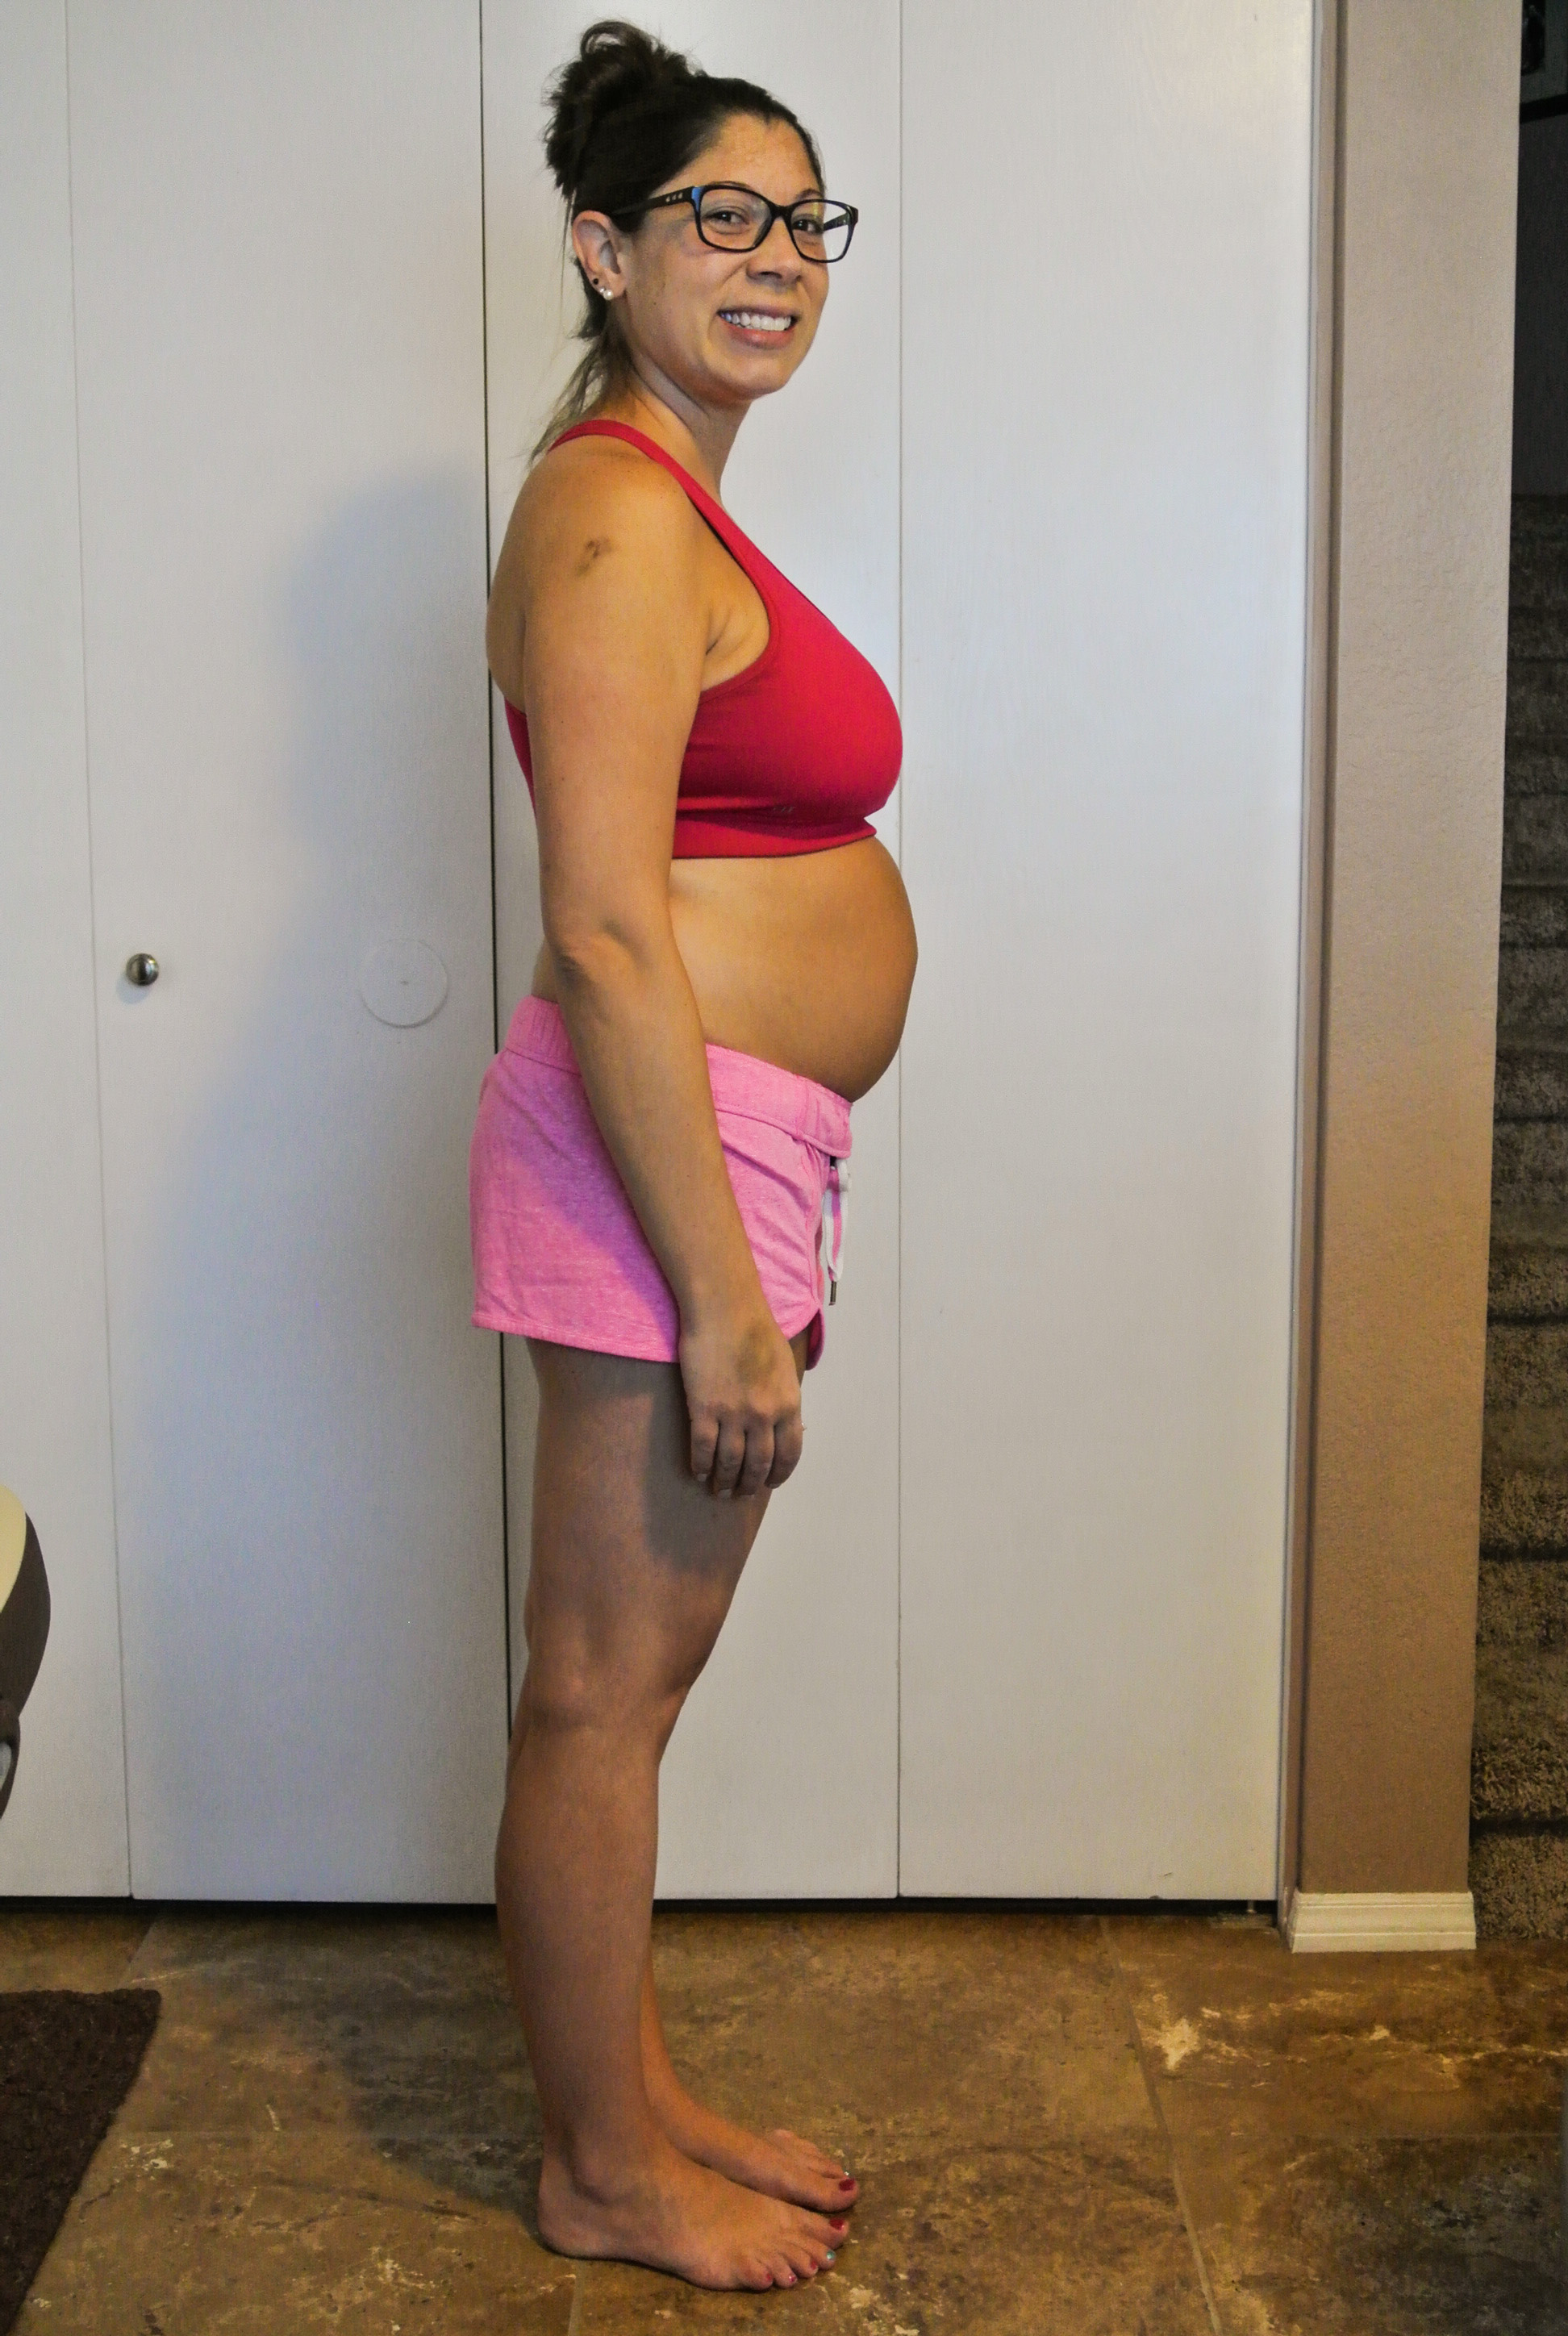
First of all, I’d like to share with you my status one week post-baby. I am currently 136 pounds, just ten pounds away from my pre-pregnancy weight. I gained a total of twenty-four pounds while pregnant with both of my sons and expect that I probably would have gained about thirty had I made it to forty weeks. This amount of weight gain is appropriate and typical for someone of my height (nearly 5’2”) and so far, it has been nearly effortless to lose the fourteen pounds I’ve already dropped.

DSC_2492 DSC_2485

These are pictures of my post-baby body at one week after delivery – thank you for not judging the messy hair, tired eyes, and lack of makeup. 🙂 I had glorious plans to share pictures right after I arrived home from the hospital, but there was cleaning and grocery shopping to do that of course, I had planned on doing prior to yet another eager-to-exit infant showed up. Now that my life is mostly in order again—except, ya know, for that waking up throughout the night thing—I am ready to truly begin my journey to getting back into shape.

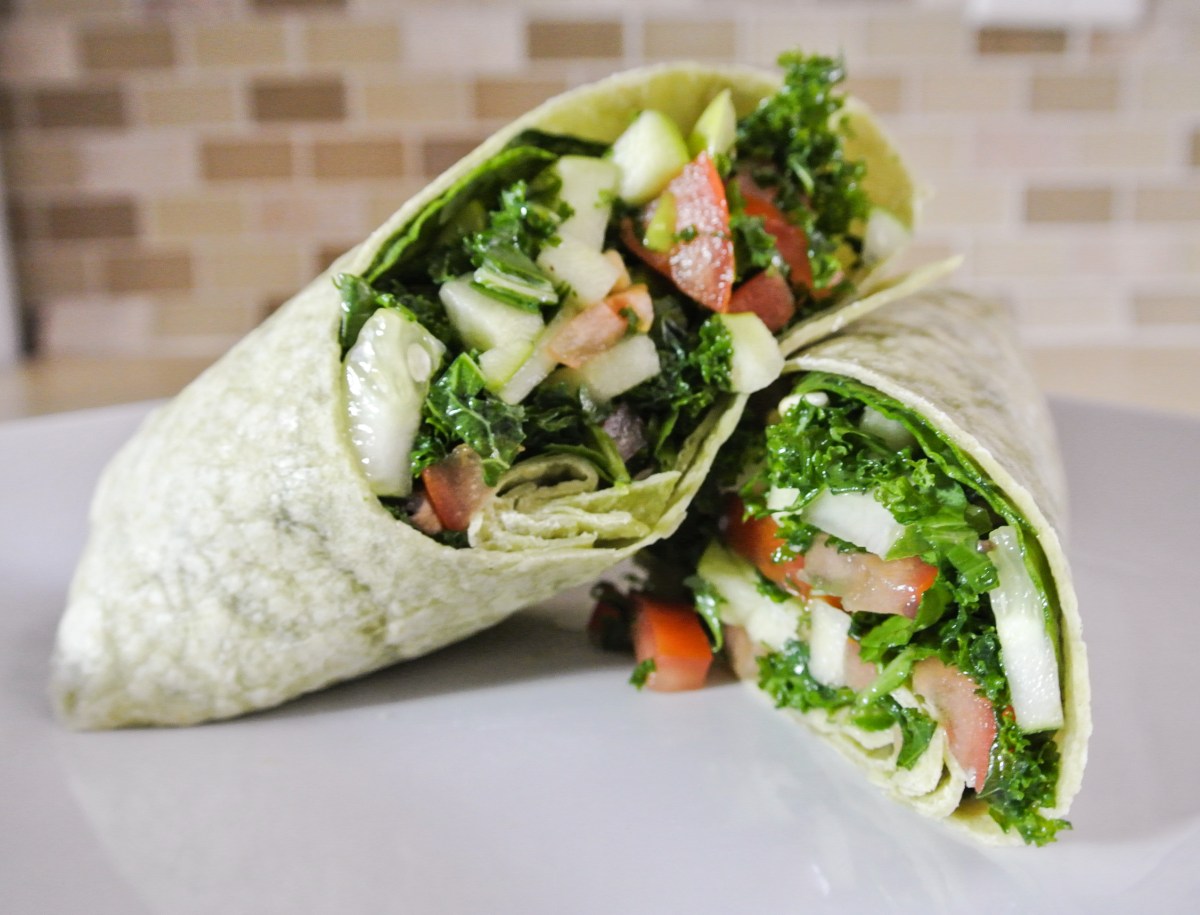
I say “truly” begin because I never stopped making maintaining a healthy physique a priority. While there were definitely splurges during my pregnancy—regular readers know how much I was craving sweets—for the most part, I did not veer from my usual path: a mostly vegan diet composed of 60-70% raw plant foods. This diet, couple with other aspects of plant-based living, allowed me to stay in relatively good shape even when I was less active and not feeling my best. Now that I am not disproportionately heavy, I am ready to get back into actively watching what I eat and exercising.

Here are my tips for getting in shape, no matter who you are:

Stock up and meal prep. This is essential to avoiding poor takeout choices. While I was certainly healthy at my pre-baby weight of 126 pounds, I’d like to get back to my pre-babies weight of 113. My body changed a lot after having Nolan, so I’m not trying to be too hard on myself and worry about every little pound, but I was certainly more active and fitter before I had any kids at all. Part of “letting myself go” a little was due to less formal exercise (although chasing around a toddler does have its aerobic benefits!); the other component was being too exhausted to prepare a proper meal and resorting to takeout.

Even if I find something vegan or vegetarian to pick up, it isn’t necessarily healthy. There really is a big difference between “vegan/vegetarian” and “plant-based vegan/vegetarian.” The former might include items like cheese or processed vegan cheese (which, in my opinion, is pretty gross); just because the item doesn’t contain meat does NOT mean that it is healthy. Point is, most of the reasonably priced, quick takeout options are not up to plant-based living standards.

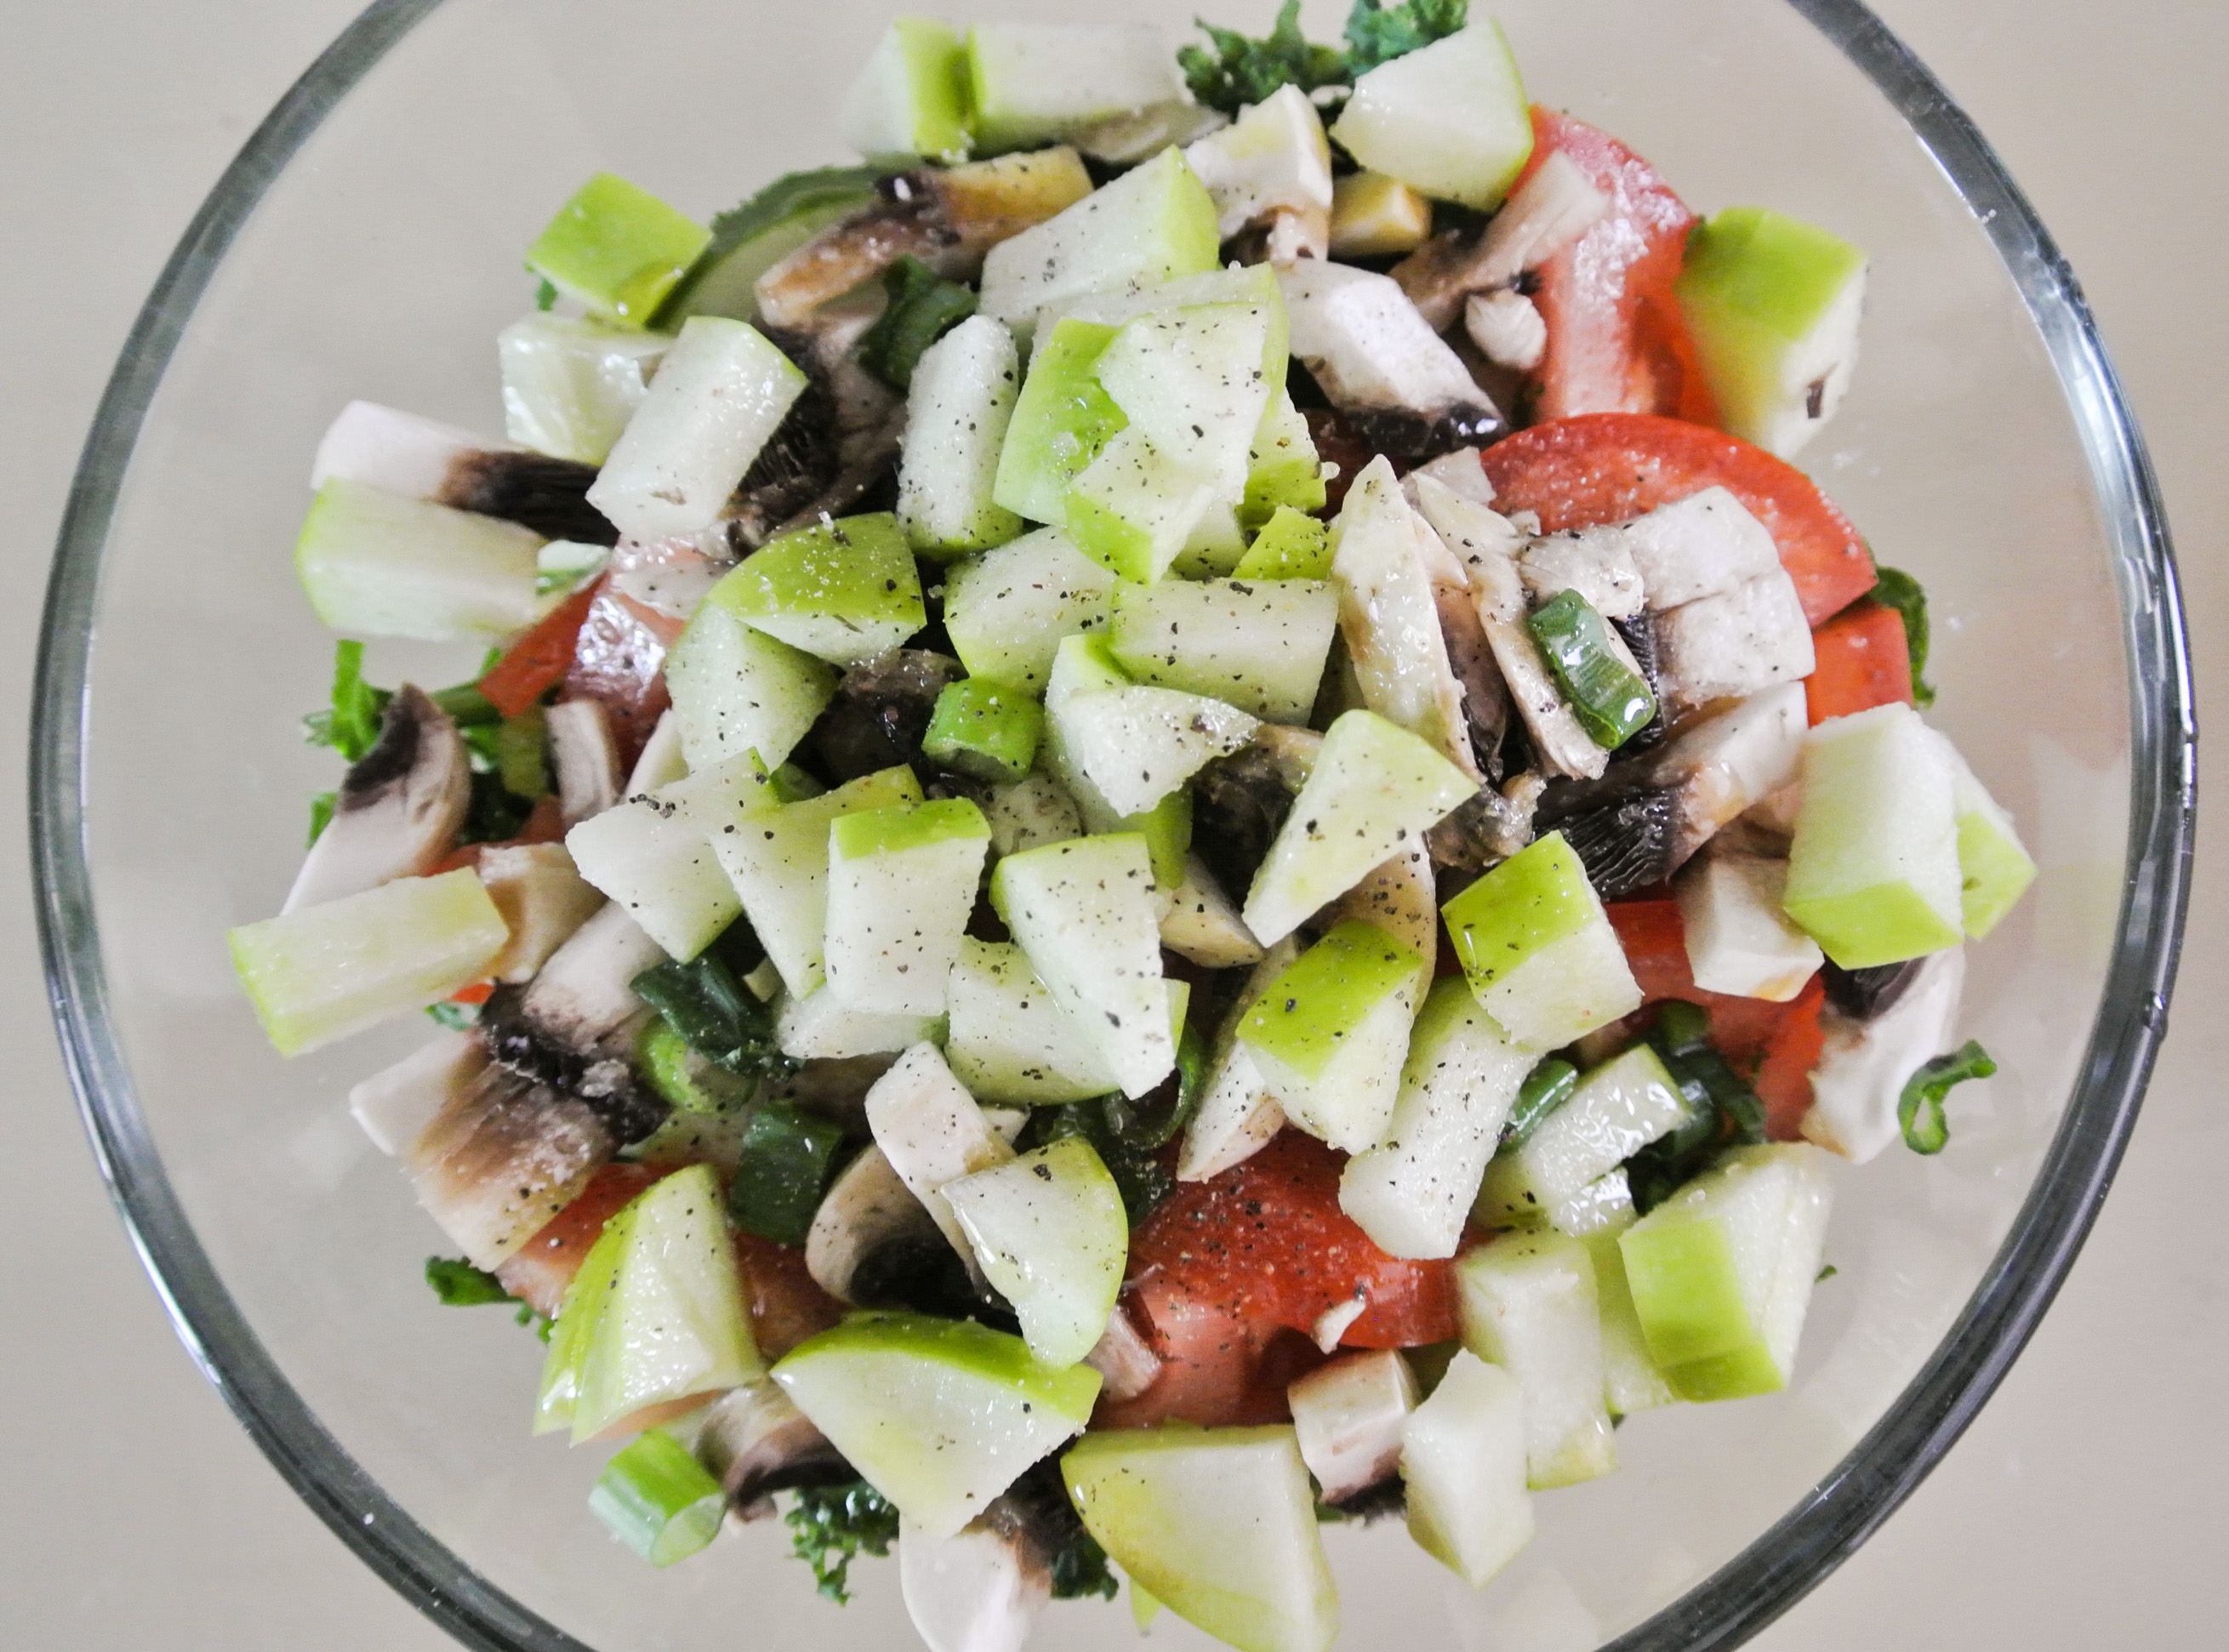
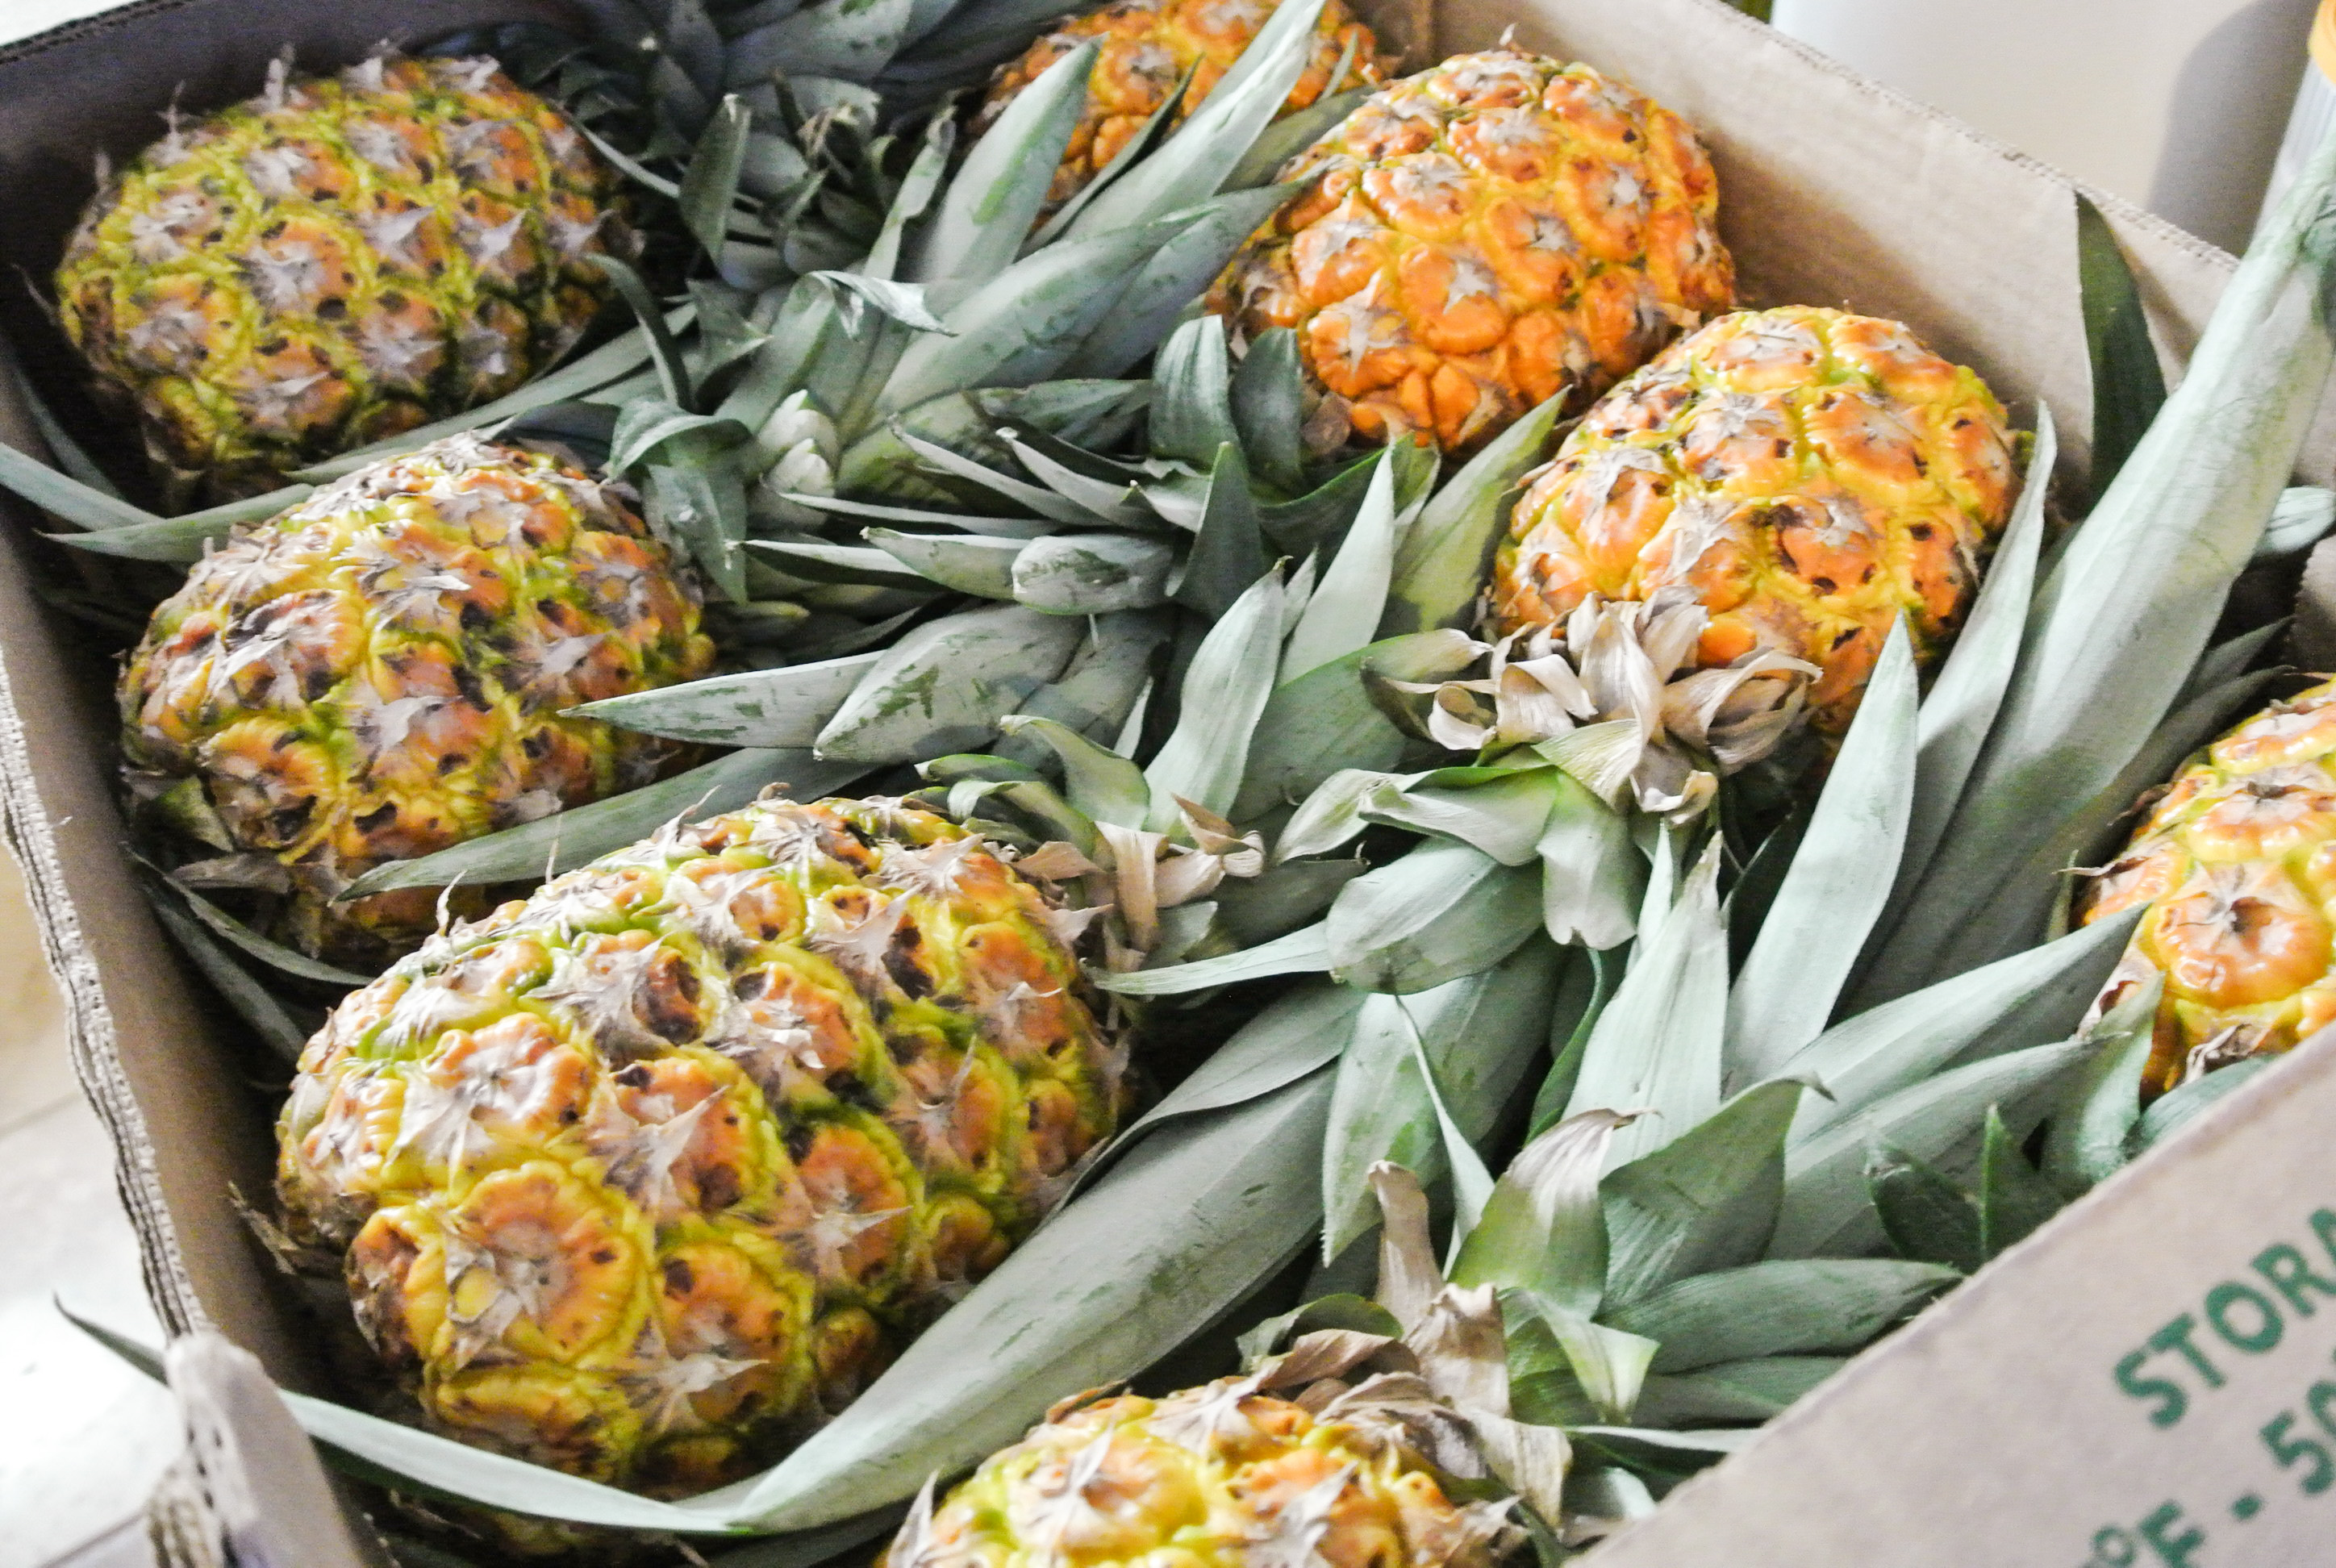
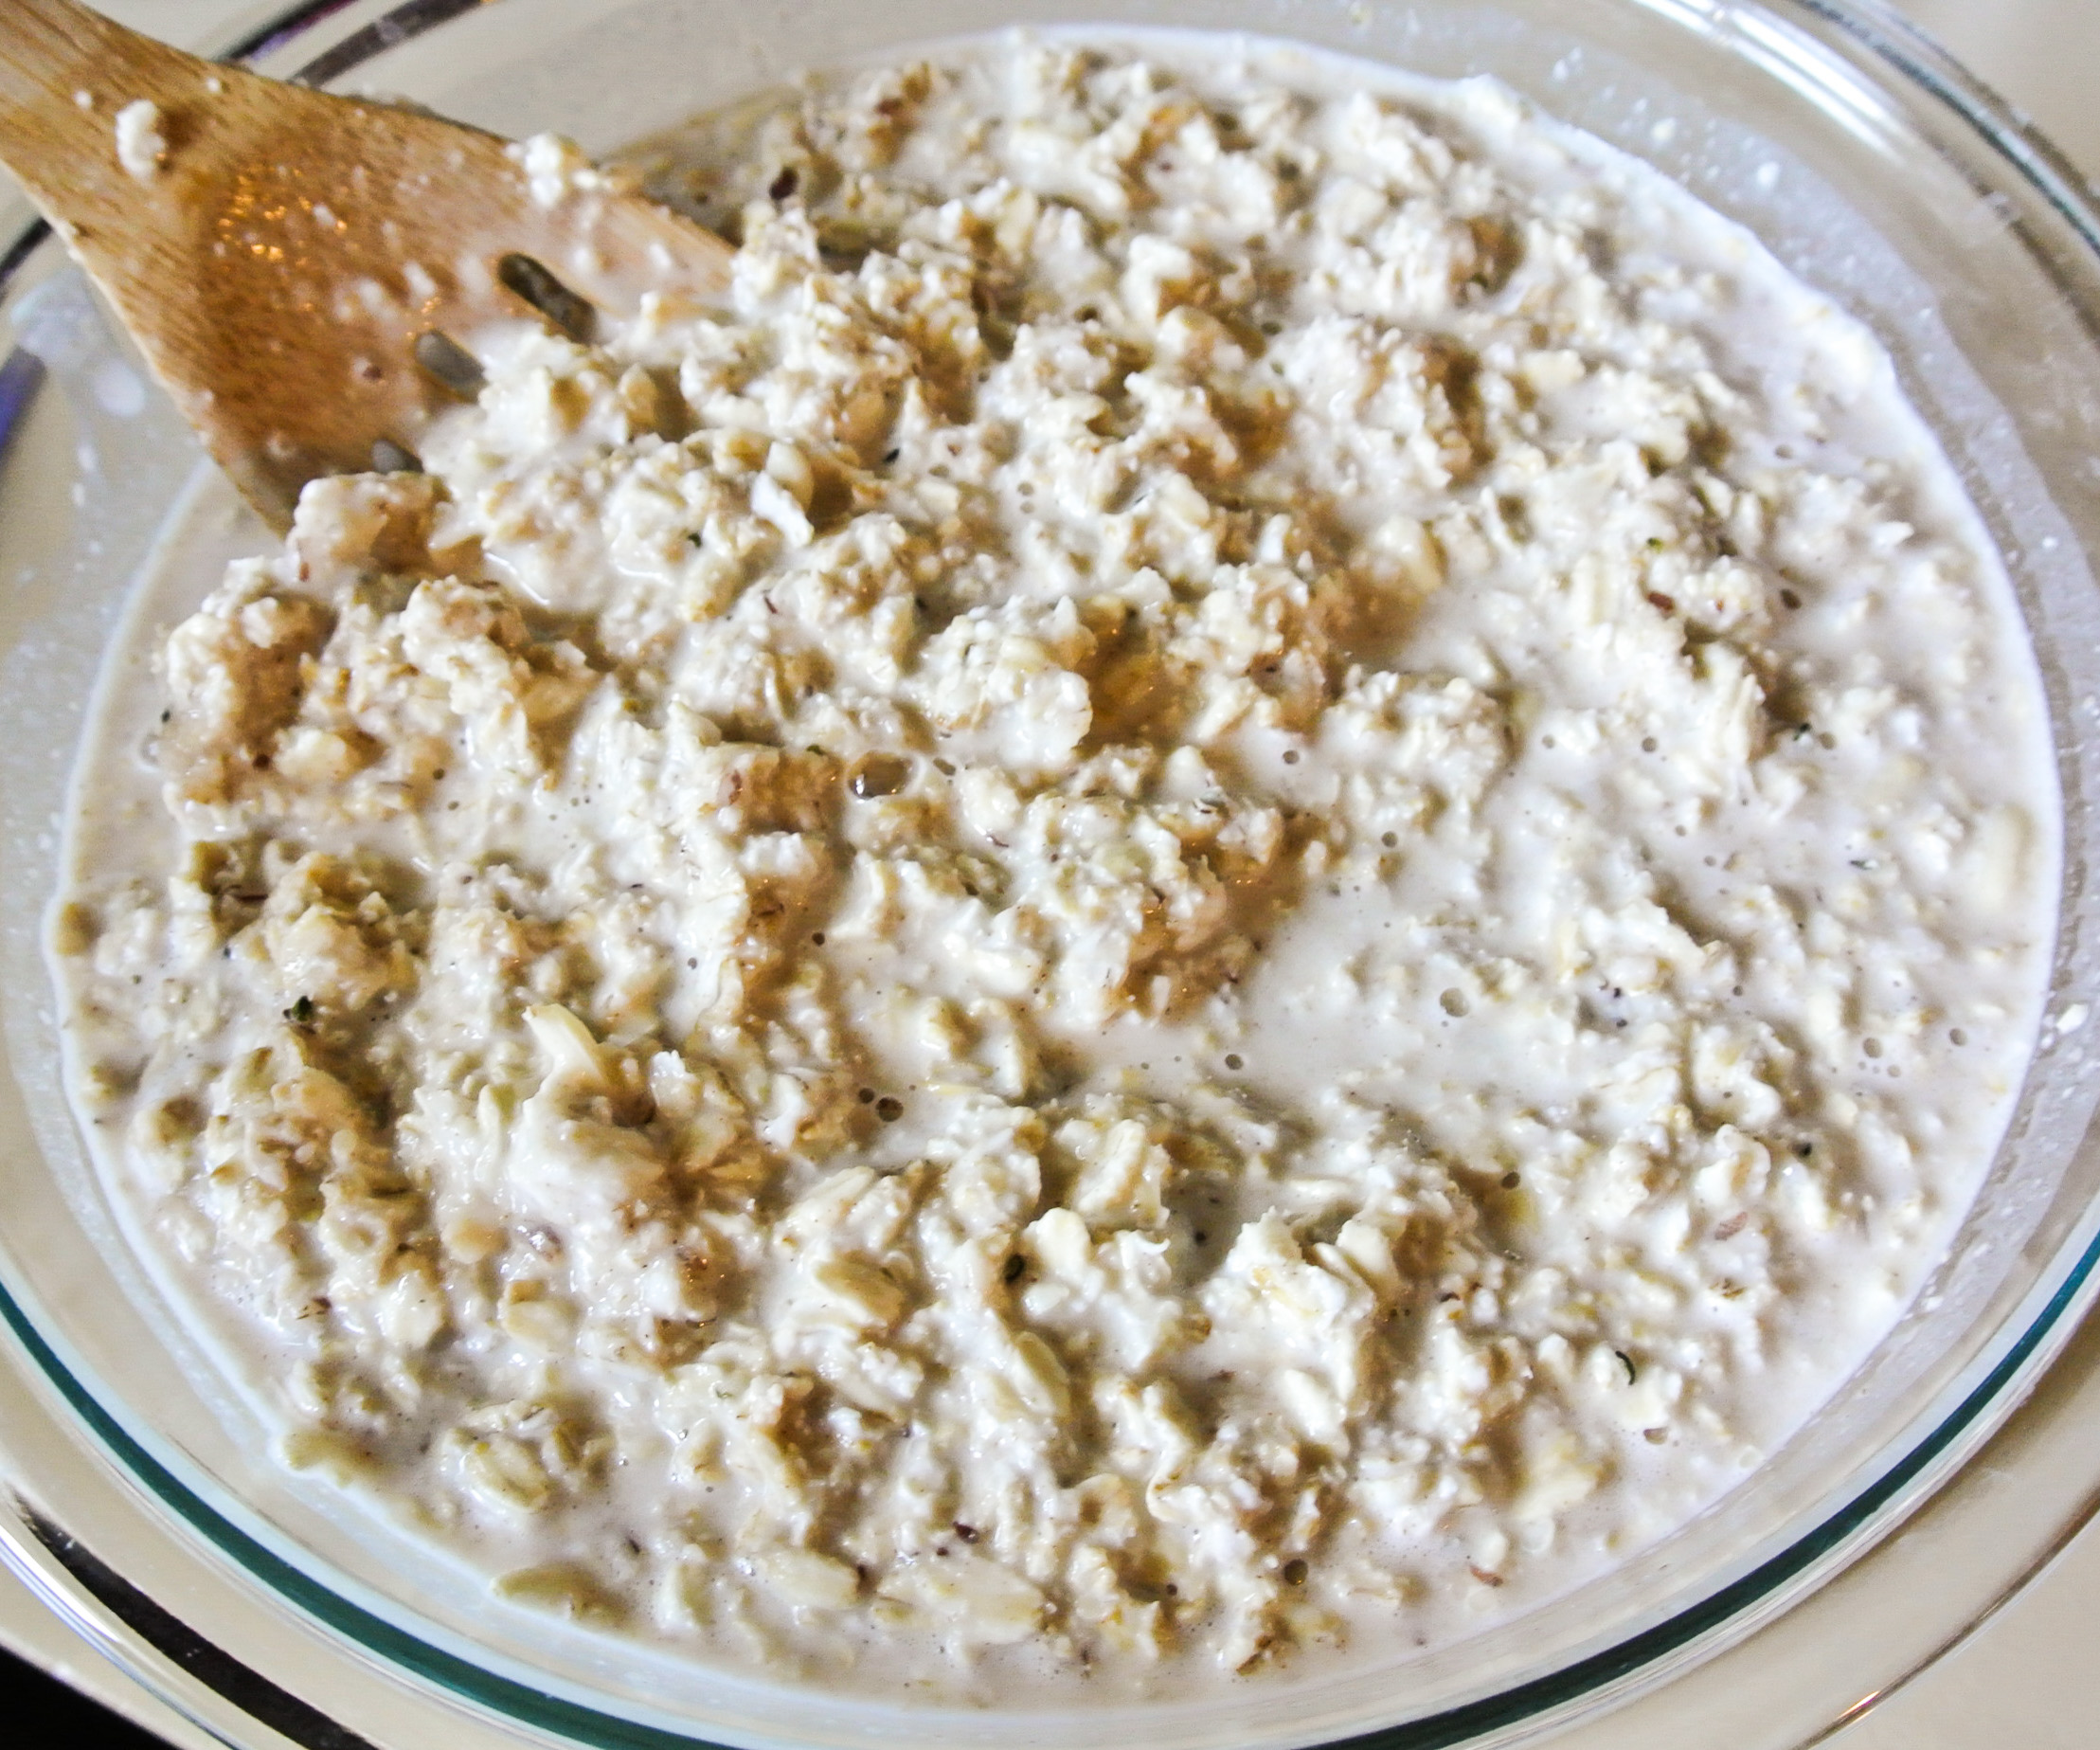
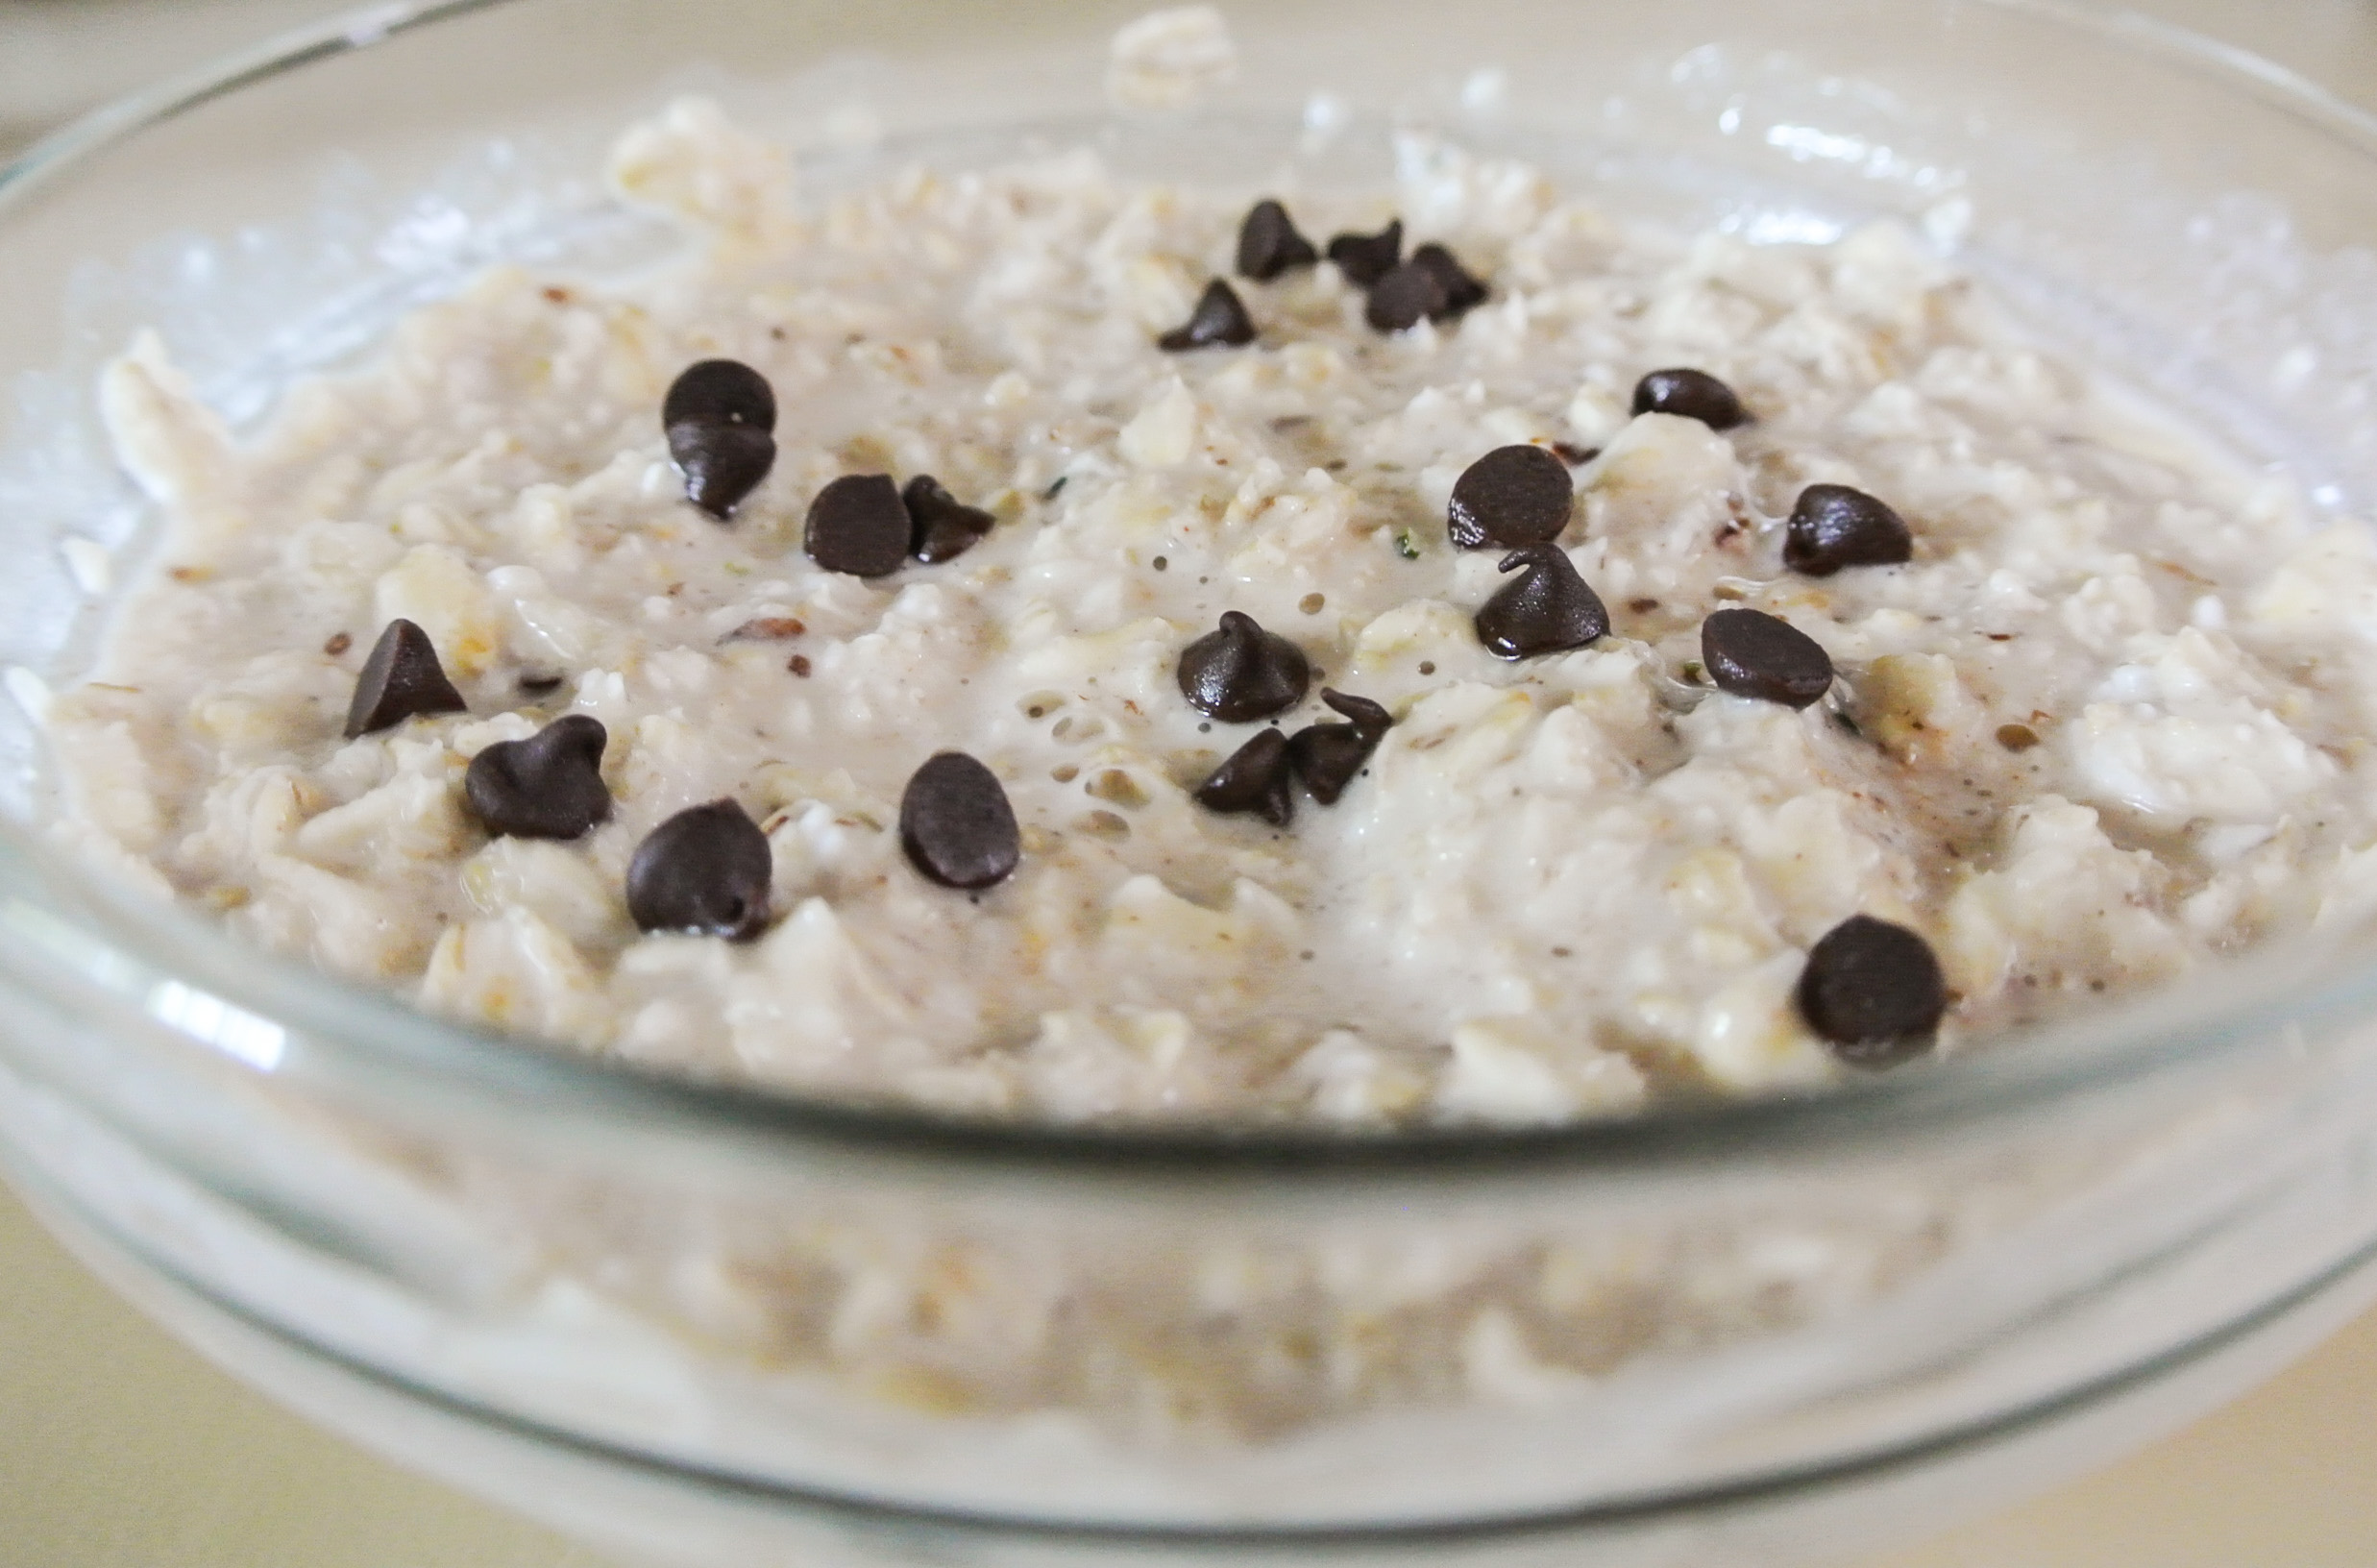
So, having something ready to go when I don’t have the time or energy to prepare an acceptable snack or meal is important to maintaining supreme health. You know I love my Bountiful Baskets for this reason: There are always deals for stocking up on produce in bulk. Today, I’m making a couple of gallons of pasta sauce to freeze in single dinner size portions and chopping and freezing chunked pineapple in single smoothie size portions. All of this planning and prep is work in the beginning, but saves my figure later on.

DSC_2494 DSC_2495

Get outside. Sunshine = happiness. Originally from Michigan, I know that this time of year, sunshine can be hard to come by, but it does happen. I’m lucky to live in Arizona where I have more sun than I know what to do with, but seeking it out even in the coldest of places is important, too. My doctor said that for this first month post-baby, the only exercise I can engage in is walking. I didn’t object as I know that this is sage advice for properly healing my body and because, well, I don’t feel like getting into fast-paced cardio yet.

If I’m going to do so much walking, I want scenery and fresh air to go with it. Starting on my fourth day home from the hospital, I’ve been going for short, twenty-minute walks with Travis, Nolan, and even Oliver, whom I carried in a wrap. I’ve noticed some increased aches and pains if I try to walk for longer, so I figure there is no rush to increasing the time on my feet. Next week, I’m aiming for twenty-five minutes and so on until I am able to get to a jogging pace again (I really enjoy an easy run!).

Beat the blues. Speaking of happiness, sunshine and exercise will help to beat the blues, be it postpartum depression, low self-esteem, or discouragement on a weight loss journey. If you’ve ever had a period in your life where you haven’t been happy with your body—inside or out—you know what I’m talking about.

After I had Nolan, I believe that I did suffer a bit of post-partum depression, mainly because he spent two weeks in the NICU and I felt like I needed to ask permission just to hold my own son. It was a trying experience to become a new mom to a premature baby, leave him at the hospital, and go home with an empty, saggy body.

This time, while, again, the joy I am feeling heavily outweighs the sadness, I am having a hard time coming to terms with this being my last pregnancy. After struggling to conceive Oliver and then just not feeling as great overall as I did the first time around, Travis and I decided not have any more children. If you’re a parent, you know that the decision to complete your family is certainly more complicated than what I can describe in a few sentences, but in a nutshell, I’m definitely feeling a different kind of emptiness with my baby carrying days having come to an end.

In addition to sunshine and exercise, what can you do to combat the blues? Eat well! I’ve shared with you before that I have more energy than ever before following a plant-based diet and thus, am happier. When I feel positively about what I’m eating, I tend to feel the same about my body because I know I’m providing it the best possible nourishment and maximizing its shelf life. I also find that food preparation itself can be therapeutic. A couple months back, I made my first pie from scratch and honestly felt so accomplished afterward that that happiness carried me through the day. Consider trying a new recipe or making something from scratch that you would otherwise buy premade (e.g. pasta, plant milk, bread, etc.).

Don’t obsess. I have long ago admitted that I am not perfect at plant-based living. I still splurge every now and then and still miss some downright terrible-for-you yet totally satisfying and delicious comfort foods from my past. I don’t expect that my postpartum fitness journey will be any different. For me, it’s about regular habits. That takeout I mentioned earlier? It happens two to three times a month (probably four to five while pregnant!), which honestly, is a lot for us when we make so many things ourselves. It’s ok every once in a while, but if I’m going to get serious about getting back in shape, I’m going to have to make some sacrifices…key word being some.

I also don’t plan to jump on the scale every morning and expect to see 113 overnight…or ever. While the numbers are one indication of progress, they are not the be all, end all. What is more important to me is that I feel good about myself and that I have the energy to give my kids and my husband every smile, hug, and kiss that I can.

Avoid quick fixes. This tip is especially important because it is so tempting to resort to a quick fix to seemingly solve weight loss and body image issues. While I realize that they truly work for some people, I am not a fan of diet pills, processed drinks (i.e. powders, shakes, etc.) as meal substitutes, fad diets, calorie counting, or regimented programs. There are programs out there that even have the word “fix” right in them; I realize that I’m not at my best right now, but I’m not broken!

Again, while those methods do work for some people and may even be necessary for people with particular dietary needs or health conditions, I don’t see them working long-term for enough people that I can get on board (nor do I want to spend the exorbitant amount of money that many of them require). I’d rather just live a healthier life. I’ve written before about walking to the store instead of driving or making a smoothie with fresh, whole foods rather than mixing a protein powder with milk. These are easy lifestyle changes that last. Nearly four years into living better, I really don’t have a ton of work to do to get my pre-baby body back.

DSC_2496

In the coming weeks, I will continue to share Fresh Formulas and update you on my progress. My personal goals:

  • Walk outdoors daily for at least twenty minutes.
  • Lose ten to fifteen pounds (I won’t obsess; I know that muscle weighs more than fat and blah blah blah).
  • Beat post-partum depression by focusing on my family and hobbies.
  • Maintain a 60-70% raw plant foods diet, incorporating healthy cooked options as desired.
  • Splurge every so often and not feel badly about it. 🙂

Best of luck to you on your fitness journey. I hope that sharing my personal struggles and triumphs will inspire and motivate you to adopt and maintain a healthy lifestyle. Wish me luck!

Pumpkin Pecan Muffins

First of all, it’s been a little slow on The Fresh Formula because…I am now a mother of two! Oliver Ryan was born on Sunday at 36 weeks. Although he is healthy and happy and we are home from the hospital now, I wasn’t totally ready for an early arrival, and thus, unable to get to blogging for the past week. More to come on the newest love of my life…

Secondly, despite appearances, these muffins aren’t burnt. Their chocolatey color comes from the incorporation of dark molasses as a sweetener. After recently making a pumpkin spice cake that included molasses, I decided to try it out with my super food muffins. The rich flavor of molasses pairs nicely with pumpkin and its typical spice blend.

Since we’re on the subject, molasses is a super food, too. Despite being essentially a “waste” product of producing white granulated sugar, molasses maintains nutrients that the refined stuff does not. In addition to what you see on the product label below, molasses, like agave syrup, has a low glycemic index, which is important in reducing the risk for type 2 diabetes. Molasses is also high in antioxidants and has a subtler sweet flavor than other sweeteners. Personally, having followed a plant-based lifestyle for going on four years, I find super sweet food products too rich, so molasses is the perfect sweetener for me.

DSC_2477

So, again, I chose molasses because I am pairing it with pumpkin. Pumpkin puree—not pumpkin pie filling, ya’ll—is a powerhouse of vitamin A and also contains high levels of fiber and iron. ‘Tis the season to find these gourds everywhere, so if you’re up for the challenge, you can butcher and puree your own. Travis and I have done it and even made pumpkin milk from the seeds! Otherwise, you’re looking for canned pumpkin that contains nothing else (particularly sugar, fat, and salt).

DSC_2476

Anywho, just in time for Halloween, you can devour these pumpkin muffins for breakfast or bring them to Thanksgiving dinner if you’re in charge of dinner rolls. 🙂 Enjoy!

FORMULA BASE: SUPER FOOD MUFFINS

Makes 12 muffins

  • 1 cup flour –> I’m using whole wheat.
  • 1 cup cooked small grains (e.g. quinoa, kaniwa, millet, etc.)
  • 1/2 cup uncooked rolled oats
  • 2 tsp baking powder
  • 1 tsp baking soda
  • ¼ cup sweetener –> I’m using molasses.
  • 1/8 cup oil –> I’m using coconut, melted.
  • 1 cup raw (fresh or frozen) fruit or veggie –> I’m using ¾ cup pumpkin puree + ¼ cup chopped, raw pecans.
  • 1-1 ¼ cups unsweetened plant milk –> I’m using ¾ almond, which is less than usual since the puree adds a bit of water to the batter.
  • 3 tbsps seeds (e.g. chia, hemp, poppy, flax, etc.)
  • ½-1 tsp extract (amount will depend on flavor intensity) –> I’m using 1 tsp homemade vanilla.
  • ½-1 tsp spices –> I’m using ½ tsp cinnamon, ¼ tsp nutmeg, and 1/8 tsp each cardamom and cloves. All spices are ground.
  • ½ tsp pink Himalayan sea salt (optional) –> I’m not using it.

Preheat your oven to 350 degrees. Separately combine all of the dry ingredients and all of the wet ingredients. In this case, the wet ingredients include the pumpkin puree, too.

DSC_2478

Pour the wet into the dry and mix with a wooden spoon. The batter will be thick and lumpy, but you can always add more plant milk if it seems too dry or dough-like. Spoon the batter into a lined cupcake pan and bake for 25 minutes.

DSC_2479

Store in the fridge for up to two weeks.

Baked Veggie Chips

This formula is very similar to that of my baked veggie fries, so if you’ve already tackled the former, you’re ready to try making chips. In my opinion, chips, due to being thinner, are more finicky, going from the perfect crispness to burnt very quickly, so you have to keep a watchful eye.

Today’s chips are made from celery root. As I’ve surely mentioned before, one of the things I love about getting Bountiful Baskets is that the surprise often yields an item that I probably wouldn’t consider buying. Not afraid of a challenge and not one to waste food, I embraced this odd-looking root vegetable and decided to try my best to make it palatable.

As you can imagine, celery root, or celeriac, tastes just like celery, which, to me, is quite a strong, distinct flavor. Thus, however you’re going to use it, you need to prepare yourself for that flavor to be a part of the overall profile. Celeriac is high in antioxidants and vitamin K, so it’s a valuable plant worth considering. The best part? You can just treat it like a potato.

DSC_2467

Peel it and cut into fries or steam and mash and celeriac is good to go. I decided to use it to demonstrate my chip formula, which can be adapted to any root vegetable and some other heartier vegetables—like zucchini—that can also hold up to being made into chips. A tomato, for instance, not so much…  🙂

A quality mandolin, food processor with slicing attachment, or some other slicing device will make chip-making easier, but you can certainly thinly slice your vegetables by hand. Be careful either way and as always, enjoy!

DSC_2468

FORMULA BASE: BAKED VEGGIE CHIPS

Serves 2

  • 1 lb root vegetables (or a hearty vegetable like zucchini) –> I’m using celery root.
  • 1 tbsp oil, plus another teaspoon for greasing your cookie sheet –> I’m using extra virgin olive.
  • Spices, fresh herbs, salt, and pepper to taste –> I’m using curry seasoning (check out my vegetable curry formula for the perfect blend of spices!) and a pinch of pink Himalayan sea salt.

Preheat your oven to 300 degrees. Peel (if necessary) and thinly slice your vegetables. In a large bowl, with tongs, combine the chips with oil and seasoning.

DSC_2471

Arrange them in a single layer on your greased cookie sheet. Total bake time will vary based on the vegetable chosen and the thinness of the chips.

DSC_2473

I would set the initial timer for 10 minutes, check, flip, and repeat until the chips are crispy and slightly browned on the edges. Be prepared to babysit, but take comfort in the minimal oil used – you could always deep fry the chips instead, but at the cost of higher fat content and the need to season each batch as they come out. Your call! 🙂

Enjoy immediately after preparation; chips will start to soften the longer they are kept around.

Protein-Packed Cookie Dough Truffles

Alright guys, today’s formula is something you need to taste to believe. I’m making cookie dough truffles that contain no eggs, no oil, and no flour, and that do contain garbanzo beans. What?! I know, I was skeptical, too, but these are seriously delicious and have the same texture as a traditional cookie dough. Just how does this work?!

First of all, let me start by saying that in my opinion, eating cookie dough is sometimes more satisfying than eating the baked cookies themselves. I know you were thinking the same thing, so I’m glad we got that covered. 🙂

I found this idea for a bean-based cookie dough on Instagram (@bestofvegan, @chiacathy), where I follow a number of vegan cooks, chefs, and bloggers. I immediately captured a screen shot so that I could easily come back to the idea when I was ready to incorporate beans into a dessert. Gotta wrap your head around that one…

Having heard of bakers sneaking black beans into brownies pretty well unnoticeably, I thought that this idea definitely held some merit. With thousands of likes on the picture (which looked just like cookie dough) and the recipe, I just knew that these had to be good. On top of looking and tasting delicious, loaded with beans and nuts, these truffles are a protein-packed sweet snack that is waaaaaaay better for you than that dough that comes in a log in the refrigerated section.

Due to their nutritional benefits and simplicity, these truffles remind me a lot of my power balls, which are always a success. I’ve now mastered many a flourless dough that yields a not-too-sweet, perfectly shaped little bite that pleases my whole family, satisfying their sweet teeth and providing them with a valuable source of protein at the same time.

DSC_2459

So, I took the recipe I found on Instagram and made it my own, into a Fresh Formula of course! I had Travis taste the first truffle and he said he would have liked it to be a tad sweeter, so you’ll see that reflected in the ingredients below. Since I opted for semi-sweet chocolate chips, the sweetness level was perfect for me, but certainly the type of chip you select will make a big difference.

Travis’s overall reaction to the garbanzo bean cookie dough bites? “I am kind of in shock.” He couldn’t believe how yummy such an unexpected combination of ingredients could be. Having made traditional chocolate chip now, I am already fantasizing about chocolate mint, lemon almond, and whole host of other cookie dough flavors. Give these little delights a try!

FORMULA BASE: COOKIE DOUGH TRUFFLES

Yields 16-20 balls

  • 1 ½ cups cooked white beans (e.g. garbanzo, great northern, cannellini, etc.) –> I’m using garbanzo.
  • ½ cup seed or nut butter (nuts/seeds ONLY) –> I’m using peanut.
  • 1/8 cup+ liquid sweetener (e.g. agave syrup, maple syrup, etc.) –> I’m using agave.
  • ½-1 tsp extract (amount depends on flavor intensity) –> I’m using homemade vanilla.
  • Pinch of pink Himalayan sea salt (optional) –> I’m opting out.
  • ½ cup chips (e.g. chocolate, dried fruit, chopped nuts, etc.) –> I’m using mini-semi-sweet chocolate chips (vegan).

Combine all ingredients—except the chips—in a food processor and run until smooth. Transfer dough into a bowl and stir in chips.

DSC_2461

Using a melon baller or teaspoon, form into balls and roll in your hands until smooth.

DSC_2463

Ready to eat immediately! 🙂 Store leftovers in the fridge.

DSC_2465

Simple Spiced Guacamole

Like my salsa formula, my guacamole formula is also no-salt-required.  Since it is likely being consumed with salty chips or layered in one of my burrito bowls, there really isn’t a need for added salt.

What I love about guacamole and salsa alike is that they are made with simple, fresh, raw ingredients.  I add a bit of dimension with the addition of spices, but you certainly don’t have to.

DSC_2452

The foundation of a solid guacamole is, of course, the avocado.  Avocados are rich in vitamins, fiber, and healthy fat (one of the few fats in my plant-based diet, in fact).  Their creamy texture makes them perfect for dips, pasta sauces, and even dessert bases!  I’ve seen people whipping up puddings, frostings, and smoothies with avocados, which are nicely disguised by sweet fruits.  No matter how you use them, you are adding a nutrient powerhouse to your dish.

DSC_2453

In addition, while guacamole traditionally contains cilantro and lime juice, I’ve substituted other herbs and citrus fruits when I’ve been out with great results.  Your guacamole will take on a totally different flavor with parsley and lemon juice, for example.  Experiment with what you like and enjoy!

FORMULA BASE:  GUACAMOLE

Serves 4-6 as an appetizer*

  • 2 lbs ripe avocados
  • ½ lb tomatoes, diced  –>  I’m using romas.
  • ½ of a small onion, finely diced  –>  I’m using red.
  • ½ cup finely chopped fresh herbs  –>  I’m using cilantro.
  • ¼ cup freshly squeezed citrus juice  –>  I’m using lime.
  • Minced garlic to taste  –>  I’m using 2 cloves.
  • Spices to taste (optional)  –>  I’m using ½ tsp each chili powder and paprika and ¼ tsp cumin.

*Halve the recipe to snack alone or with a friend.

Halve your avocados, remove the pits, and mash.  Mine are incredibly ripe, so they have a few brown edges – this is nothing to worry about!

DSC_2456

Stir in all remaining ingredients and dig in.

DSC_2457

It will keep in the fridge for several days, but it will brown in the process.  If you can’t get past the changed in color, I would eat the whole batch right away.  🙂

Apples, Pumpkins, and Spices, Oh My!

That’s right:  It’s fall, one of my favorite times of the year.  I love that apples, cider, pumpkins, and doughnuts are everywhere, even in Phoenix, where “fall” is still 100 degrees.  Ugh!

I’m now thirty-four weeks and two days pregnant and in addition to being done with the intense heat, I’m also not always feeling fresh fruits and vegetables to the extent that I normally do.  I recently read an article about different pregnancy symptoms and the author noted that many moms-to-be develop an aversion to fresh produce.

I wouldn’t say I’m averted—most of my diet consists of fresh produce, after all—I’m just less keen on snacking on carrot sticks when I could have one of my most prevalent pregnancy cravings fulfilled in a sweet, creamy, comforting peanut butter sandwich.  The next second, I might want the world’s biggest salad, but despite my usual eating habits, in general, I’m just not as in to the foods that I normally crave.

The aforementioned article suggested a solution that is already a staple in my house:  smoothies!  If you regularly follow this blog, you know that I’m experimenting with new smoothie combinations all the time.  Especially during this pregnancy, smoothies are one of the primary ways that I’m getting all of my nutritional needs met, even when disguised as “dessert.”

Today’s dessert smoothie is, as always, packed with nutrients, contains no added salt, oil, or sugar, and capitalizes on the flavors of fall.  Introducing the apple pie smoothie, no cooking required.  🙂

As you know, finally splurging for a Vitamix has changed my life because I don’t need to cook any of the produce that go into my smoothies.  With previous blenders, I would have needed to steam a fruit like apples just to ensure a smooth puree; with the Vitamix, the apples go in totally raw with their skins intact and a silky smoothie ensues.

My pumpkin pie smoothie features ground cinnamon and Honeycrisp apples.  In Arizona, at least, I don’t see Honeycrisps all throughout the year and when I do, they are expensive.  Fall has made them plentiful and affordable, even in the desert.  Thank goodness because the Honeycrisp is low in calories (if you’re counting), high in fiber, and exquisitely juicy.  They also have a lengthy refrigerator shelf life—minimum seven months—so stock up while they’re cheap.

DSC_2444

The addition of medjool dates—which I use in nearly all of my dessert smoothies—adds a touch more sweetness and the caramel-like notes that are indicative of a freshly baked apple pie.  Enjoy!

FORMULA BASE:  DESSERT SMOOTHIE

Serves 2

  • 2 frozen bananas (or fresh bananas and ice)
  • ½-1 cup specialty ingredients  –>  I’m using 1 medium, quartered Honeycrisp apple and ½ tsp cinnamon.
  • 1 tbsp chia seeds
  • 1 tbsp ground flax seeds
  • 1 tbsp hulled hemp seeds
  • ¼-½ tsp extract of choice (optional, and amount depends on flavor intensity)  –>  I’m using ½ tsp vanilla.
  • Pitted medjool dates as needed for sweetness  –>  I’m using 3.
  • 100% freshly squeezed juice or plant milk until desired consistency (start with 4 oz)  –>  I’m using almond.

Combine all ingredients in a blender. Taste and adjust specialty ingredients as necessary.

DSC_2446

Quick and Easy Oatmeal

One of my family’s favorite breakfasts is oatmeal.  It’s filling, delicious, and has endless possibilities.  In addition, it is excellent baby and toddler food.  Today, I’m making it extra special for Nolan with mini-chocolate chips.  🙂

DSC_2440

I typically make oatmeal with rolled oats since I always have some on hand for muffins, power balls, and granola, but steel cut oats—which are richer in nutrients—would be a great choice, too.  I include no salt and keep the added sweetener low by flavoring the oats with fruit or other already sweet components.

Should you opt for rolled oats, you can have this oatmeal on the table in about five minutes (steel cut take a bit longer to cook).  It is the ultimate quick and easy breakfast that will keep you full and energized for hours.  Enjoy!

FORMULA BASE:  OATMEAL

Serves 6-8

  • 4 cups uncooked oats (rolled or steel cut)  –>  I’m using rolled.
  • ½ cup specialty ingredients + extra for garnishing (finely chopped raw fruit, dried fruit, raw nuts, raw seeds, etc.) –>  I’m using 1 tbsp each hulled hemp seeds and ground flaxseed, plus ¼ cup slivered almonds.  I’m topping my oatmeal with a sprinkle of mini-semisweet chocolate chips (vegan).
  • 1/8-1/4 cup sweetener  –>  I’m using 1/8 cup raw agave syrup.
  • ½-1 tsp extract (amount will depend on flavor intensity)  –>  I’m using 1 tsp vanilla.
  • 1 tsp spices  –>  I’m using ground cinnamon.
  • Liquid of choice for cooking (water or unsweetened plant milk)  –>  I’m using a combination of water and almond milk (there is no particular reason for this – I just didn’t have enough almond milk to sufficiently fill the pot!).

Place your oats in pot.  Fill the pot with liquid enough to cover the oats by about half an inch.  Place the pot on the stove and set to medium heat.  While your oats are softening, add all other ingredients and stir frequently until cooked, which may take as little as 4-5 minutes from the time that you turned on the burner.

DSC_2431

Upon completion, your oatmeal will be slightly soupy.  As it cools, the oats will continue to absorb more of the liquid.

DSC_2433

Garnish and serve.  Store leftovers in the fridge for up to a week.

DSC_2436

A Few of My Favorite Things: Portland

A few weeks ago, I had the pleasure of returning to Portland, Oregon for the second time to visit my best friend, Danielle, and her precious new baby, Devlin.  I absolutely love Portland:  the people, the culture, the lifestyle, and most importantly, the food!

Portlanders are a health-conscious people, frequently opting for a vegetarian/vegan diet.  Even in just two trips to this green city, I was able to see that no matter where I went, there would be plenty of plant-based options available.  Danielle jokes that you can find kale anywhere; she even found a small pile of it outside of her car in a parking lot one day!

When it comes to plant-based eating in Portland, restaurants, bakeries, and even Bob’s Red Mill are all on board.  Bob’s products are essential in my vegan kitchen.  In particular, I purchase his whole wheat graham flour to make homemade graham crackers and hulled hemp seeds to add to baked goods, salads, and smoothies.  In addition to selling his wide array of products, Bob’s also serves good ole country style food in house, including a variety of vegan options.  Honestly, I think that Portlanders expect it and I’m thrilled that it’s a standard here.

10926227_10106164850591814_8913432345842309092_n

Looking for something fresher?  Head over to the Laughing Planet Café.  The LPC—serving fresh, high quality ingredients on a menu that includes vegan, gluten-free, and paleo-friendly options–has many locations, so you’re not limited to Portland to dig in.  The atmosphere at the LPC is bright and eclectic and made me excited to try the food before it arrived.  I chowed down on this totally vegan grains and greens salad; it was delicious!  Maybe there really is kale everywhere in Portland…

12004064_10107275503644194_707540891907624041_n 11998829_10107275503684114_2119253855623869441_n 12011301_10107275503639204_5899723910788127063_n

Lastly, who wants to skip dessert?!  Not this preggo!  Both times I’ve been to Portland I’ve stopped into the famous Voodoo Doughnut.  Voodoo is well-known for many reasons, from its pink exterior to eccentric decor to, of course, its classically scrumptious doughnuts.  Naturally, I gravitated toward the plentiful vegan selection.  When in Portland the first time, Travis tried both the regular and vegan doughnuts and confirmed that they were equally tasty; as I’ve been preaching for years, vegan doesn’t mean sub-par flavor or quality.  Would you believe that Voodoo even has a peanut butter and jelly doughnut?!  Only my #1 preggo craving.  I was in heaven.  🙂

984313_10106164852128734_8508341780318855144_n 12027575_10107275504123234_5895794448787289672_n

There are a million reasons you should visit Portland, but the fantastic eats top my list.  I hope you enjoy eating your way through the city as much as I have!

Pomegranate “Cream Cheese” Frosting

I’m happy to report that my take on traditional cream cheese frosting does not include either dairy cream cheese or processed vegan cream cheese.  The star here—as with my fruit mousse—is cashews.  I’ve been using cashews in everything lately, from my “alfredo” sauce to my creamy vegetable sauce to this cake topper.  It’s amazing how smoothly they blend up and I’ve come to prefer them to blending up tofu most of the time.

In other news, a recent Bountiful Basket yielded sixteen pounds of pomegranates, so Travis and I have our work cut out for us in using all of those up.  Pomegranates are normally quite expensive, so we seized the opportunity to stock up on this super food for cheap ($15!).  Thirty-two weeks pregnant tomorrow, my cravings for dessert have not subsided, so it’ll be pomegranate desserts and smoothies for the next several weeks!

The pomegranate is similar to an apple in shape and filled with sweet, juicy seeds, known as arils.  The arils are the only edible part of the fruit and thus, where all of the nutrients lie.  Arils are high in fiber, vitamins C and K, and polyphenols.  Polyphenols are rich in heart health and anti-cancer benefits, making the arils and their juice highly sought after.

DSC_2415

Having such a large batch of pomegranates right now means that I have fruits of varying colors and sweetness levels.  Believe it or not, the paler arils from the pomegranate pictured above were actually sweeter and tastier than the richer red arils retrieved from a second fruit to garnish the cake.  As a result, I used the paler arils in the icing itself and the deep red arils for sprinkling.

DSC_2416

If I were to make this frosting again, I would consider using more cashews to bump up the cream cheese flavor, but I can definitely taste the resemblance in this rendition.  Delicious and inspiring that someday I’ll get vegan cheesecake right.  🙂  Enjoy!

FORMULA BASE:  CAKE

Makes 12 cupcakes or one 8 x 8 square or round cake

For the cake:

  • 1 cup flour –> I’m using whole wheat.
  • 1-1 ½ cups plant milk (depending on the flour) –> I’m using ¾ cup almond since I’m using extra liquid elsewhere.
  • ¾ cup sweetener –> I’m using turbinado sugar.
  • ¼ cup ground flaxseed
  • ¼ cup oil –> I’m using coconut.
  • 1 vegan “egg” substitute (i.e. mashed banana, applesauce, etc.) –> I’m mixing a few tablespoons of hot water with my ground flaxseed.
  • 1 tsp xanthan gum (a binding agent, if using gluten-free flour) –> I’m not using it.
  • 1 tsp baking powder
  • ½ tsp baking soda
  • ½-1 tsp extract (depending on the flavor intensity) –> I’m using 1 tsp homemade vanilla.
  • ¼ tsp pink Himalayan sea salt
  • Up to ½ cup specialty ingredients (chopped nuts, dried fruit, shredded coconut, cocoa powder, citrus juice/zest, etc.) (optional) –> I’m using the zest and juice of 1 lemon.

For the frosting:

  • 1 cup coarsely chopped fresh or steamed fruit (depending on the fruit) –> I’m using ½ cup pomegranate arils and ½ cup raw cashews (soaked overnight).
  • ½ cup powdered sweetener –> I’m using turbinado.
  • ¼ cup room temperature natural vegan butter
  • 1 tsp citrus juice (to preserve the color of the fruit)* –> I’m using clementine.
  • ½-¼ tsp extract (depending on the flavor intensity) –> I’m using a splash of homemade vanilla.

*I would avoid food coloring unless you can find an all-natural variety containing plant pigments. Some varieties come from animals and others are made artificially with chemicals.

Preheat your oven to 350 degrees. Prepare your “egg,” whether that involves scooping, mashing, combining, etc. in a large mixing bowl.   Mix together all of your wet ingredients in the same bowl. Separately mix all dry ingredients. Using a whisk or wooden spoon, slowly incorporate the dry into the wet until a smooth, pourable batter forms. Stir in any specialty ingredients, if using.Pour the cake batter into a greased square 8 x 8 baking dish or round baking dish, or evenly into 12 lined muffin cups.

DSC_2411

Place the cake/cupcakes in the oven for 30-35 minutes, or until a toothpick inserted in the center comes out clean. My mom always told me that it’s better to over bake a cake (and under bake a brownie); nothing worse than goopy batter in the middle!Set your cake on a cooling rack for an hour or two. Speed the process by placing it uncovered in the fridge.

While the cake is baking, make your frosting. First, puree the fruit, cashews, citrus juice, and extract to a smooth, pourable consistency. Beat together the sugar and butter/shortening, slowly incorporating the pureed fruit mixture until an icing-like consistency is achieved. Cover and chill in the fridge while your cake cools to stiffen it up, at which point it will be more spreadable and less pourable.

DSC_2421

When your cake (or cupcakes) is cool, frost, garnish, and dig in!

DSC_2429