New Formula: Veggie Curry

DSC_1657I’ve always known that I love curry, but I didn’t realize just how much until Travis, Nolan, and I visited my sister and her husband in Japan this past June. In addition to traditional Japanese fare, the streets are sprinkled with tiny, authentic Indian restaurants, serving many varieties of curry with chewy naan. Travis, Petra, Craig, and I decided that we really needed to check out these curry joints; the chefs there must be doing something right if there is just as much curry available in Tokyo as sushi and ramen.

Thus, we embarked on what we lovingly named The 2013 Curry Crawl. We sampled curry from six different Indian establishments over the course of two days, with one day of rest in the middle (curry can be intense, ya’ll). We even found a bakery that sold savory curry-stuffed donuts! Yes, it’s true, and boy were they delicious!  Here you can see me and Petra, members of the Curry Crawl Clean Plate Club, and the donuts.

DSC_1026 DSC_0883

Vegetarian curry was easy to find, but vegan curry? Not so much. While coconut milk is a typical base for the creamy curry sauce, many places use heavy cream or milk. Being lactose intolerant, I knew pretty quickly when I had just wolfed down a cream-based curry rather than the preferred coconut milk variety. Uh oh… 🙂

Full and inspired, I knew I had to come back to Arizona and perfect my own totally vegan curry dish. I experimented with different vegetable and bean combinations, plant milks, and spice levels, and think I just may have figured this out. I discovered that there really is no ideal recipe since I like so many different flavors and because different people prefer their curry differently: sweet, spicy, mild, thick, soupy, etc. Thus, vegetable curry (now under Square Meal Formulas) lends itself perfectly to my Fresh Formula model.

When I’m making this dish—which Travis claims is the best vegetable curry he’s ever had, just sayin’—I throw together whatever vegetables and beans I have on hand and have a unique experience every time. I keep the spice blend and sauce thickness consistent, since to me, that’s what makes my curry, my curry.

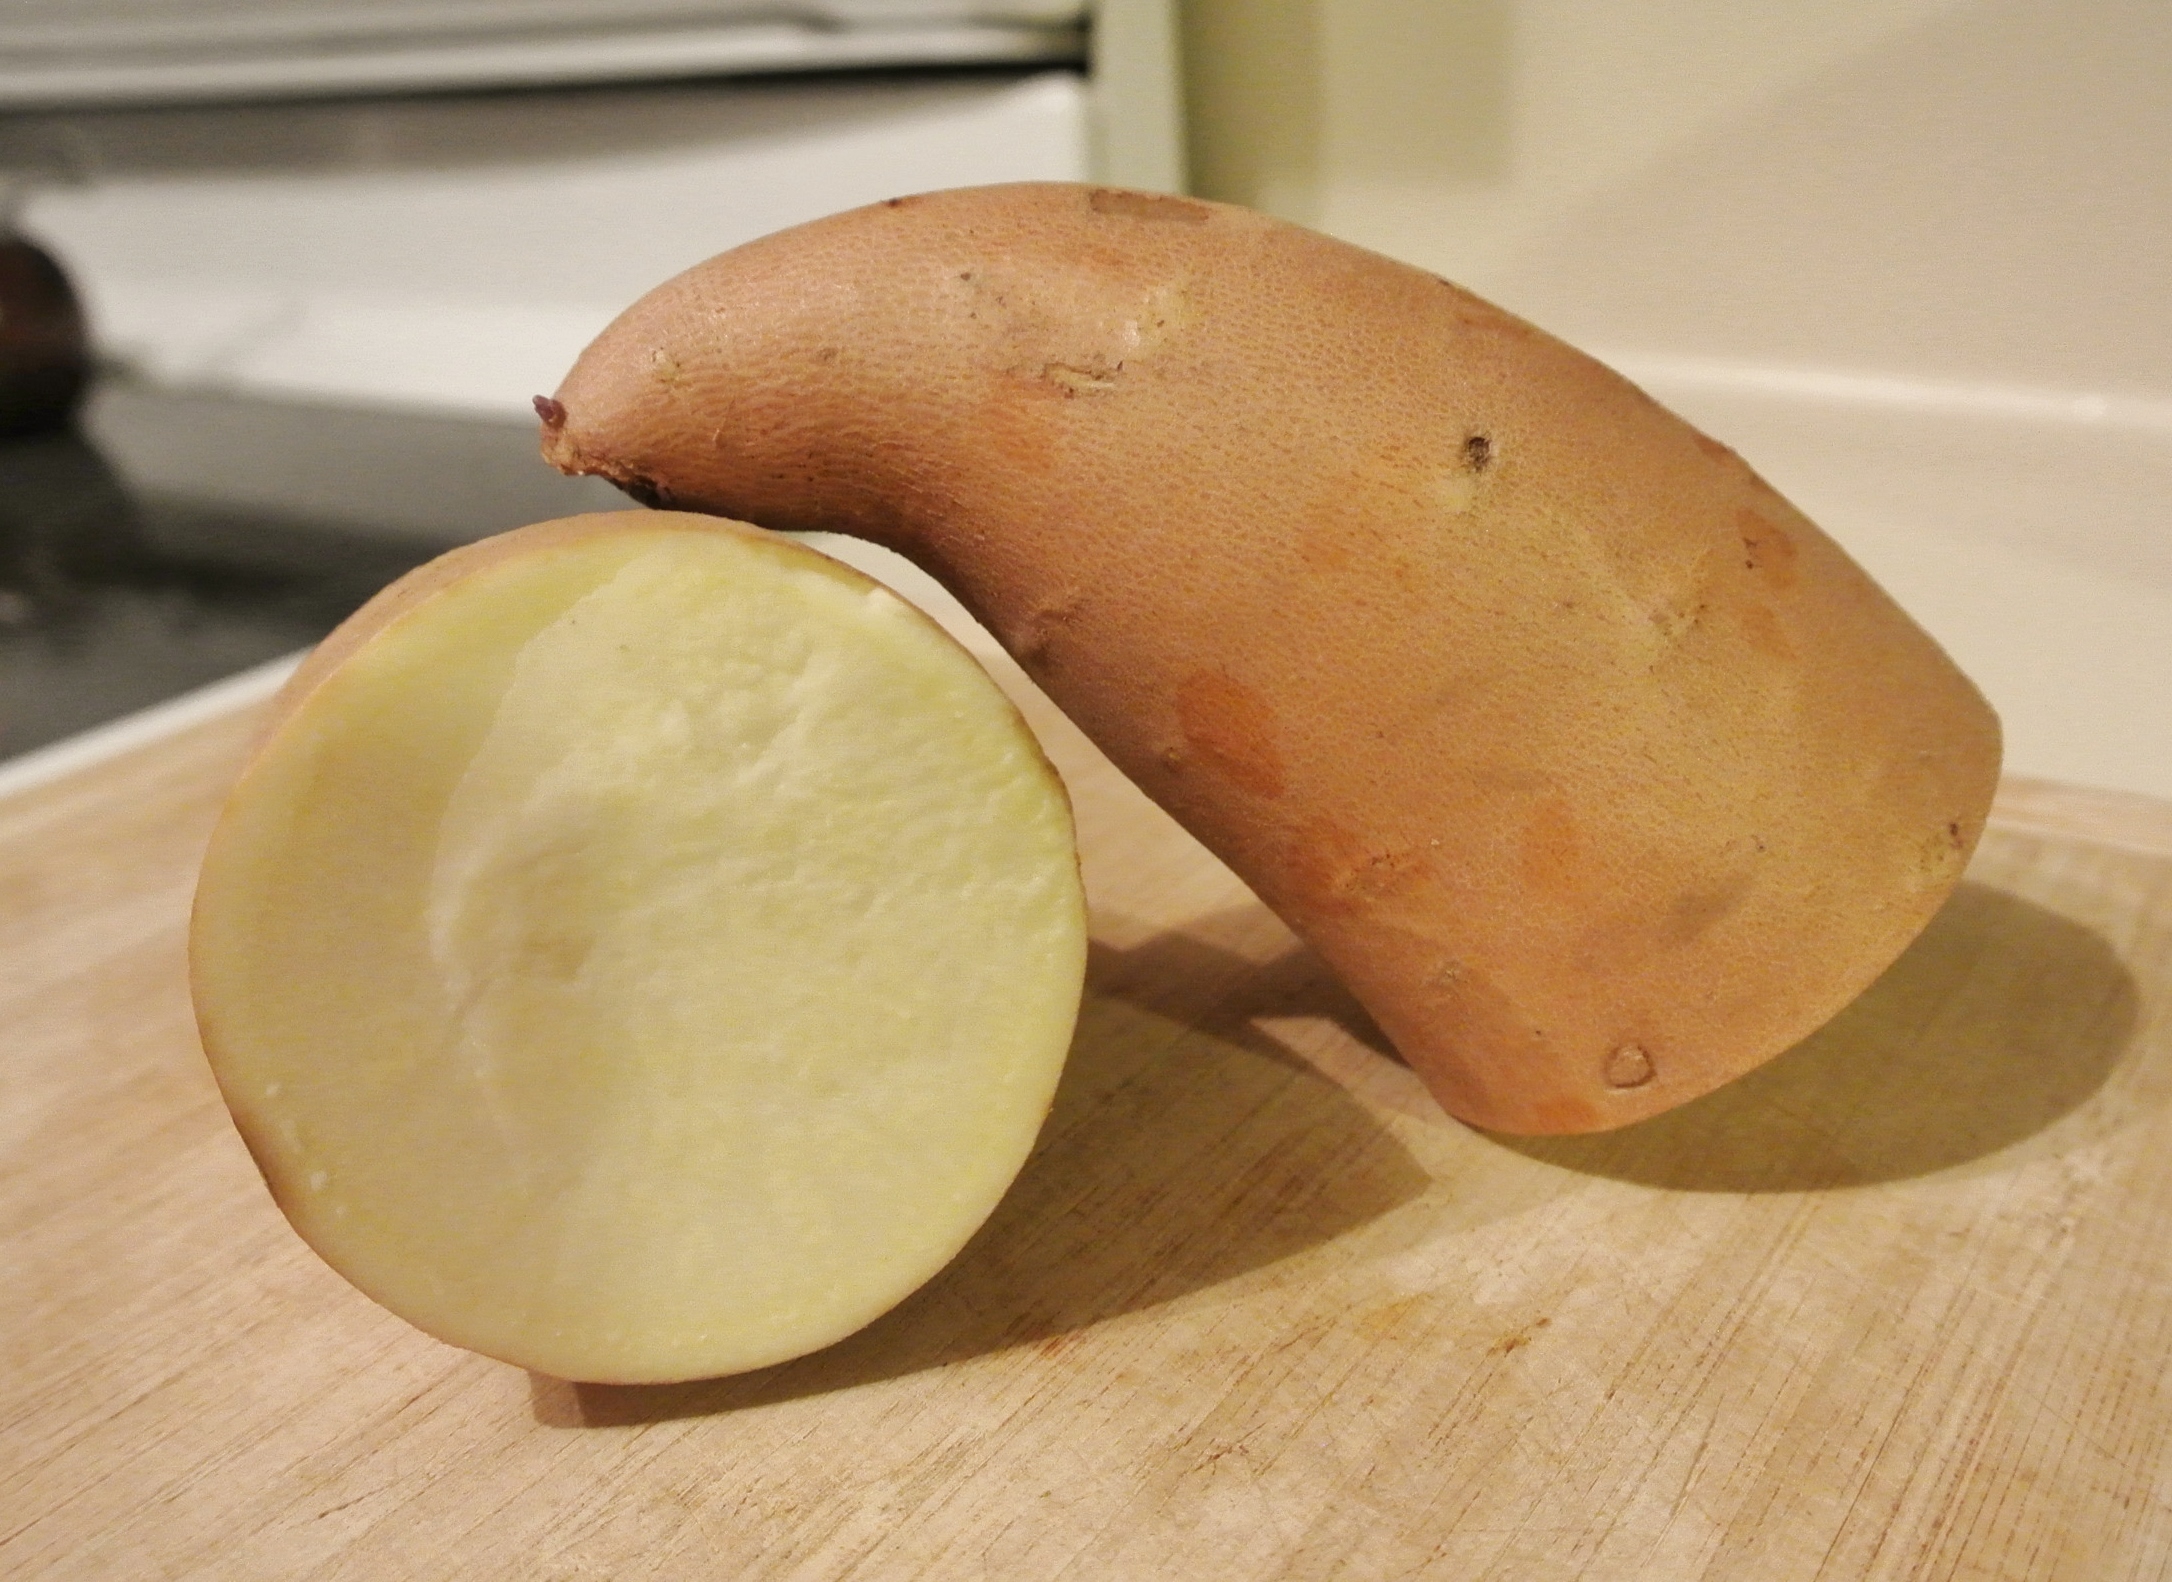
Before we get started, I have pictured here an actual sweet potato, since that is what I am using in today’s recipe. If you didn’t already know, while some varieties of sweet potatoes may be orange inside, the orange guys you find in the grocery store may actually be yams, with the true sweet potatoes being pale yellow inside. Does it matter? Yes! Sweet potatoes are higher in protein and fiber than yams and a mega source of vitamin A. While both are extremely nutritious, sweet potatoes have an edge. Just something to consider the next time you are in charge of these starches next Thanksgiving.

DSC_1648
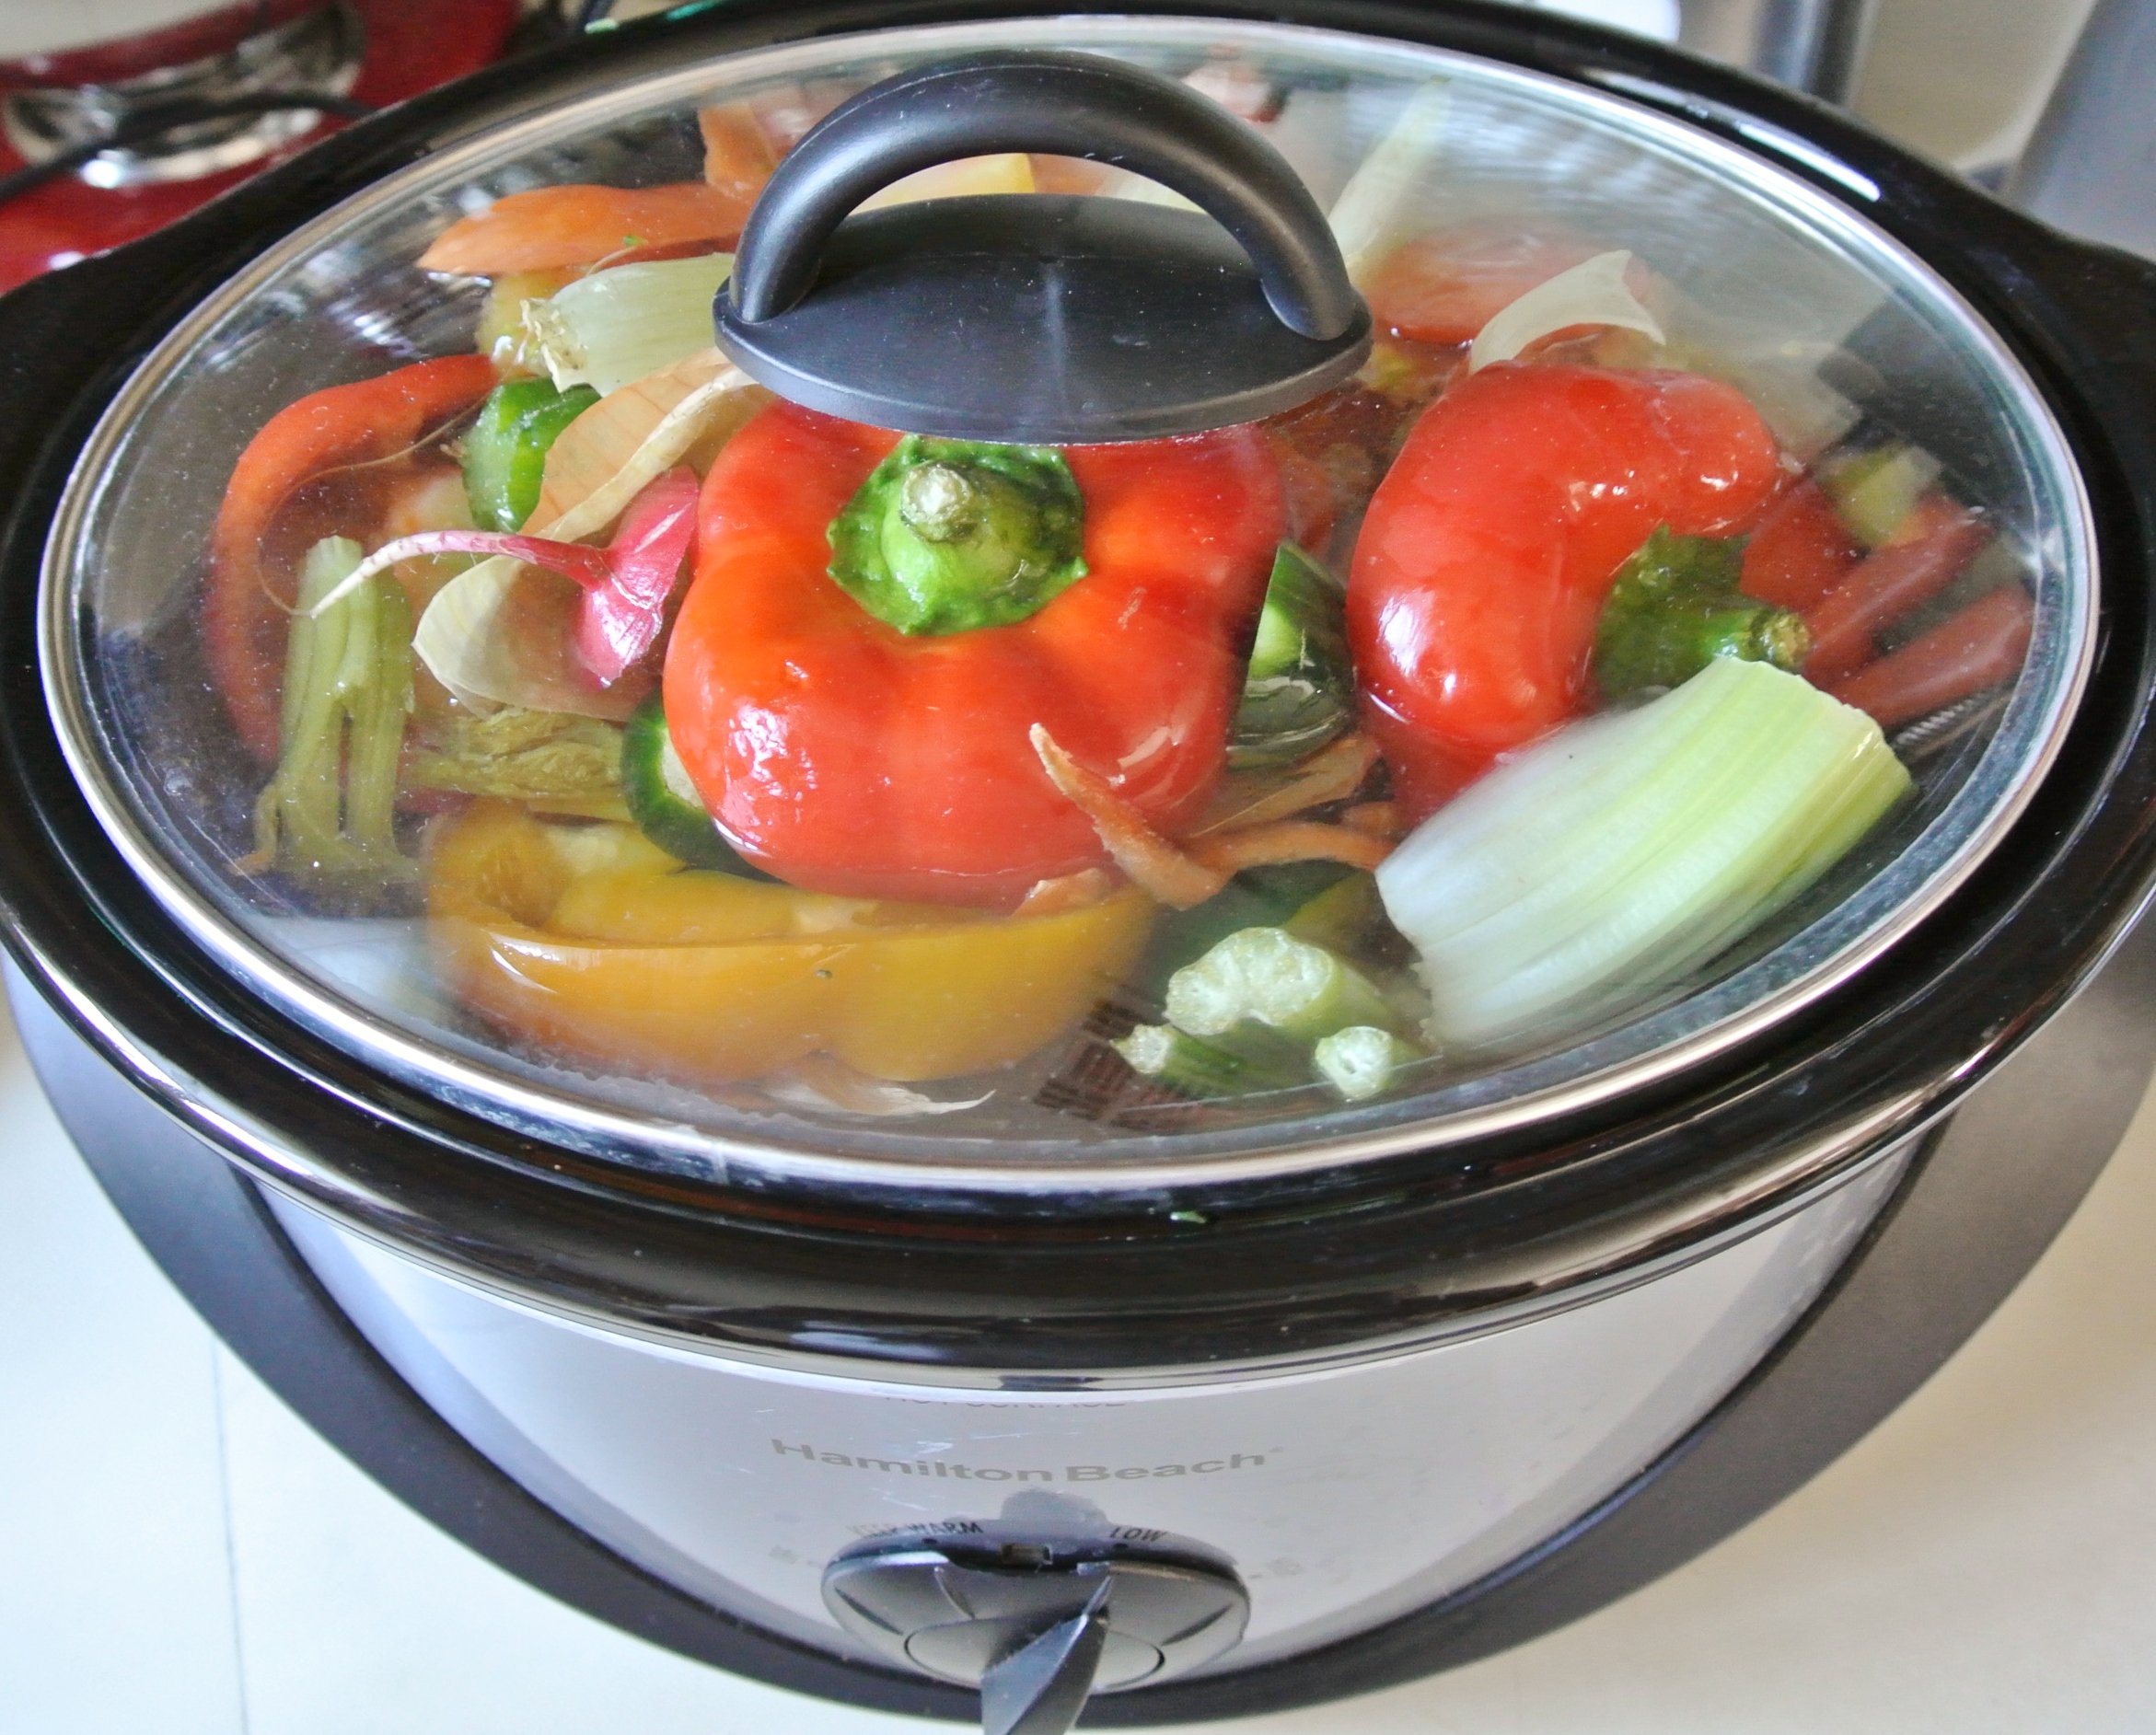
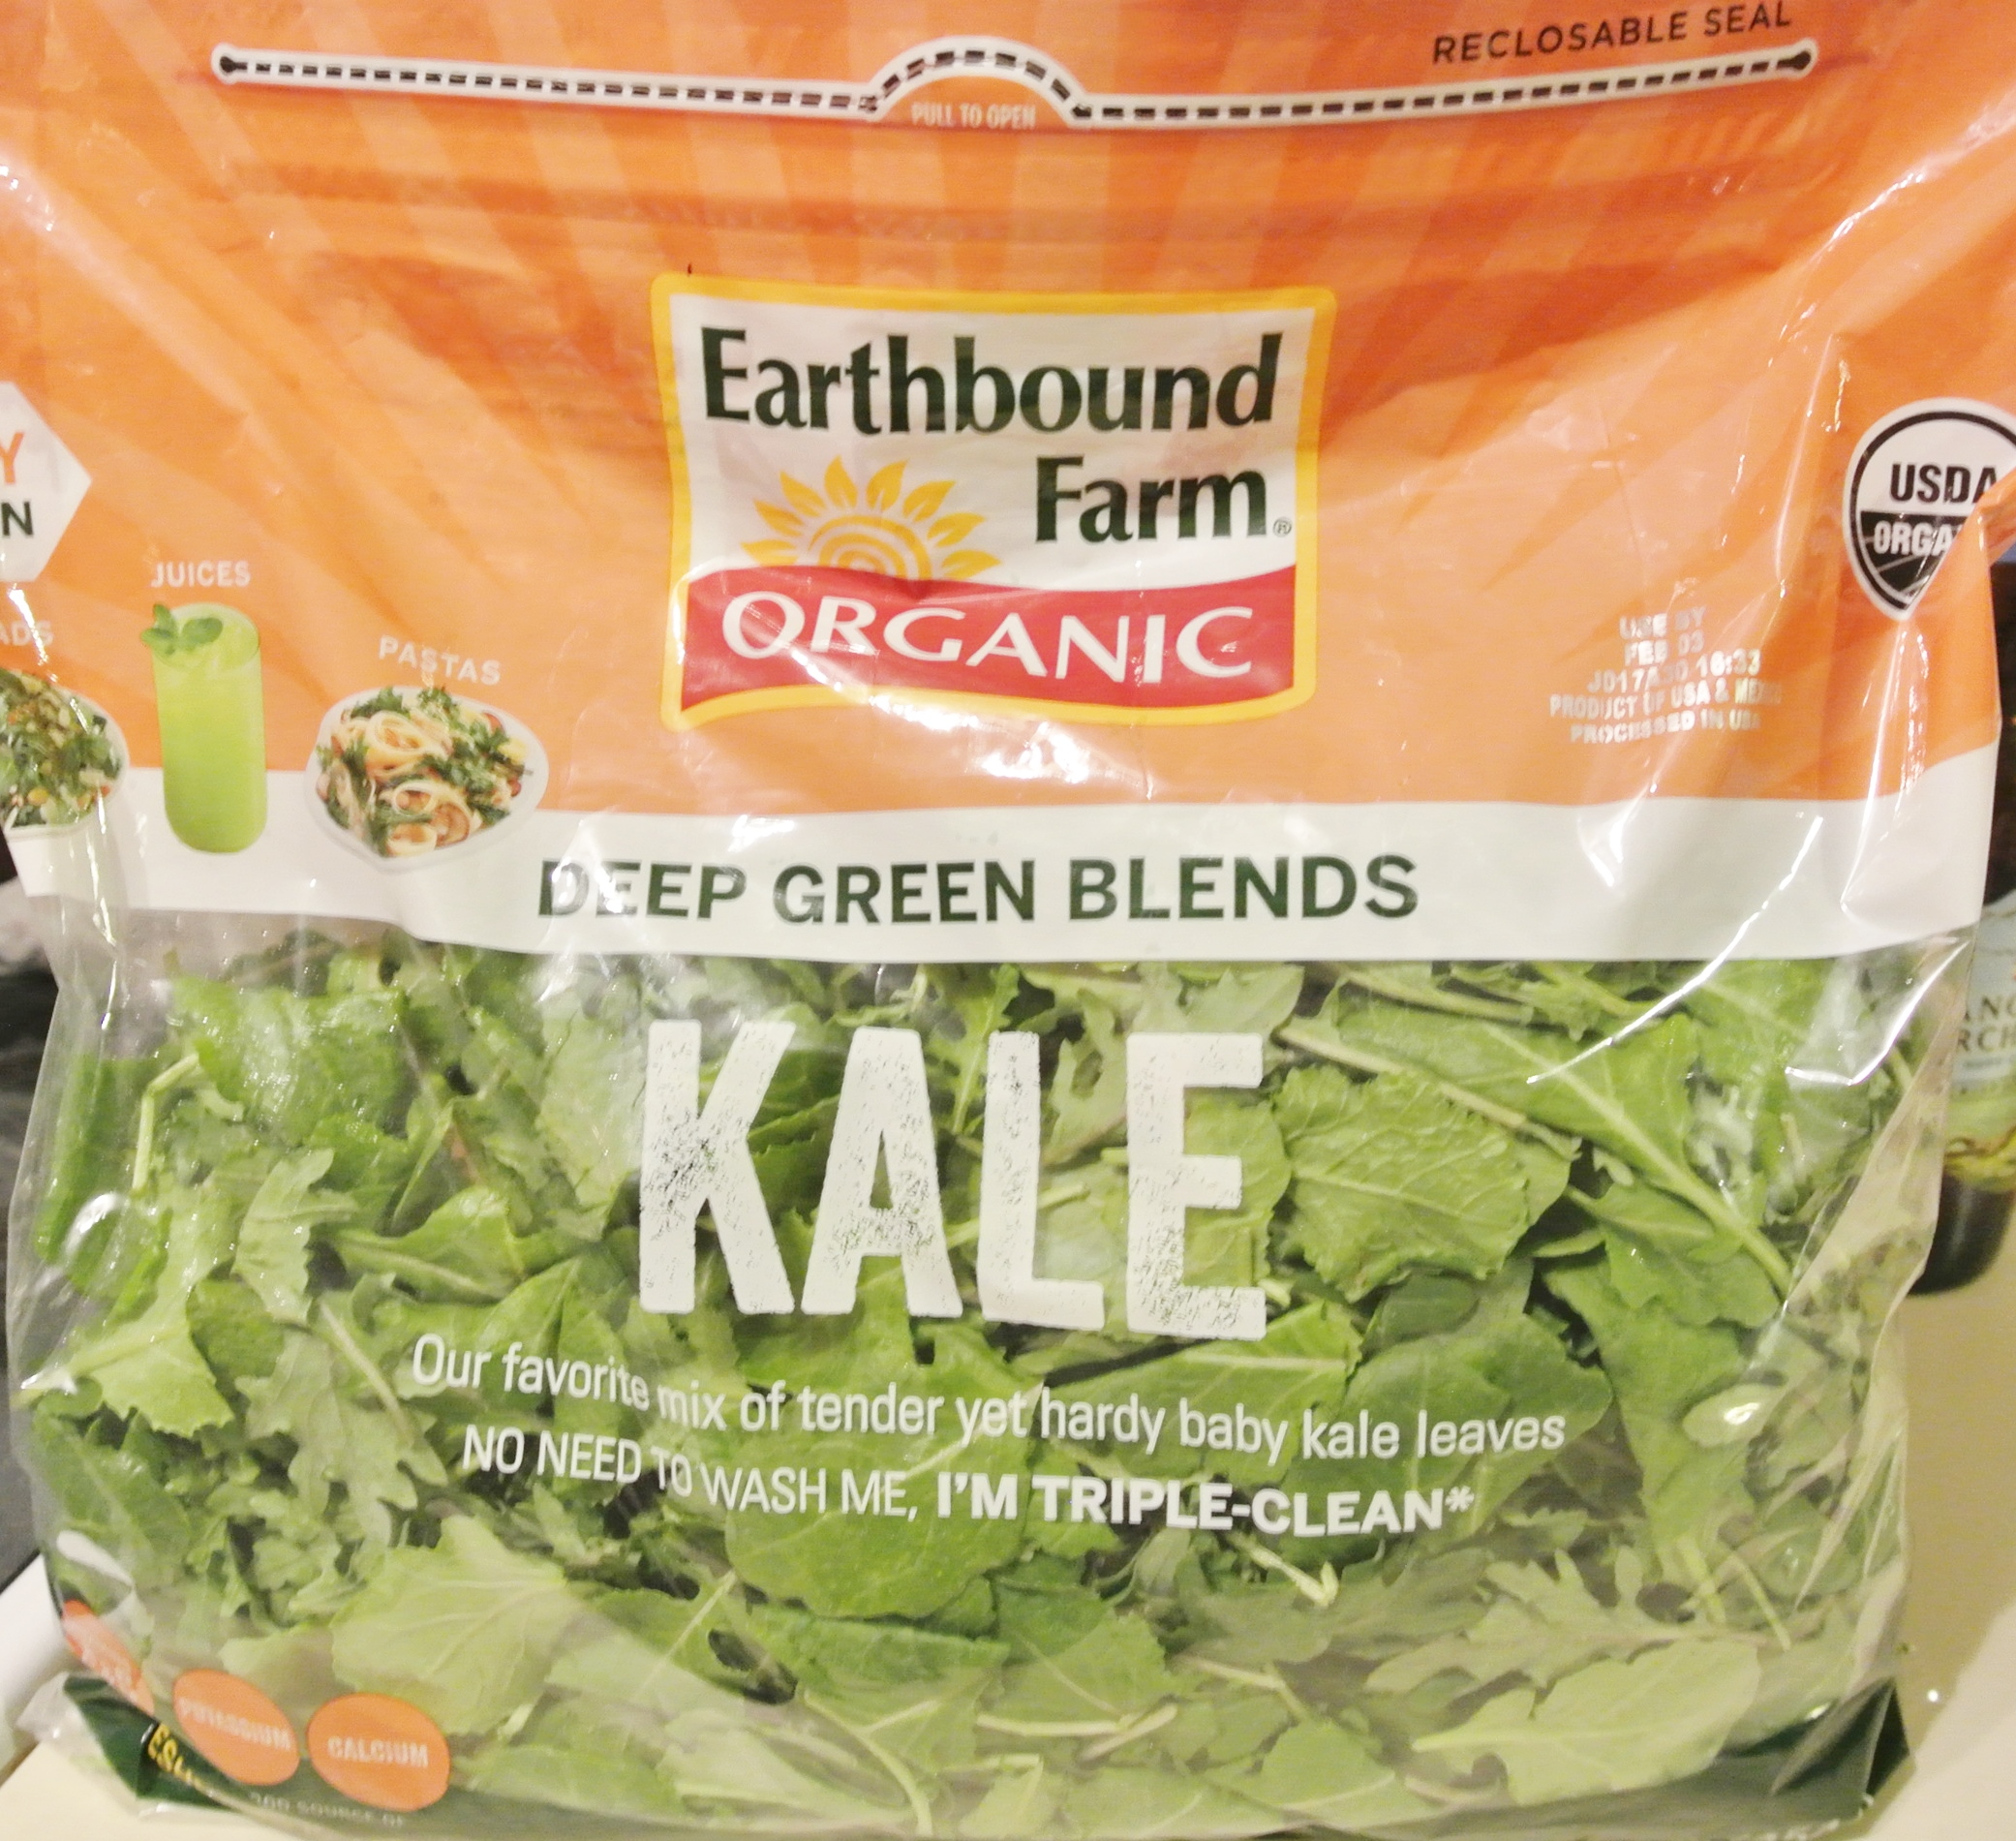
Finally, don’t forget to thoroughly wash your vegetables before peeling and chopping. Remember, you can collect the clean scraps in a large bowl in the freezer to make into homemade veggie stock later on. 🙂 On to the curry!

FORMULA BASE: VEGGIE CURRY

Serves 6

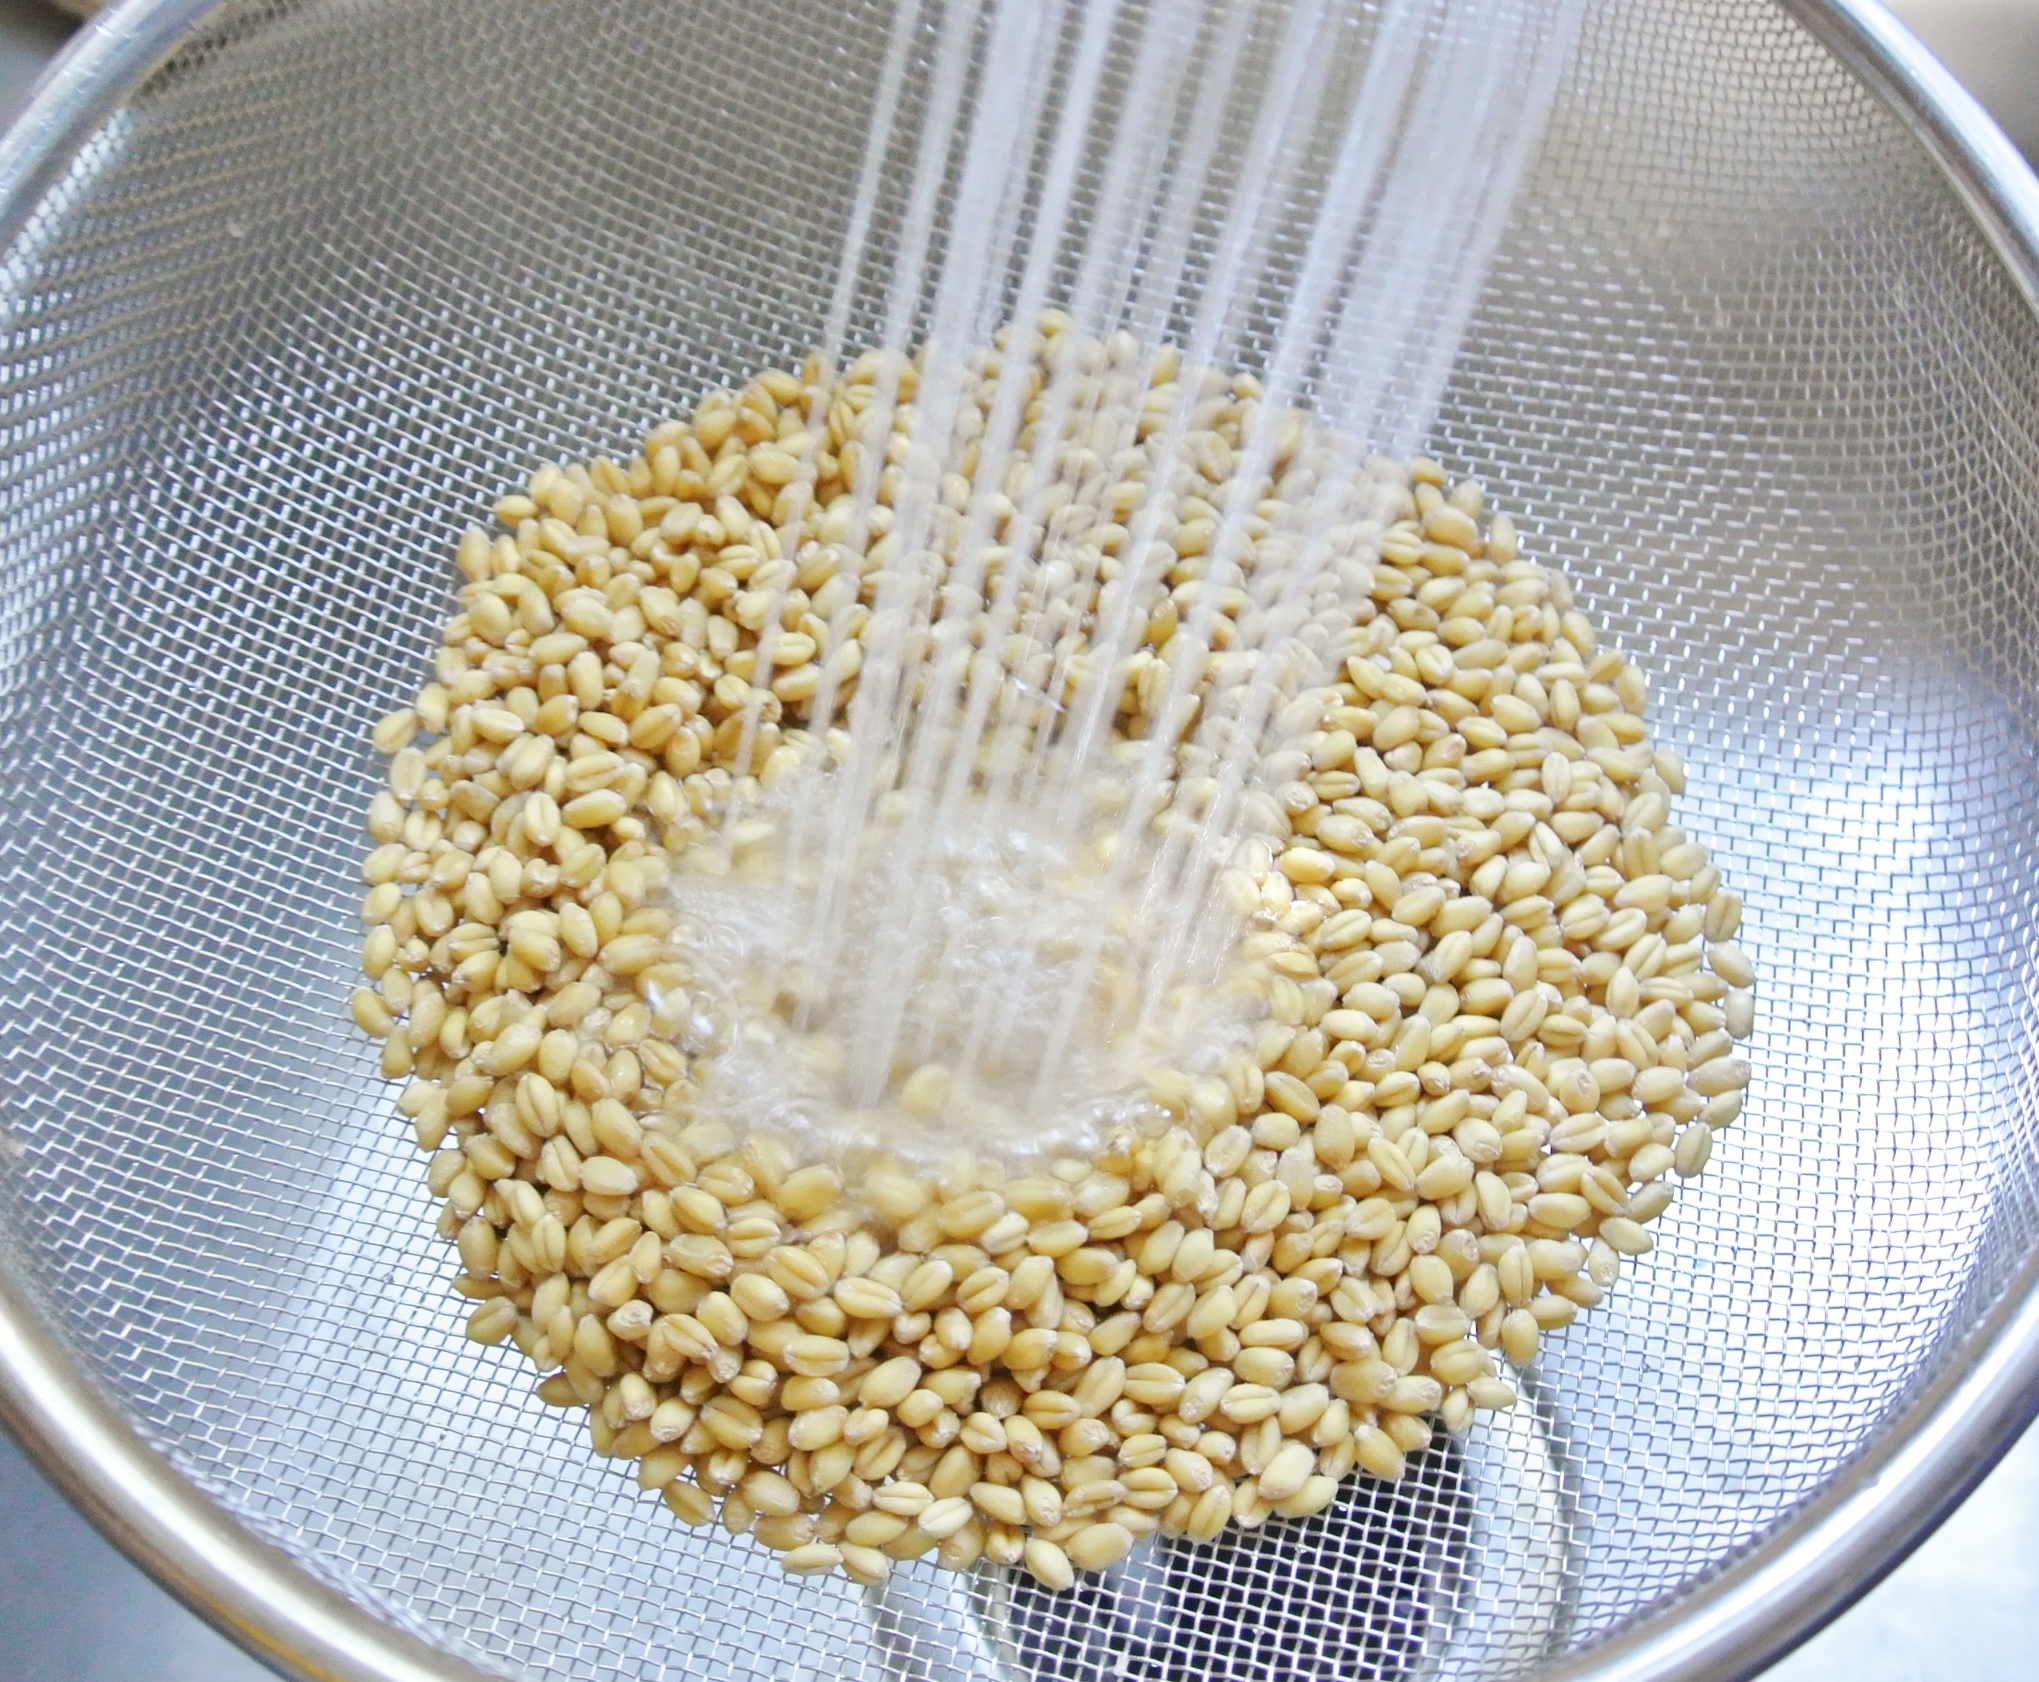
  • 2 cups grains + 4 cups cooking liquid –> I’m using short grain brown rice, which I’m cooking in my homemade veggie stock.
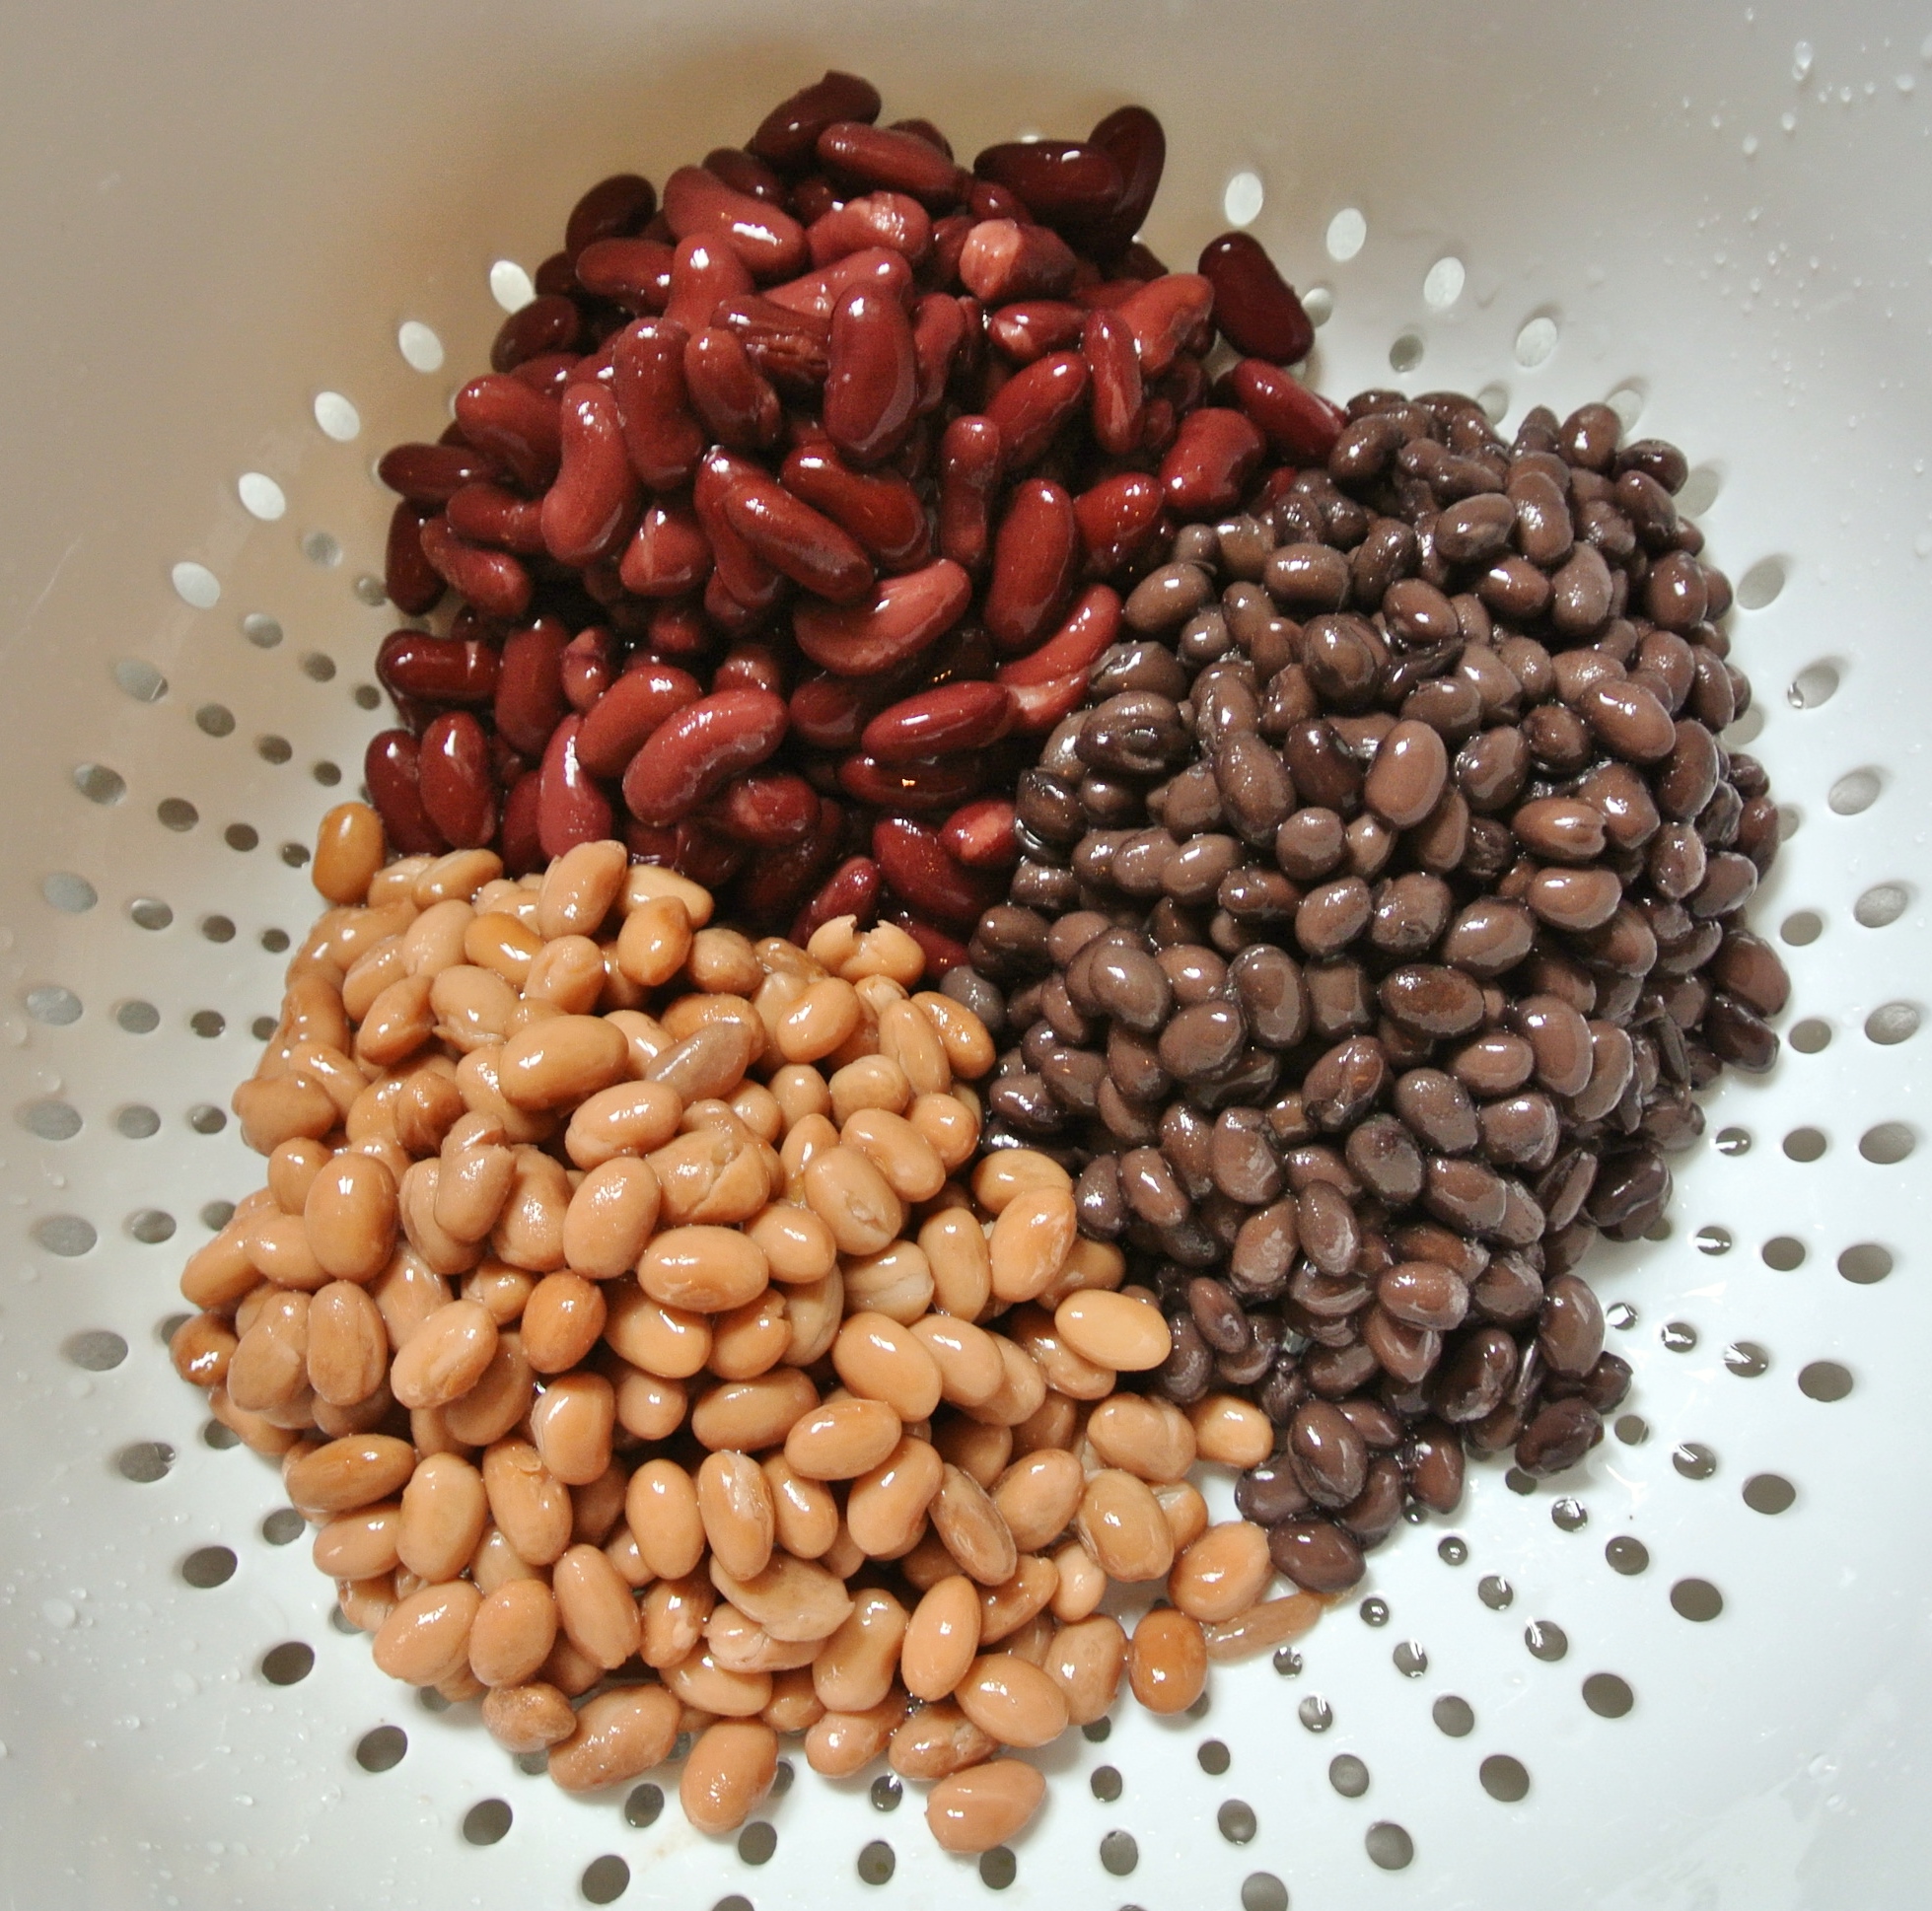
  • 2 cups cooked beans –> I’m using garbanzo beans (AKA chickpeas).
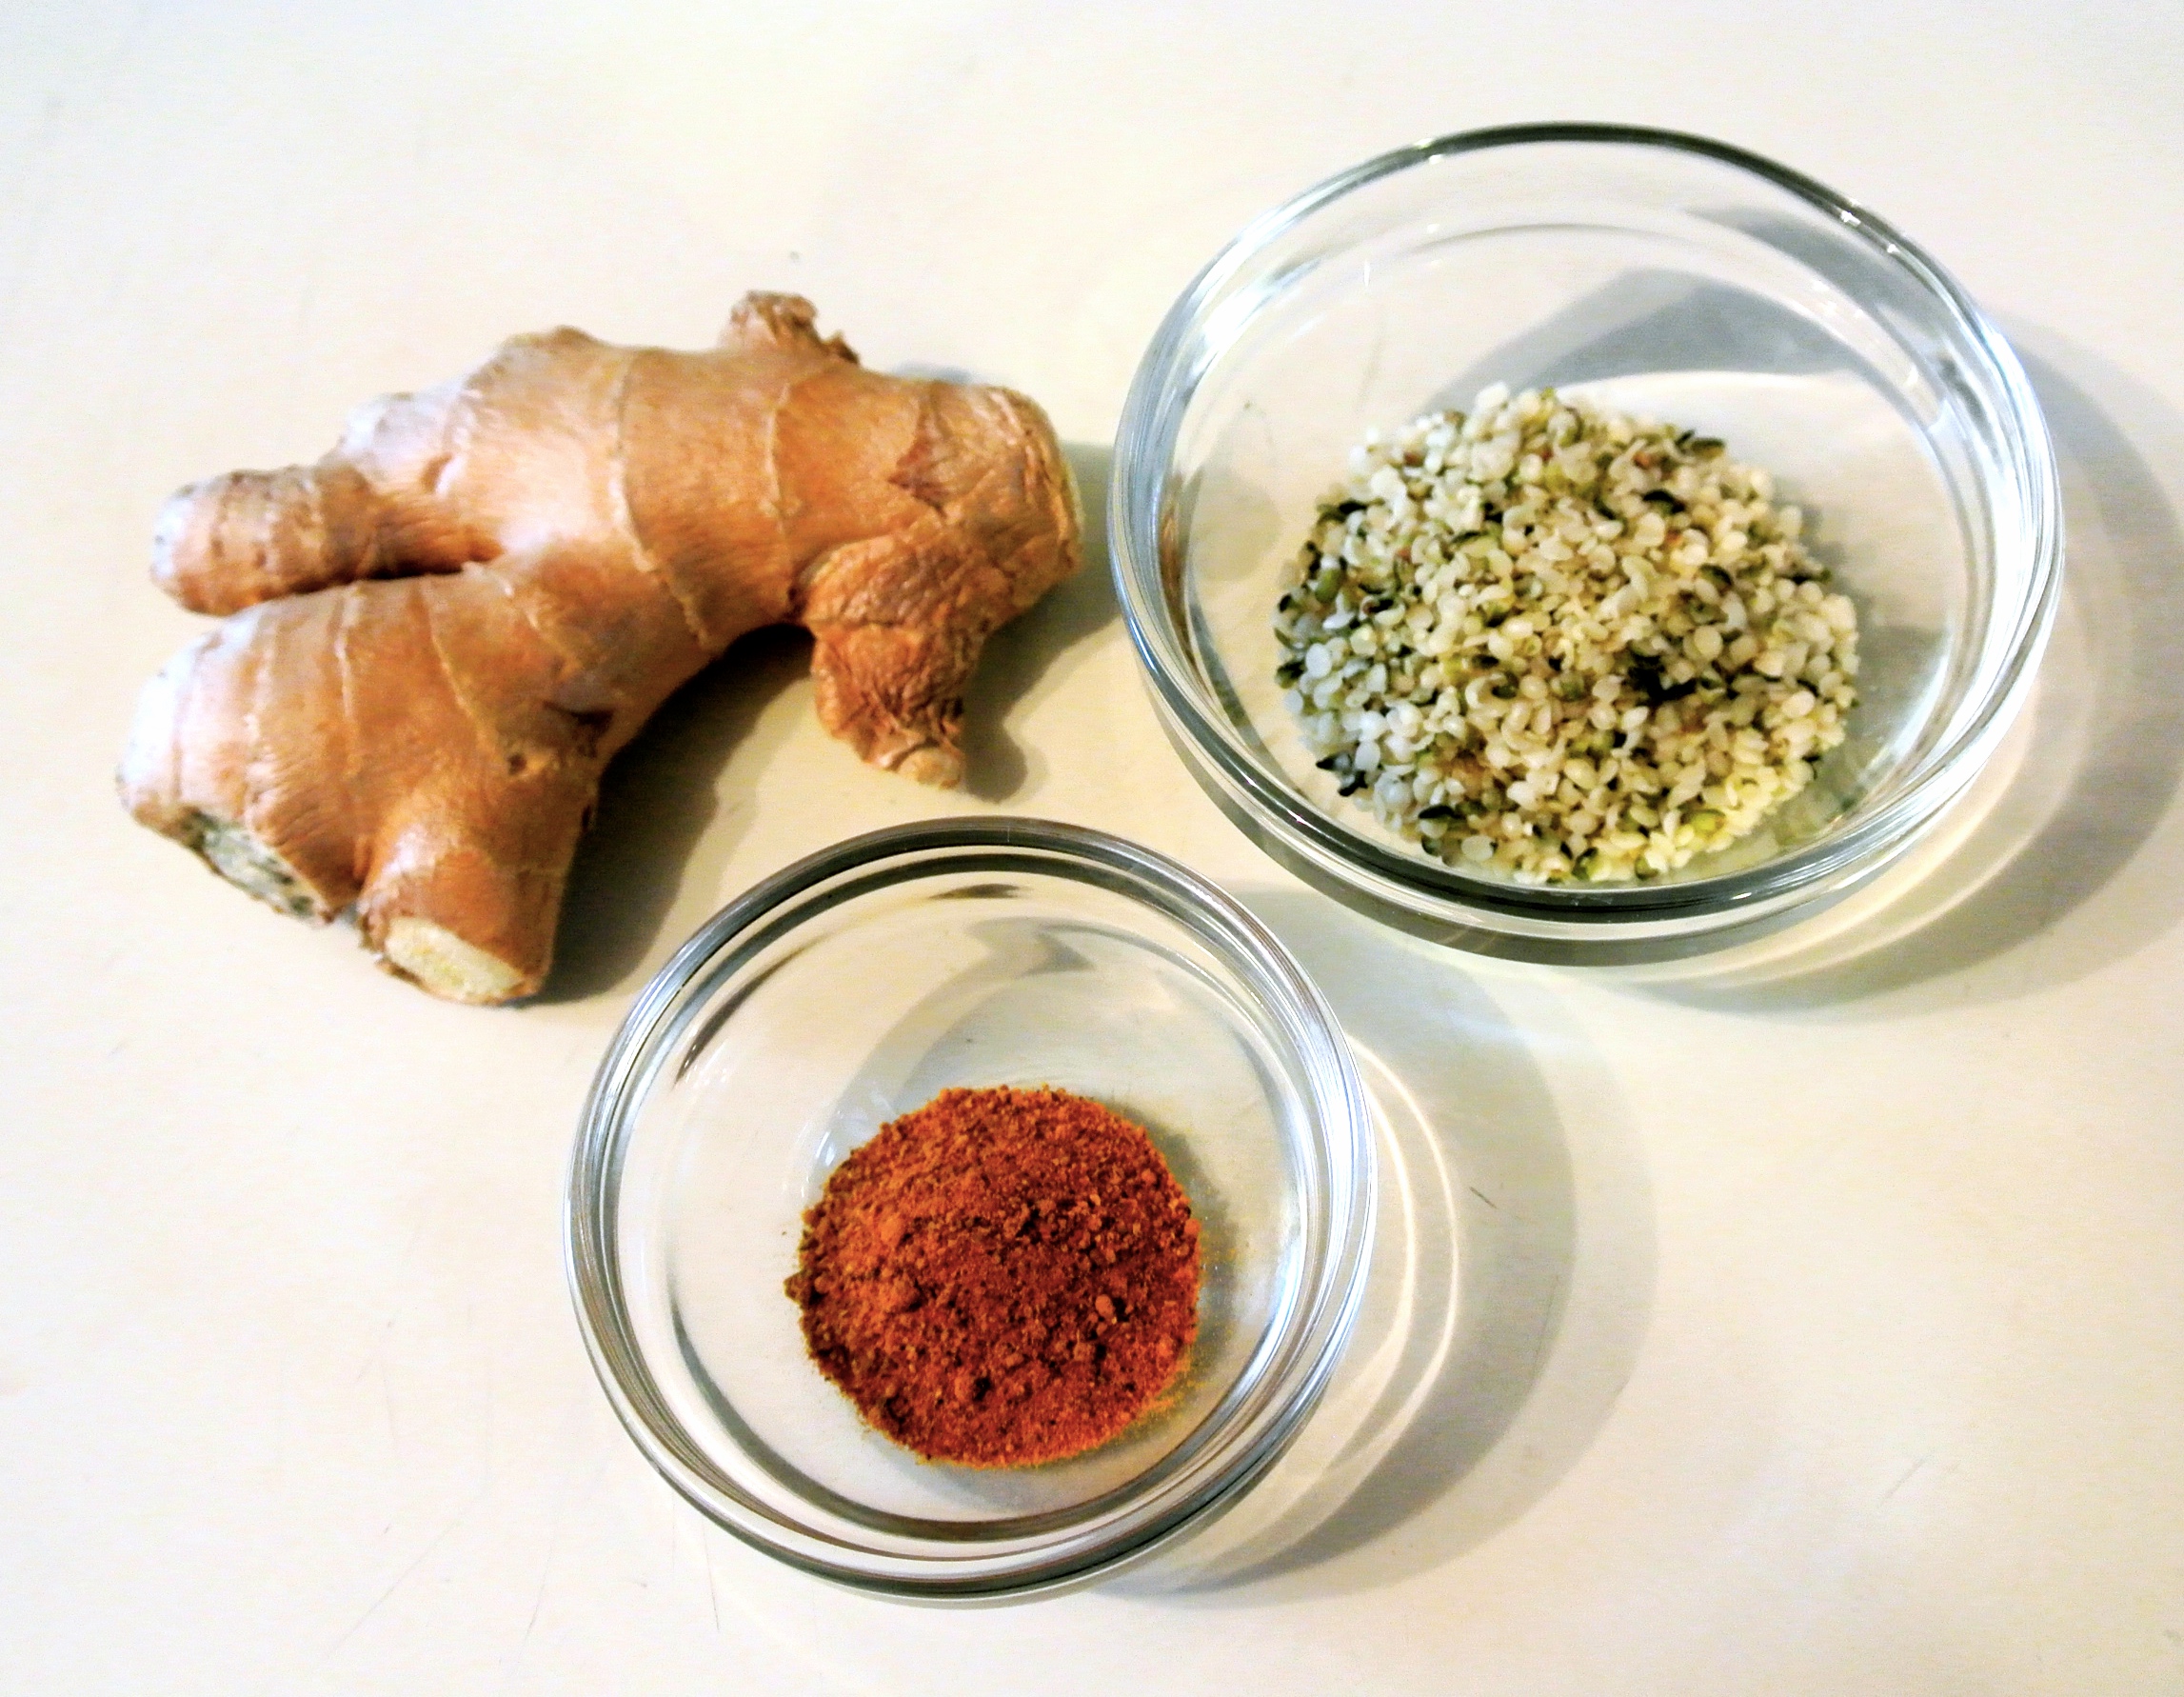
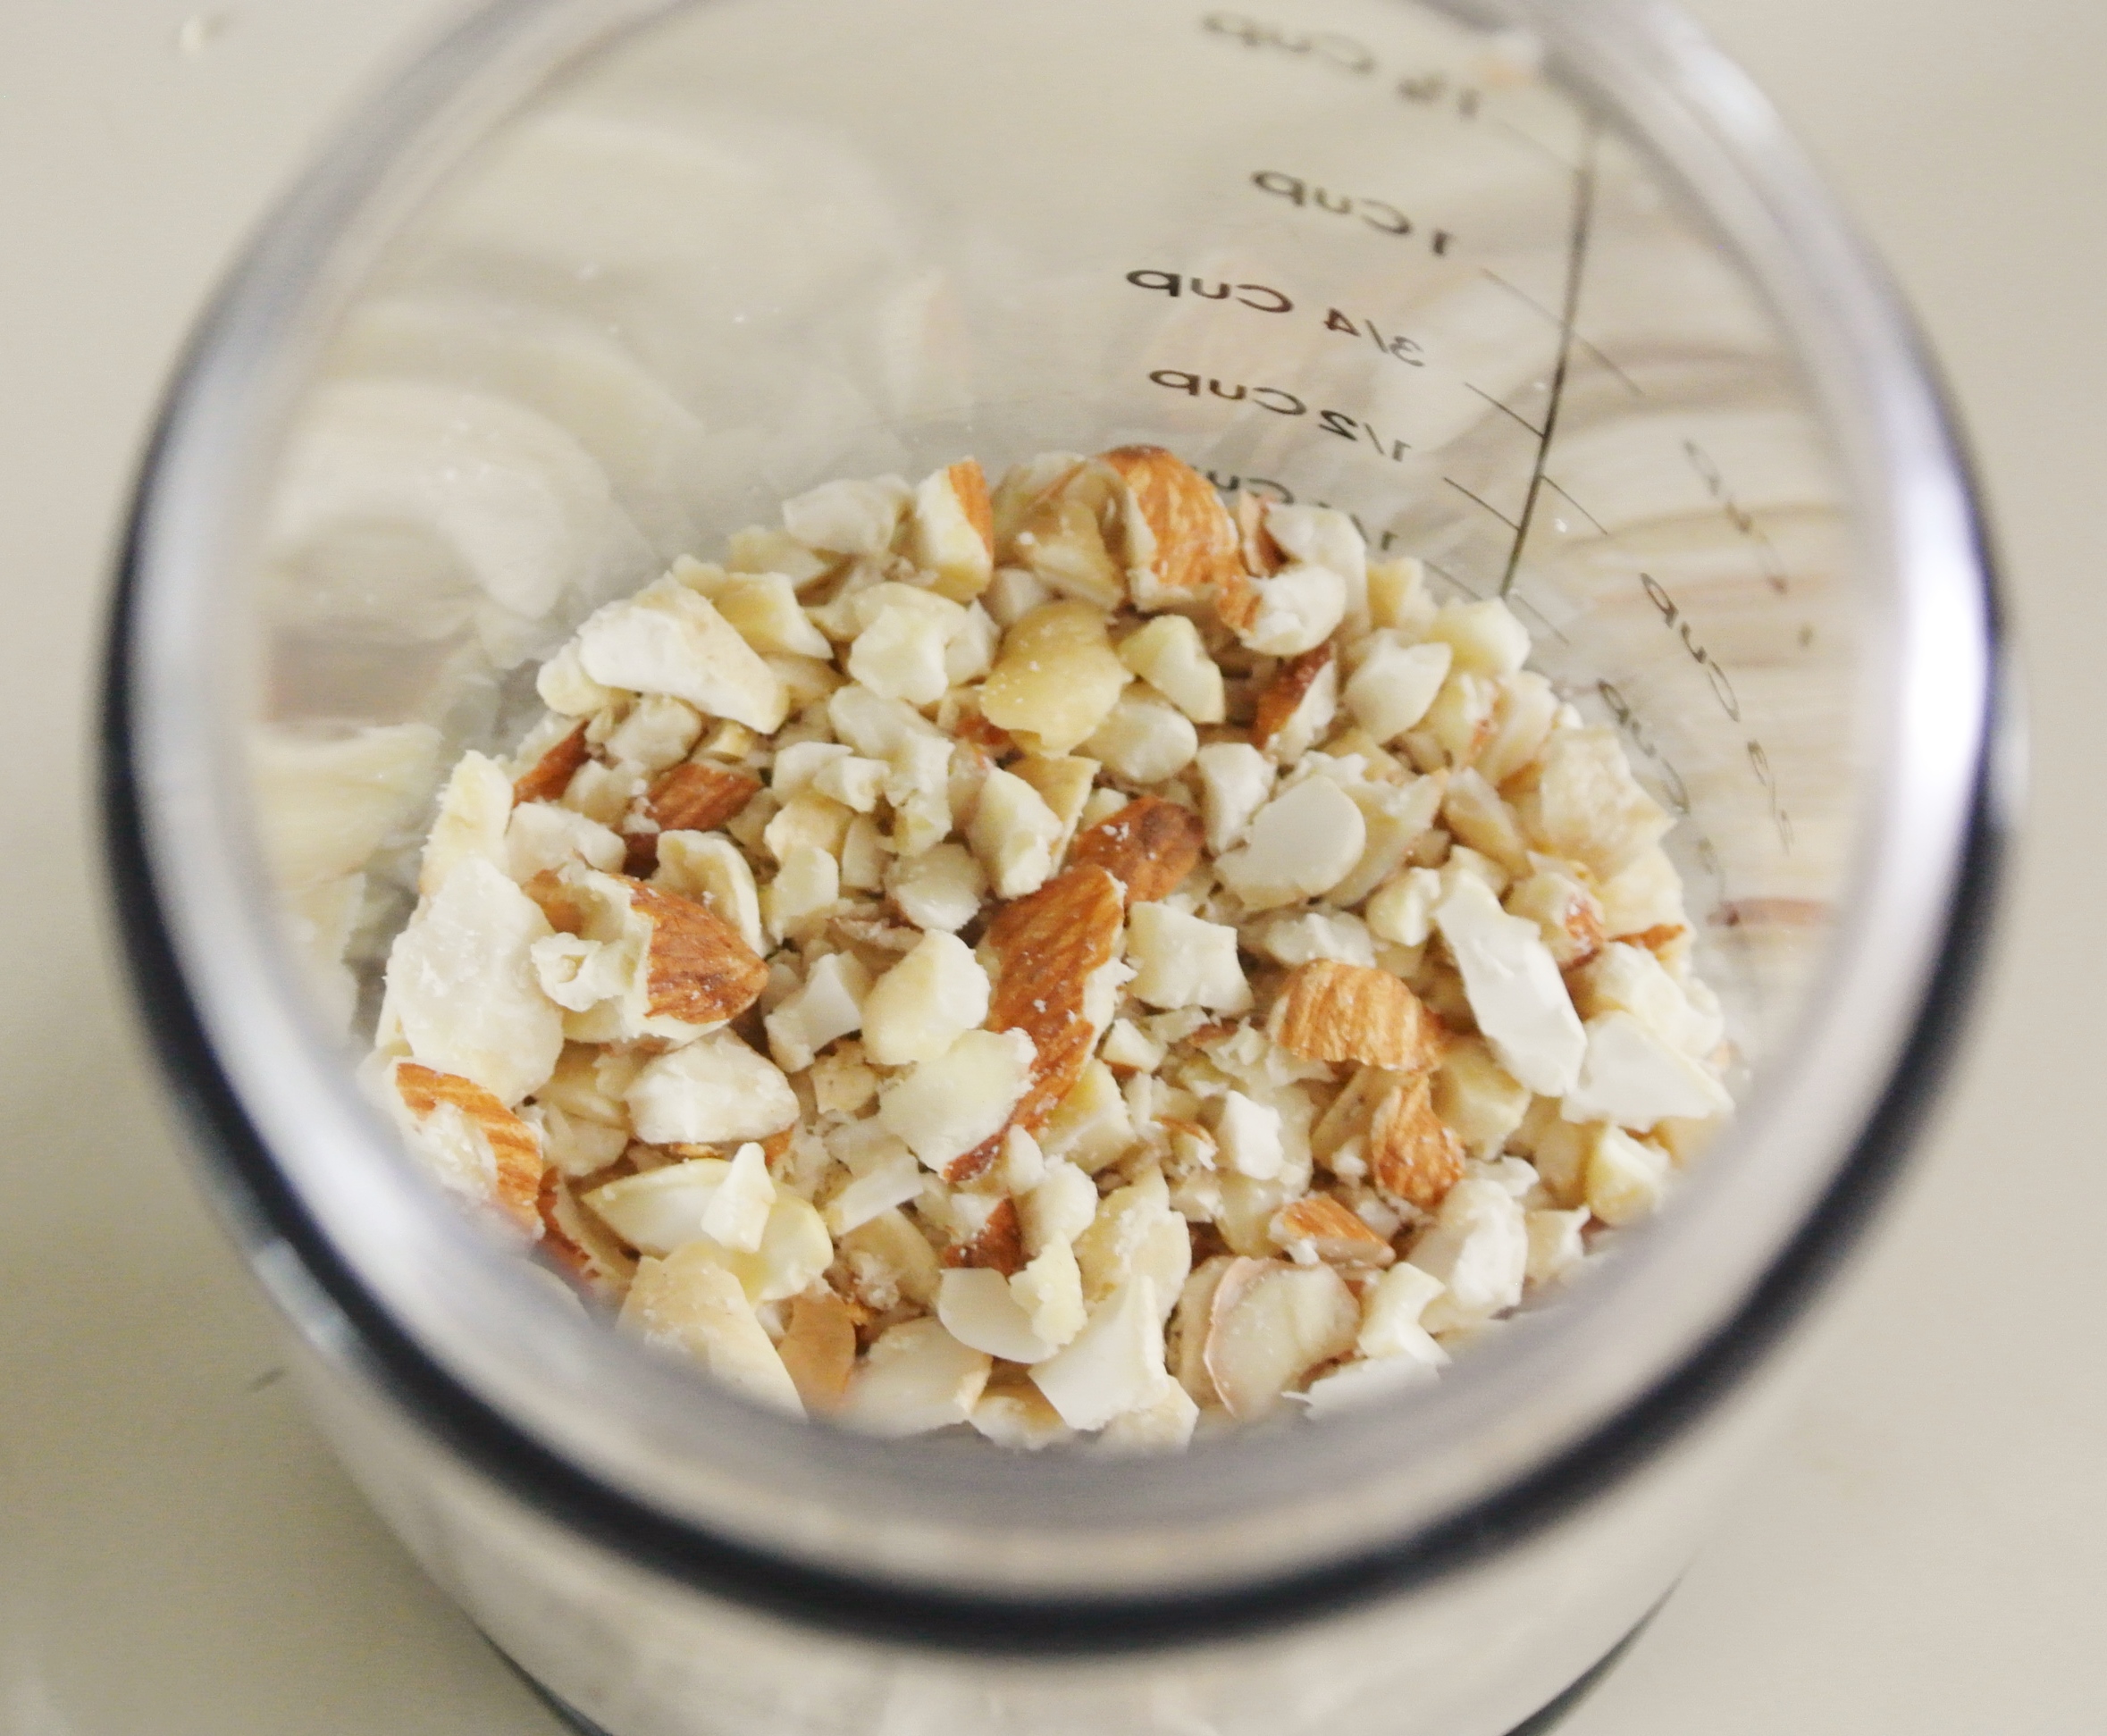
  • 1 cup raw nuts –> I’m using cashews.
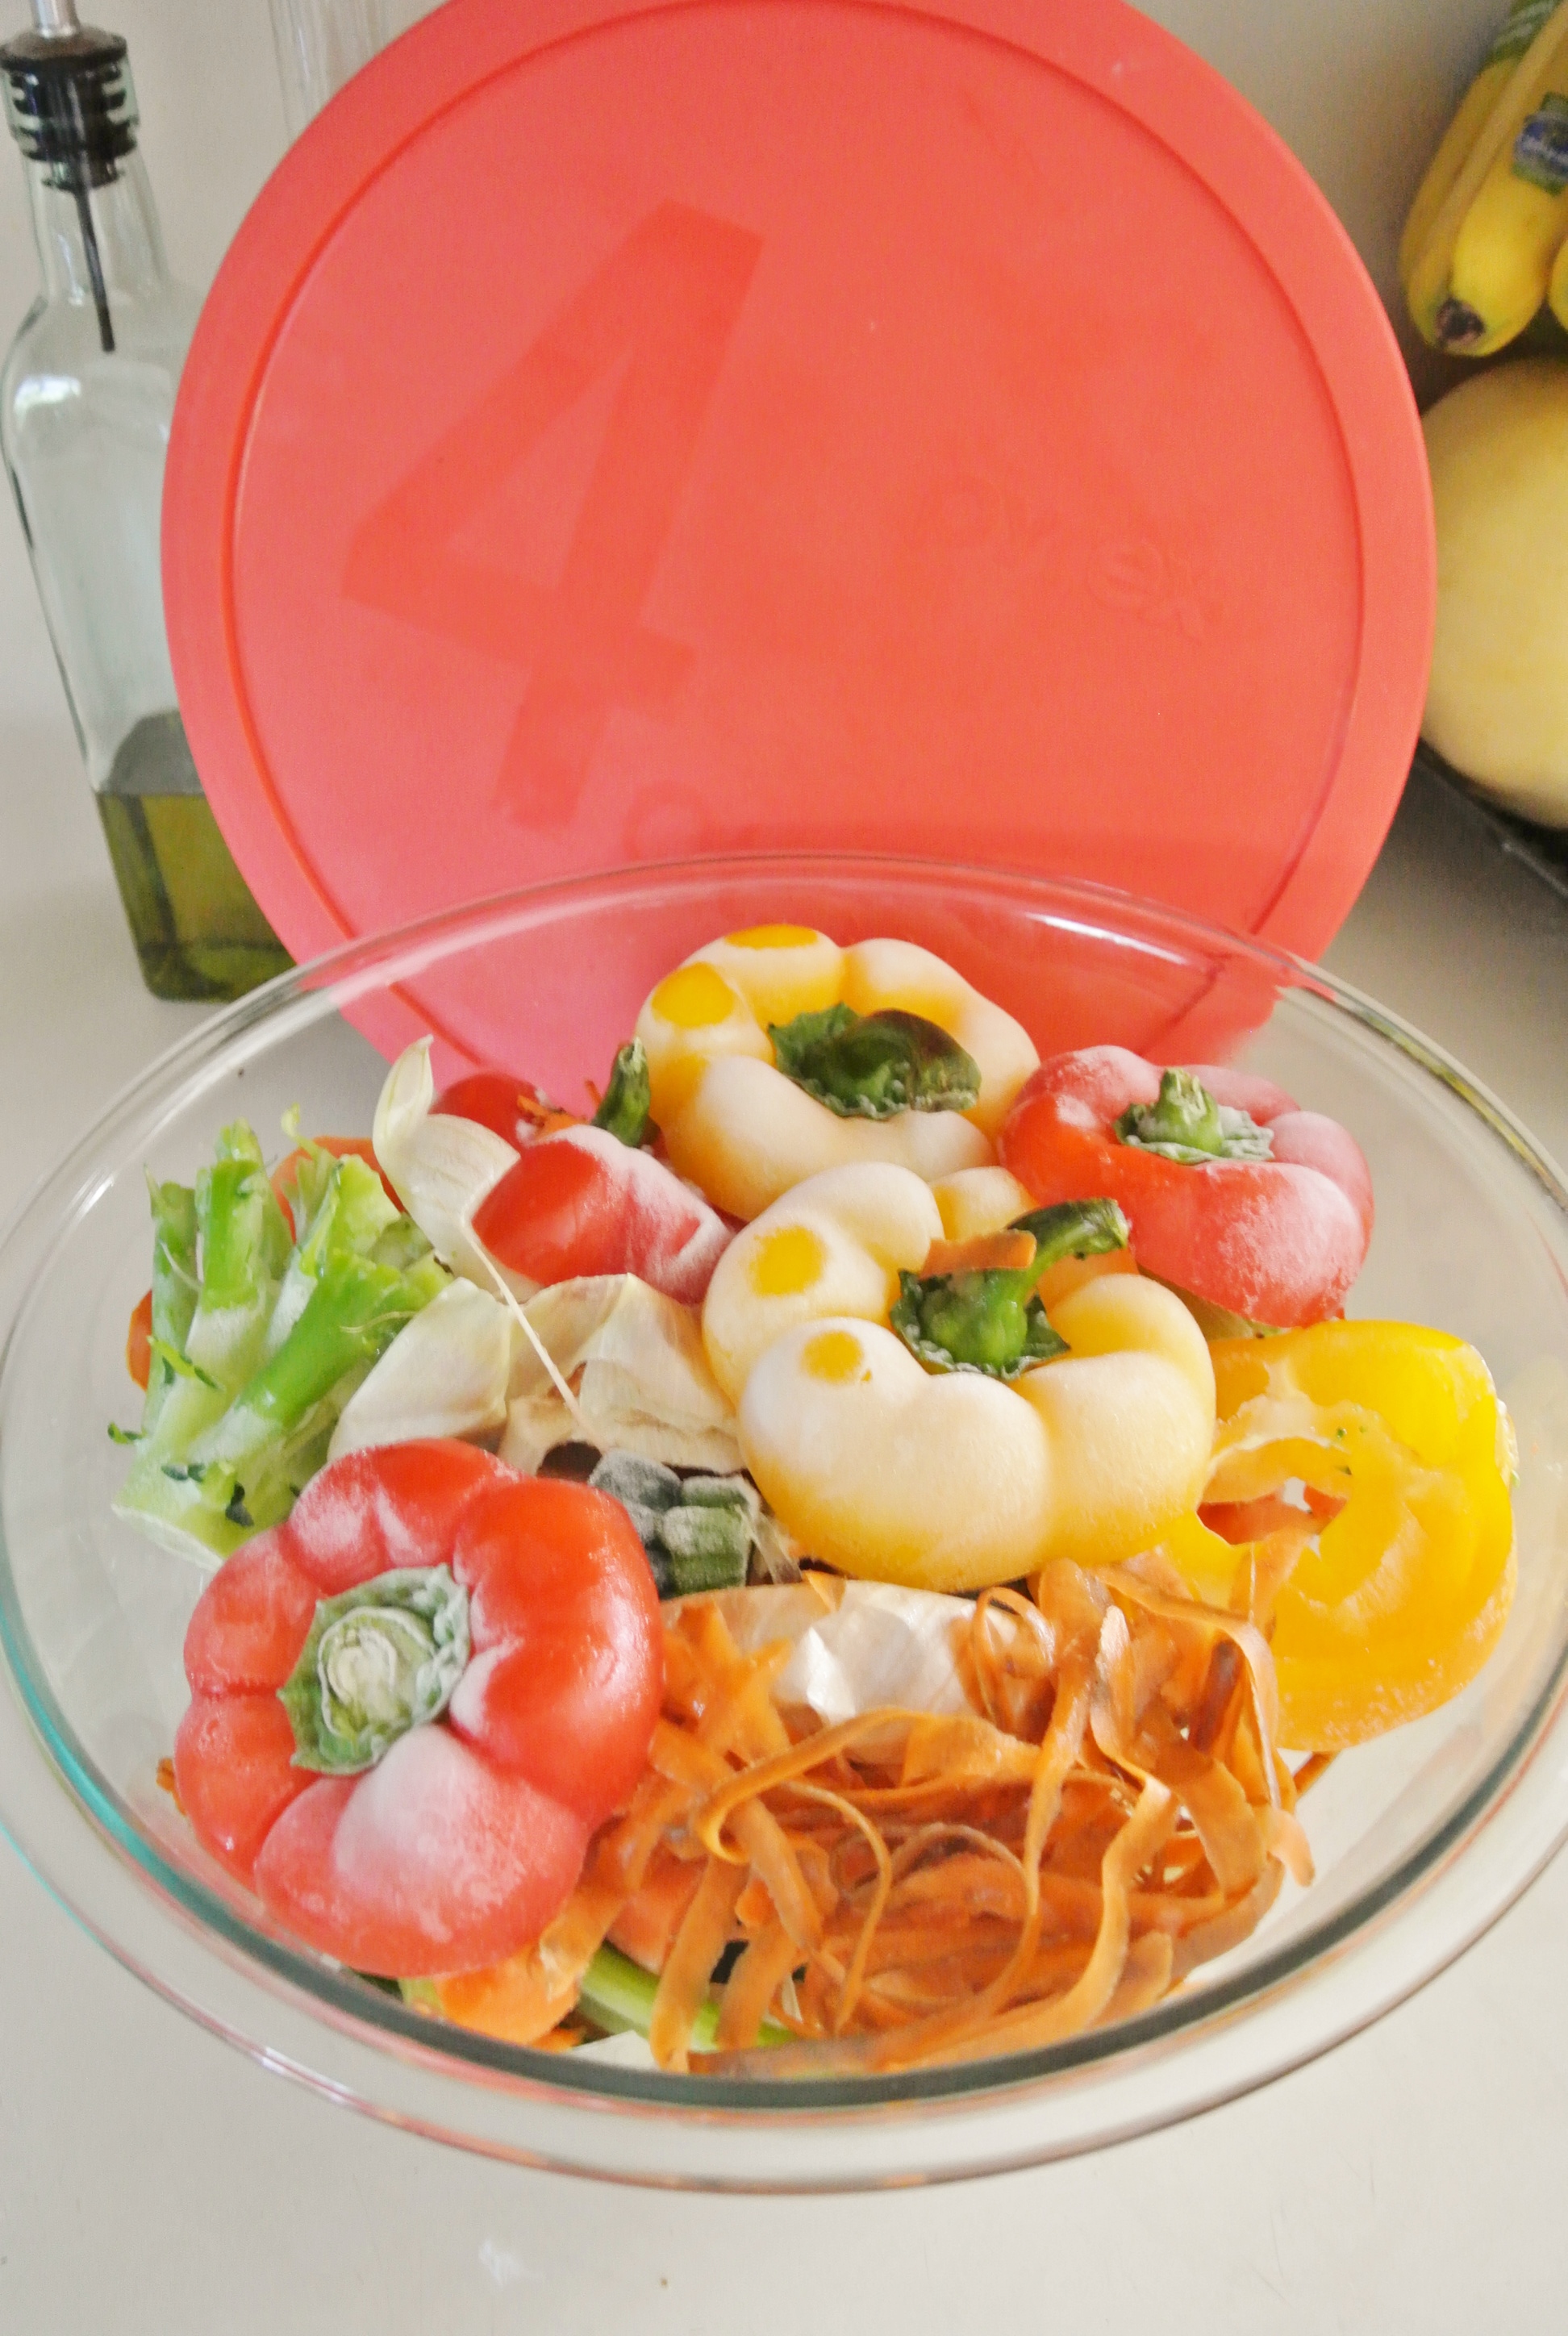
  • 5-6 cups chopped vegetables –> I’m using 1 medium sweet potato, 2 small carrots, 1 medium zucchini, ½ cup each corn and peas, and ½ of a small yellow onion.
  • 2 cups plant milk –> I’m using 1 cup each of coconut and almond milk. (Although I’ve never sampled a curry where I could actually taste the coconut flavor, which I don’t like, I always still err on the side of caution and mix plant milks. :))
  • 2 cloves minced garlic
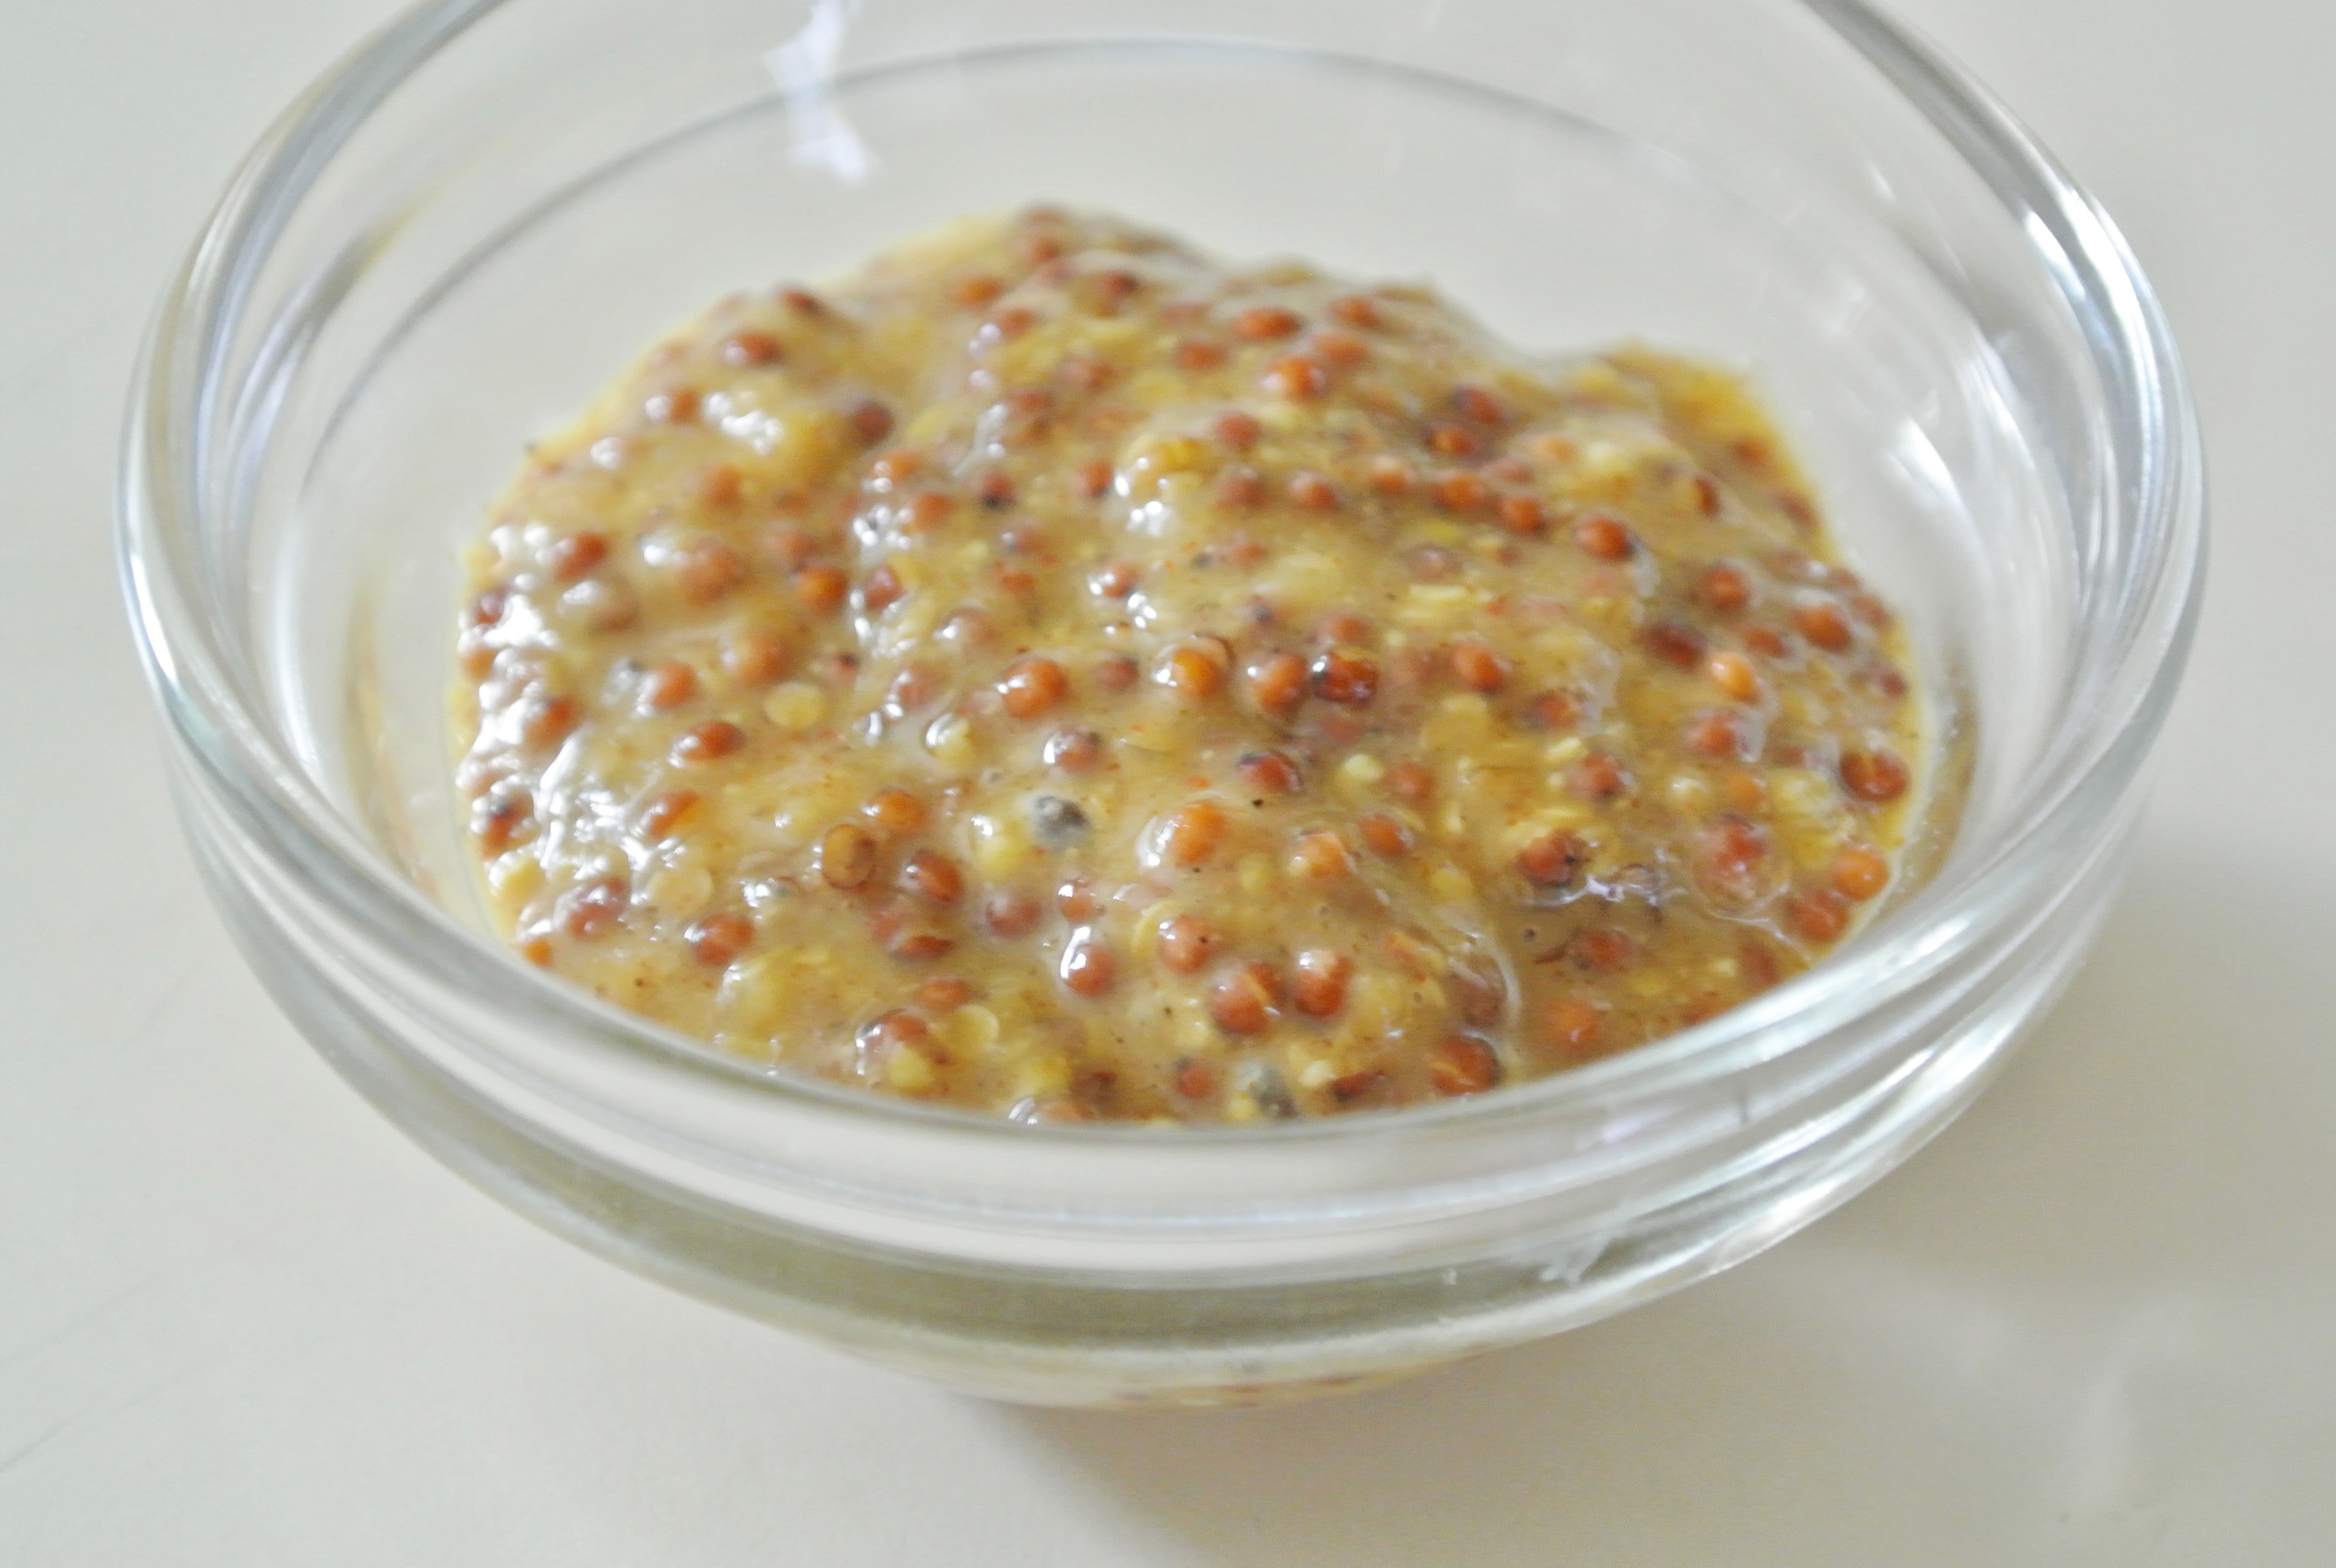
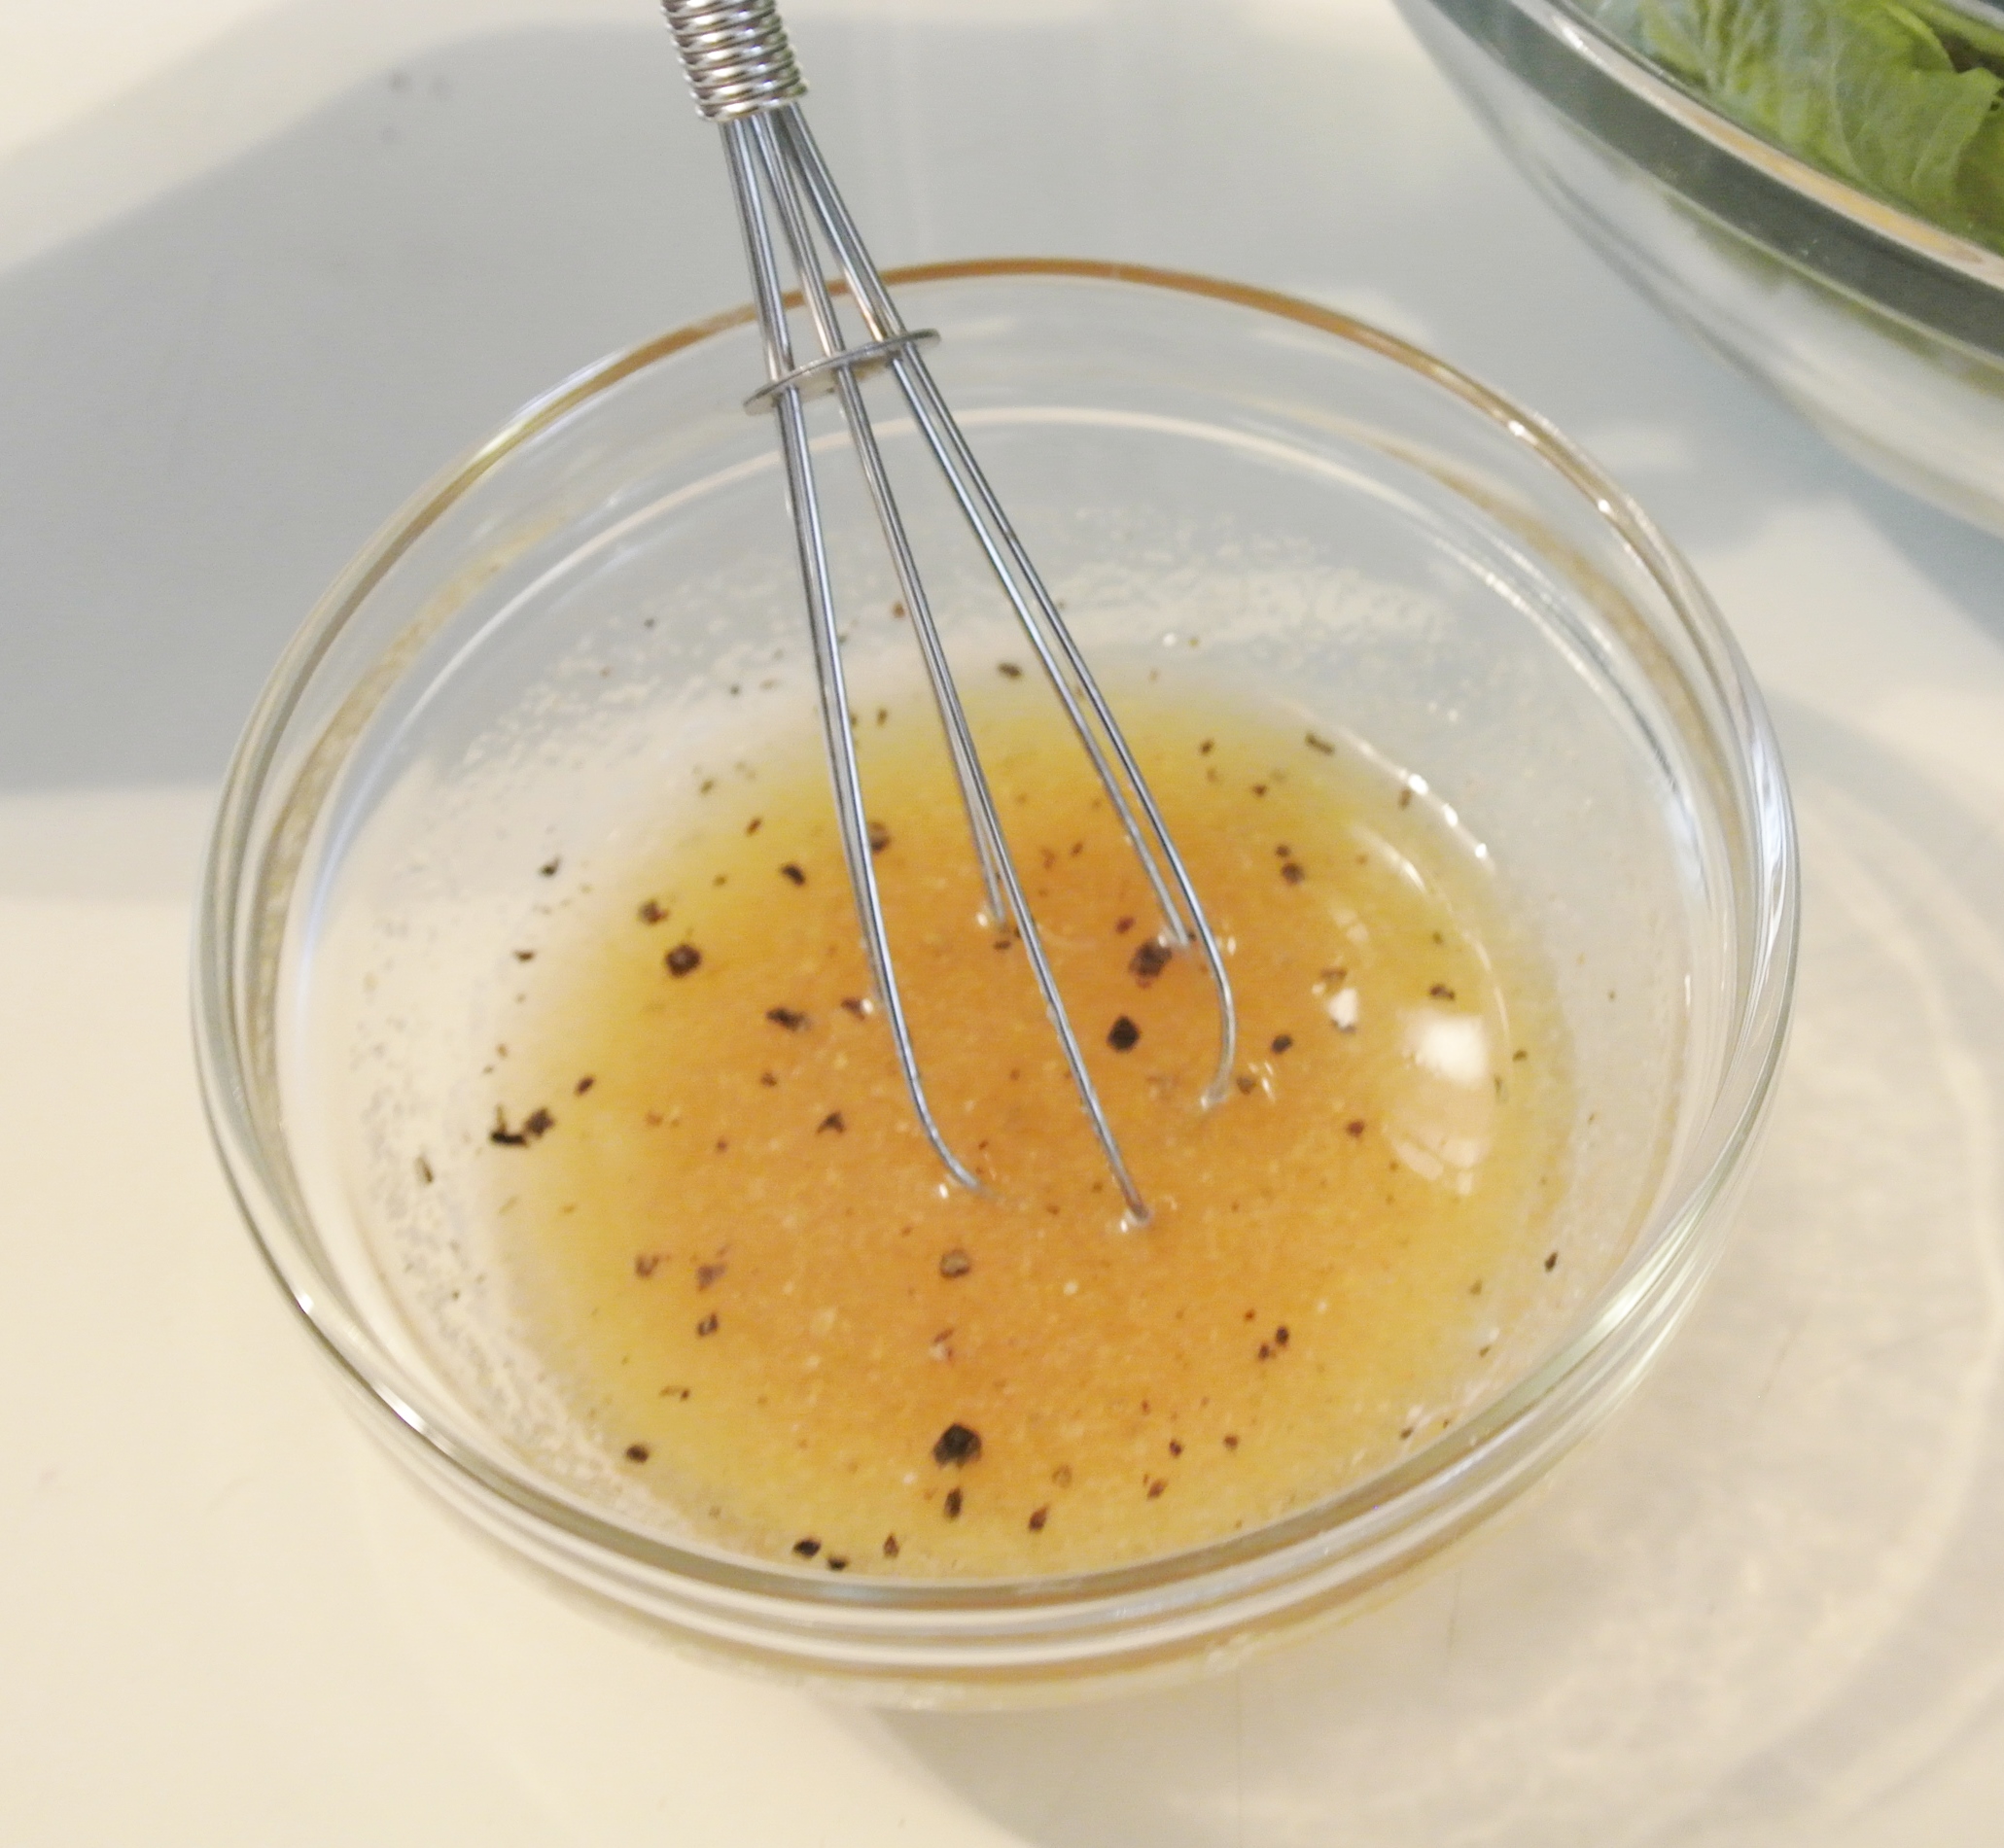
  • 3 tbsp curry powder –> The premixed stuff is too spicy for me, so I combine 1 tbsp garam masala, ½ tbsp each of cumin and turmeric, ¼ tsp of ground nutmeg, and ½ tsp of pink Himalayan sea salt and adjust while cooking as my taste buds see fit. If you like it spicy, use a premixed curry powder (beware of added salt) which will likely already carry some heat and add cayenne pepper to taste.
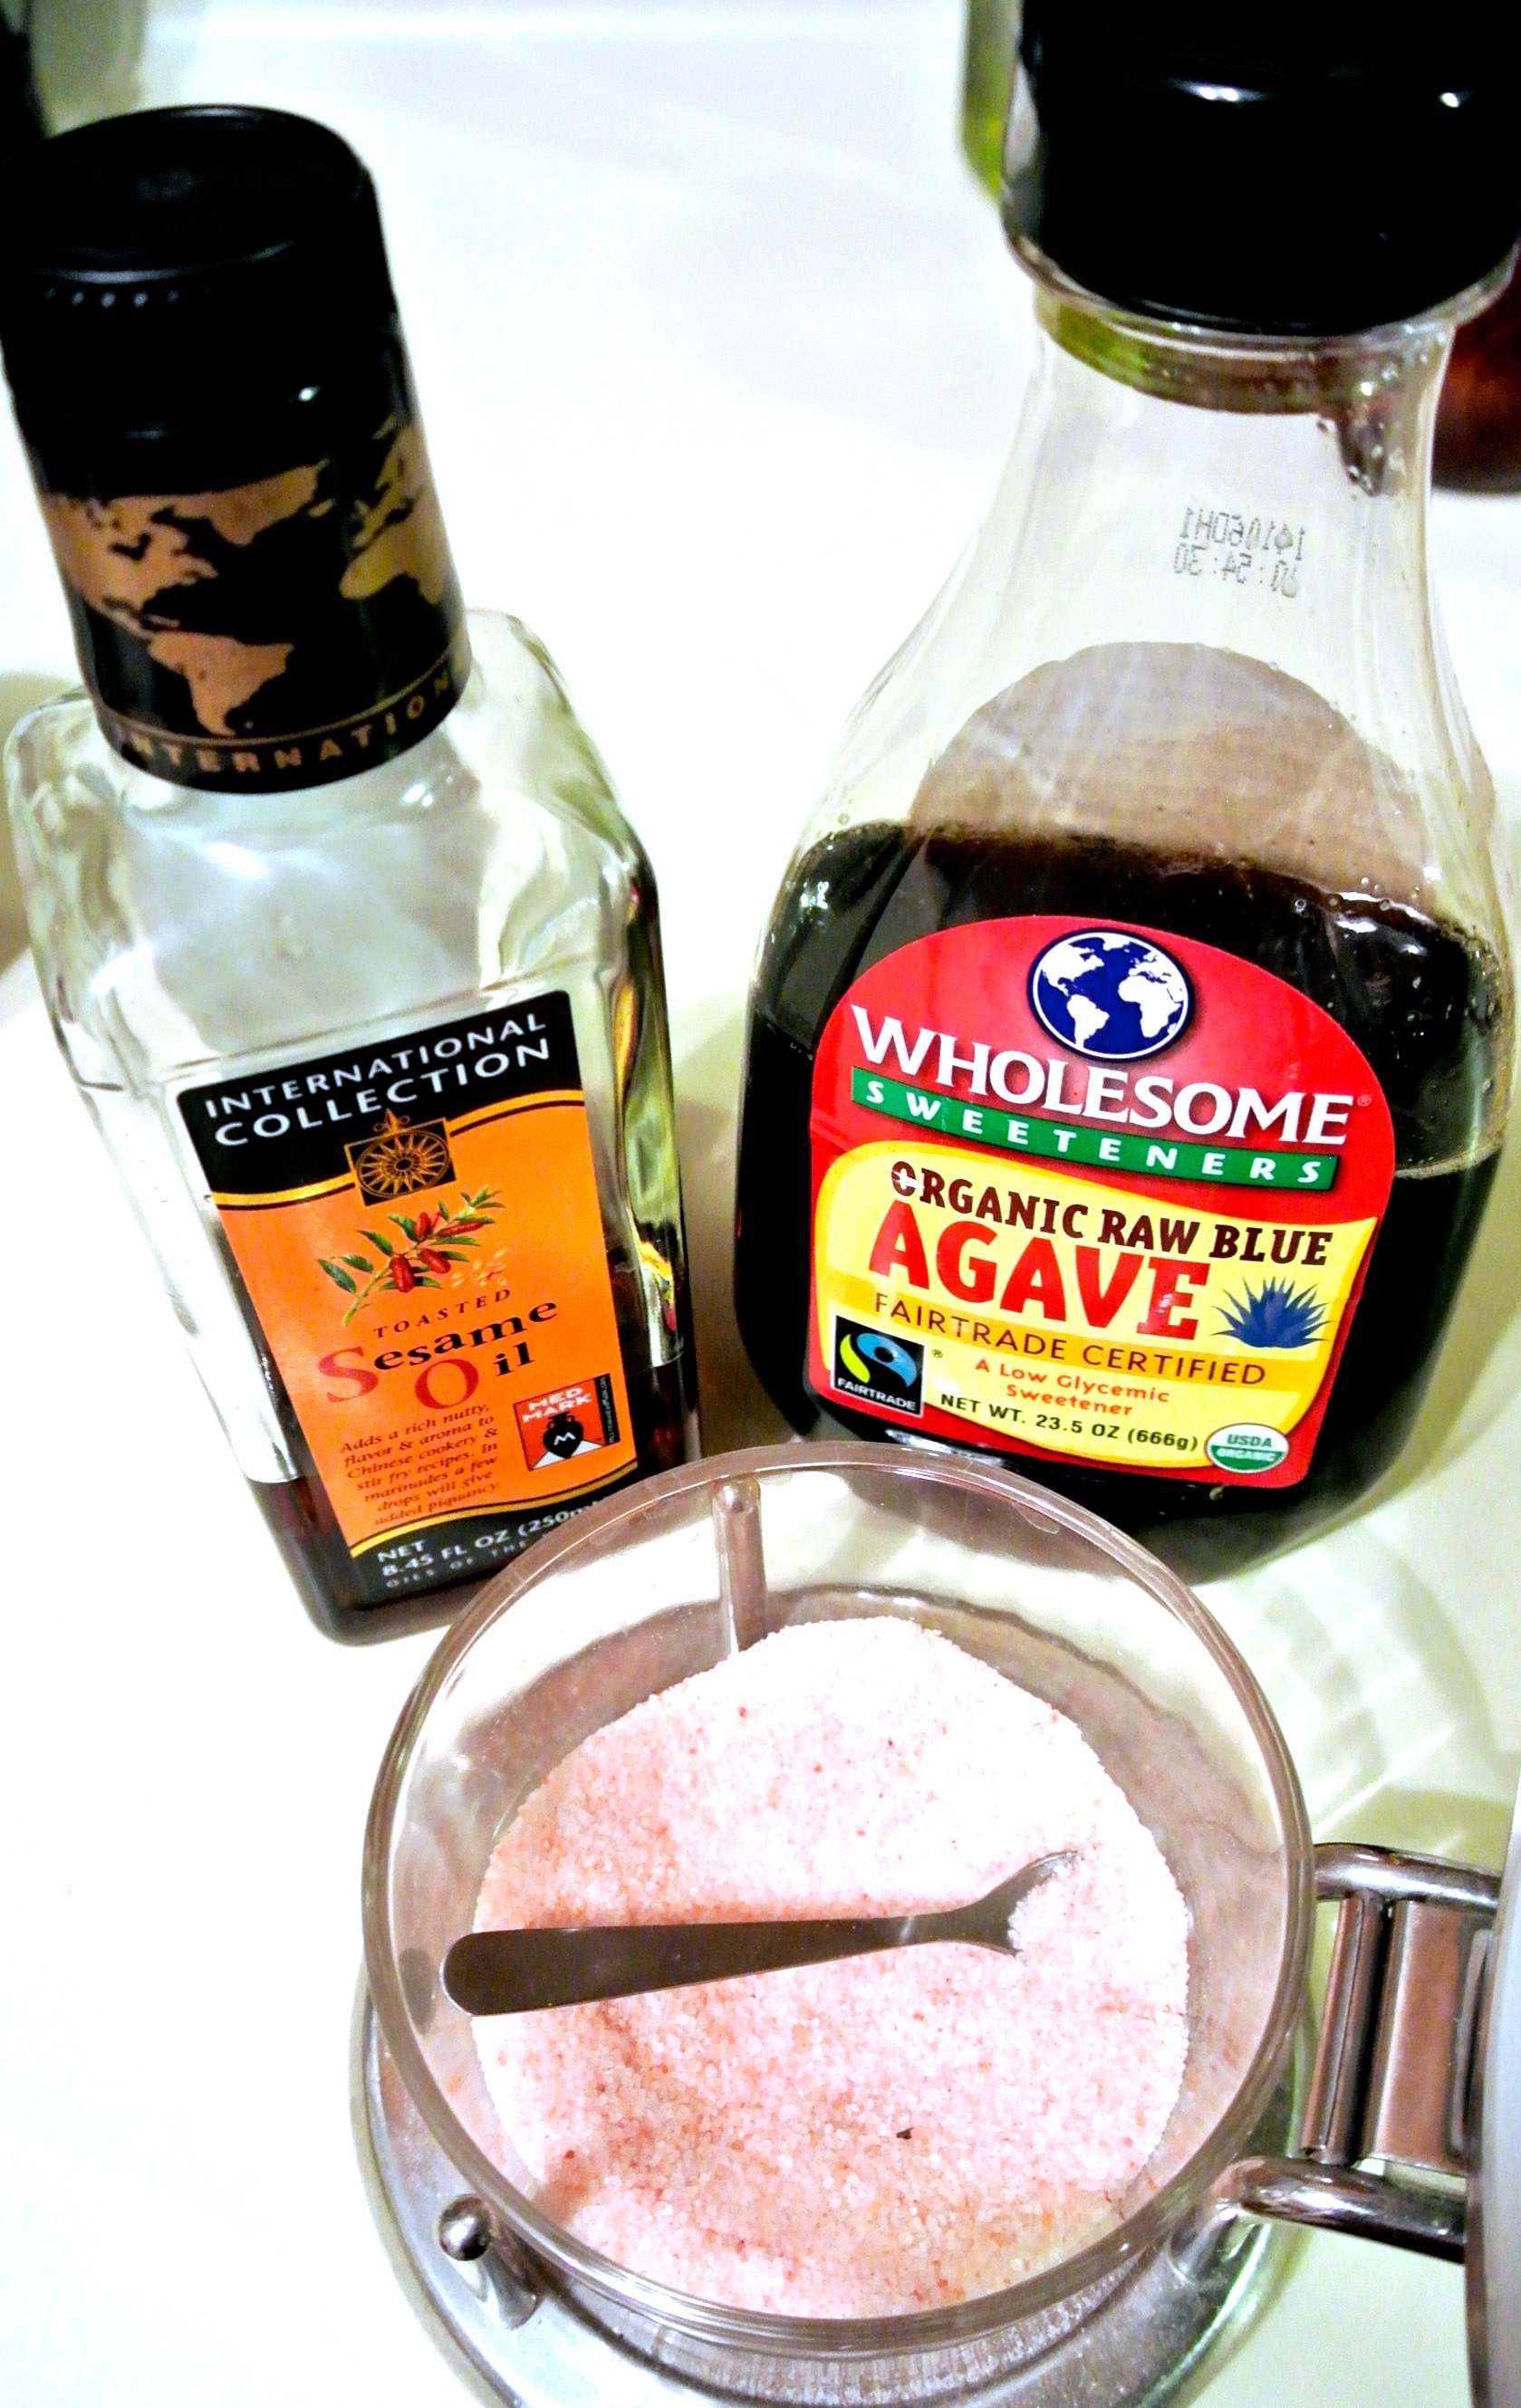
  • ½ tbsp agave syrup (optional) –> I’m using it. I may consider using more if I weren’t included a sweet potato in the mix.
  • 1 tbsp oil (to prevent cooking vegetables from sticking to the pan) –> I’m using coconut oil.

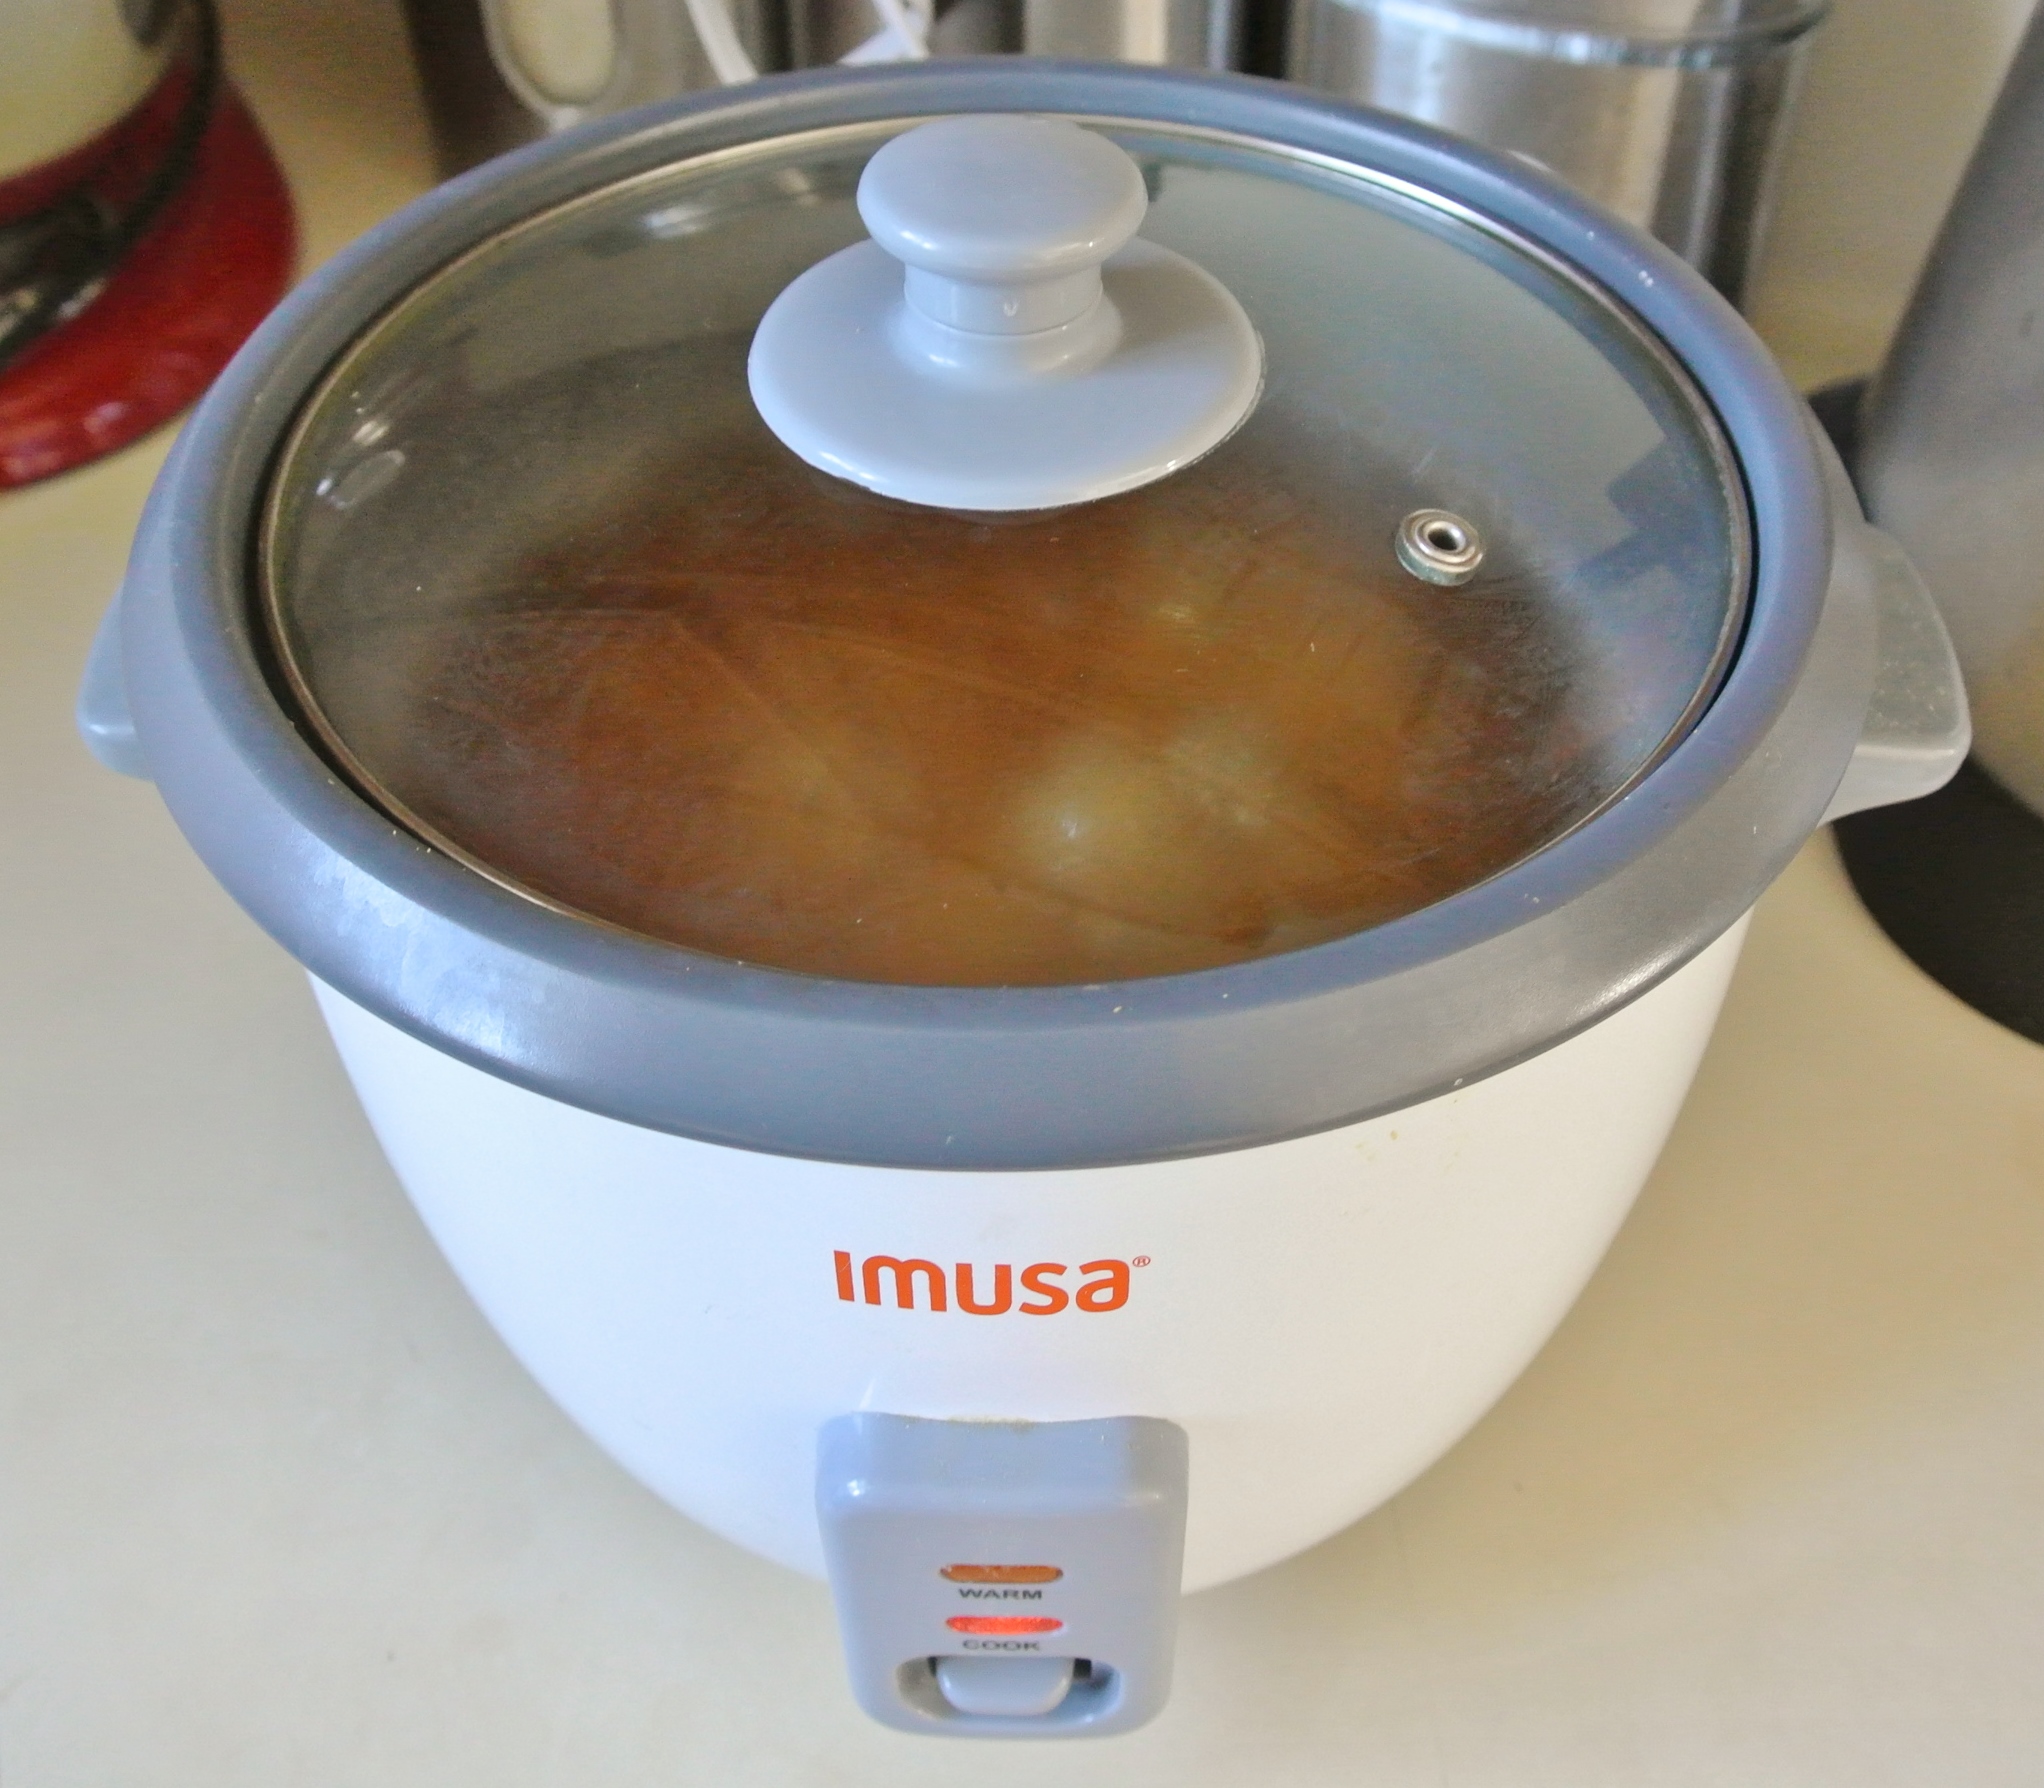
Rinse your grains and place in a rice cooker or stove top pot with their cooking liquid. Set to medium low heat and cover, stirring occasionally. The grains are done when all of the liquid has been absorbed. Cooking times will vary. Brown rice takes 25-35 minutes, depending on the variety and whether or not it is cooking in a rice cooker or on the stove.

Dry toast the nuts in a large sauté pan over medium high heat for 3-5 minutes, or until lightly golden, tossing frequently.

DSC_1649
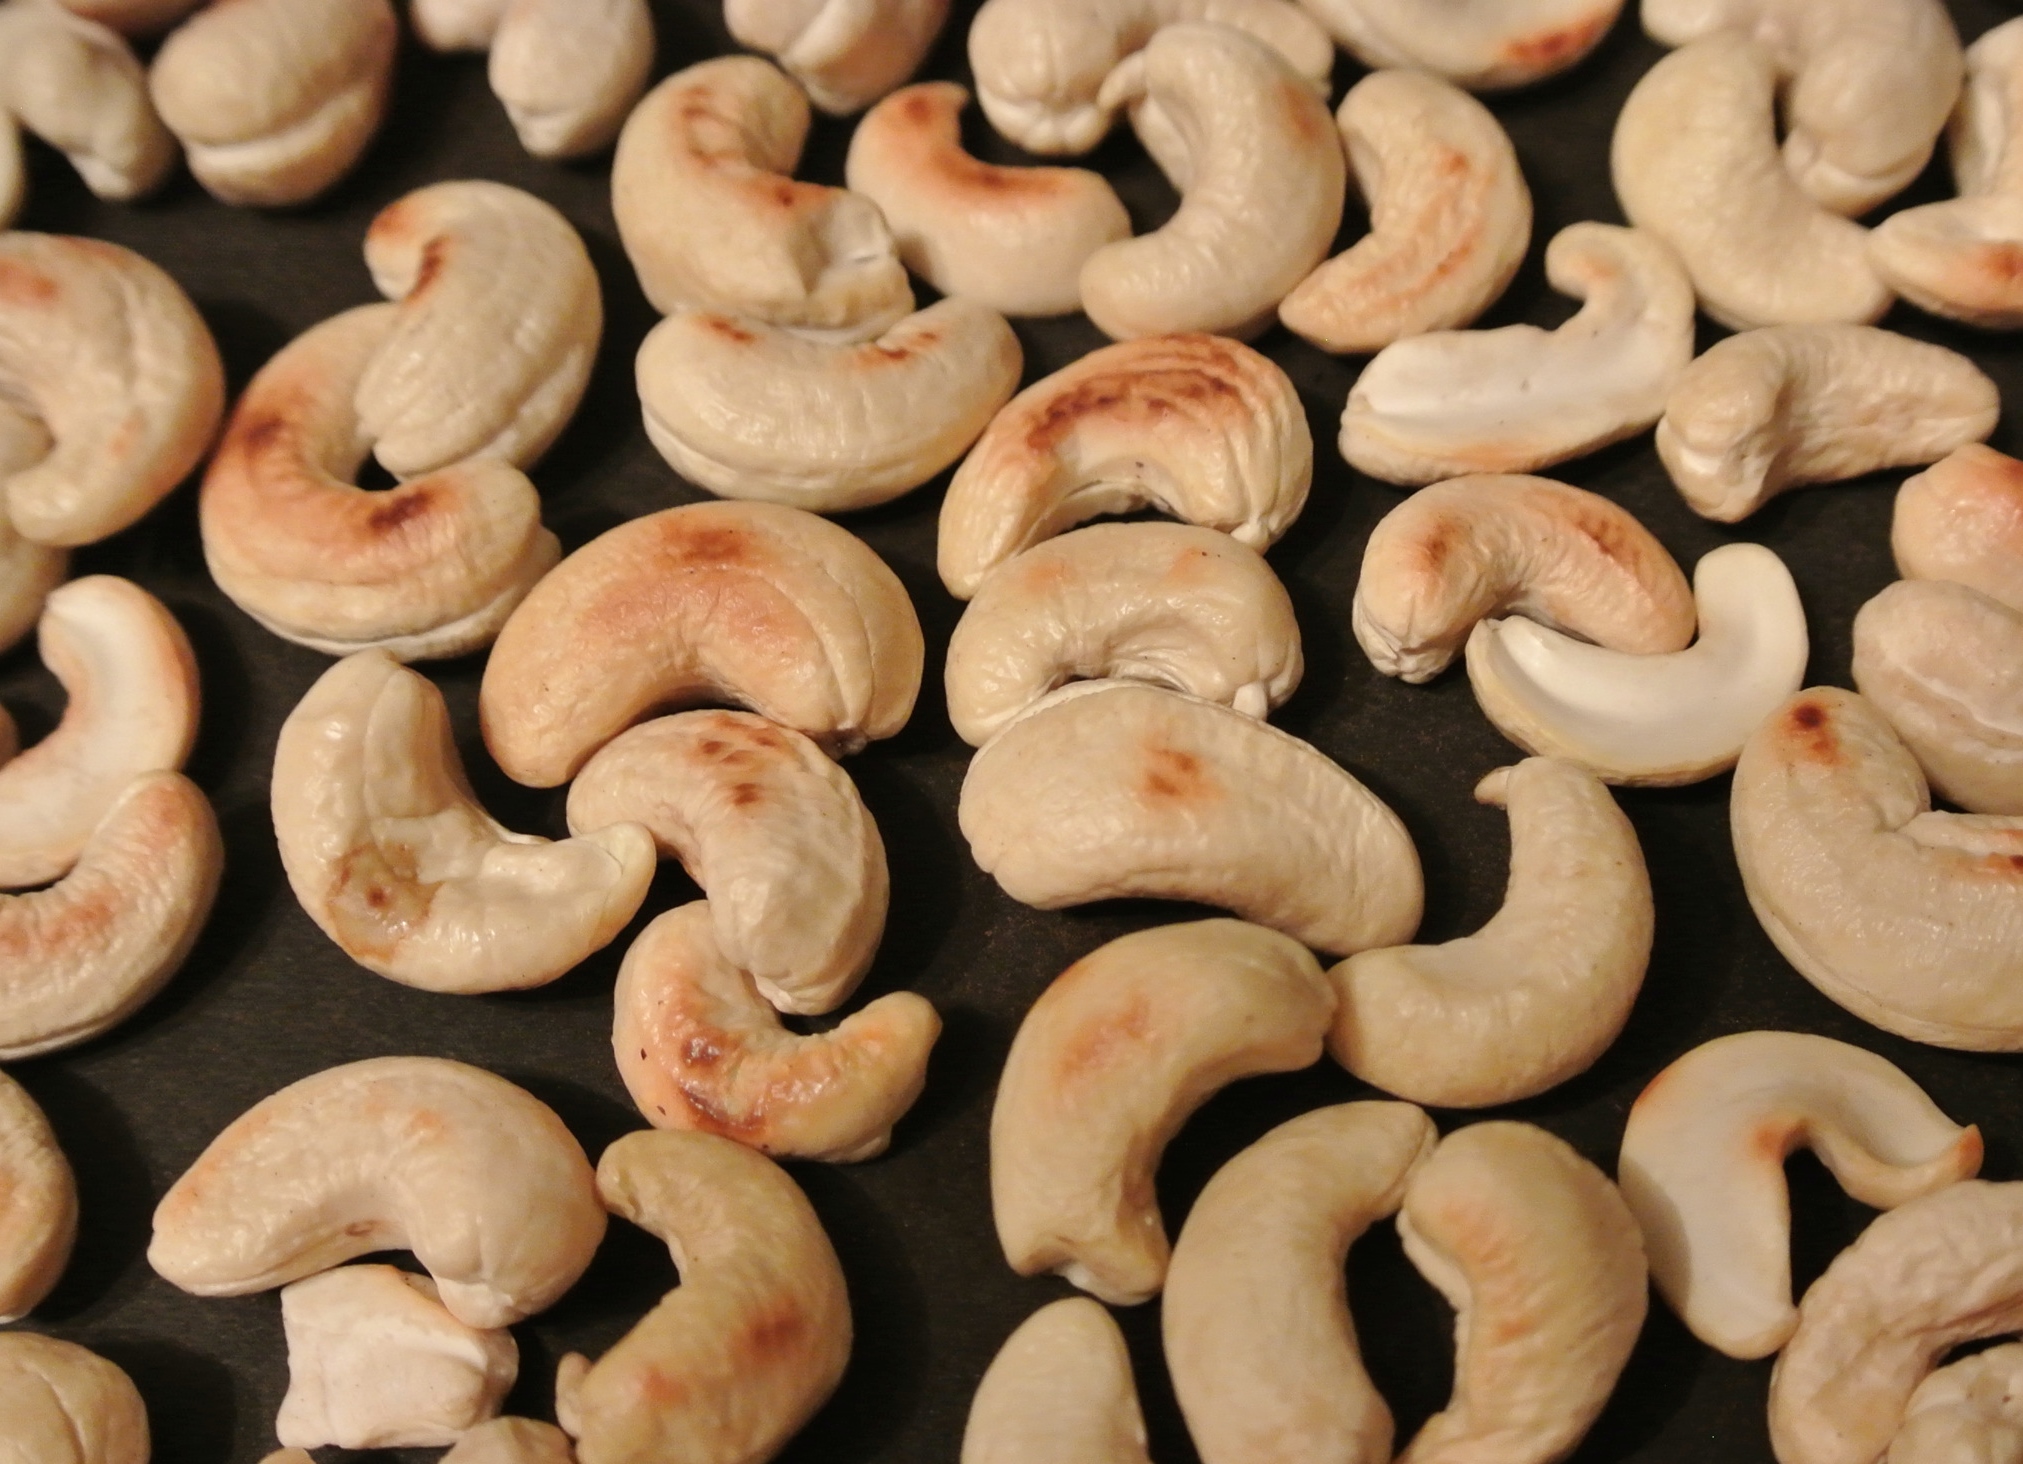
The nuts will darken in color throughout the entire cooking process. While you’re waiting for the nuts to brown, chop up your longest-cooking veggie(s). For me, these are the sweet potato and the carrots, which I am peeling before chopping.

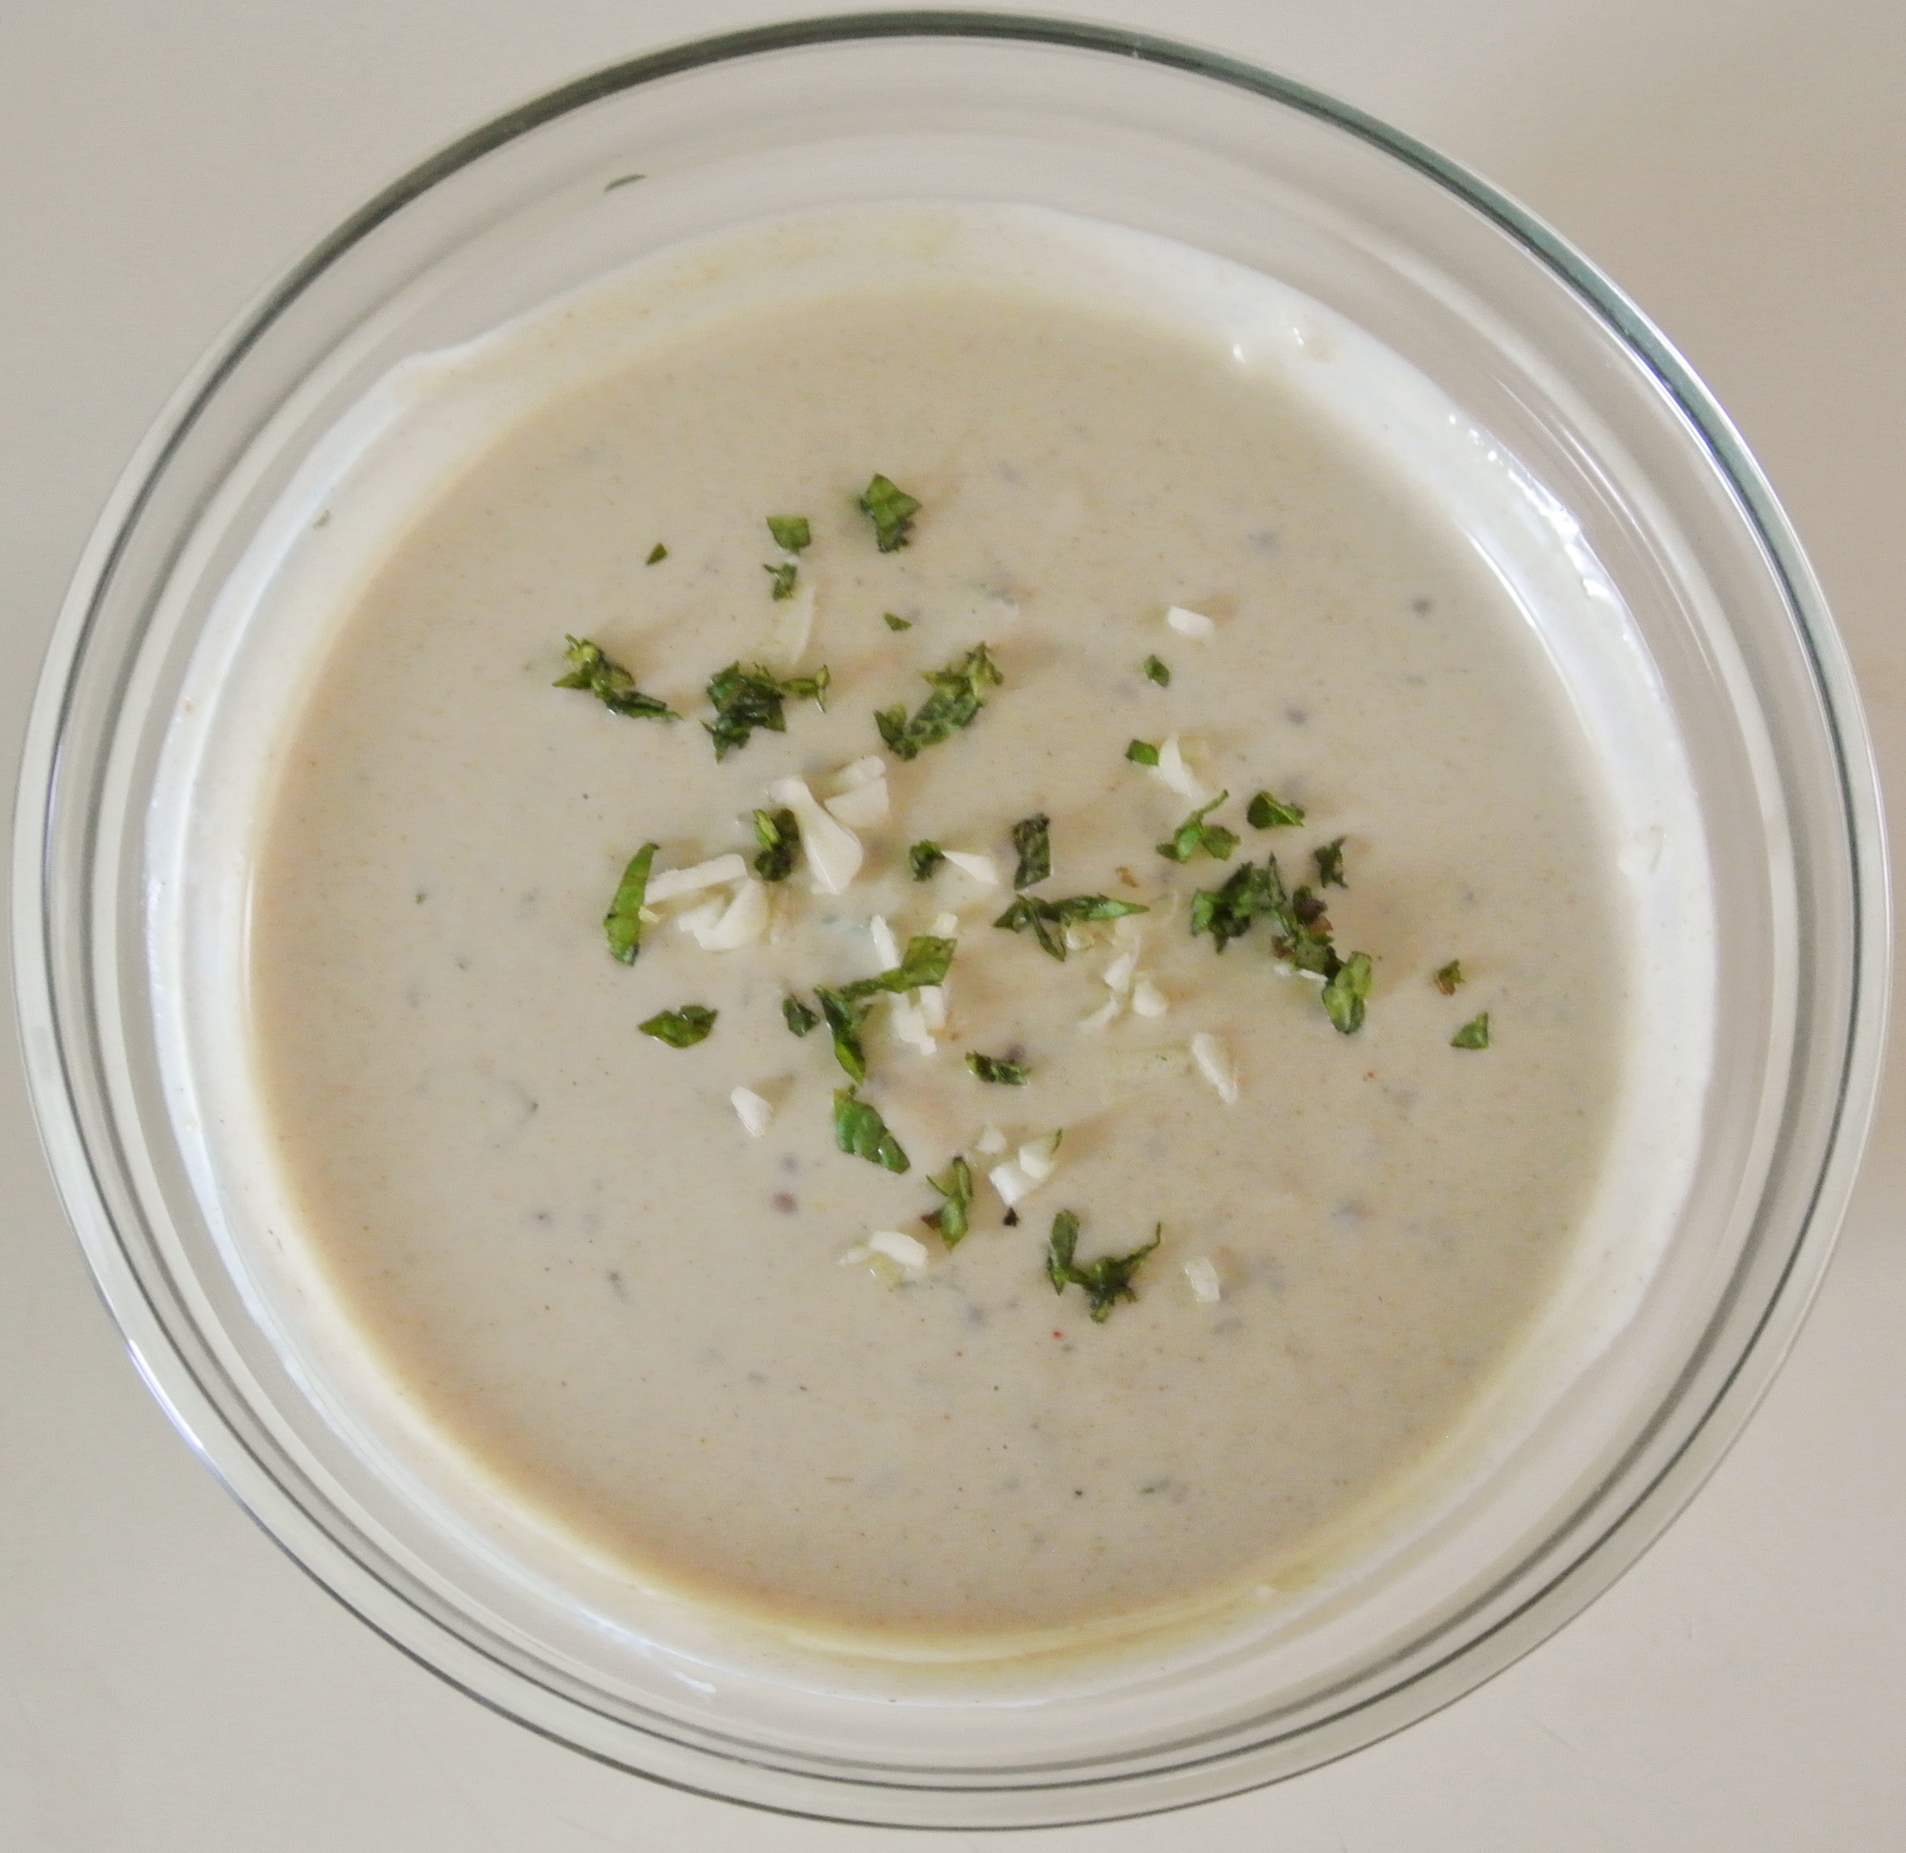
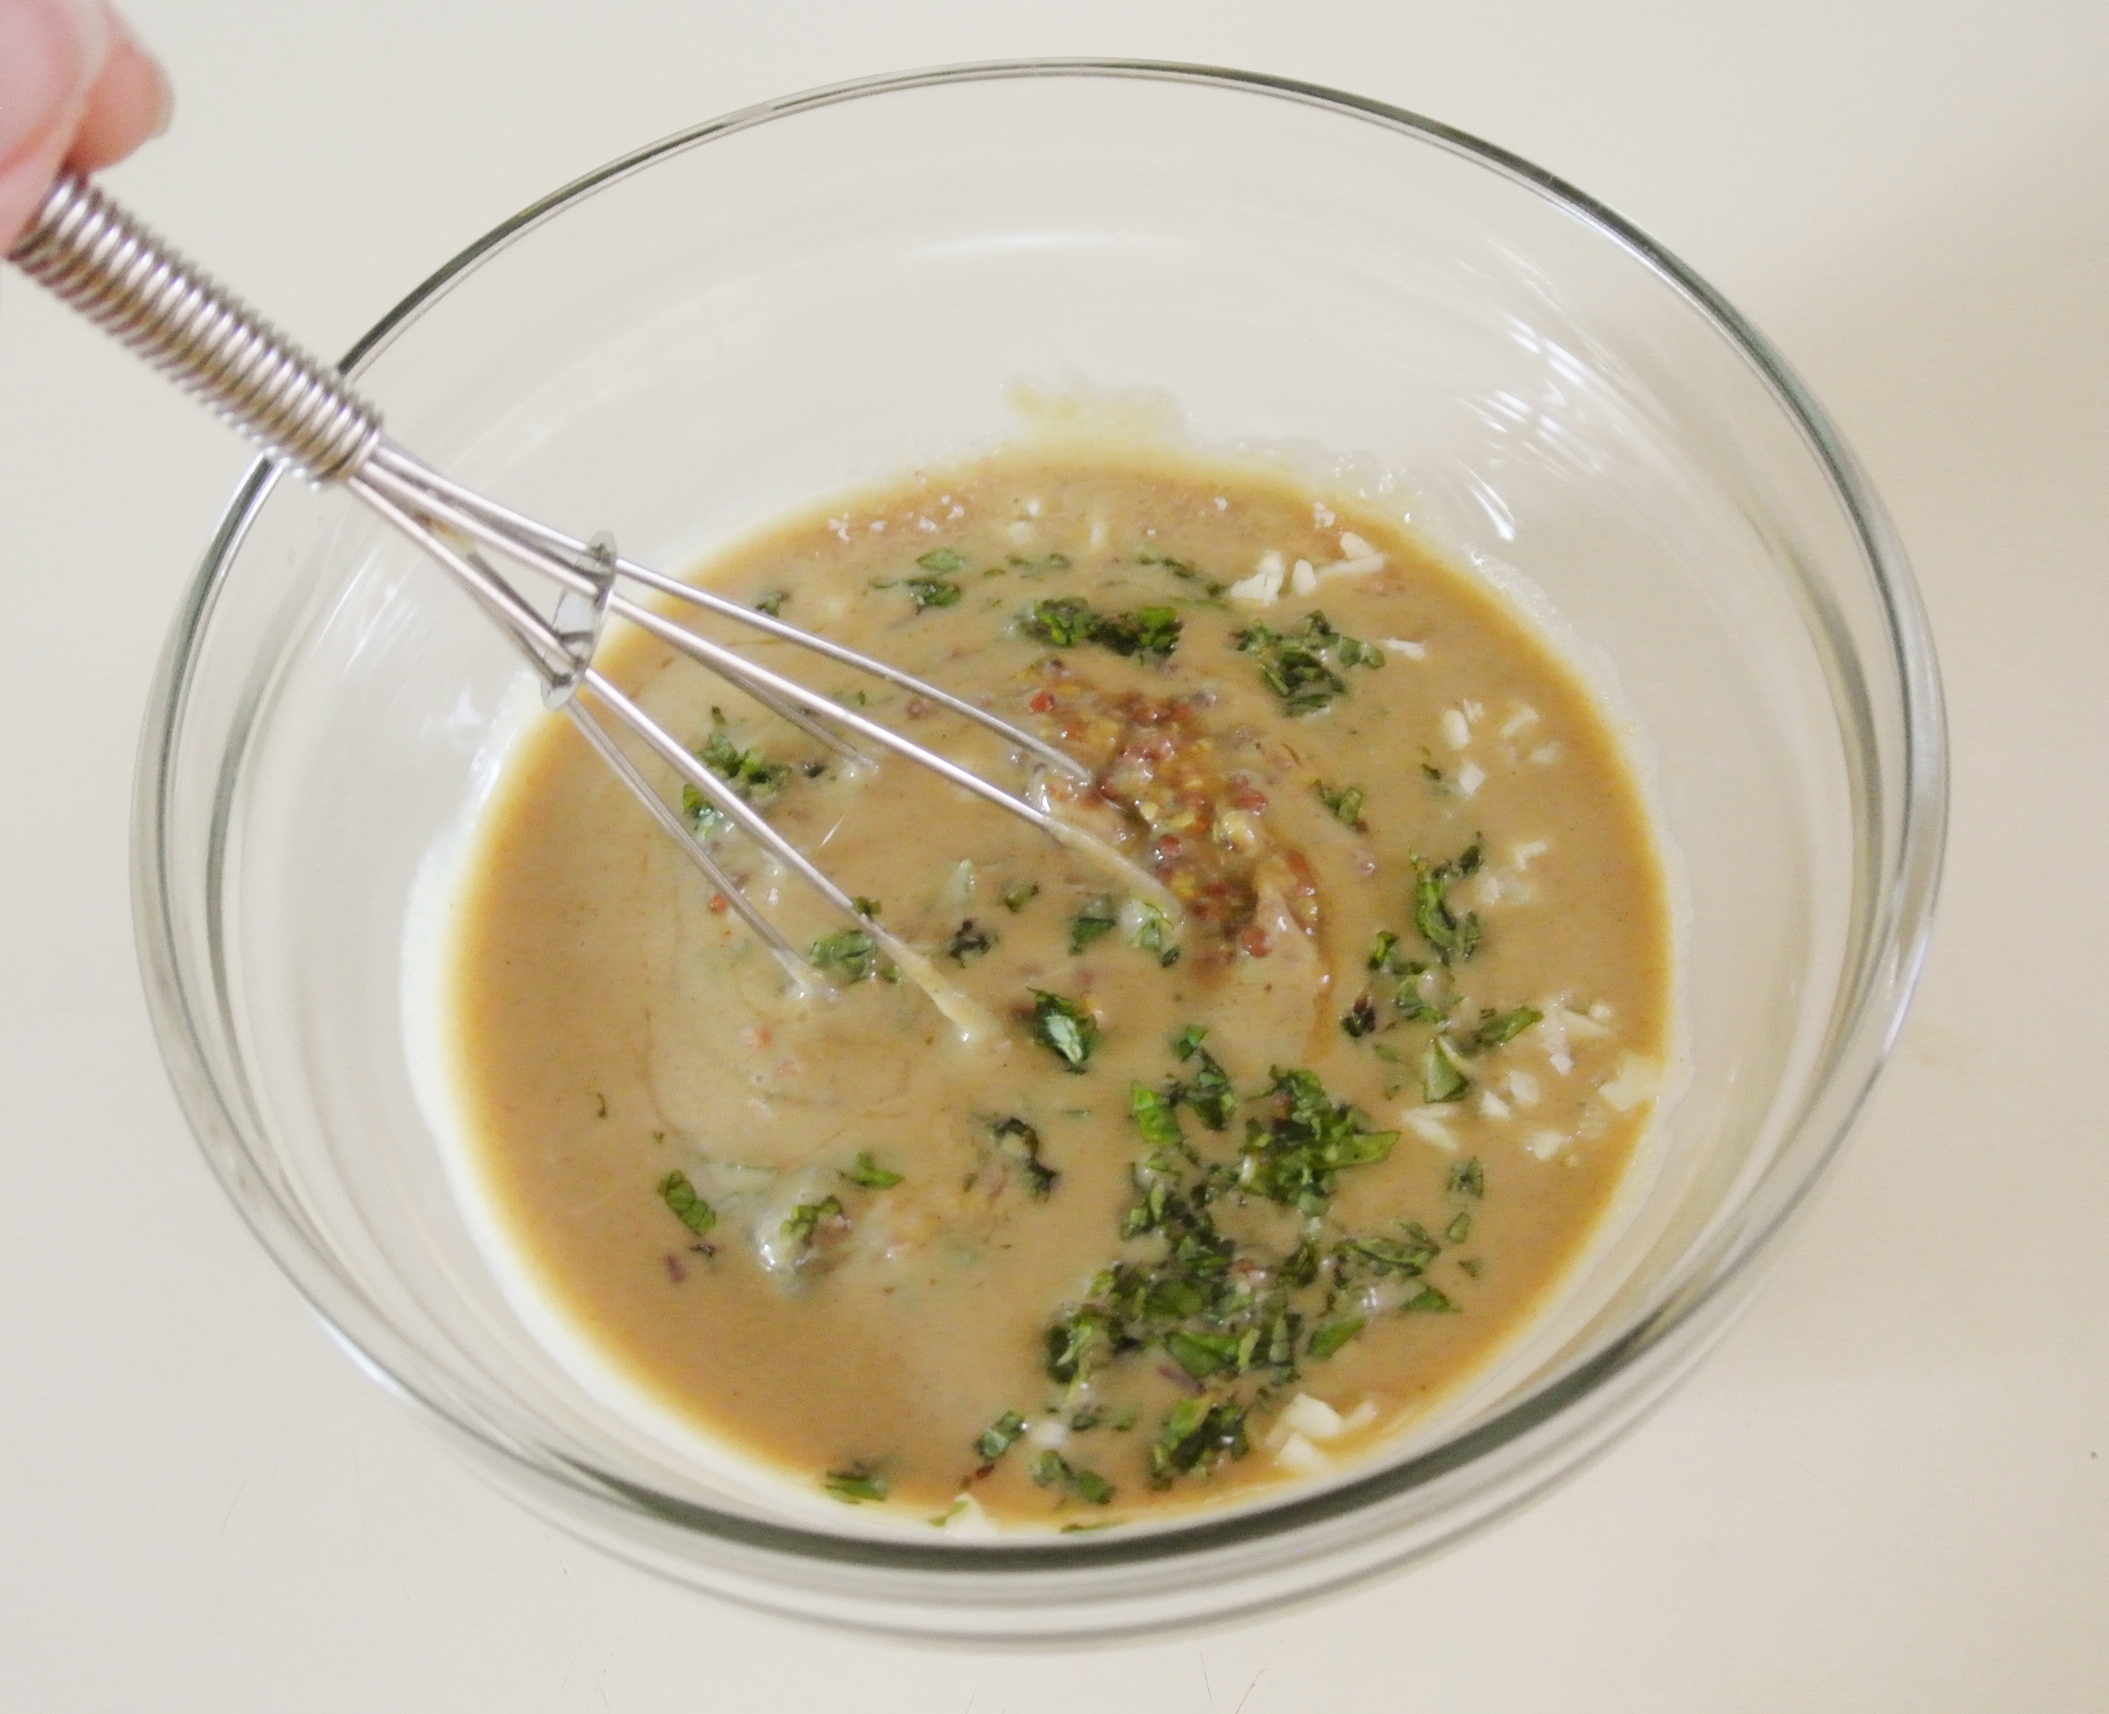
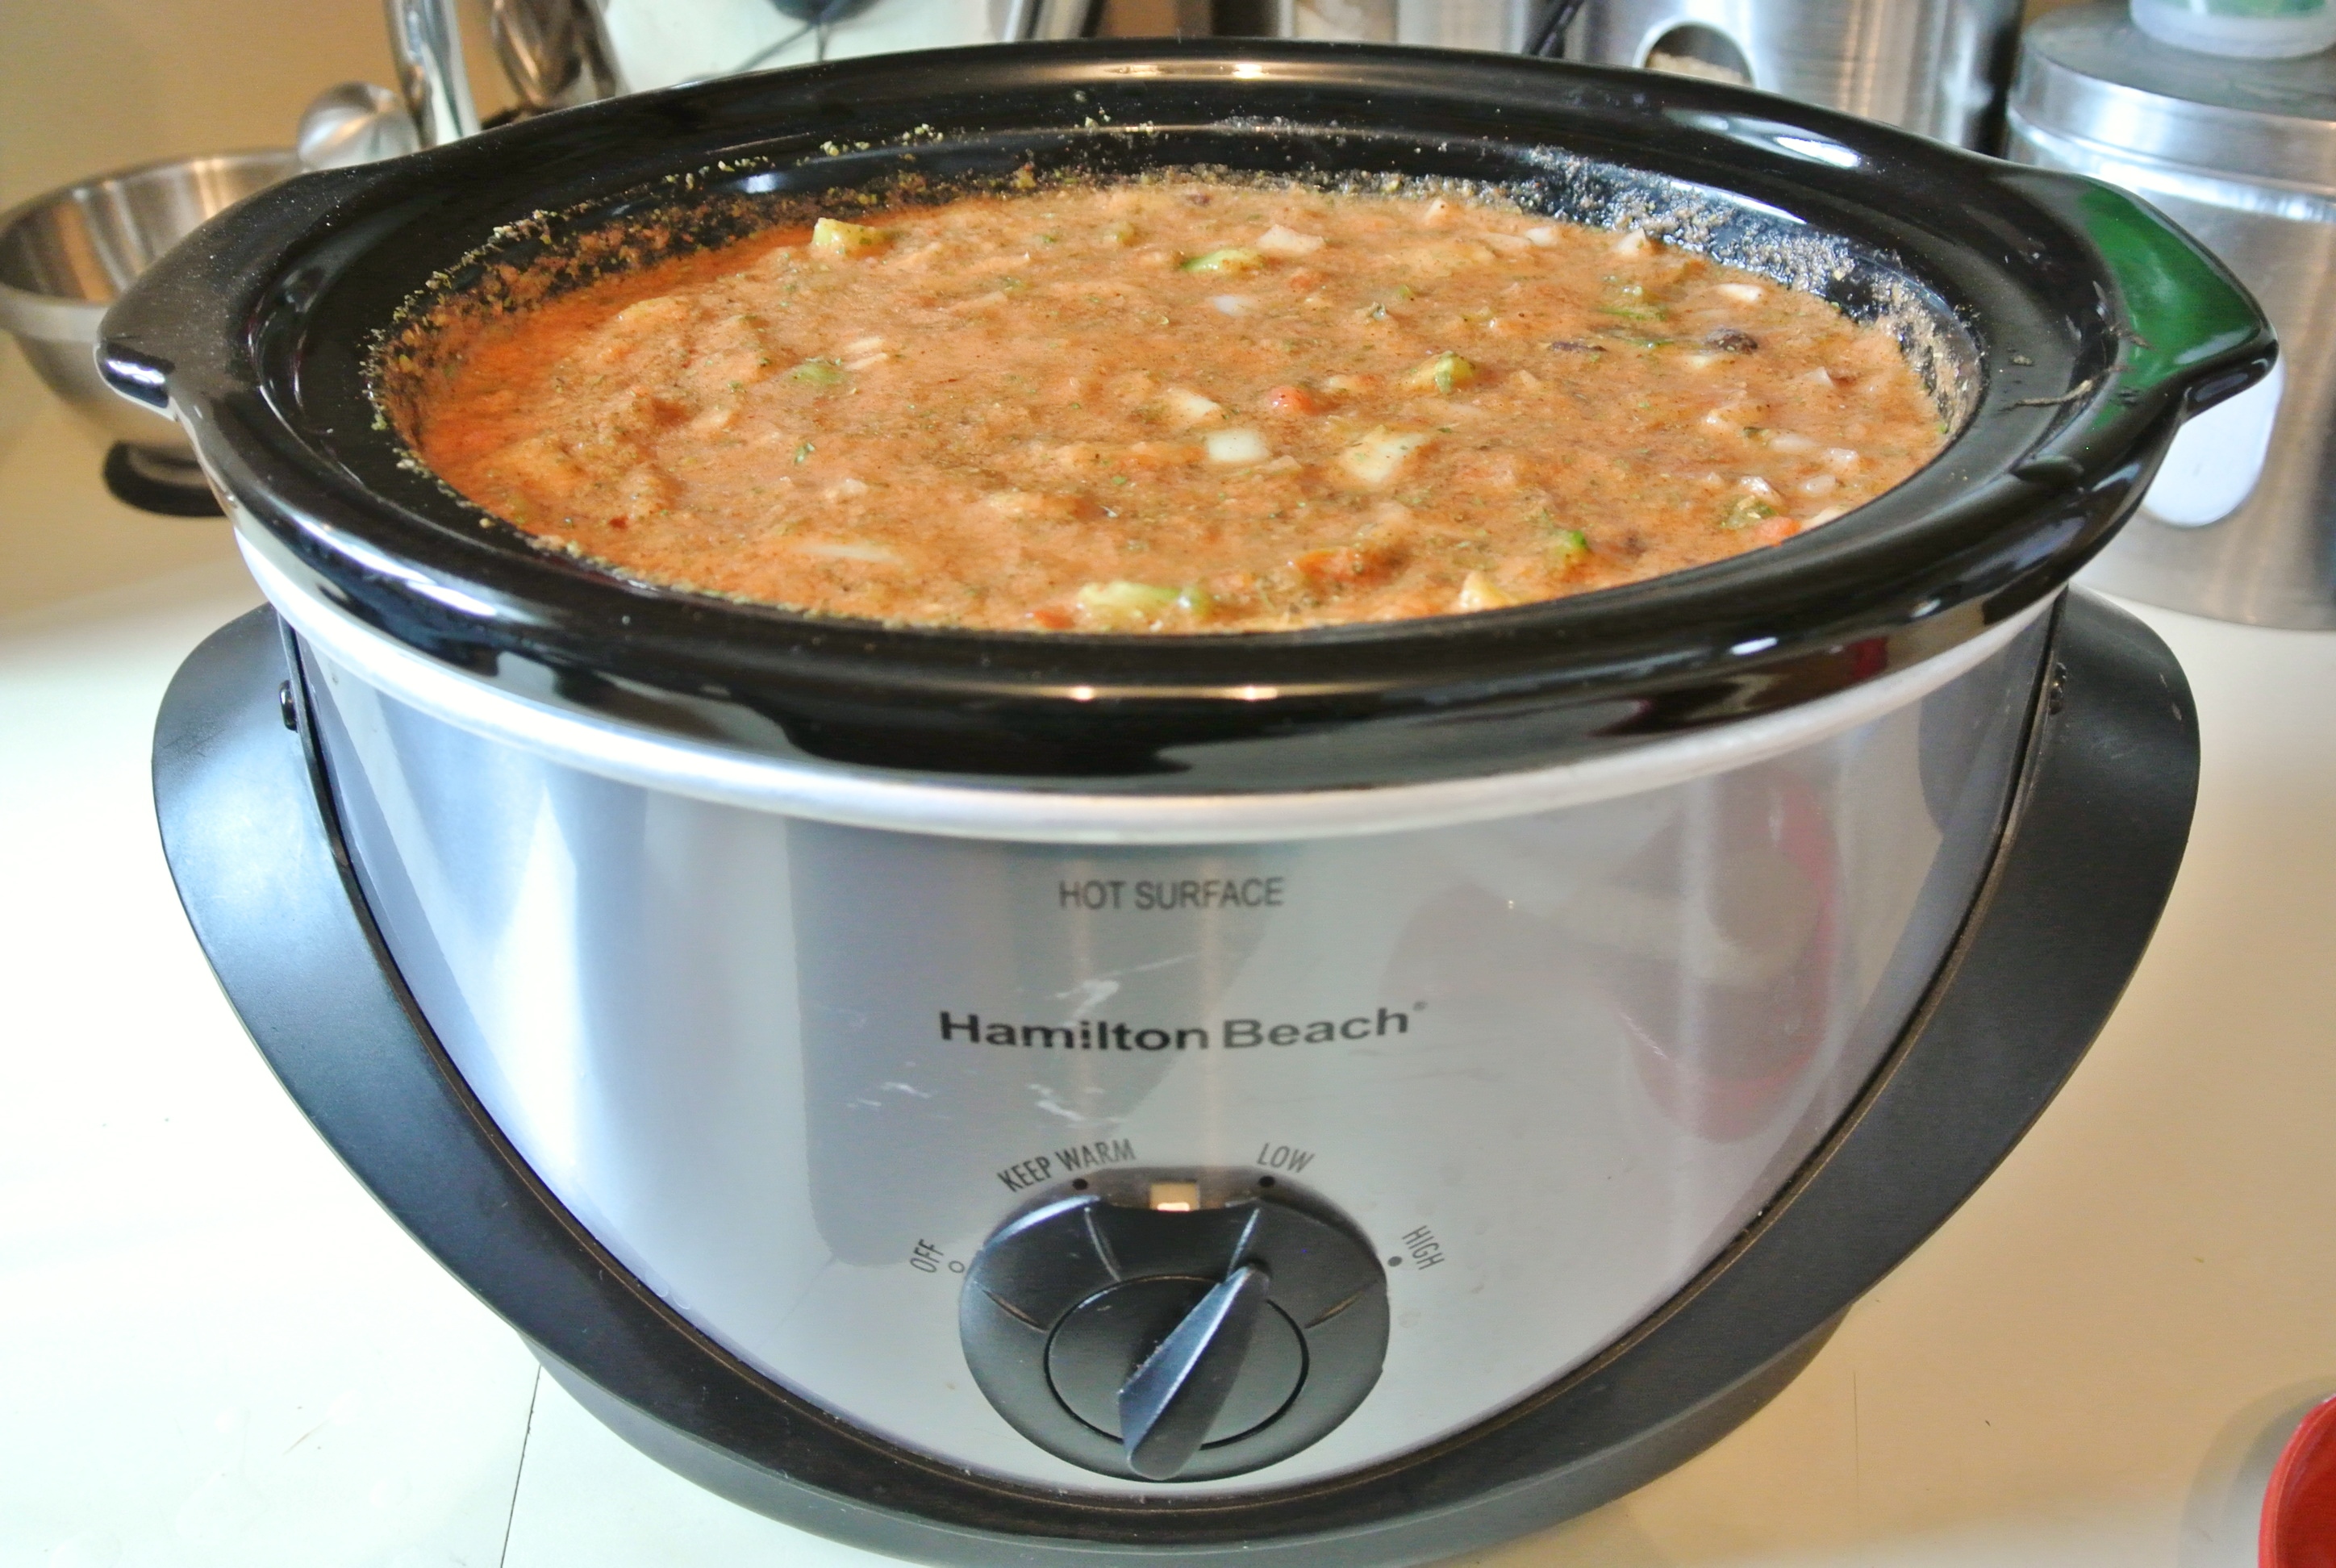
When the nuts have browned slightly, add your oil to the pan, along with your longest-cooking veggie(s). Sauté for about 5 minutes before adding your milk, garlic, agave syrup, and spices. Turn the heat down to medium to reduce the milk for 15 minutes, stirring occasionally. In the meantime, continue to chop all of your veggies. After the 15 minutes, add them to the mix from longest cook time to shortest; my last addition will be the garbanzo beans (rinse and drain if necessary) and frozen peas and corn since they simply need to heat through. Stir your vegetables often to ensure they aren’t sticking to the bottom of your sauté pan, but are still being exposed to the heat.

Cook times will vary depending on the vegetables selected. This version of my curry formula takes just under an hour. When your veggies are all cooked through or to your liking (I prefer them al dente), serve the curry over rice. Enjoy!

DSC_1651

New Formula: Super Creamy Dressing, Hold the Cream!

DSC_1647A few nights ago, my sister sent me a recipe for spiced chickpeas that she said I just had to try, and she was right. If you’ve never heard of Thug Kitchen, you NEED to check out these uber-talented and funny vegan chefs! What the thugs figured out that I couldn’t put my finger on until I completed their recipe (sorry guys, it’s not on their website, but it is in their cookbook, which I am now ordering ASAP) is that seed and nut butters make for the ultimate rich and creamy dressing for salads, wraps, sandwiches, and fruit and veggie dipping.

Really, this has made sense for longer than I realized. I love to eat tahini (made from sesame seeds) on sandwiches and peanut butter on apple slices. So, I’ve been using seed and nut butters in a dressing and dip capacity for quite a while, and you probably have, too. When it comes to more delicate applications like salads, however, a thick peanut butter alone just won’t cut it in the dressing department.

Prior to becoming an honorary thug, I attempted to make creamy salad dressing in a number of ways, from thickening plant milk with chia seeds to puréeing silken tofu. While these methods have afforded me some success, the resulting dressings were no match for the tahini-based dressing in the thugs’ spiced chickpea recipe. As I do with just about any recipe I come across, I played around and made the dressing my own and thus, a new Basic Formula was born.

Yikes, seed and nut butters are fattening! Yes, but remember, fat is ok in moderation…and if it doesn’t come from animals. If you are going to opt for ranch dressing, for instance, think of it this way: You are also opting for cholesterol and potentially, hormones from the animal products. Seeds and nuts are cholesterol-free fats that do not contain hormones and do contain tons of protein and other nutrients. Also, when I shared my chocolate peanut butter banana smoothie recipe with you, I explained that seeds are nuts are one of the only sources of fat in my diet, so a little here and there is not going to hurt me (or you).

Don’t forget to purchase, whenever possible, seed and nut butters than contain ONLY seeds and nuts. Many jarred butters contain unnecessary added salts, oils, and sugars. If I deem them necessary, I would rather add these ingredients to a homemade dressing so that I can control the quality and quantity.

Finally, I consider mustard an acid, even though it is technically derived from seeds and processed with acid (vinegar). The acidic, sometimes bitter taste reminds me of the sensation of consuming a purer acid like citrus juice or straight vinegar. If you include mustard in your dressing, seek out a stone ground or whole grain variety. Mustard seeds are an excellent source of selenium (just like brown rice…see my whole grain salad recipe) and Omega-3 fatty acids.

DSC_1637

Below is my new formula and an application inspired by the tahini dressing that gave way to my latest culinary brainchild. Satisfy your craving for a rich, creamy dressing or dip by turning to seeds and nuts rather than cows and goats. Enjoy!

FORMULA BASE: Creamy Dressing

Dresses 3-4 salads

  • ¼ cup seed or nut butter –> I’m using tahini.
  • 2 ½ tbsp acid (citrus juice, vinegar, mustard, or a combination) –> I’m using 1 tbsp stone ground mustard and 1 ½ tbsp lemon juice.
  • Thinning liquid as needed, depending on whether you’re going for a dressing or thick dip (ideas: veggie stock, water, or more acid) –> I’m using 3 tbsp water.
  • Up to 2 tbsp raw garlic and/or fresh/dried herbs and/or spices (optional) –> I’m using one small clove minced raw garlic and I tsp finely chopped fresh sweet mint.
  • ½-1 tsp sweetener (optional) –> I’m using ½ tsp 100% pure maple syrup.
  • Salt and pepper to taste –> I’m using a pinch of pink Himalayan sea salt.

Combine all ingredients with a small whisk. Add thinning liquid as needed to achieve desired consistency. Still not creamy enough for you? Run the whole mixture through a food processor or blender (I enjoy the texture of the mustard seeds, so I am leaving my dressing as is after whisking). Drizzle over salad, spread on bread, pita, or wrap, or use for dipping. You are seriously going to LOVE this dressing! Ranch…what’s that?!

DSC_1646

New Formula: Multi-Grain Salad

DSC_1635Remember that DIY veggie stock I made a few days back? Today, I’m putting it to good use making a salad that I love. My multi-grain salad, now housed under Square Meal Formulas, is filling, nutritious, and an easy way to combine a variety of great-for-you grains.

Pictured below are the grains that I’m using for my salad this go-around, with descriptions to follow.

DSC_1621

Clockwise, starting in the upper left corner:

SHORT GRAIN BROWN RICE: As I’m sure you know, brown rice boasts far more nutrients than the white variety. Brown rice is rich in fiber and selenium and can even lower bad cholesterol.

QUINOA: Often referred to as a super food, quinoa is mega rich in fiber, protein, and iron, among other minerals. ‘Nough said.

FARRO: Farro is also rich in fiber and minerals and in my opinion, maintains an appealing semi-crunchy texture after cooking. It pairs nicely with softer grains like rice and quinoa.

WHEAT BERRIES: Finally, wheat berries, like farro, are crunchy, and high in fiber and micronutrients. Sprouting wheat berries will result in wheat grass, which I use in all of my super smoothies. So, there’s that, too.

A little off-topic, but a quick word about balsamic vinegar, since I’m using it in today’s recipe. When I’m not in the mood to use fresh citrus juice or don’t have any on hand, I turn to balsamic vinegar as a dressing base. Besides being loaded with potassium and calcium, balsamic vinegar can normalize blood pressure, stabilize cholesterol, steady glucose levels, and even aid in weight loss. To say the least, I adore it. J Thus, it is important to me to have a high-quality variety in my pantry. Pictured below is a brand that I like, with a middle-of-the-road price tag. The more you pay, the better vinegar you’ll get.

DSC_1631Ok, back to the grains! I pair my multi-grain salad with fresh produce. Having made this salad many times, I prefer it sweet and savory. I use strawberries for the sweet and cook the grains in veggie stock for the savory. Find a balance that works for your taste buds and, as always, enjoy!

FORMULA BASE: MULTI-GRAIN SALAD

  • 4 cups water or vegetable stock –> I’m using my homemade veggie stock.
  • 2 cups dry grains –> I’m using ½ cup each short grain brown rice, quinoa, farro, and wheat berries.
  • 2 cups chopped fruits and/or veggies –> I’m using nearly 1 lb of sliced strawberries.
  • Dressing of choice or a combination of herbs/spices and salt and pepper to taste –> I’m using 1/8 cup balsamic vinegar, which pairs classically with strawberries. I’m also adding a splash of olive oil to prevent sticking, a tablespoon of dried basil, and a pinch each of pink Himalayan sea salt and black pepper.

Rinse your grains before cooking in order to remove any possible dirt or dust.

DSC_1623Because different grains have different cooking times, you may approach this in two ways: cook them all in the same pot, in stages, or cook them separately and combine them later. Having worked with my particular selection of grains before, I am opting for the former method. If you’re not sure about the grains you are using, research their cook times and even better, experiment in your kitchen. Or, make this salad with just one grain to start. Baby steps are a-ok.

I use a rice cooker because I find that it reduces sticking to the bottom of the pan with just a few occasional stirs, but you can certainly cook your grains in a pot on the stove top, stirring more regularly. First, add your veggie stock and wheat berries to kick off the cooking process. Wheat berries take longer to cook than any of the other grains I am using.

After 30 minutes, add your farro. 10 minutes later, add your rice. 10 minutes after that, add your final grain, quinoa, and cook for an additional 15-17 minutes, or until the last of your cooking liquid is absorbed. I usually leave the lid to my rice cooker off for the last few minutes to speed this process.

DSC_1627While your grains are cooking, chop your fruits/veggies and prepare your dressing and/or seasonings.

DSC_1626Cook your grains to completion and chill in your fridge, uncovered and stirring occasionally to allow heat to escape more easily, until at least room temperature (about 30 minutes). If the grains are hot, they will par-cook your produce, which we want to keep raw. When cool, combine the grains with your other ingredients. Consume cold and store in the fridge for 3-5 days, depending on the shelf life of the produce used.

DSC_1633

Save Money, Add Flavor

DSC_1617When we’re craving something warm and have a lot of veggies on hand, Travis and I go for soup. Homemade soups make for quick and filling lunches/dinners and welcome almost any random assortment of vegetables, beans, lentils, or grains. The most satisfying soups have a strong stock base. I learned a lot of what I know about cooking basics from THE Rachael Ray, who always says that using a quality stock gives soups, stews, chilis, and sauces a slow-cooked flavor in a lot less time.

Today’s post isn’t focused on soup, but rather that essential stock base, located in my Basic Formuals. Purchasing stock in those cardboard cartons is expensive, and often unnecessarily ridden with added sodium. I’ve found a way to make veggie stock that is affordable, healthy, flavorful, and makes the most of vegetable waste.

If you tuned in for my post on fruit scrap candles, you know that I like to use every square inch of my fruits and veggies. My veggie stock utilizes the parts of your vegetables that you likely normally throw away. If you don’t plan on using your veggie scraps for composting, consider making them into a stock that you can later use in a variety of cooking applications.

What veggie scraps make for a yummy stock? While this list certainly isn’t exhaustive, I have used all of the following:

  • Carrot tops, ends, and peels
  • Potato (all varieties, especially sweet) and yam ends and peels
  • Bell pepper tops
  • Tomato tops
  • Celery ends and leaves
  • Broccoli stems*
  • Kale ribs*
  • Leek tops (the green part)
  • Root veggie (beets, turnips, radishes, etc.) tops and tails
  • Onion ends and peels
  • Zucchini and cucumber ends
  • Large mushroom stems
  • Garlic ends and peels

*Incorporating too many green veggies may leave your stock tasting a little bitter; use sparingly!

Many of these seemingly inedible vegetable parts, like the veggies themselves, are often dirty when first purchased or harvested. It’s imperative that you get in the habit of thoroughly washing your vegetables in entirety before you peel, chop, or otherwise break them down. Then, when it comes time for your scraps to become stock, you aren’t simmering dirt in the pot. 🙂

I accumulate veggie scraps for stock in a 4-quart Pyrex bowl in the freezer, pictured below. I’ve never had an issue with freezer burn, partly, I’m sure, because I go through veggie scraps so quickly. You can see that this batch has started thawing and has only a light layer of frost on parts that are still frozen.

DSC_1616It isn’t necessary that you thaw the veggies before making your stock. I usually let mine defrost on the counter top for just a little bit (maybe 20 minutes) so that they loosen up for dumping into the crock pot. If any of your veggies have frozen to their freezer receptacle, fill it with hot water and they should come right up. I place the veggies in my crock pot, fill it with water, put the lid on, and set it to low overnight or while I’m at work. I don’t add any salt, pepper, spices, or herbs so that the stock is a blank slate, ready for any number of dishes.

Don’t have a crock pot? Simmer low and slow for several hours on your stove top, or on medium high heat for just an hour or two, stirring occasionally to prevent sticking to the bottom of the pot.

After the veggie scraps have cooked through and the water has taken on a rich caramel color, drain your stock through a fine colander. If necessary, you can run it through paper towel to catch any small bits that remain. Discard your veggie scraps, once and for all. Store in the fridge for up to a week before using in cooking. Enjoy!

DSC_1618

Start Your Day with Super Foods

DSC_1611

When contemplating what to post about this week, the decision was made for me when my husband, Travis, came home with a new Vitamix. If you read my post on dessert smoothies, you know that I’ve wanted one of these highly coveted, seemingly superhuman kitchen appliances for some time now. While my Ninja is a high performing blender, it fails to completely purée seeds and tougher fruits and veggies like blueberries and kale. Ready to make the switch, I knew that I needed to try making my super food smoothie before anything else to really put my Vitamix to the test.

First, a word about some of the ingredients. Below, I’ve pictured ginger root, hulled hemp seeds, and turmeric powder. I first learned about the wonders of ginger when I was pregnant. This refreshing and crisp root aids with nausea and digestion. Turmeric is another amazing root, but not having any on hand today, you can see that I’m using powdered turmeric instead. Turmeric is an anti-inflammatory and is great for your skin. (I use a handmade facial soap loaded with turmeric.) When it comes to including roots in your smoothies—fresh or ground—start small. Their flavors are assertive and it’s better to err on the side of caution and add more later.

DSC_1606

As mentioned in my bio, I am not a culinary or dietary professional, so I am always learning about food. My sister works for a vitamin company and serves as one of my primary sources, but I do other research, too. Thus, I’ve amended my super food smoothie formula to include hemp seeds. I’ve heard the buzzing about these seeds for some time now, but they aren’t as easy to find as seeds like chia and flax. After visiting Bob’s Red Mill in Portland (you have to go!), I finally got my hands on a bag of them.   Hemp seeds are one of the highest in protein of all seeds and nuts, and are packed with Omega-3 and Omega-6 fatty acids.

This smoothie is another breakfast (or lunch/dinner/snack) you can feel good about, and is easy to share with little ones, too. My son, Nolan, drinks one every day. Enjoy!

FORMULA BASE: SUPER SMOOTHIE

Serves 2

  • 1 cup fresh fruit –> I’m using two small bananas.
  • 1 cup frozen fruit –> I’m using a combination of blueberries, blackberries, and raspberries.
  • 2 cups fresh vegetables –> I’m using a variety of baby kale leaves.
  • ¼ cup fresh herbs –> None today. I only have cilantro and it isn’t my preference in a smoothie. 🙂  I suggest parsley or mint if you have some on hand!
  • 2 tbsp fresh cut wheatgrass
  • 1/4 cup+ seeds (e.g. chia, flax, hemp, pumpkin, etc.)
  • ½ inch turmeric root –> I’m using ½ tsp dried turmeric instead.
  • ¼ inch ginger root
  • Liquid* to achieve desired consistency (optional) –> I’m using approximately 6-7 oz of freshly squeezed orange juice.

*Most of the time, try to avoid using juice as it is lacking the fiber from the pulp, flesh, and skin necessary to assist the body in properly processing the sugars therein.  The occasional freshly squeezed juice, pack with as much pulp as possible, is fine.  Other options include unsweetened plant milk, water, or a moisture-packed fruit such as watermelon.  Depending on the quality of your blender and the types of produce you are including in your smoothie, you may not need to add liquid to the mix at all.

Place all items in a blender and blend until smooth. Consume immediately as some seeds, even when puréed, will continue to thicken the smoothie the longer that they sit in moisture.

DSC_1610

Simple and Delicious Kale Crunch Salad

DSC_1604On a recent trip to Portland, Oregon to visit friends, I was surrounded by restaurants boasting the plant-based cuisine I love to eat. My friend, Danielle, told my husband, Travis, and I that kale was literally everywhere, including sitting on the pavement outside of her car one night! She said that nearly every restaurant offered a kale salad of some kind and that got me thinking about a kale salad recipe that I really enjoyed back in Arizona.

Another friend, Lissa, introduced me to a yummy kale salad recipe that she obtained from a colleague. The salad was simple, with the only vegetable being the kale itself. It was dressed in a mix of lemon juice and olive oil and topped with finely grated parmesan cheese. This recipe inspired my Green Salad Formula, which is a healthier, plant-based version of the greens.

When I make a green salad, I like for the only vegetable to be greens so that I’m consuming a large quantity of them. Kale, in particular, is high in fiber, iron, and calcium and packed with antioxidants. A true super food! This mix boasts a variety of organic baby kale leaves that are more palatable in a salad than their adult counterparts.

DSC_1581I add a little protein and crunch to my kale salad with the addition of raw sunflower seeds, almonds, and cashews. Cashews mimic the flavor of parmesan cheese, so I use them as a cholesterol-free substitute.

DSC_1585Finally, I make a lemon vinaigrette dressing for this salad that is fat free. The aforementioned kale with parmesan salad includes a dressing that is largely oil and in my opinion, too fattening when paired with cheese, or in this case, nuts. I add a hint of agave syrup to balance the tartness of the lemon juice and no oil whatsoever. Enjoy!

FORMULA BASE: GREEN SALAD

Serves 1 as a meal or 2 as a side

  • 4 cups fresh greens –> I’m using a mix of baby kale leaves.
  • ¼ cup raw seeds and chopped nuts –> I’m using 1 tbsp sunflower seeds, 1 tbsp almonds, and ¼ cup cashews
  • 2 tbsp dressing of choice –> I’m using a homemade lemon vinaigrette.
  • DRESSING:
    • Juice of ½ of a lemon
    • 1 tsp agave syrup
    • ¼ tsp onion powder
    • ¼ tsp garlic powder
    • One grind fresh black pepper
    • Pinch of pink Himalayan sea salt

Mix the salad dressing with a small whisk and set aside.

DSC_1591Put the nuts through a nut grinder or chopper, or finely chop by hand.

DSC_1588Toss the kale in the lemon vinaigrette and top with the sunflower seeds and chopped nuts.

DSC_1598

Dip, Salsa, or Square Meal?

DSC_1552

To answer your question, this dish, based off of my bean salad formula, is all three: dip, salsa, and square meal. I’m housing it under my Square Meal Formulas because while it makes for a great snack, it can serve as a delicious, filling, and protein-packed lunch or dinner, too.

If you tuned in last week for my chili recipe and are not ready to leave the Southwest, you will love trying out my bean salad. This recipe is a cross between my mom’s “Texas caviar” bean dip and my husband’s mango salsa. It is served cold and alone, with tortilla chips, or as an addition to a Latin or southwestern dish.

Before we get into making this dip, salsa, and square meal, a word about a few ingredients that I love: sesame oil, agave syrup, and pink Himalayan sea salt. As this blog grows, you will see these ingredients throughout many of my fresh formulas and recipes. Here’s why…

DSC_1542While my recipes minimize added fat, sugar, and salt, I do sometimes add just a little to maximize flavors. Sesame oil lends itself perfectly to this philosophy, as it is extremely flavorful in quite small amounts. To keep your blood sugar levels at bay, organic agave syrup—a low glycemic sweetener—is a great alternative to white, granulated sugar, which I haven’t purchased in years. Finally, pink Himalayan sea salt is the super salt of the sodium world! This salt contains over 80 vitamins and minerals, is naturally high in iodine, has less sodium per serving than table salt, and has a myriad of other health benefits. If you’re adding salt, this is the way to go.

If you’re feeling extra adventurous, make your own tortilla chips to compliment this bean salad. Never having yet made them myself, I’ve purchased a few from a local Arizona Mexican restaurant so I can see how it’s done!

FORMULA BASE: BEAN SALAD

Serves 4-6

  • 2 cups cooked beans, no added salt –> I’m using extra beans today, in an effort to mimic elements of my mother’s Texas caviar recipe. I’m incorporating equal parts kidney, pinto, and black beans (just like my chili recipe), totalling about 5 ½ cups.
  • 2 cups chopped raw fruits/veggies –> I’m using ½ of a small green bell pepper, ¼ cup frozen corn, 1 medium size mango, and ¼ cup fresh, finely chopped cilantro.
  • ¼ chopped raw onion –> I’m using yellow.
  • ½ cup seeds and/or chopped raw nuts –> I’m using raw sunflower seeds, a little less than a ½ cup.
  • Citrus juice (size matters…start small) –> I’m using the juice of two limes.
  • Spices, herbs, salt, and pepper to taste –> I’m using ½ tsp each of chili powder, paprika, garlic powder, and pink Himalayan sea salt, and ¼ tsp cumin.
  • SPECIAL ADDITIONS: 1 tsp sesame oil and 1 tbsp agave syrup (I would use less or none at all if my mango were sweeter.)

Before anything else, chop your onion and get it soaking in the citrus juice. The citrus helps to break down the abrasive flavor of the onions.

DSC_1545

Next, drain and rinse your beans, allowing them to drip dry in your colander while chopping your fruits/veggies. Combine all ingredients and mix. Store in the fridge up to a week.

DSC_1551

Fruit Scraps Turned Scented Candles

DSC_1539

When it comes to expensive organic produce, I don’t like to waste a single scrap. If you have a compost pile, you can always put your fruit and veggie scraps there. Otherwise, I’ve come up with a few solutions to maximize every inch of your plants.

With my veggie scraps—which include items like carrot tops and kale ribs—I like to make my own veggie stock. You can read more about how I collect and transform the scraps under Basic Formulas.

Coming up with an edible use for fruit scraps—peels, cores, pits, etc.—has proved much more difficult. I was reminded of a time that I visited a candy factory in France. The chocolatiers had candied orange peels and they were pretty tasty. I figure I can experiment with candying other types of peels, but being that I like to keep my lifestyle low in added sugars, I’m not eager to do this any time soon.

I decided to go another route. My husband bought me a bouquet of winter plants on Christmas Eve and we thought that it would be neat to do something with the pine needles since they smelled so wonderful. We researched online how to make scented oil candles and then it hit me: If I could make candles out of pine needles, flowers, and herbs, why couldn’t I use my fruit scraps to do the same?

Alas, I started deliberately saving my fruit scraps (while still allocating many of them to my compost pile in the backyard). I placed a food storage container in the fridge and added to it every time I peeled or cored a new fruit. It took me only a couple of hours to accumulate the scraps that you see here, which include peels from oranges, lemons, grapefruit, kiwis, and mangoes, and the core of a Red Delicious apple.

DSC_1511

There was no rhyme or reason to this combination of scraps and a happy aromatic accident resulted. While my fruit scraps continued to marry their flavors in the fridge, I collected the necessary candle-making supplies: mason jars, oil wicks, and vegetable oil. I already had mason jars in several sizes, and you can find them many places, including the dollar store. For the wicks, I perused Amazon and found these pretty glass wicks; they are available in many metal varieties, too.

DSC_1513

As for the oil, I selected vegetable simply because it is economical and pale in color – I really wanted to be able to clearly see all of my colorful fruit scraps. Being new to candle making, I’m not sure if one oil is preferred over another for the best scent or longest burn time. In my limited research, I found that you can use just about any oil you’d like, but I imagine it will take me many an attempt to figure out which one is truly the best. For example, I made the candles you see in this post almost two weeks ago and upon lighting today, they are just starting to smell. The length of time it takes for different scents to infuse the oil probably has to do with their intensity and the oil selected. Only time will tell, but in the meantime, I am enjoying the appearance of my fruit scrap candles while I wait for them to smell even more delicious.  🙂

AT HOME FORMULA: FRUIT SCRAP CANDLE

What you’ll need:

  • Fruit scraps of any variety (accumulate in the fridge over the course of a day or two) –> I’m using citrus, kiwi, mango, and apple.
  • Oil –> I’m using vegetable.
  • Mason jars of any size
  • Oil wicks –> You can make your own or purchase in store or online. I’m using wicks with a glass covering.

How to make:

  • Puncture a hole in the lid of your mason jar. The size will depend on the type of wick that you are using. The lid of a mason jar is easy to puncture with just a screwdriver or other metal tool with a semi-sharp tip.
  • Fill the mason jar with your fruit scraps. Cram them in tightly, leaving a small gap in the middle to accommodate your wick. You can arrange them with your fingers or a variety of different kitchen tools. I squished the scraps down with an ice cream scoop myself.
  • Fill the remaining space in the mason jar with oil. Keep in mind that you will need to add the wick, so don’t fill it quite to the brim.

DSC_1529

  • Thread your wick through the hole you created in the lid and gently push the end of it into the candle itself. I used a skewer to do this.
  • Screw on the lid and wait an hour or two for the wick to absorb the oil before lighting.  Don’t expect the candles to be immediately scented, although it could happen.

Here, you can see my fruit scrap candles front and center, as well as the pine needle candles mentioned earlier, and some red rose candles made from dried roses from the hubby. Fresh would have been better, but I didn’t have this oil candle brainchild until long after they had been dried over the years. You can intensify and expedite the scent experience by adding complimentary essential oils (you can purchase these in many places that sell candles, oil burners, etc.), which I did with the roses since they weren’t fresh. Enjoy!

DSC_1532

New Fresh Formula: Totally Vegan Chili

DSC_1541

A few days ago, a friend posted an inquiry on Facebook seeking crock pot recipes. I instantly thought of my totally vegan chili recipe, which I always simmer for hours in my crock pot. I thought about what I typically put in the chili and concluded that it’s the tomatoes and spices that make it chili; the beans and vegetables could really be anything. Thus, a new fresh formula—now housed under Square Meals—was born.

This formula is inspired by the spice blend in my mother’s meat chili, a dish I absolutely loved growing up. She now makes her chili vegan, too, often getting creative with her vegetables. She used sweet potatoes in her last batch, which I happened to be in Michigan to taste. Boy was it yummy!

Making this formula work for you will depend on how spicy or sweet (or both) you like your chili, so you’ll see some flexibility in how you prepare it. Consider beans and/or lentils that are on sale, that work well together, and of course, that you enjoy. Call on vegetables that are in season and whenever possible, organic.

A well-stocked spice cabinet should ensure that you’re ready to make this chili at any time. By “any time,” I mean just before you go to bed or leave for work, as it cooks slowly over many hours. It is quite often my go-to dinner when I’m craving something warm and filling and I’m low on veggies, since beans are really the star here.

A note about canned tomatoes: I recently read that canned tomatoes are among one of the most dangerous foods that one can purchase. The high acid level in the tomatoes causes them to eat away at the can’s interior, exposing them to dangerous BPA. As always, starting with fresh is a little more work, but better for you.

Canned beans, on the other hand, I’m okay with, so long as the can contains beans ONLY…no added sodium, spices, or fats.

Finally, rather than cheese or sour cream, I sometimes top this chili with crumbled homemade vegan cornbread, broken tortilla chips, cilantro, green onions, or a squeeze of lime juice… or, I just eat it plain – it’s that good. It also makes for a delicious addition to a burrito or other Latin or southwestern dish. Enjoy!

FORMULA BASE: CHILI

Serves 6

  • 6 cups cooked beans and/or lentils –>  I’m using 2 cups each of black, kidney, and pinto beans.
  • 1-1 ¼ lbs tomatoes  –>  I’m using 6 roma tomatoes.
  • Approximately 4-4 ½ cups vegetables  –>  I’m using one green bell pepper, one yellow onion, and ½ cup frozen corn.
  • 2 cloves garlic
  • 3 tbsp chili powder
  • 2 tbsp dried minced onions
  • 1 tbsp oregano
  • 1 tsp paprika
  • 1 tsp cumin
  • 1 tsp dried cilantro
  • Pink Himalayan sea salt and fresh ground pepper to taste  –>  I’m using ½ tsp salt and no ground pepper.
  • Sweetener to taste (optional)  –>  I’m using 2 tbsp agave syrup. I like a little sweetness to balance out the spices and acidity of the tomatoes.
  • Cayenne pepper to taste (optional) –>  Not for me – I’m a wimp.  🙂

Set your crock pot to low. Coarsely chunk your tomatoes and place in a food processor or blender. Blend until smooth and pour into crock pot. It will look orange/pinkish and frothy right now, but will cook down and deepen in color with time and spices.

DSC_1516

Dice and add all veggies. Mince and add garlic.

DSC_1517

Add all spices, seasonings, and sweeteners, if using.

DSC_1522

Drain and rinse beans/lentils (if necessary) and add to the crock pot.

DSC_1523

Fill any remaining space in the crock pot with water to your thickness preference*. I fill my crock pot almost to the top, knowing that it will reduce a bit.

DSC_1526

I keep the crock pot lid slightly ajar to allow for slow evaporation and ultimately, a thicker chili, but keep the crock pot completely covered for a soupier dish. Simmer for 8-10 hours, depending on the power of your crock pot.

*ALTERNATIVE IDEA: Add only enough additional water to cook your veggies through and create a super thick warm bean dip rather than a chili. A new party favorite with tortilla chips!

Must-Haves from the Arizona Vegetarian Food Festival

FullSizeRender

When the ALS Ice Bucket Challenge was at its peak, I decided to take the act of charity to the next level and complete weekly acts of charity for an entire year. This weekend, my personal IBC led me to the Arizona Vegetarian Food Festival in Scottsdale to benefit Evolve for Animals.

The festival was teeming with eager vegans, vegetarians, animal rights activists, and environmentalists. While typical festival/carnival/state fair crowds tend to damper the experience for me, this time, I was thrilled to be surrounded with like-minded people who care about animals, sustainability, and of course, their health.

Various booths with information and most importantly, free samples (woo!), peppered the perimeter of the Scottsdale Civic Center Amphitheater. The first booth that my husband, Travis, and I stopped at, Arizona Microgreens, featured an assortment of organic baby greens, which are easily my new favorite salad base and sandwich filler. I had had microgreens before, but didn’t realize just how many varieties existed. As you can see, they look adorable when compared with something like iceberg lettuce (I do believe that presentation matters when it comes to eating) and taste absolutely delicious. Many samples and $15 later, we walked away with broccoli and pea shoot micros.

FullSizeRender(4)

Up next, we stopped at a clothing booth that specializes in tops made from organic cotton and bearing catchy vegetarian and animal-friendly phrases. Geeky for some, but I was smitten and had to have one of Herbivore Clothing’s creations. Like many things organic, the long sleeve shirt I selected wasn’t cheap, but $30 well-spent to advocate for causes that I believe in without even trying.

FullSizeRender(3)

Who doesn’t love a soft pretzel?! As if being 100% vegan weren’t amazing enough, these pretzels were shaped like mustaches! Scrumptious and fun to eat, I now understand why the line was 30 minutes long at Mustache Pretzels. After all, “great mustaches aren’t born – they’re bread.”

FullSizeRender(2)

Lastly, Travis and I hit up a tortilla chip booth that had really long lines when we first arrived. By this point in the festival, it was raining, so we were able to make it to the front of Beanfields in just a few minutes. These tortilla chips–which were fantastic–are made from beans and brown rice. I’m not a big proponent of processed foods, but there are some gems out there are these are one of them.

FullSizeRender(1)

They were the perfect snack to end a fulfilling day doing one of the things I love most: living a plant-based lifestyle. Good for me, good for animals.