Dip, Salsa, or Square Meal?

DSC_1552

To answer your question, this dish, based off of my bean salad formula, is all three: dip, salsa, and square meal. I’m housing it under my Square Meal Formulas because while it makes for a great snack, it can serve as a delicious, filling, and protein-packed lunch or dinner, too.

If you tuned in last week for my chili recipe and are not ready to leave the Southwest, you will love trying out my bean salad. This recipe is a cross between my mom’s “Texas caviar” bean dip and my husband’s mango salsa. It is served cold and alone, with tortilla chips, or as an addition to a Latin or southwestern dish.

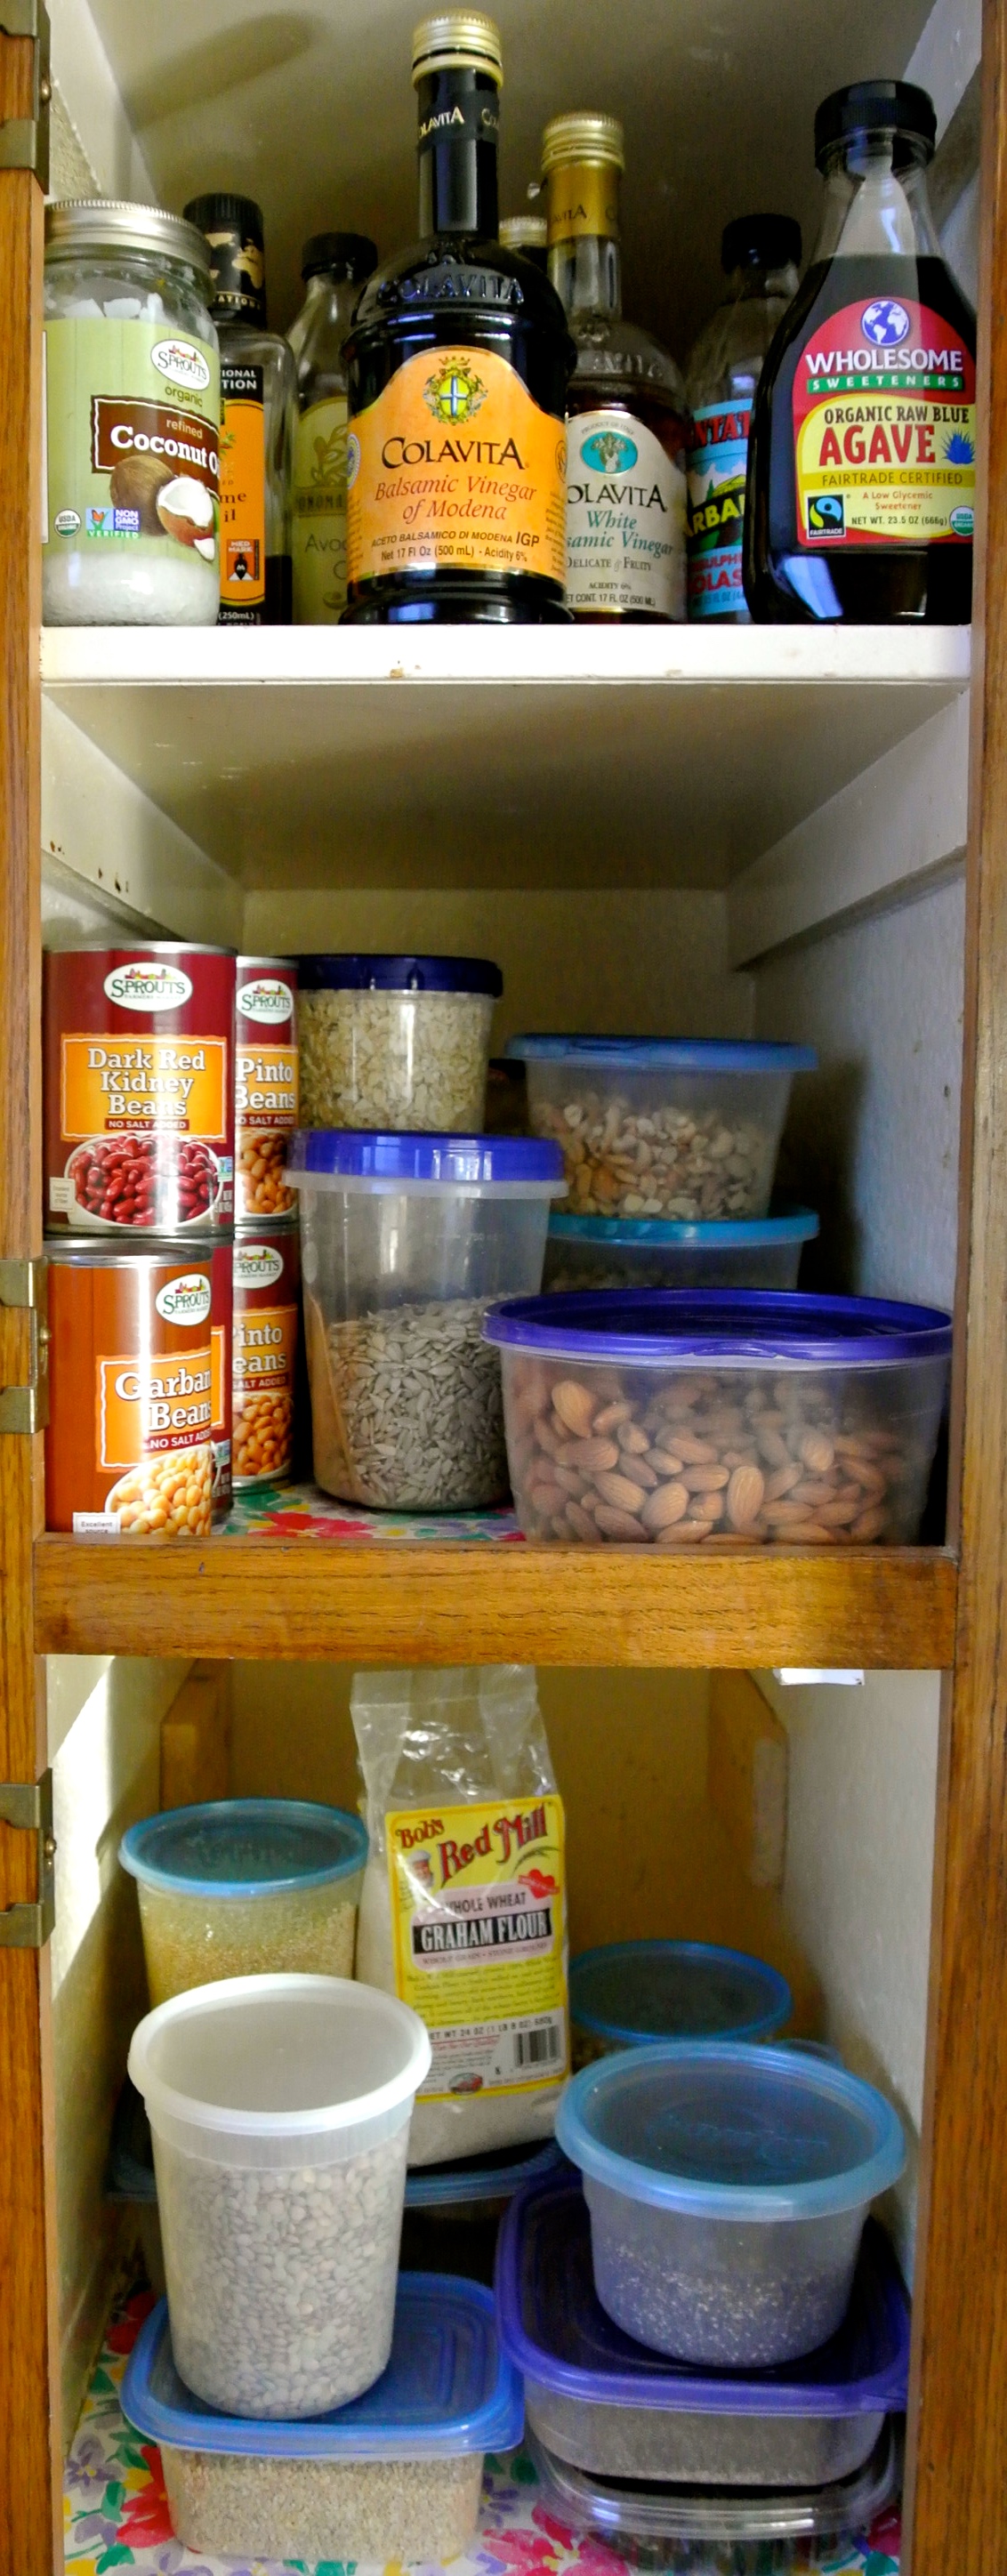
Before we get into making this dip, salsa, and square meal, a word about a few ingredients that I love: sesame oil, agave syrup, and pink Himalayan sea salt. As this blog grows, you will see these ingredients throughout many of my fresh formulas and recipes. Here’s why…

DSC_1542
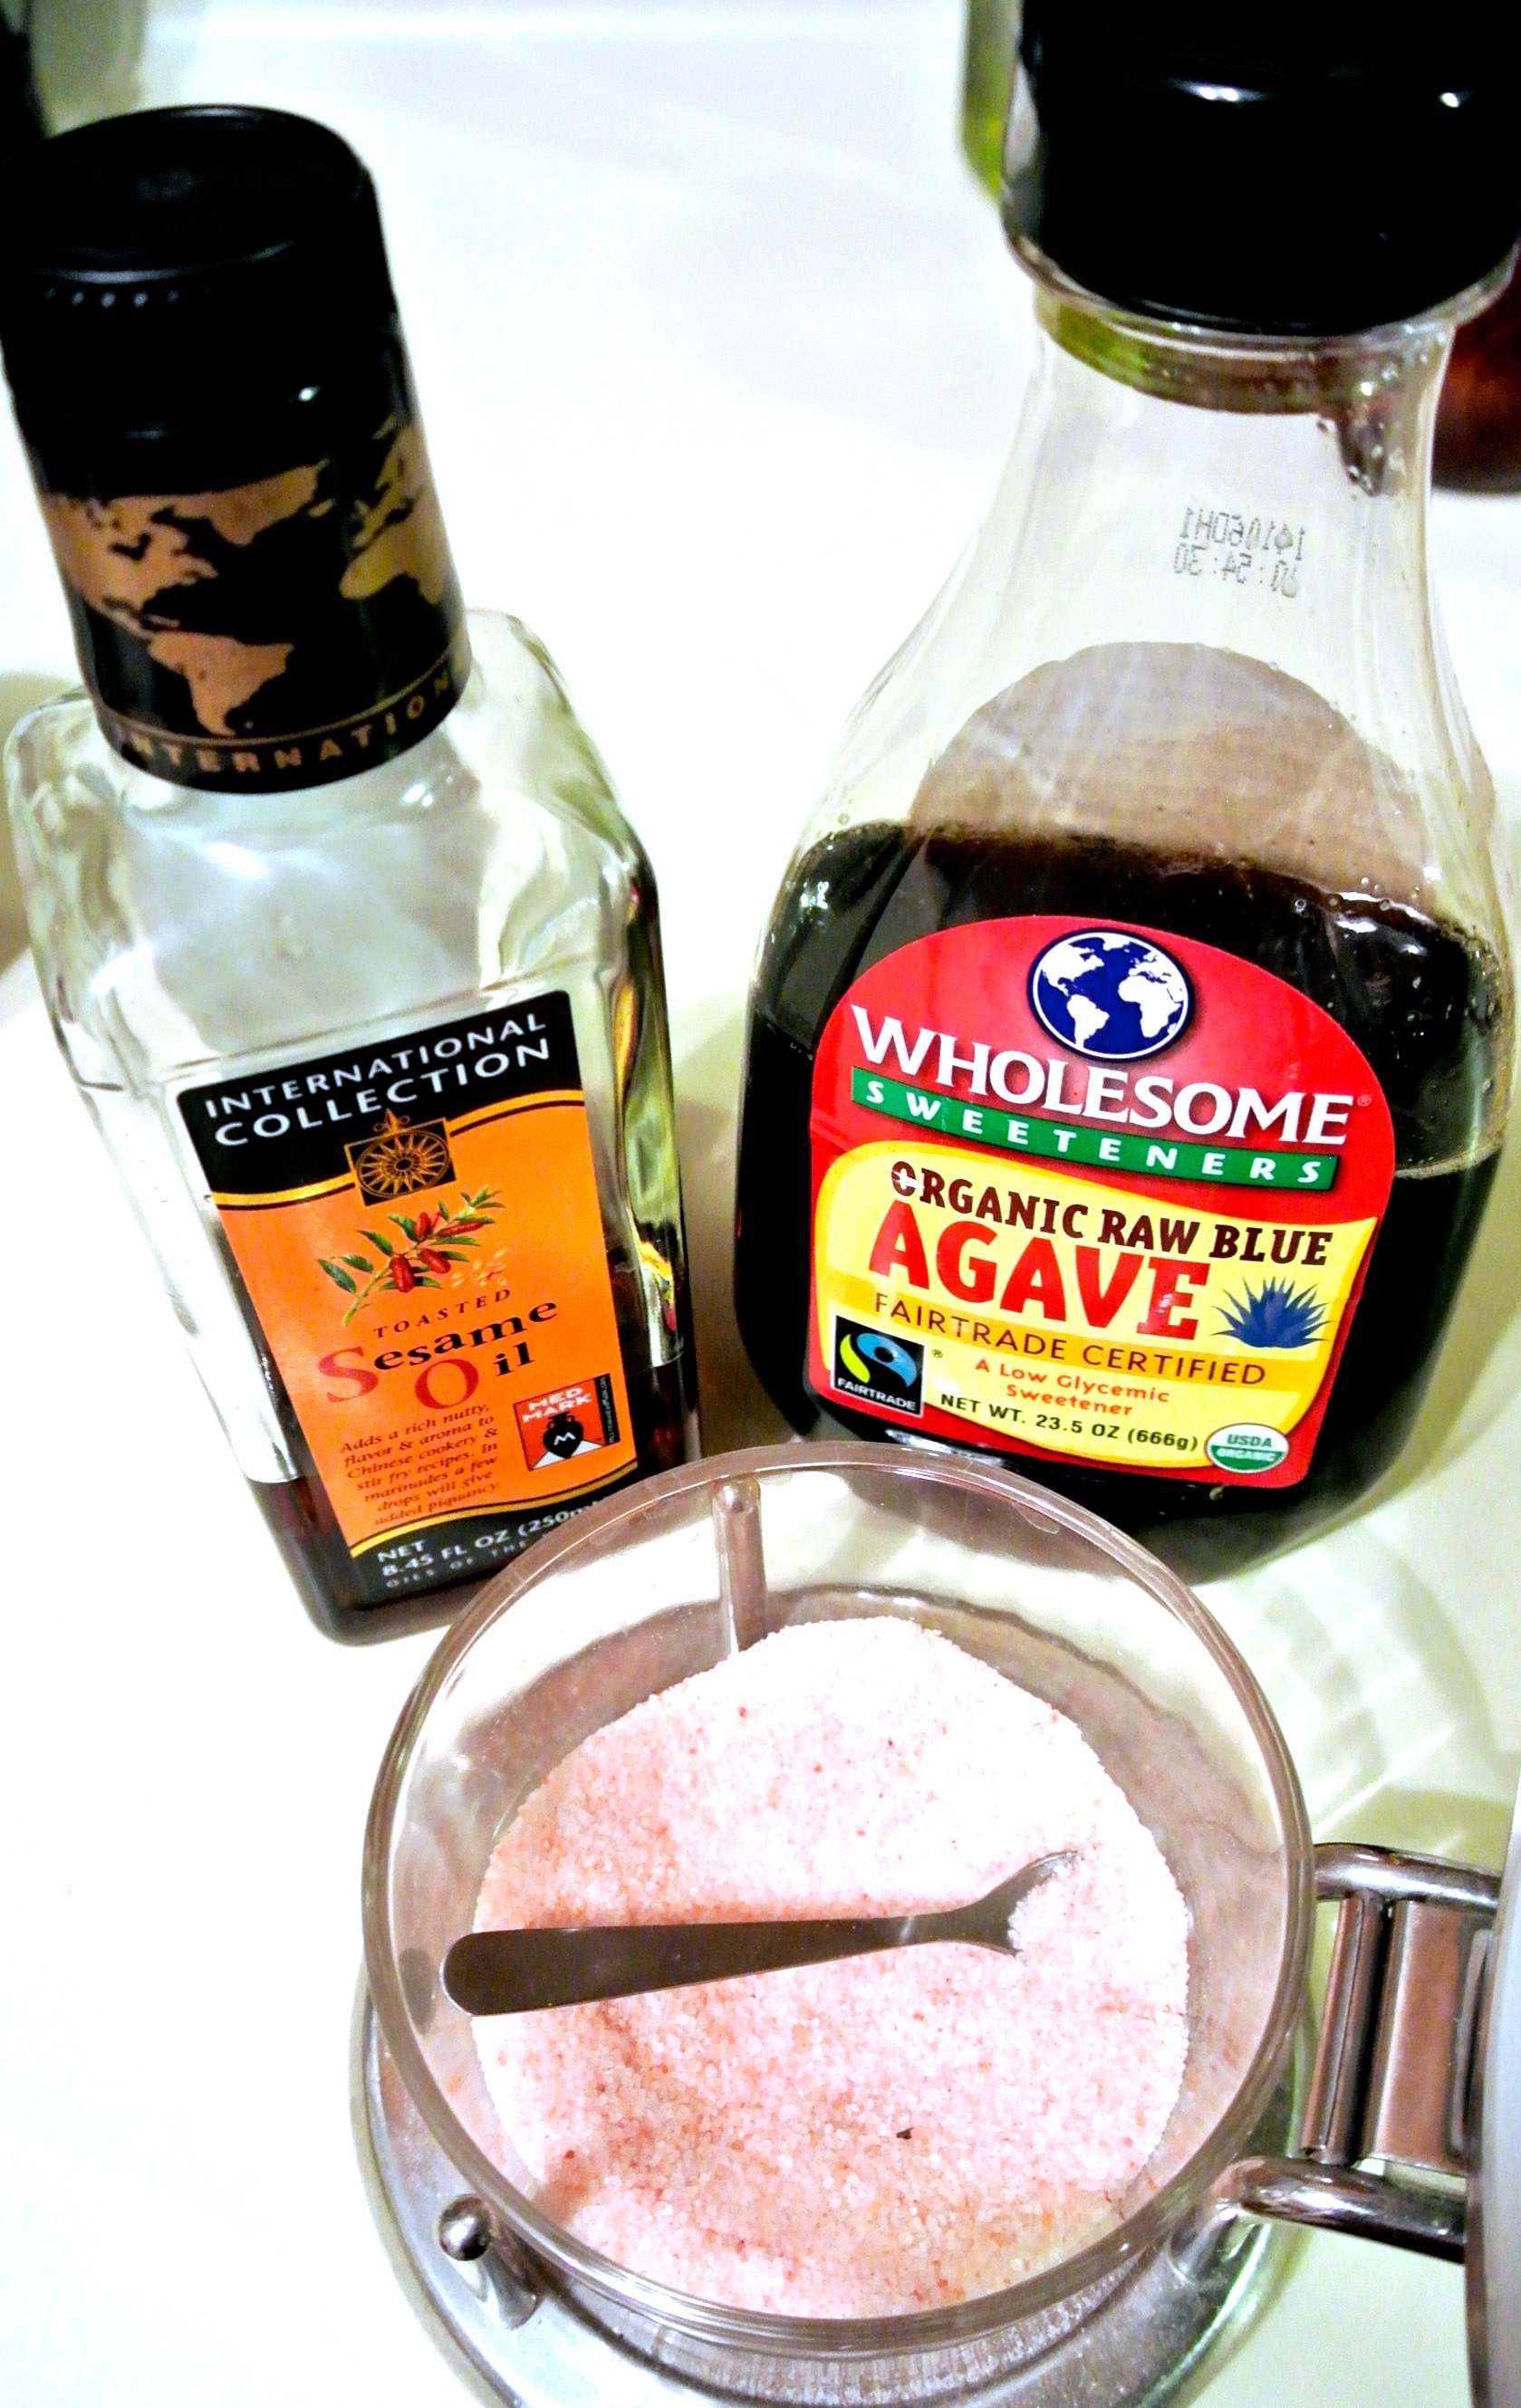
While my recipes minimize added fat, sugar, and salt, I do sometimes add just a little to maximize flavors. Sesame oil lends itself perfectly to this philosophy, as it is extremely flavorful in quite small amounts. To keep your blood sugar levels at bay, organic agave syrup—a low glycemic sweetener—is a great alternative to white, granulated sugar, which I haven’t purchased in years. Finally, pink Himalayan sea salt is the super salt of the sodium world! This salt contains over 80 vitamins and minerals, is naturally high in iodine, has less sodium per serving than table salt, and has a myriad of other health benefits. If you’re adding salt, this is the way to go.

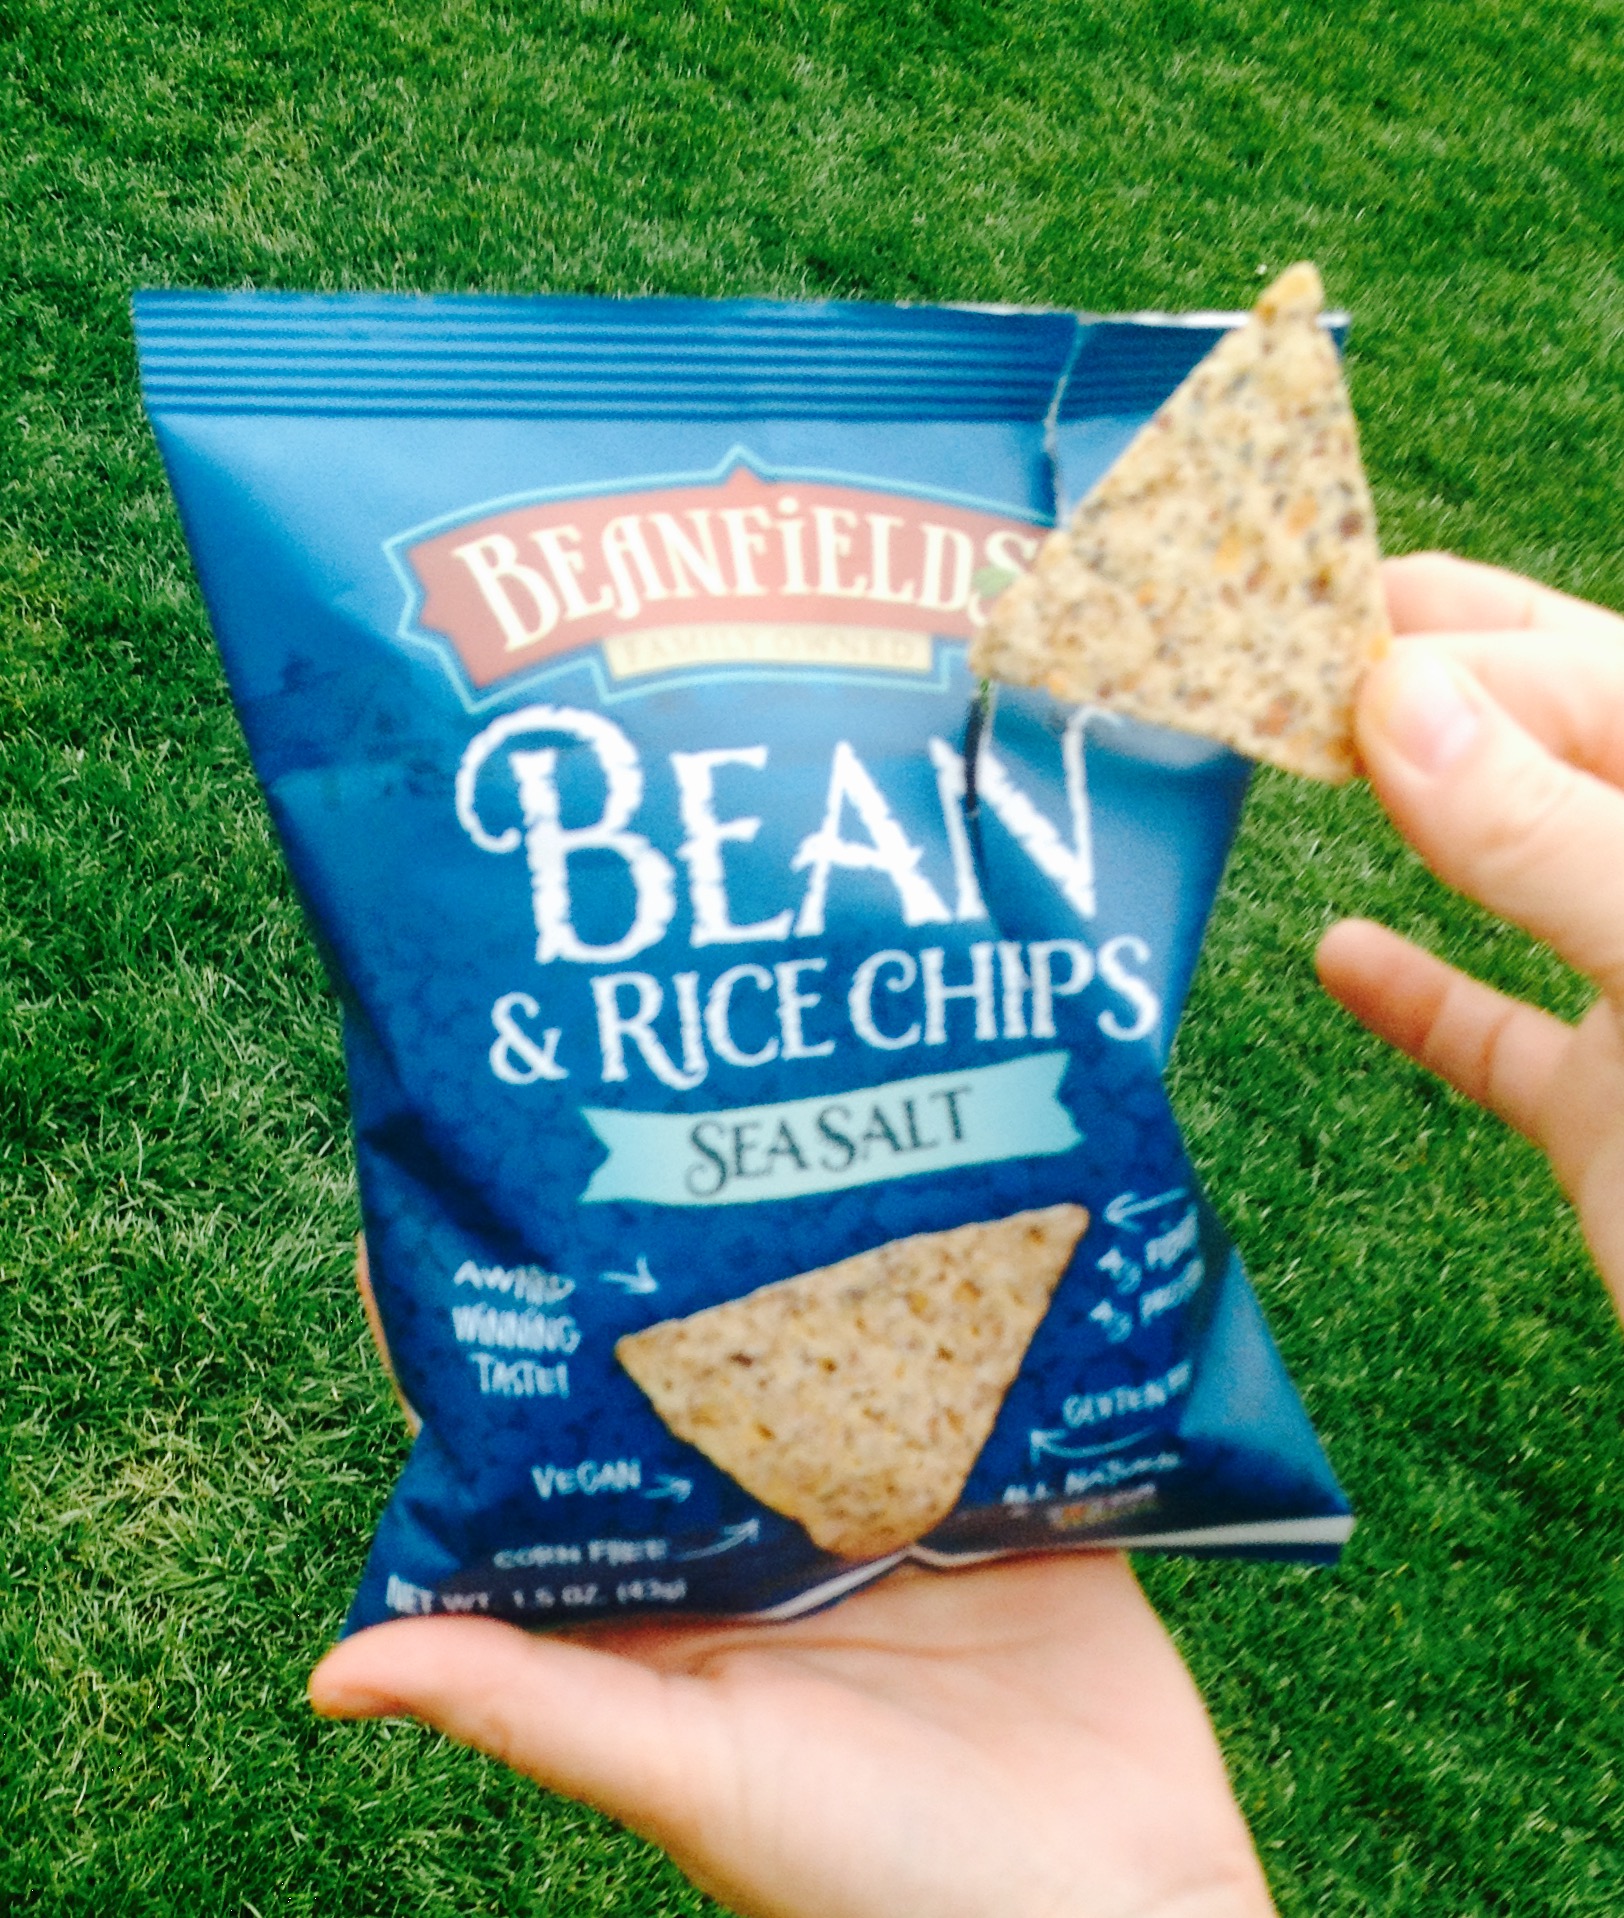
If you’re feeling extra adventurous, make your own tortilla chips to compliment this bean salad. Never having yet made them myself, I’ve purchased a few from a local Arizona Mexican restaurant so I can see how it’s done!

FORMULA BASE: BEAN SALAD

Serves 4-6

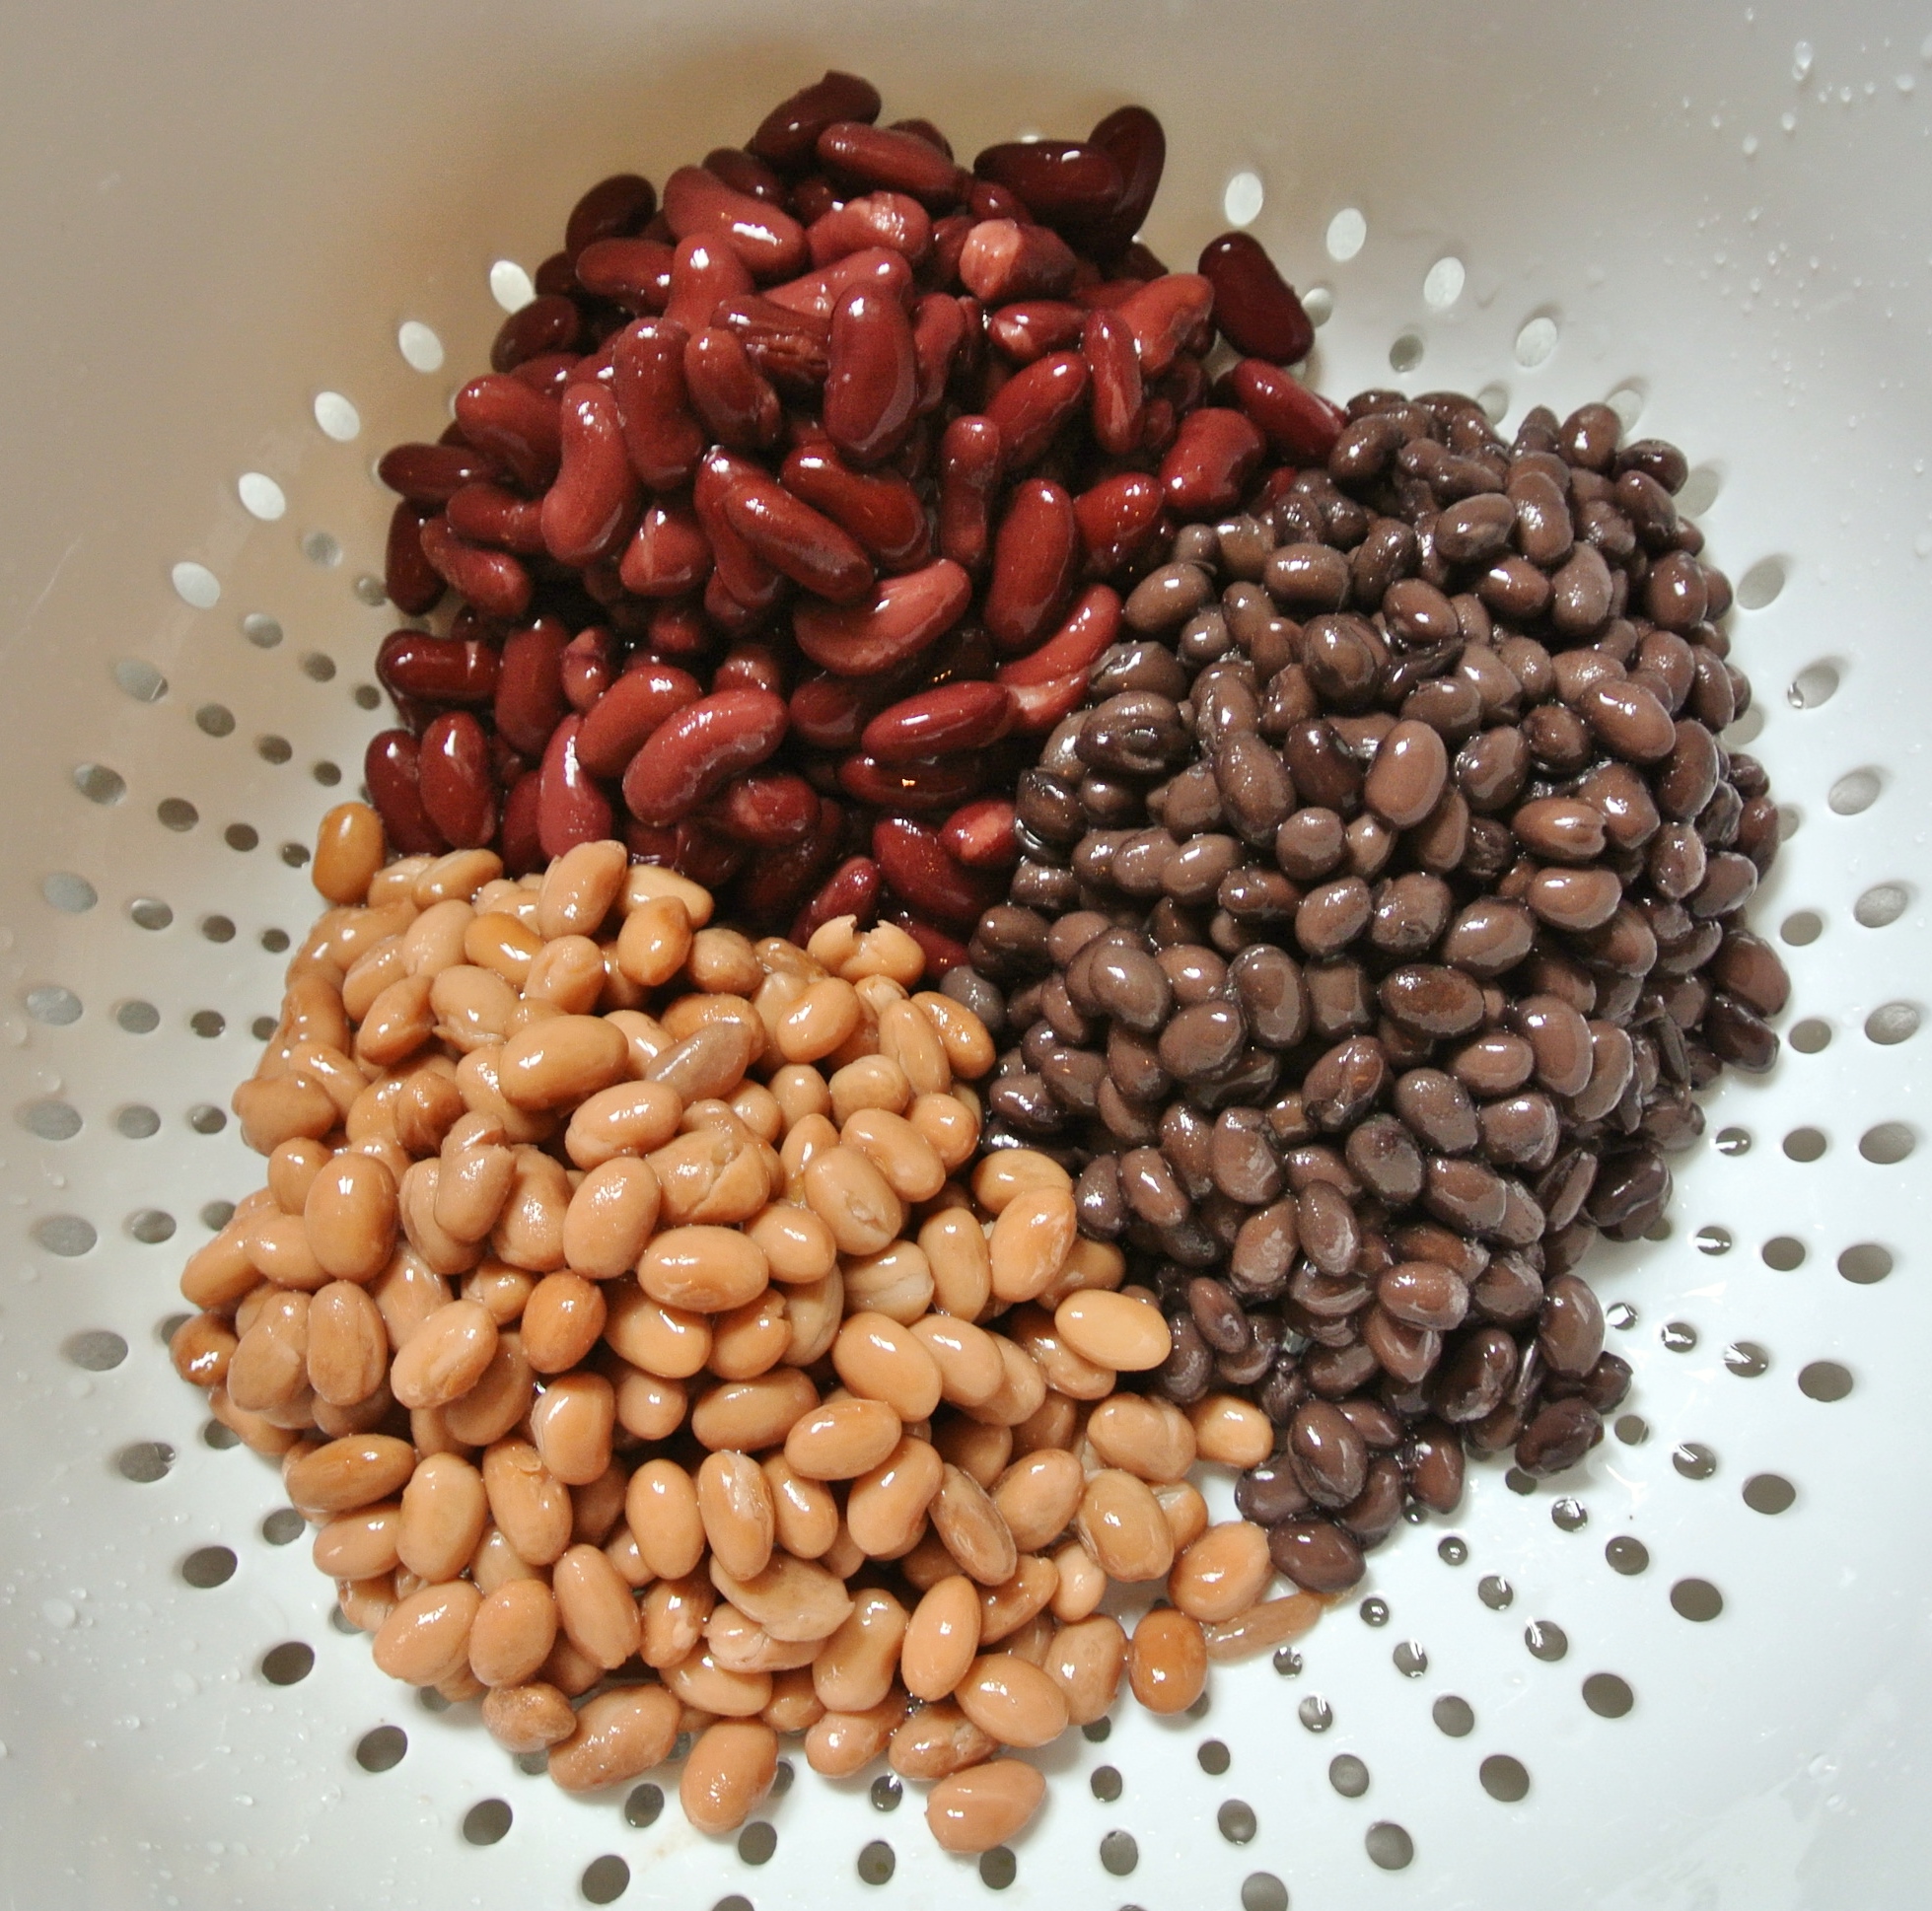
  • 2 cups cooked beans, no added salt –> I’m using extra beans today, in an effort to mimic elements of my mother’s Texas caviar recipe. I’m incorporating equal parts kidney, pinto, and black beans (just like my chili recipe), totalling about 5 ½ cups.
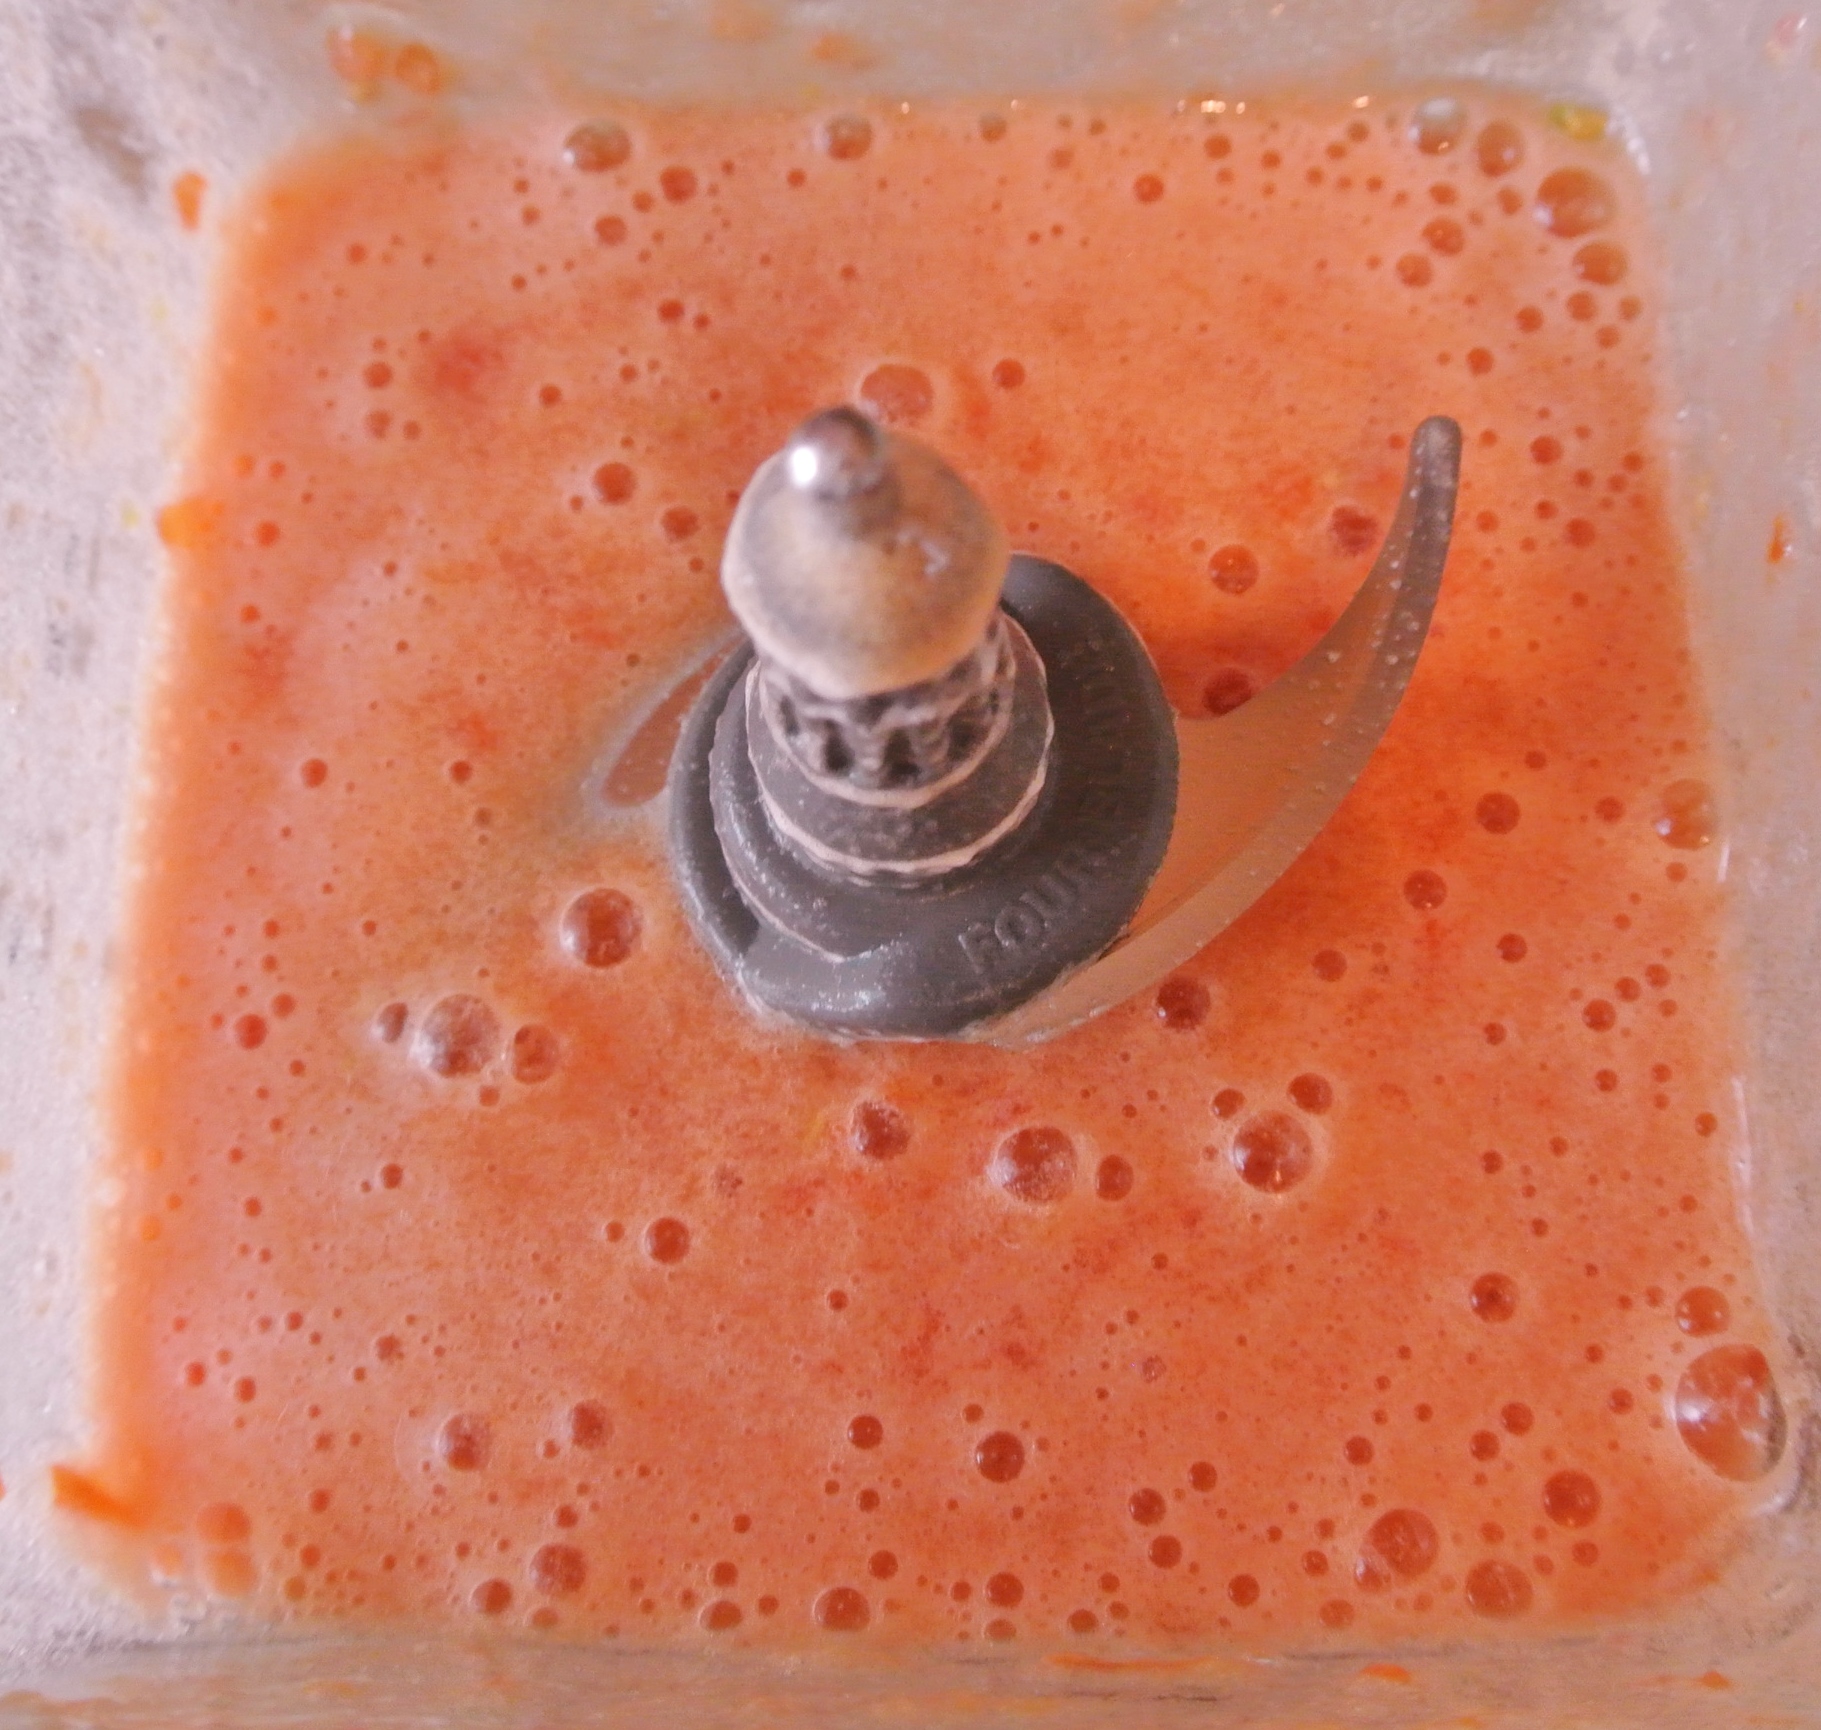
  • 2 cups chopped raw fruits/veggies –> I’m using ½ of a small green bell pepper, ¼ cup frozen corn, 1 medium size mango, and ¼ cup fresh, finely chopped cilantro.
  • ¼ chopped raw onion –> I’m using yellow.
  • ½ cup seeds and/or chopped raw nuts –> I’m using raw sunflower seeds, a little less than a ½ cup.
  • Citrus juice (size matters…start small) –> I’m using the juice of two limes.
  • Spices, herbs, salt, and pepper to taste –> I’m using ½ tsp each of chili powder, paprika, garlic powder, and pink Himalayan sea salt, and ¼ tsp cumin.
  • SPECIAL ADDITIONS: 1 tsp sesame oil and 1 tbsp agave syrup (I would use less or none at all if my mango were sweeter.)

Before anything else, chop your onion and get it soaking in the citrus juice. The citrus helps to break down the abrasive flavor of the onions.

DSC_1545

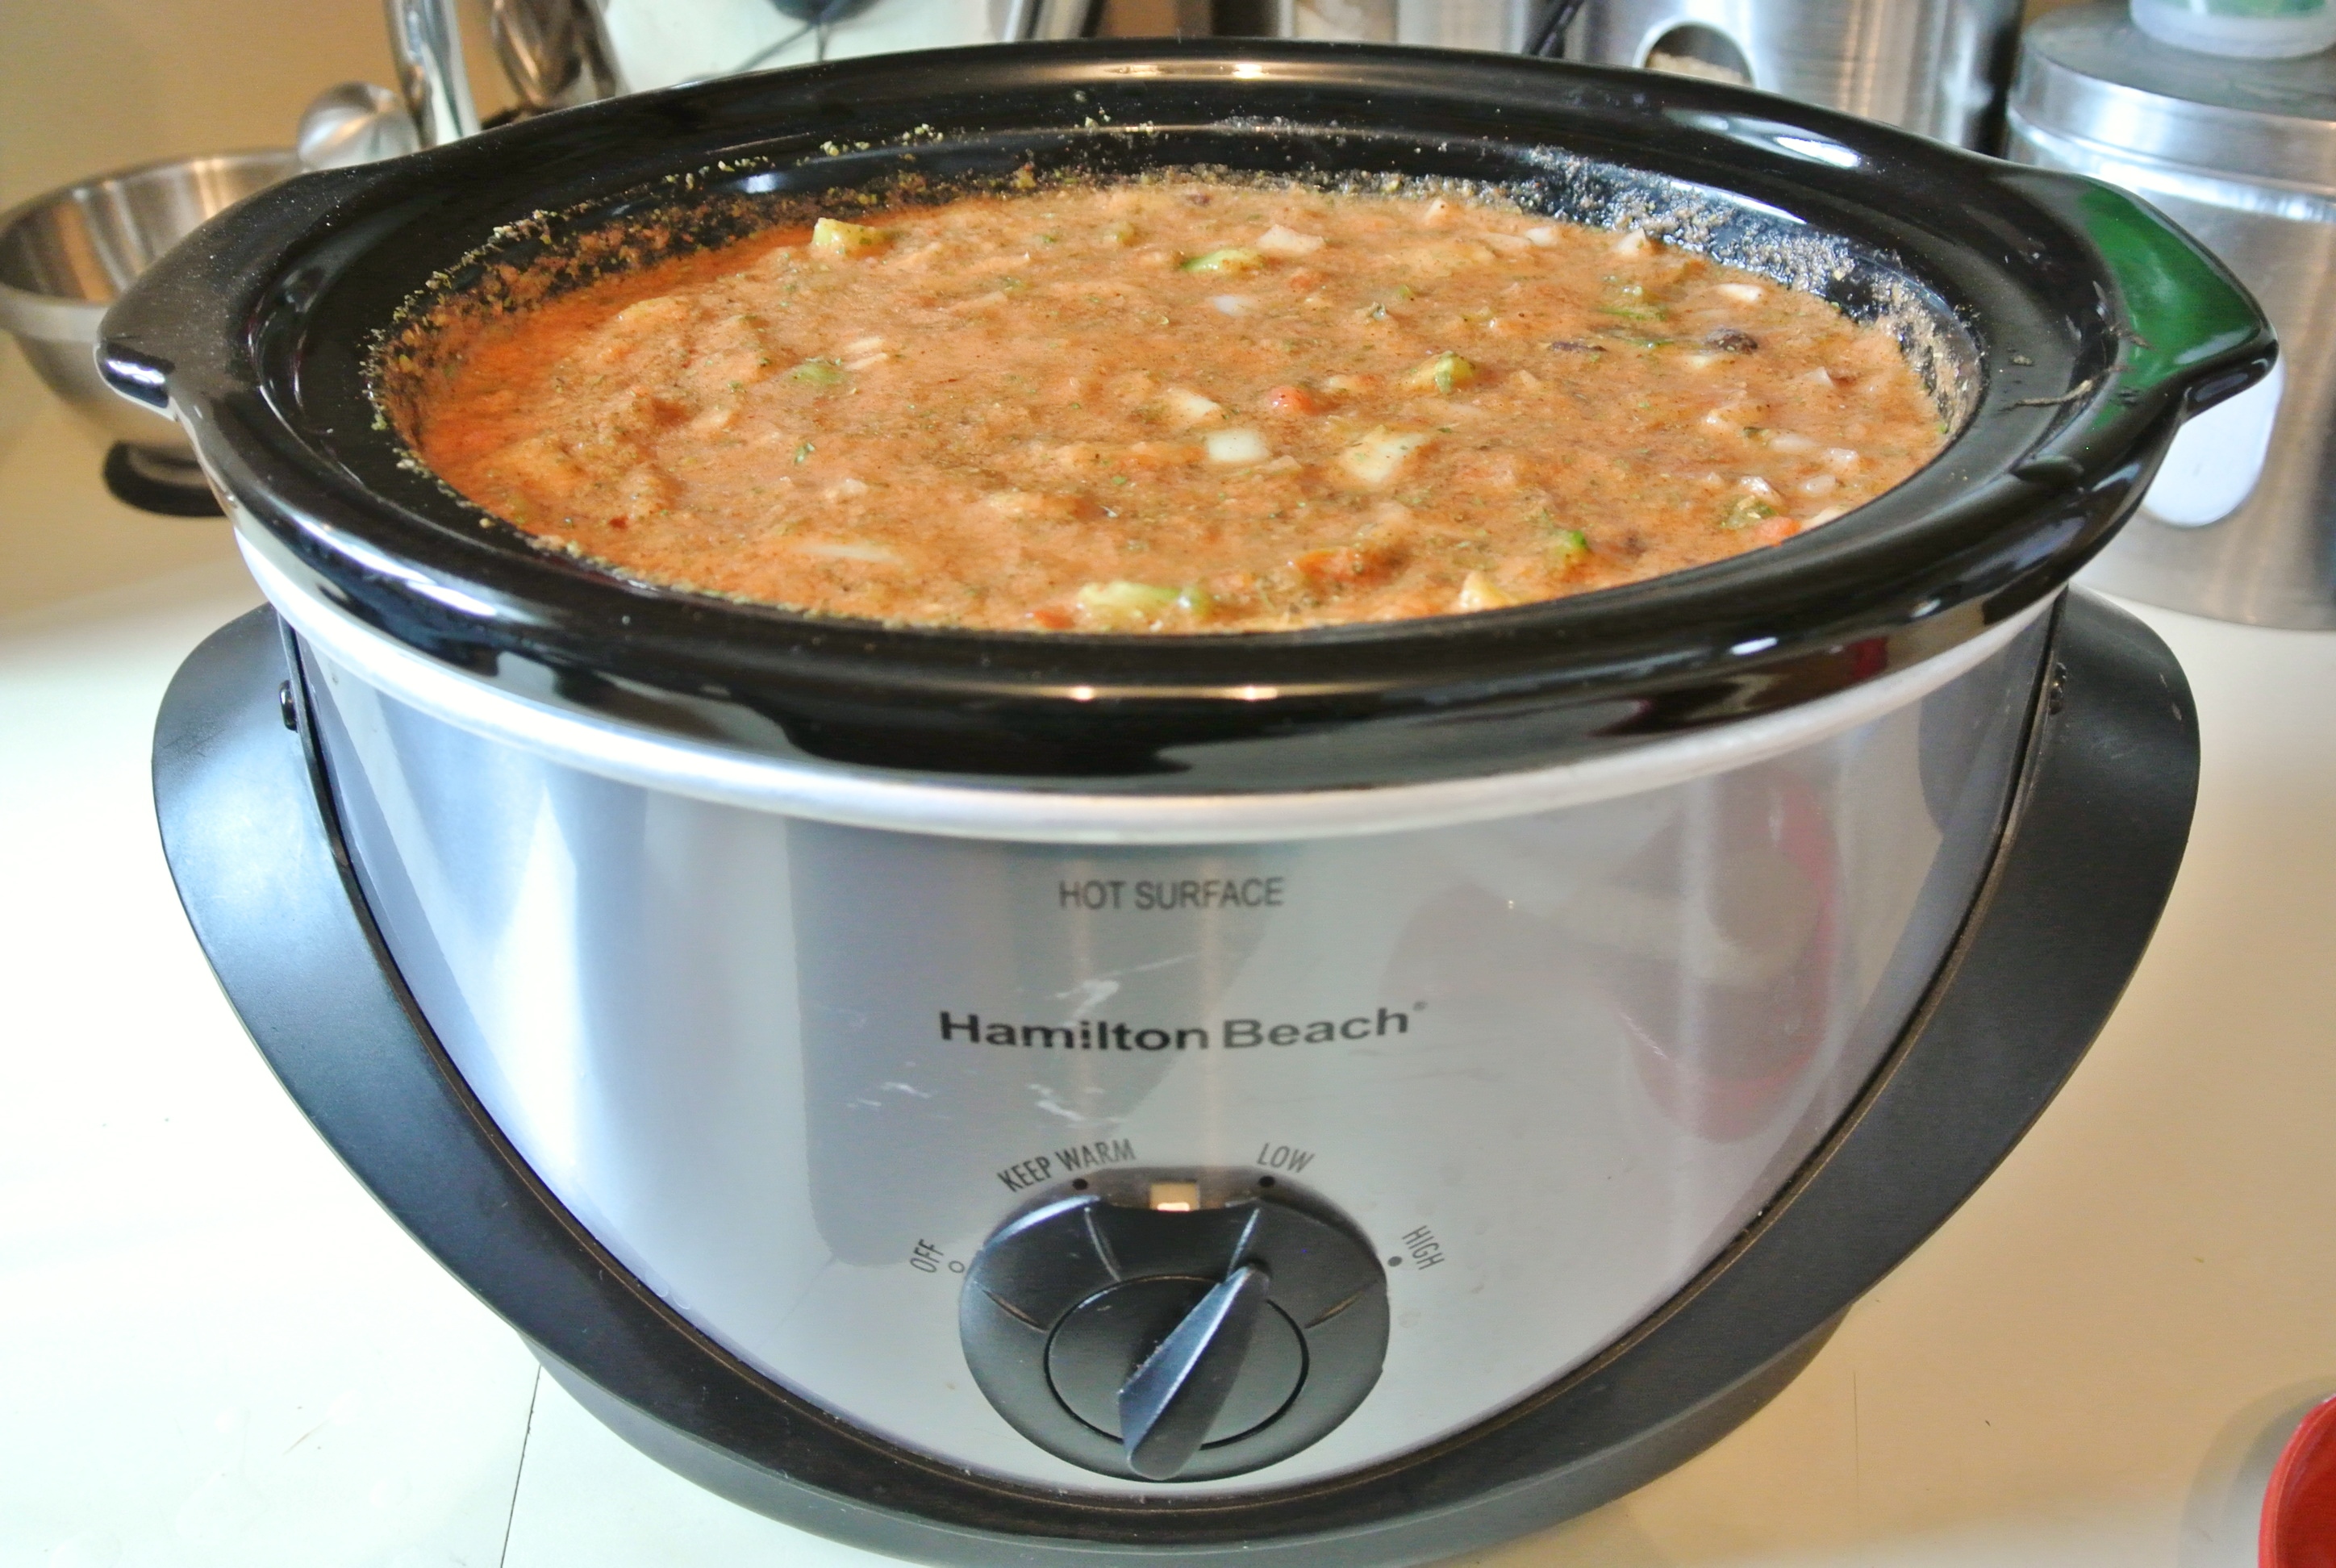
Next, drain and rinse your beans, allowing them to drip dry in your colander while chopping your fruits/veggies. Combine all ingredients and mix. Store in the fridge up to a week.

DSC_1551

Fruit Scraps Turned Scented Candles

DSC_1539

When it comes to expensive organic produce, I don’t like to waste a single scrap. If you have a compost pile, you can always put your fruit and veggie scraps there. Otherwise, I’ve come up with a few solutions to maximize every inch of your plants.

With my veggie scraps—which include items like carrot tops and kale ribs—I like to make my own veggie stock. You can read more about how I collect and transform the scraps under Basic Formulas.

Coming up with an edible use for fruit scraps—peels, cores, pits, etc.—has proved much more difficult. I was reminded of a time that I visited a candy factory in France. The chocolatiers had candied orange peels and they were pretty tasty. I figure I can experiment with candying other types of peels, but being that I like to keep my lifestyle low in added sugars, I’m not eager to do this any time soon.

I decided to go another route. My husband bought me a bouquet of winter plants on Christmas Eve and we thought that it would be neat to do something with the pine needles since they smelled so wonderful. We researched online how to make scented oil candles and then it hit me: If I could make candles out of pine needles, flowers, and herbs, why couldn’t I use my fruit scraps to do the same?

Alas, I started deliberately saving my fruit scraps (while still allocating many of them to my compost pile in the backyard). I placed a food storage container in the fridge and added to it every time I peeled or cored a new fruit. It took me only a couple of hours to accumulate the scraps that you see here, which include peels from oranges, lemons, grapefruit, kiwis, and mangoes, and the core of a Red Delicious apple.

DSC_1511

There was no rhyme or reason to this combination of scraps and a happy aromatic accident resulted. While my fruit scraps continued to marry their flavors in the fridge, I collected the necessary candle-making supplies: mason jars, oil wicks, and vegetable oil. I already had mason jars in several sizes, and you can find them many places, including the dollar store. For the wicks, I perused Amazon and found these pretty glass wicks; they are available in many metal varieties, too.

DSC_1513

As for the oil, I selected vegetable simply because it is economical and pale in color – I really wanted to be able to clearly see all of my colorful fruit scraps. Being new to candle making, I’m not sure if one oil is preferred over another for the best scent or longest burn time. In my limited research, I found that you can use just about any oil you’d like, but I imagine it will take me many an attempt to figure out which one is truly the best. For example, I made the candles you see in this post almost two weeks ago and upon lighting today, they are just starting to smell. The length of time it takes for different scents to infuse the oil probably has to do with their intensity and the oil selected. Only time will tell, but in the meantime, I am enjoying the appearance of my fruit scrap candles while I wait for them to smell even more delicious.  🙂

AT HOME FORMULA: FRUIT SCRAP CANDLE

What you’ll need:

  • Fruit scraps of any variety (accumulate in the fridge over the course of a day or two) –> I’m using citrus, kiwi, mango, and apple.
  • Oil –> I’m using vegetable.
  • Mason jars of any size
  • Oil wicks –> You can make your own or purchase in store or online. I’m using wicks with a glass covering.

How to make:

  • Puncture a hole in the lid of your mason jar. The size will depend on the type of wick that you are using. The lid of a mason jar is easy to puncture with just a screwdriver or other metal tool with a semi-sharp tip.
  • Fill the mason jar with your fruit scraps. Cram them in tightly, leaving a small gap in the middle to accommodate your wick. You can arrange them with your fingers or a variety of different kitchen tools. I squished the scraps down with an ice cream scoop myself.
  • Fill the remaining space in the mason jar with oil. Keep in mind that you will need to add the wick, so don’t fill it quite to the brim.

DSC_1529

  • Thread your wick through the hole you created in the lid and gently push the end of it into the candle itself. I used a skewer to do this.
  • Screw on the lid and wait an hour or two for the wick to absorb the oil before lighting.  Don’t expect the candles to be immediately scented, although it could happen.

Here, you can see my fruit scrap candles front and center, as well as the pine needle candles mentioned earlier, and some red rose candles made from dried roses from the hubby. Fresh would have been better, but I didn’t have this oil candle brainchild until long after they had been dried over the years. You can intensify and expedite the scent experience by adding complimentary essential oils (you can purchase these in many places that sell candles, oil burners, etc.), which I did with the roses since they weren’t fresh. Enjoy!

DSC_1532

New Fresh Formula: Totally Vegan Chili

DSC_1541

A few days ago, a friend posted an inquiry on Facebook seeking crock pot recipes. I instantly thought of my totally vegan chili recipe, which I always simmer for hours in my crock pot. I thought about what I typically put in the chili and concluded that it’s the tomatoes and spices that make it chili; the beans and vegetables could really be anything. Thus, a new fresh formula—now housed under Square Meals—was born.

This formula is inspired by the spice blend in my mother’s meat chili, a dish I absolutely loved growing up. She now makes her chili vegan, too, often getting creative with her vegetables. She used sweet potatoes in her last batch, which I happened to be in Michigan to taste. Boy was it yummy!

Making this formula work for you will depend on how spicy or sweet (or both) you like your chili, so you’ll see some flexibility in how you prepare it. Consider beans and/or lentils that are on sale, that work well together, and of course, that you enjoy. Call on vegetables that are in season and whenever possible, organic.

A well-stocked spice cabinet should ensure that you’re ready to make this chili at any time. By “any time,” I mean just before you go to bed or leave for work, as it cooks slowly over many hours. It is quite often my go-to dinner when I’m craving something warm and filling and I’m low on veggies, since beans are really the star here.

A note about canned tomatoes: I recently read that canned tomatoes are among one of the most dangerous foods that one can purchase. The high acid level in the tomatoes causes them to eat away at the can’s interior, exposing them to dangerous BPA. As always, starting with fresh is a little more work, but better for you.

Canned beans, on the other hand, I’m okay with, so long as the can contains beans ONLY…no added sodium, spices, or fats.

Finally, rather than cheese or sour cream, I sometimes top this chili with crumbled homemade vegan cornbread, broken tortilla chips, cilantro, green onions, or a squeeze of lime juice… or, I just eat it plain – it’s that good. It also makes for a delicious addition to a burrito or other Latin or southwestern dish. Enjoy!

FORMULA BASE: CHILI

Serves 6

  • 6 cups cooked beans and/or lentils –>  I’m using 2 cups each of black, kidney, and pinto beans.
  • 1-1 ¼ lbs tomatoes  –>  I’m using 6 roma tomatoes.
  • Approximately 4-4 ½ cups vegetables  –>  I’m using one green bell pepper, one yellow onion, and ½ cup frozen corn.
  • 2 cloves garlic
  • 3 tbsp chili powder
  • 2 tbsp dried minced onions
  • 1 tbsp oregano
  • 1 tsp paprika
  • 1 tsp cumin
  • 1 tsp dried cilantro
  • Pink Himalayan sea salt and fresh ground pepper to taste  –>  I’m using ½ tsp salt and no ground pepper.
  • Sweetener to taste (optional)  –>  I’m using 2 tbsp agave syrup. I like a little sweetness to balance out the spices and acidity of the tomatoes.
  • Cayenne pepper to taste (optional) –>  Not for me – I’m a wimp.  🙂

Set your crock pot to low. Coarsely chunk your tomatoes and place in a food processor or blender. Blend until smooth and pour into crock pot. It will look orange/pinkish and frothy right now, but will cook down and deepen in color with time and spices.

DSC_1516

Dice and add all veggies. Mince and add garlic.

DSC_1517

Add all spices, seasonings, and sweeteners, if using.

DSC_1522

Drain and rinse beans/lentils (if necessary) and add to the crock pot.

DSC_1523

Fill any remaining space in the crock pot with water to your thickness preference*. I fill my crock pot almost to the top, knowing that it will reduce a bit.

DSC_1526

I keep the crock pot lid slightly ajar to allow for slow evaporation and ultimately, a thicker chili, but keep the crock pot completely covered for a soupier dish. Simmer for 8-10 hours, depending on the power of your crock pot.

*ALTERNATIVE IDEA: Add only enough additional water to cook your veggies through and create a super thick warm bean dip rather than a chili. A new party favorite with tortilla chips!

Must-Haves from the Arizona Vegetarian Food Festival

FullSizeRender

When the ALS Ice Bucket Challenge was at its peak, I decided to take the act of charity to the next level and complete weekly acts of charity for an entire year. This weekend, my personal IBC led me to the Arizona Vegetarian Food Festival in Scottsdale to benefit Evolve for Animals.

The festival was teeming with eager vegans, vegetarians, animal rights activists, and environmentalists. While typical festival/carnival/state fair crowds tend to damper the experience for me, this time, I was thrilled to be surrounded with like-minded people who care about animals, sustainability, and of course, their health.

Various booths with information and most importantly, free samples (woo!), peppered the perimeter of the Scottsdale Civic Center Amphitheater. The first booth that my husband, Travis, and I stopped at, Arizona Microgreens, featured an assortment of organic baby greens, which are easily my new favorite salad base and sandwich filler. I had had microgreens before, but didn’t realize just how many varieties existed. As you can see, they look adorable when compared with something like iceberg lettuce (I do believe that presentation matters when it comes to eating) and taste absolutely delicious. Many samples and $15 later, we walked away with broccoli and pea shoot micros.

FullSizeRender(4)

Up next, we stopped at a clothing booth that specializes in tops made from organic cotton and bearing catchy vegetarian and animal-friendly phrases. Geeky for some, but I was smitten and had to have one of Herbivore Clothing’s creations. Like many things organic, the long sleeve shirt I selected wasn’t cheap, but $30 well-spent to advocate for causes that I believe in without even trying.

FullSizeRender(3)

Who doesn’t love a soft pretzel?! As if being 100% vegan weren’t amazing enough, these pretzels were shaped like mustaches! Scrumptious and fun to eat, I now understand why the line was 30 minutes long at Mustache Pretzels. After all, “great mustaches aren’t born – they’re bread.”

FullSizeRender(2)

Lastly, Travis and I hit up a tortilla chip booth that had really long lines when we first arrived. By this point in the festival, it was raining, so we were able to make it to the front of Beanfields in just a few minutes. These tortilla chips–which were fantastic–are made from beans and brown rice. I’m not a big proponent of processed foods, but there are some gems out there are these are one of them.

FullSizeRender(1)

They were the perfect snack to end a fulfilling day doing one of the things I love most: living a plant-based lifestyle. Good for me, good for animals.


Dessert for Breakfast? Yes, Please!

DSC_1509

Today, I made my favorite dessert smoothie for breakfast. Above, you can see the finished product, ready for consumption by one busy mommy and on-the-go toddler.  While you’ll love this sweet treat in a traditional post-meal capacity, it can serve as a decadent start to your day, too. Jam-packed with protein and calcium, it puts many other breakfast options to shame.

A few words about some of the ingredients (pictured below) in this chocolate peanut butter banana concoction…

DSC_1504

First, we have cocoa power. To keep the sugar content low, it is imperative that it be unsweetened. Cocoa powder, which contains powerful antioxidants, has numerous health benefits, so it may be tempting to add a lot, but its flavor is quite intense. Start with a tablespoon and slowly add more if you want your smoothie extra chocolaty.

Secondly, seek out a peanuts-only peanut butter. Many peanut butters contain added sugar, oil, and salt, which may result in you initially finding a simpler peanut butter bland. The purer taste, however, will grow on you over time; I now find myself off-put by peanut butter with unnecessary additives.

Lastly, because the cocoa power, peanut butter, and almond milk in this recipe are all unsweetened, you have only the bananas to rely on to give this smoothie a dessert-like quality. Riper bananas will be sweeter, but if even that is not enough for you, add medjool dates–which are rich in fiber and vitamins–for a little something extra. As you can see in the photo, they do contain pits, which can be easily removed by splitting the dates in half with your thumbs. Medjool dates are very soft, easy to work with, and blend well, if you have a high quality blender.

That leads me to my blender: the Ninja, which includes pitchers in two different sizes. The most basic model will run you about $100, where the more advanced models with more equipment will be over $300. While I would love someday to own one of the hailed Vitamix or Blendtec processors, for a little less coin, I’m happy with the Ninja for now. If you do not own a blender with advanced capabilities and fear that the less-than-perfect puree of the dates would result in an unappealing texture, you could substitute another sweetener of your choice.

DSC_1501

Overall, this smoothie blends up nicely, with the exception of the chia seeds, which I’m not sure would completely puree in any blender. Their texture reminds me of the tiny seeds on strawberries or in kiwis and does not bother me, but you can eliminate them if you so choose. I have chia seeds in many of my formulas/recipes, as they are a super food loaded with omega-3 fatty acids, calcium, fiber, and protein.

But the seeds and peanut butter are fattening, right? Yes, they are. I’m happy to report, however, that seeds and nuts contain cholesterol-free fats. If you’re following a fairly strict plant-based diet, seeds and nuts are among the only sources of fat that you will ingest. Think about that squishy, white-ish edge of a pork chop or the grease that floats on top of a cheesy pizza and you will celebrate the addition, in moderation, of a different kind of fat to your diet. Also, this smoothie need not be your everyday breakfast (I make it once or twice a week) – check out my fruit and veggie smoothie formula, too.

With that said, on to dessert!

FORMULA BASE:  DESSERT SMOOTHIE

  • 2 frozen bananas (or fresh bananas and ice)
  • ½-1 cup specialty ingredients –>  I’m using ½ cup peanut butter and 1 heaping tbsp of unsweetened cocoa powder.
  • 1 tbsp chia seeds
  • 1 tbsp ground flax seeds
  • ¼-½ tsp extract of choice (optional, and amount depends on flavor intensity) –>  I’m using no extract in this recipe.
  • Pitted medjool dates as needed for sweetness  –>  I’m using 2.
  • Juice or plant milk until desired consistency (start with 4 oz)  –>  I’m using unsweetened almond milk.

DSC_1505

Combine all ingredients in a blender. Taste and adjust specialty ingredients as necessary.  Enjoy!

What’s in YOUR Kitchen?

DSC_1420

Welcome back! As plant-based living may be new for you – or perhaps you just need new ideas – I thought it would be helpful to give you a tour of my kitchen so that you can see the types of produce I buy and some of the nonperishables that I regularly keep on hand.

The photo that you see at the top of this post is a shot of my countertop, which is often overflowing with produce that does not require refrigeration. I maintain a plentiful stock of bananas, as I use them in many of my recipes and they are among my son, Nolan’s, favorite fruits for snacking. This time of year, I also have an array of citrus, much of which I obtain from neighbors for free. Citrus fruits are ripe for the picking during Arizona’s winter.

You’ll also see in this photo that I have fresh vanilla beans on hand to use in various recipes and to make homemade extract. The basic formula for an extract is the flavor agent plus vodka and involves a long soaking period (another post, another day). Moral of the story? If you have the opportunity to make your own extracts, you’ll find that they are purer and higher in quality than many of the store-bought, imitation varieties. I digress…

Next, we move into my fridge, where you can spy everything from a batch of homemade veggie stock (located under Basic Formulas), to black-eyed peas that have been soaked and are ready for further cooking, a bowl of triple berry togurt (located under Breakfast Formulas), and of course, more produce. We always have a ton of it and get the biggest bang for our buck with a local food co-op called Bountiful Baskets. Through this organization, weekly, we have the opportunity to pay a flat rate of $25 to obtain approximately $50 worth of organic produce. The offerings are seasonal and often local and the contents of the basket are always a surprise. Check out the bountifulbaskets.org or conduct a web search to see if your state offers a similar program.

DSC_1421

On to my spice cabinet, which is my husband, Travis’s, pride and joy in our kitchen! Although the spices and herbs sometimes get misplaced during quick cooking, my hubby generally has them organized by ethnic application (e.g. Italian, Mexican, etc.) or other similarities. For example, mace is located on the exterior of the nutmeg shell; although different spices, they are part of the same fruit and often used together in cooking/baking, so they are grouped together. Yea, I know – our cabinet organization is a bit over-the-top, but with over 60 spices and herbs to choose from, it does well to have them arranged in a way that allows for easy selection.

DSC_1422

When we travel we stock up on herbs and spices that are native to the area and end up saving a ton, as those in jars in the supermarket can be pricey. We are still using, for instance, cinnamon sticks that we purchased during our honeymoon on the British Virgin Island, Tortola, in July of 2011, and turmeric that we bought the following summer when touring a spice farm in Zanzibar, an island off of the coast of Tanzania in East Africa.

Finally, here’s a look into my pantry. First, you can see a variety of oils, vinegars, and sweeteners. It is amazing what these products can do in the way of flavor, even in very small amounts. On the two shelves below those you’ll find staples like beans (dried and canned, no sodium added), seeds, and grains. While I always have quinoa and oats, for example, regardless of price, more expensive items like nuts, dried fruits, and dark chocolate I purchase and stock up on when they are on sale. The flexibility of my formulas and my willingness to experiment with new combinations allow me to create a delicious bite out of whatever I obtain. The very top shelf (not pictured) includes standard baking supplies like cornstarch and baking powder.

DSC_1424

If your kitchen needs a plant-based makeover, consider starting with one or two target areas and make changes slowly, especially if you’re trying to get a meat-and-potatoes spouse or some picky little ones on board. When Travis and I decided to start eating more healthily, the first item we did away with was cow’s milk, which we replaced with almond. Travis, who was a diehard whole milk drinker for years, now swears by almond and I, being lactose intolerant, couldn’t have found a better milk match. Nolan is even more adventurous, drinking coconut and oat milks on a regular basis. If those do not appeal to you, you could try soy, flax, rice, grain, cashew, sunflower, etc. There are lots of options that don’t include added sugar, hormones, or cholesterol and are often higher in calcium than the dairy variety. Plus, you can easily make your own plant milk (we’ll cover that another day, too)!

I hope that a private tour of my humble cooking headquarters has given you some ideas and inspiration so that you are prepared to tackle my formulas (and plant-based living in general) head on. Happy shopping and stocking!

Welcome to The Fresh Formula!

DSC_1414

Happy New Year and welcome to The Fresh Formula! Since I committed to a plant-based diet around this time three years ago, I thought it only fitting that I launch my blog on New Year’s Day. Many of us find ourselves making resolutions to improve our lives, and those often include health and wellness goals. I never resolve to follow a weight-loss diet, regularly utilize an exclusive exercise program, or lose a certain number of pounds because I find that such goals often lead to temporary results where you are constantly playing catch-up with yourself.

Instead, consider making a resolution this year that prompts you to change your lifestyle, and the rest – healthy eating, exercise, even weight loss – will fall into place. I remember years ago when the queen of talk, Oprah Winfrey, hosted the author of French Women Don’t Get Fat, Mireille Guiliano. Guiliano made a point that the French don’t have to spend hours and hours sweating at the gym because they incorporate exercise into daily life: taking the stairs instead of the elevator, walking to the store instead of driving, etc. I view plant-based eating similarly; it is a way of living…not a diet, a system for counting calories, or a strict exercise regime.

In the beginning, plant-based living may be a challenge for you, but I can tell you from experience that it piques curiosity, sparks creativity, and of course, becomes easier and easier. Over the years, I have found myself genuinely interested in researching and experimenting with food, flavor, and nutrition, and have been proud of the results.

So, what can you expect from this blog? Under About, you can read more about me, plant-based living, and my fresh formulas, and see new formulas and recipes popping up at least once a week under Recipes. Under The Formulas, I have amassed a small collection of formulas that are already tried and true in my kitchen. Each week, I will feature an existing or new formula and an accompanying sample recipe so that you can see what that particular formula looks like in action.

This week, I’ve decided to start with the formula that inspired this blog: Super Food Muffins (located under Breakfast Formulas). Today’s post will feature this formula in a blueberry lemon variety, but as you will learn, the formula is just a baseline for whatever ingredients YOU have on hand.  Here we go…


FORMULA BASE:  SUPER FOOD MUFFINS

Makes 12 regular sized muffins

  • 1 ½ cups flour –> I’m using whole wheat.
  • 1 cup cooked quinoa –> I’m using white (despite being rather blasé in appearance, it is higher in nutritional content than rainbow).
  • ¼ cup uncooked rolled oats –> I’m using an extra ¼ cup of quinoa instead, this particular go-around.
  • 2 tsp baking powder
  • 1 tsp baking soda
  • ¼ cup sweetener –> I’m using agave syrup.
  • 1/8 cup oil –> I’m using coconut, melted.
  • 1 cup raw (fresh or frozen) fruit or veggie –> I’m using blueberries.
  • 1-1 ¼ cups plant milk –> I’m using almond.
  • 1 tbsp ground flax seeds
  • 1 tbsp chia seeds
  • ½-1 tsp extract –> I’m using ½ tsp of pure almond.
  • ½-1 tsp spices –> I’m using 1 tsp cinnamon.
  • ½ tsp salt (optional) à I’m opting out of salt, but adding it will definitely make your flavors pop even more. I highly recommend pink Himalayan sea salt.
  • SPECIAL ADDITION: The zest and juice of one lemon.

Looking for a bit more texture?  Consider adding chopped raw nuts or seeds.

Preheat your oven to 350 degrees. Separately combine all of the dry ingredients and all of the wet ingredients. Pour the wet into the dry and mix with a wooden spoon. The batter will be thick and lumpy, but you can always add more plant milk if it seems too dry or dough-like.

DSC_1402

Spoon the batter into a lined cupcake pan and bake for 25-27 minutes.

DSC_1405

Use the toothpick test! Store in the fridge for up to two weeks.